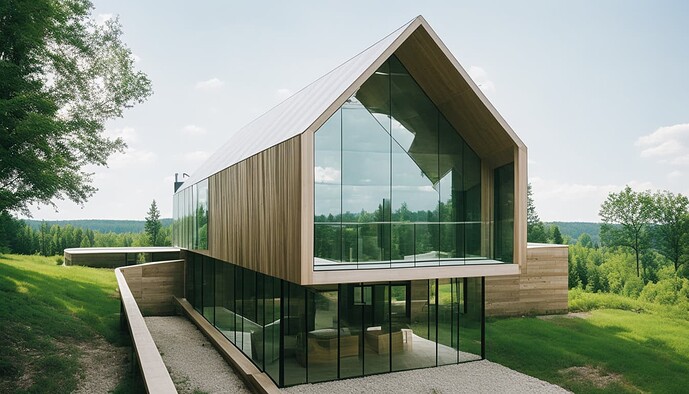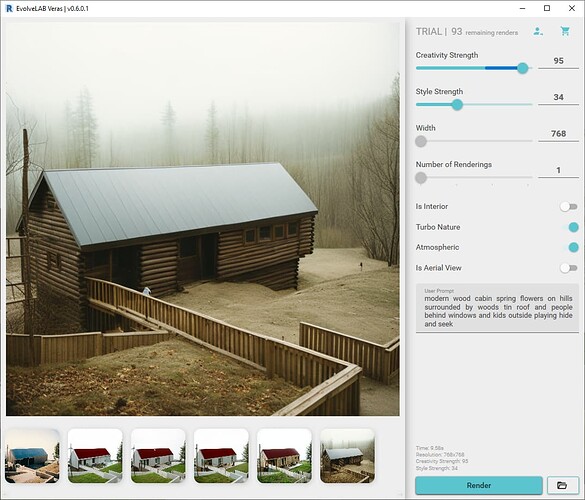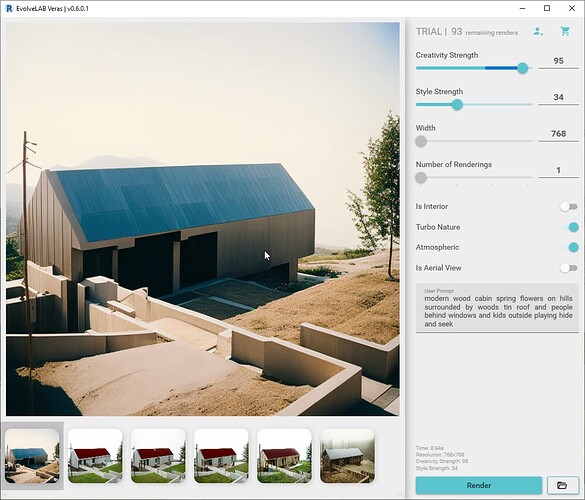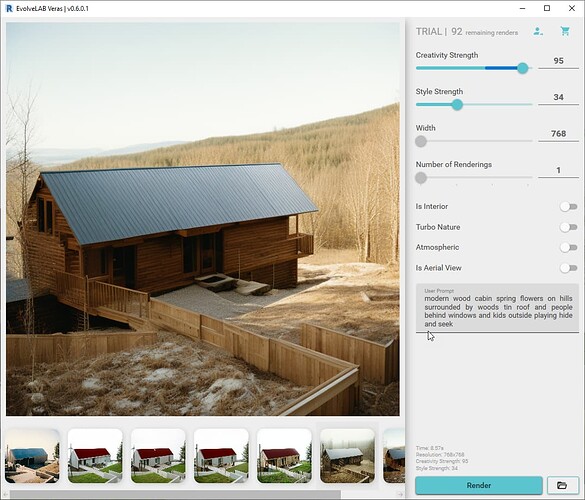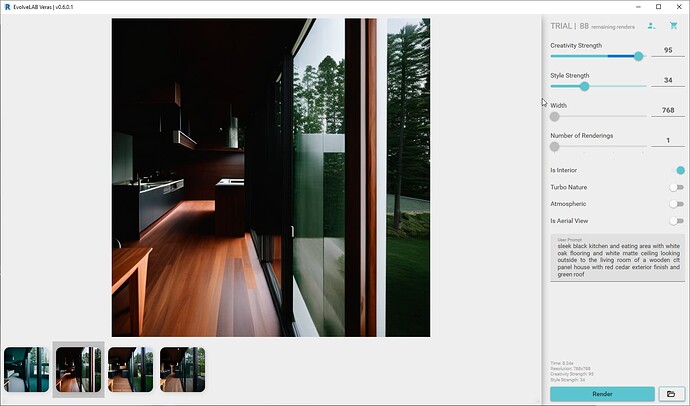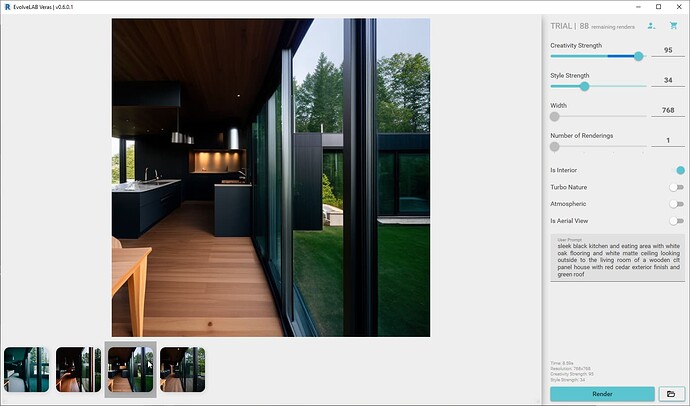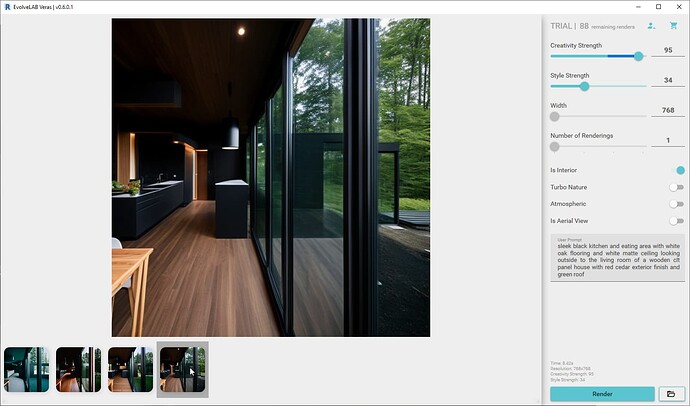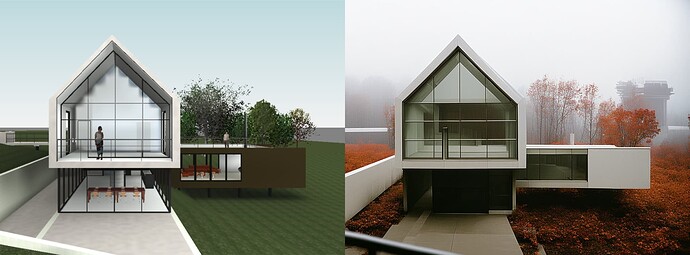
NOTE: this workflow is pre V1 - click here for new v1 post
1 | Revit View Setup
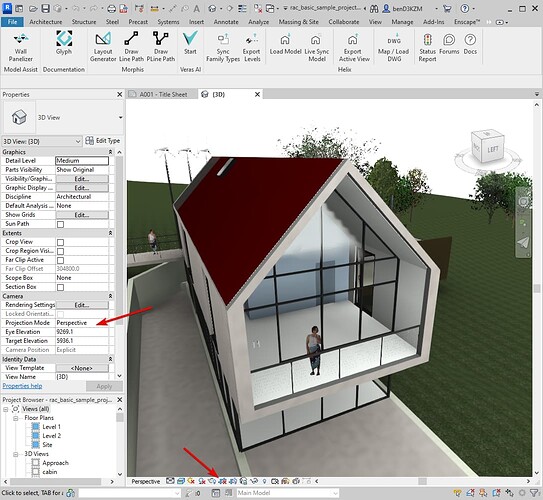
- Go to a 3d perspective view that is uncropped
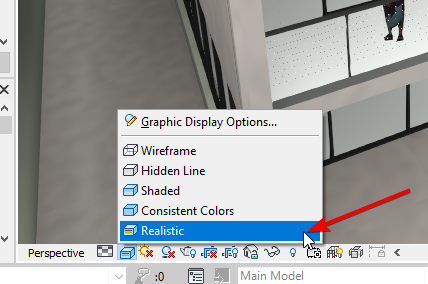
- Set the view to Realistic mode
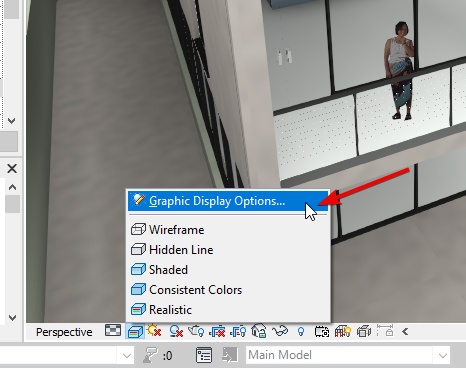
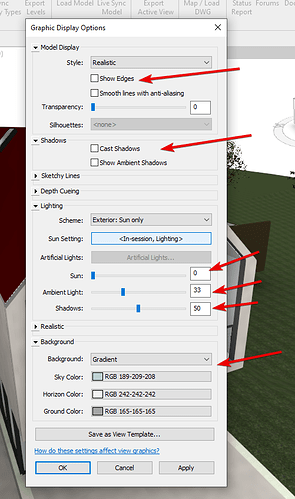
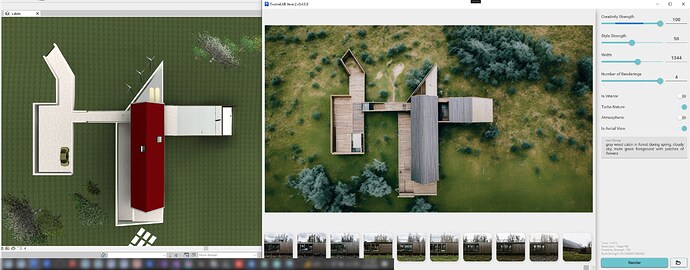
- Go to the Graphic Display Options… and update the settings to match the screenshot
2 | Render the View
- Find an interesting position for the Revit view
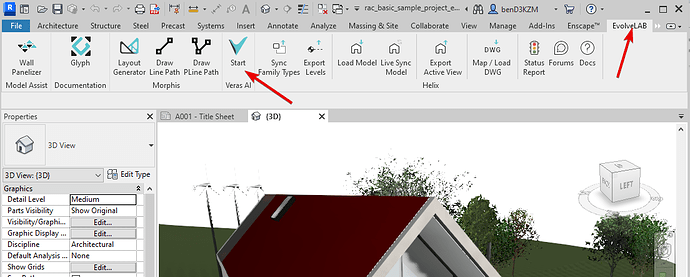
- Start the Veras app under the EvolveLAB Ribbon tab
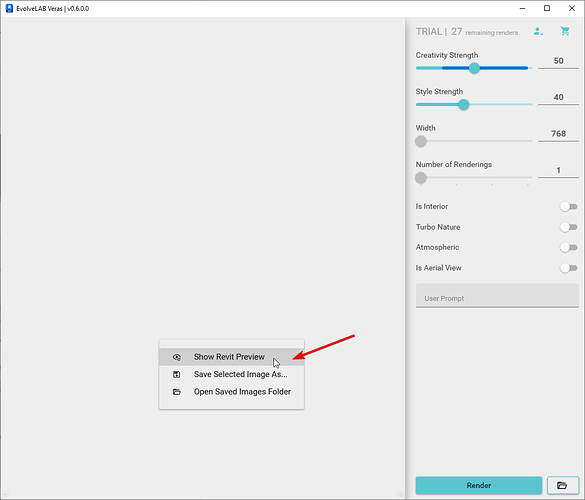
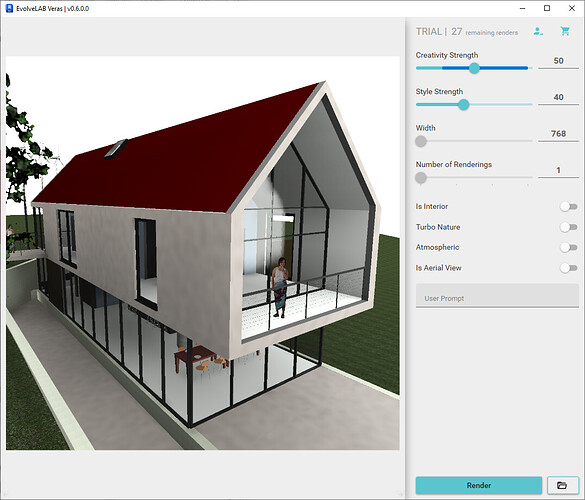
- Right click on the gray canvas, and select Show Revit Preview. This will show you the framing of the view before it will be rendered.
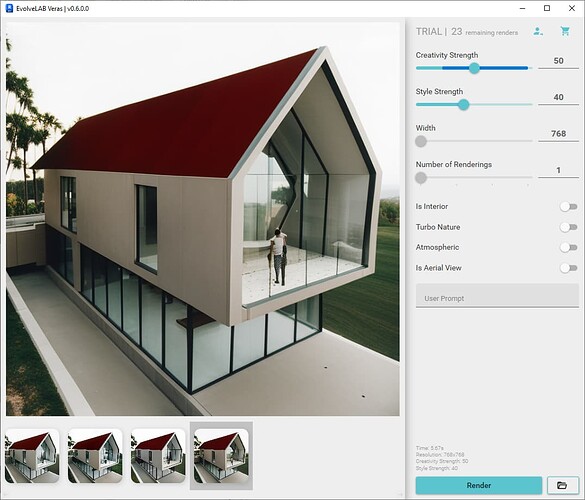
- Click the Render button at the bottom of the property pane if you’re happy with the rough composition
- If you get a network error, please see this troubleshoot post
Tip: it helps to make the aspect ration of your view similar to the render resolutions selected. Ex: if square, the Revit window can be adjusted into a square ratio
3 | Materiality Adjustments
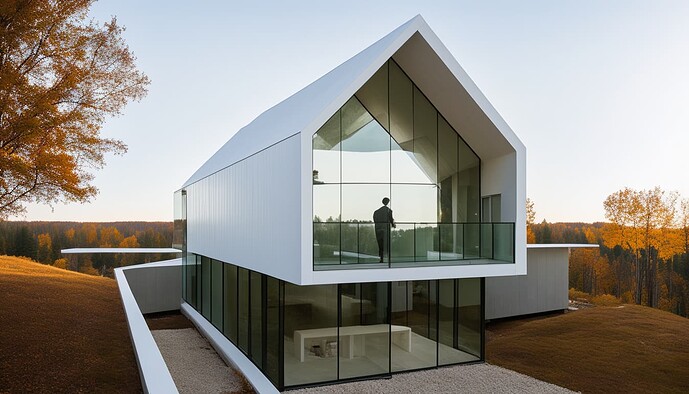
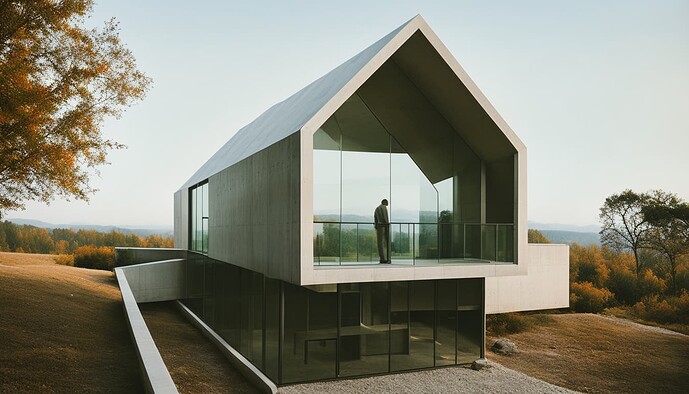
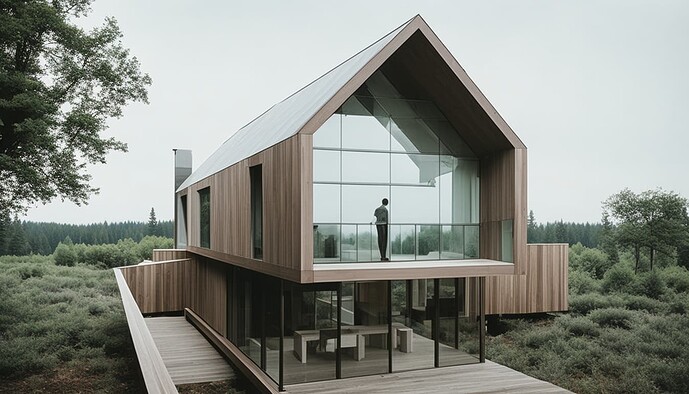
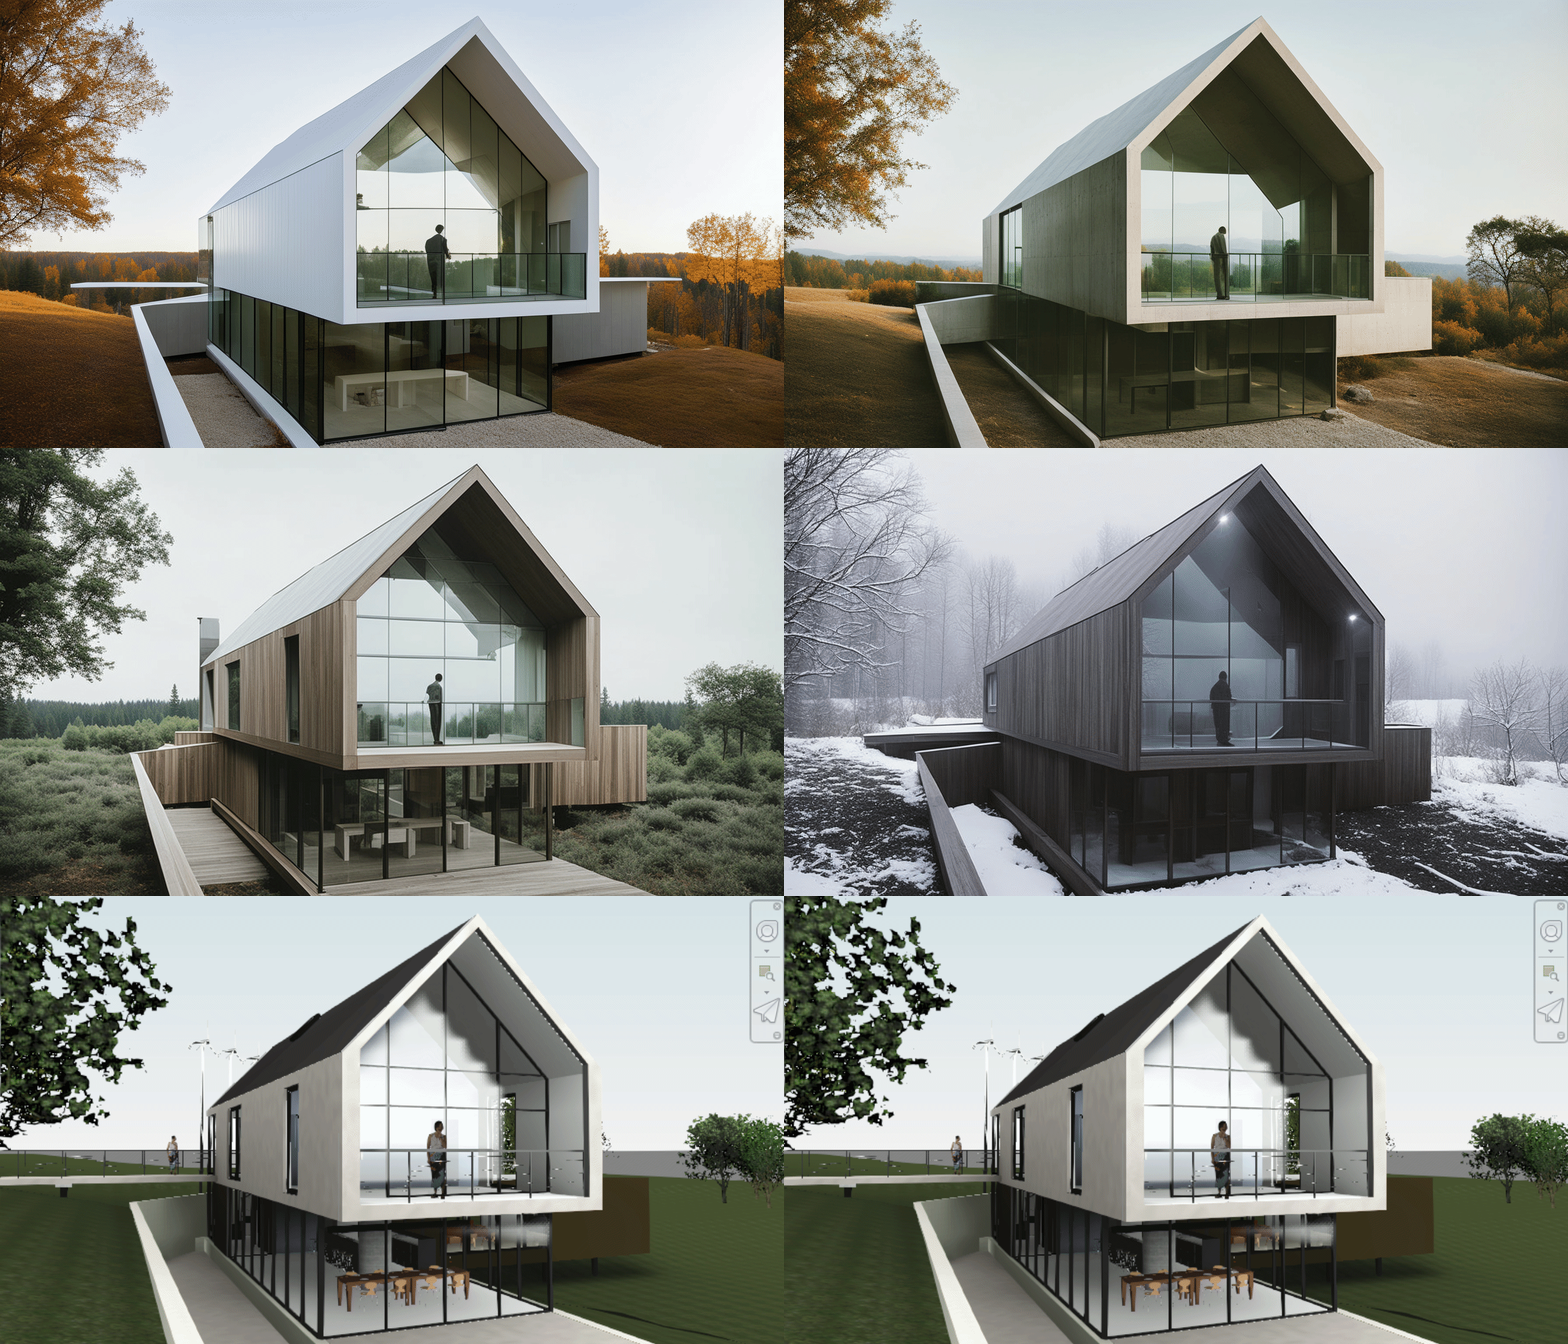
All the images below share these common settings. The only change is in the prompt, which is included below each image.
Creativity Strength: 95
Style Strength: 34
Width: 1344
All Optional Toggles are off
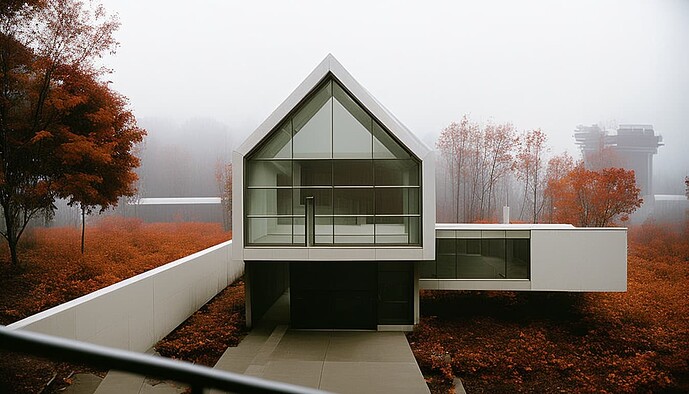
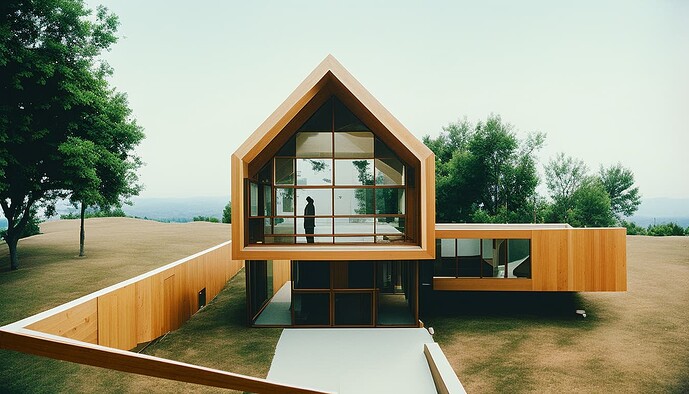
Prompt: modern minimal cabin, limestone, white walls, white ceiling, white cabinets, background forest during autumn
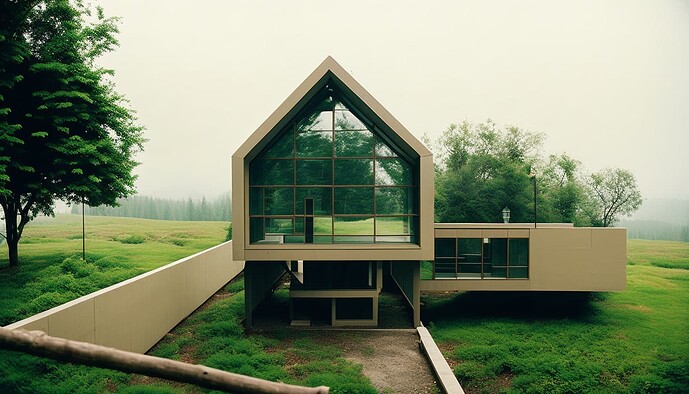
Prompt: modern minimal concrete cabin, background forest during autumn
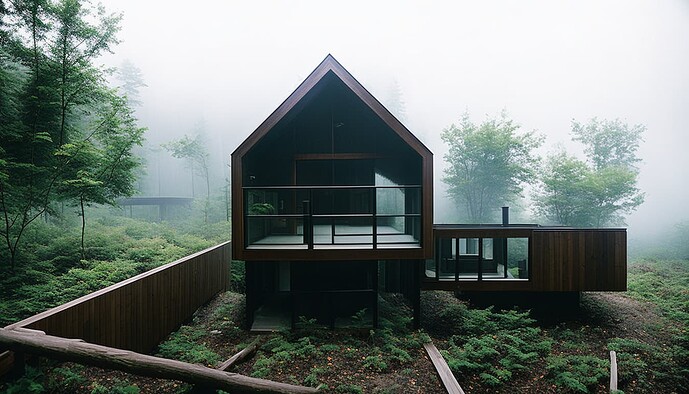
Prompt: modern gray wood cabin, forest during summer
4 | Environment & Weather
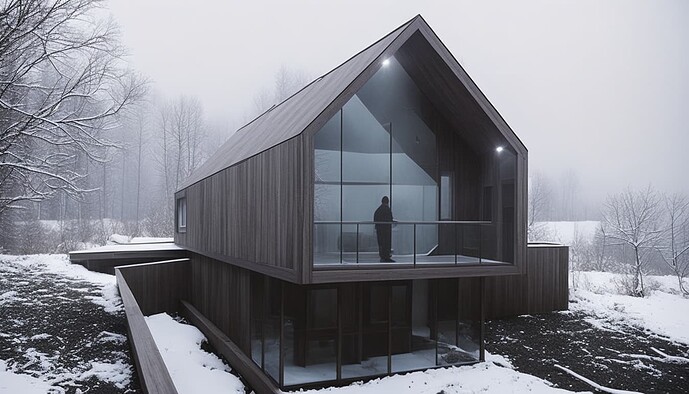
Notice how the first two images have a forest in autumn, and the last one is during summer. Here are some more explorations with seasons by only adjusting the prompt.
Prompt: modern gray wood cabin, forest during winter, snow, blizzard, white oak flooring interior
Prompt: modern gray wood cabin, forest during summer
5 | Have Some Fun
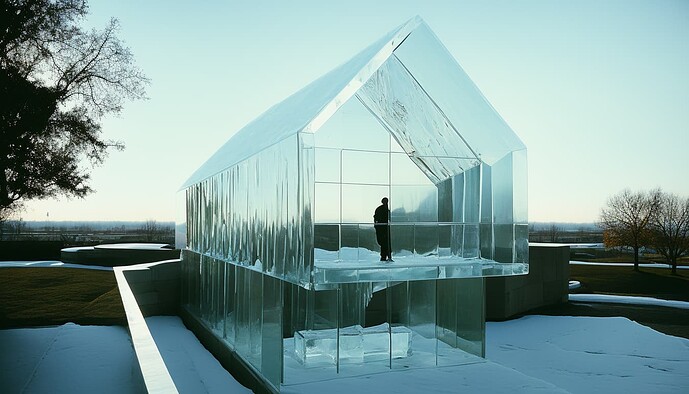
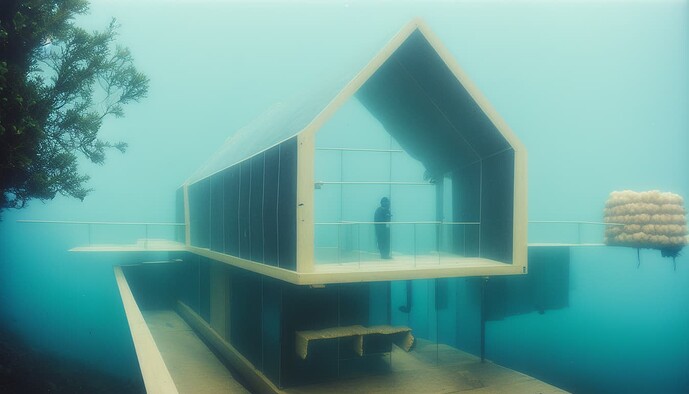
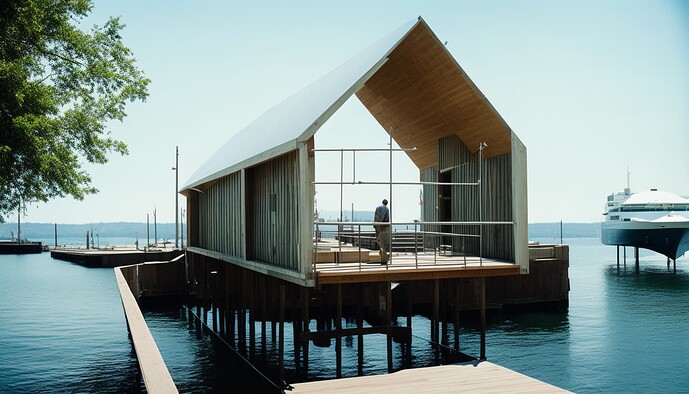
The examples below are silly, but quite cool to explore. Only the prompt was adjusted.
Prompt: ice sculpture
Prompt: sponge in the ocean
Prompt: ship dock
Tip: if you have images that are pixelated or blurry, the Style Strength might be too high. Try lowering it to 30 or below. This happens with higher Creativity Strength values
