About Guide
In this guide we will be explaining how to get started with Morphis, from installation to creating a layout.
How to install Morphis
- Download and install Morphis using this link: installer
- If succesfully installed, the EvolveLAB tab and the Morphis buttons should appear in Revit.

How to start your layout
- Select a room, area or a filled region by clicking the select button:
How to generate different layouts
- Click “Generate”
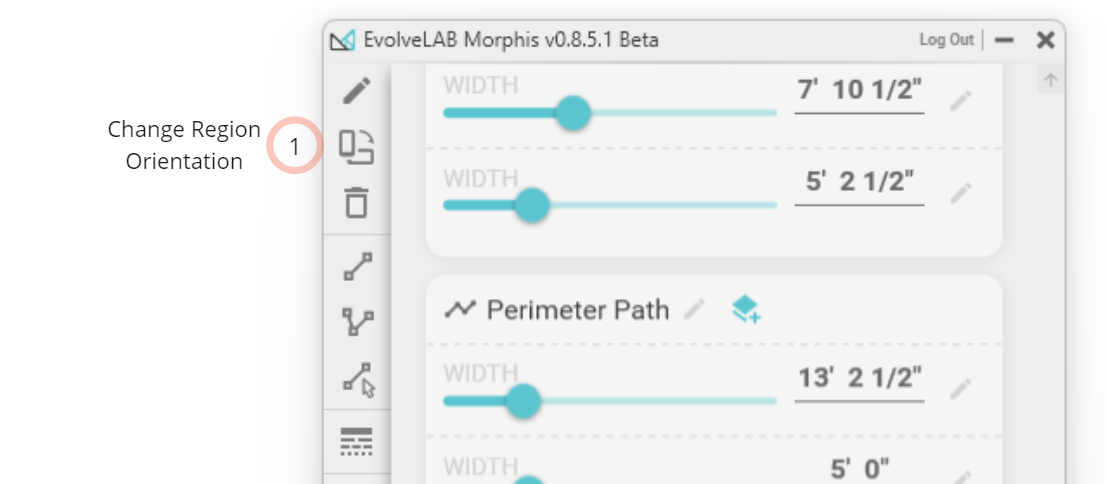
How to change the orientation of a region
- Changing the region orientation allows you change the starting point of where Morphis starts adding modules
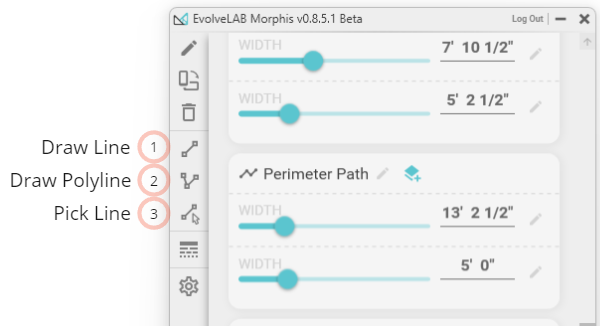
How to create paths
- Creating a path allows you to divide areas, add circulation paths and much more. We currently have the following options to create a path:
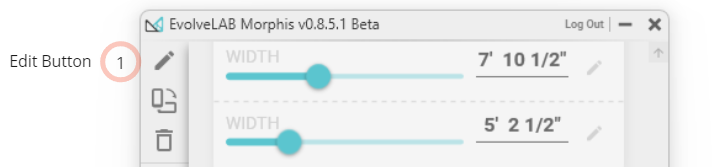
How to edit paths
The edit button allows you to change the path type, justification as well as delete paths you have previously created
See examples below:
Editing a user path
Editing a perimeter path
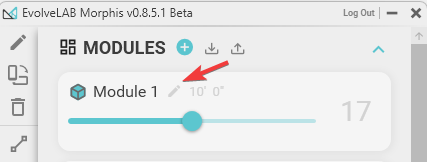
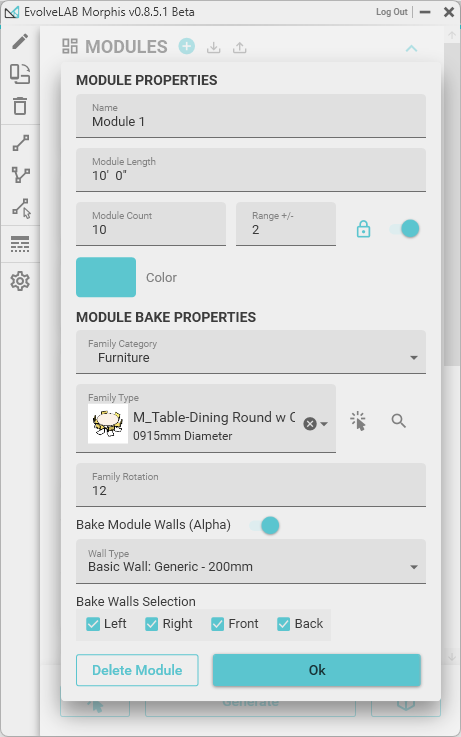
How to edit modules
Click the edit button next to the module name