1. Install Veras
- Download the installer for windows here: Veras Installer (Windows)
- Run the downloaded msi installer, which will add the SketchUp extension and you should see a new Veras button
- For Mac, please follow these instructions: Veras SketchUp for Mac
- NOTE: SketchUp versions supported: 2021, 2022, 2023 for both Windows and Mac
2. Setup SketchUp View Settings
- Set the view style to “Shaded with Textures”
- OPTIONAL: Turn off edges in the Styles tray
- you can explore the aesthetic with edges ON/OFF as they will produce slighlty different results
- you can also explore hiding edges for certain objects only

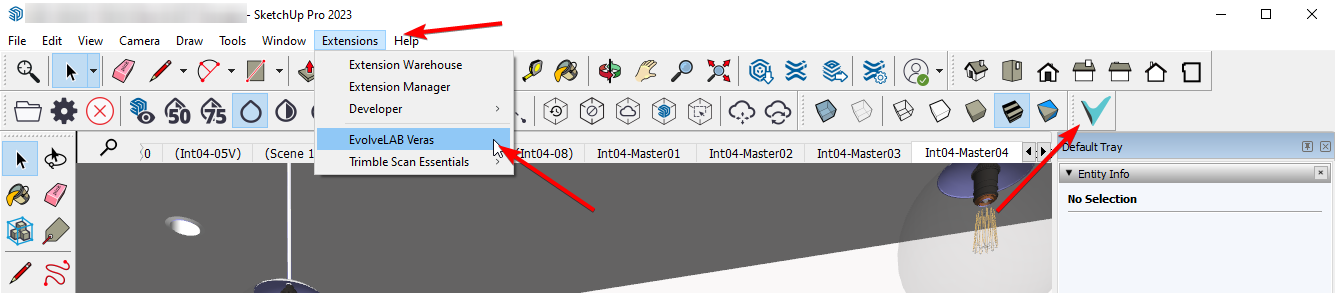
3. Start Veras
- Open Veras using the new Veras button
- NOTE: you can also open Veras from the Extensions menu
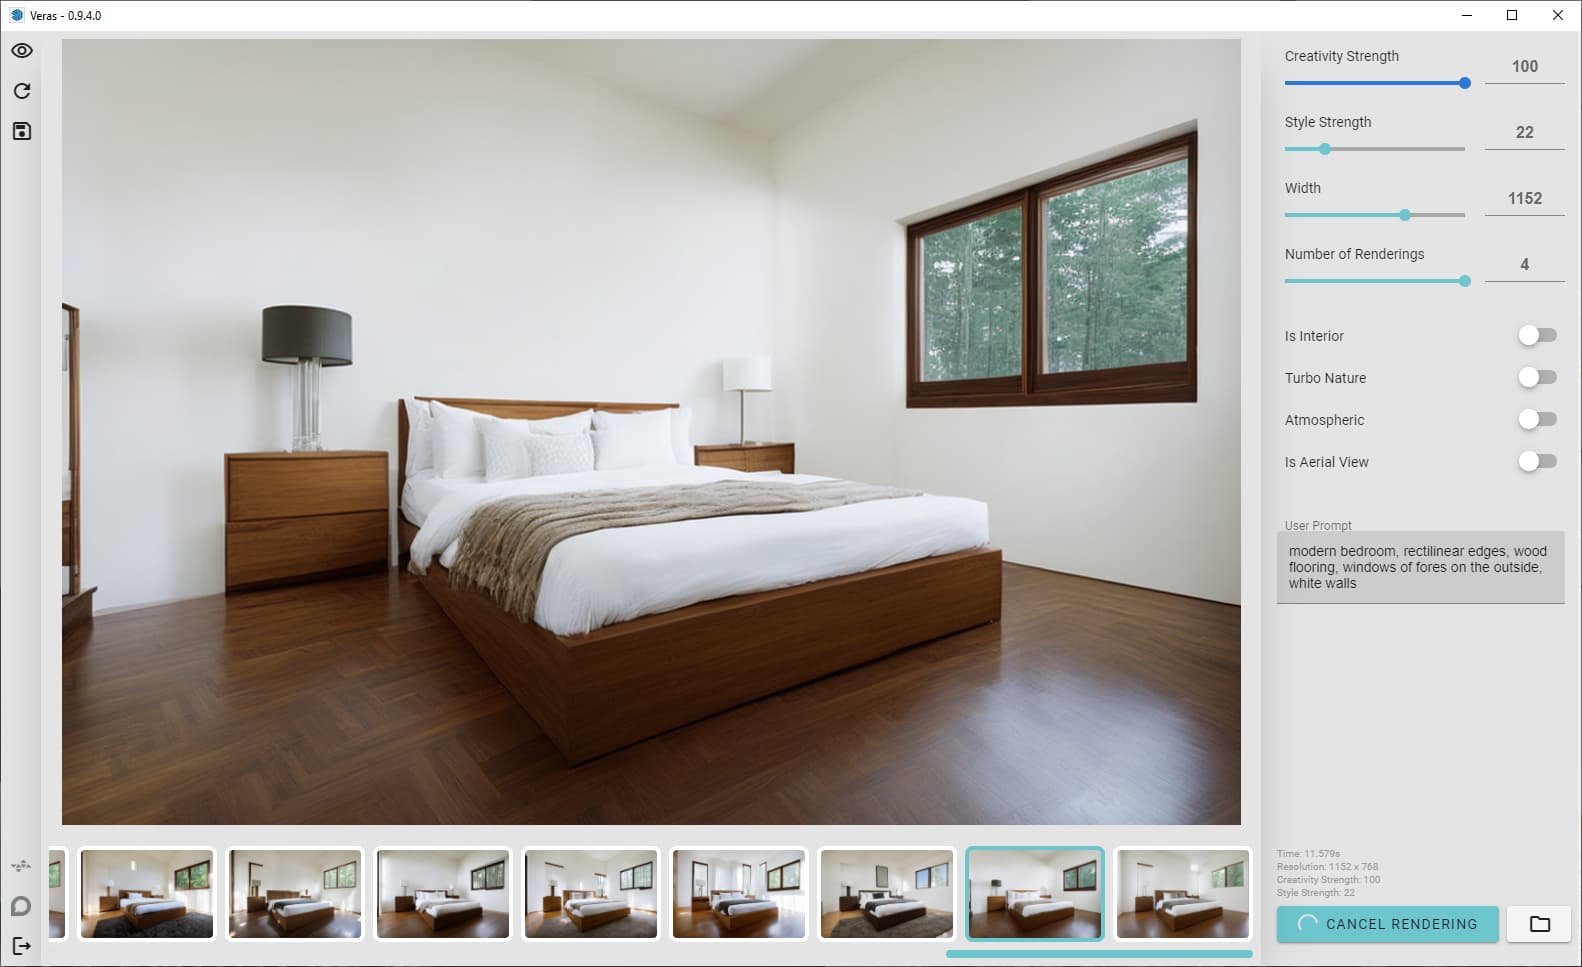
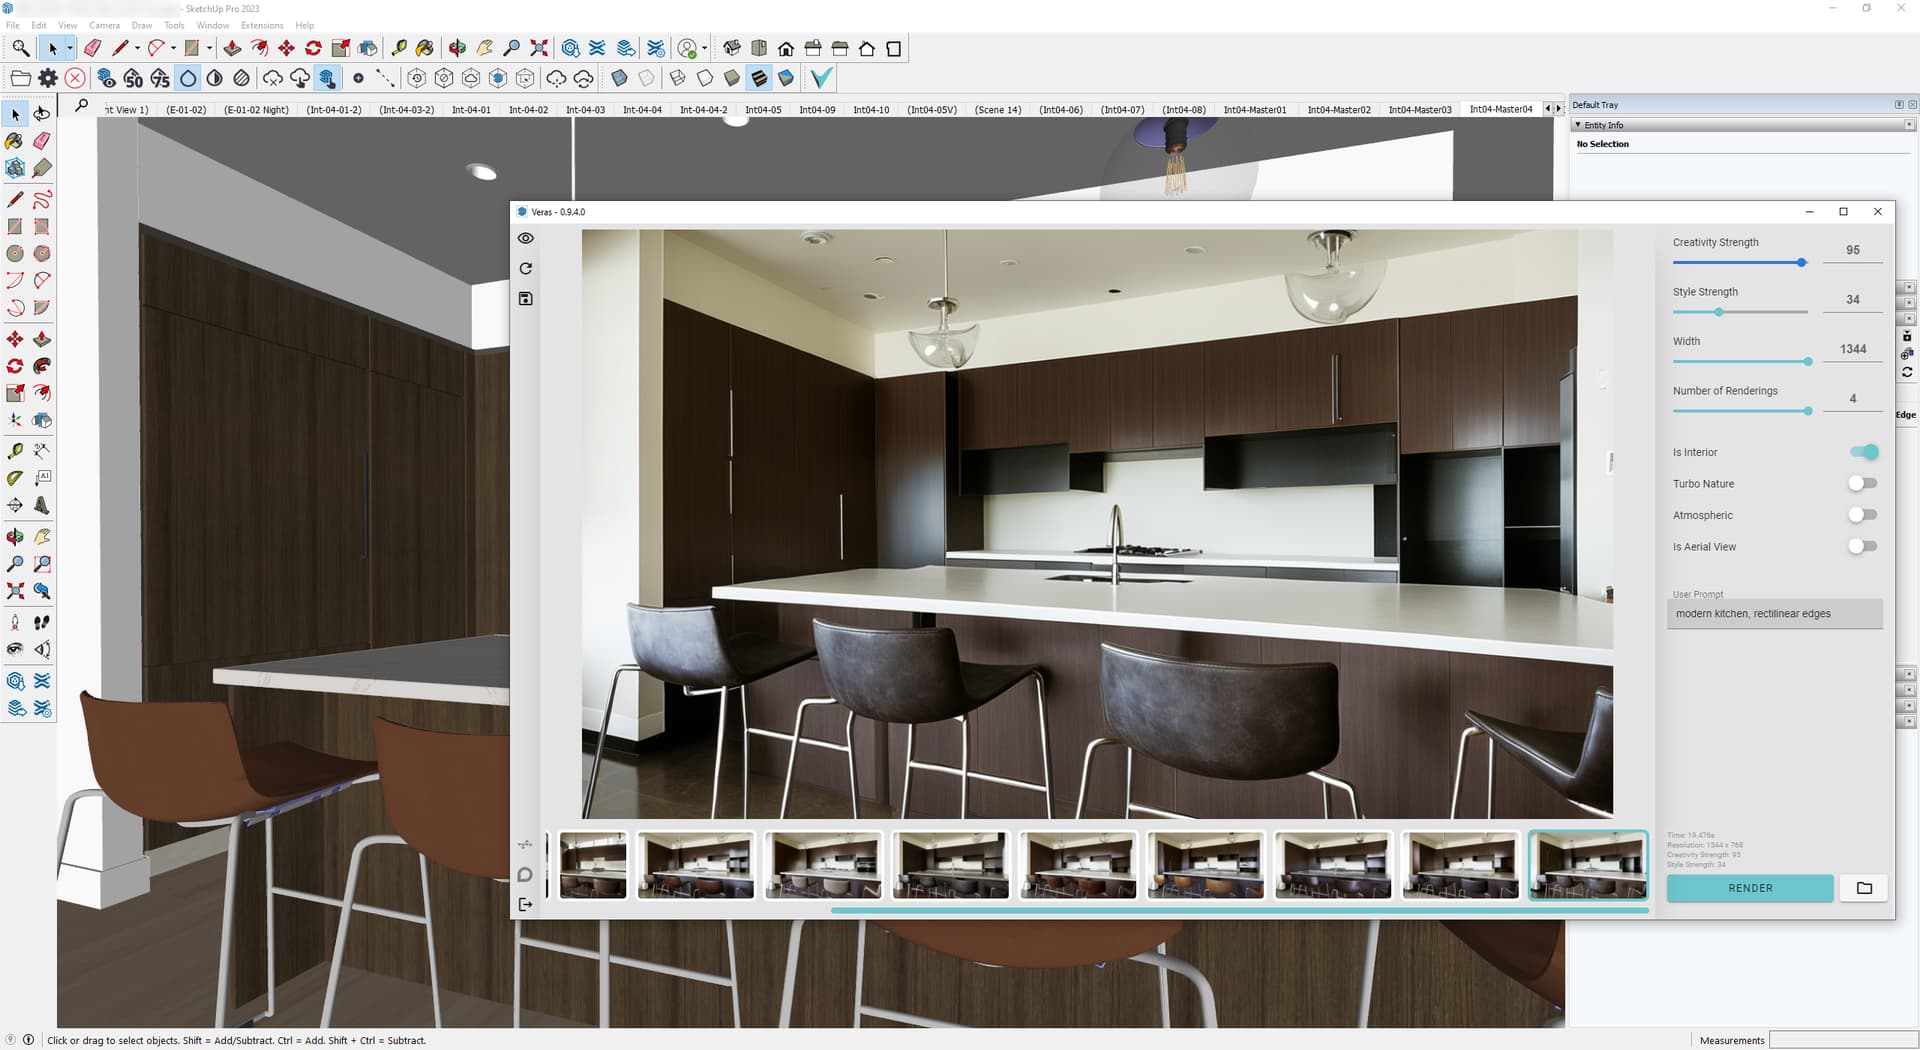
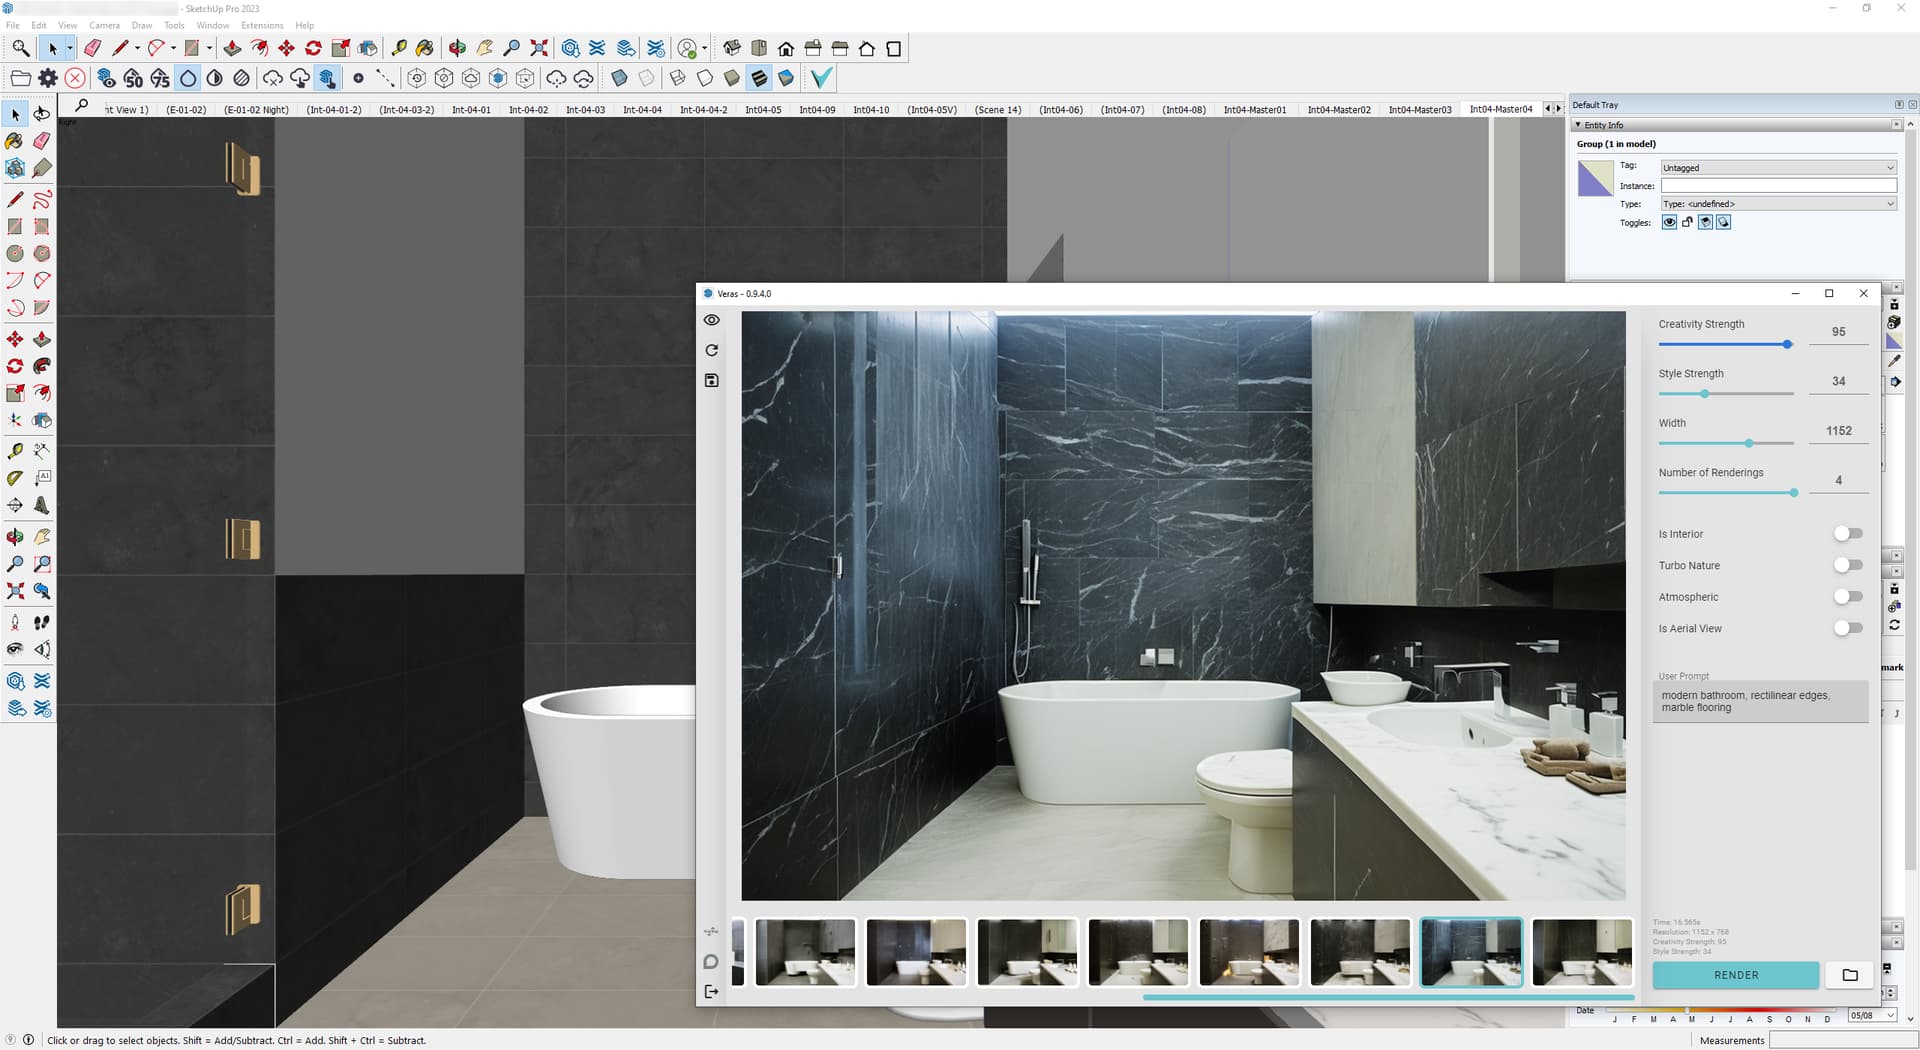
4. Render the View
- Type a prompt describing the scene composition you’d like
- Click the render button
- NOTE: you can play with the slider & toggle settings and different prompts to get various results
- NOTE: all renderings are automatically saved to the app folder, and you can open this folder using the folder icon near the Render button
- NOTE: You can save individual renderings you like anywhere on your computer using the ‘Save’ icon button in the left toolbar.
5. Updating the View
- You can toggle between the SketchUp view and the Veras renderings using the Eye icon button on the top of the left toolbar
- To update the SketchUp view to Veras, click the “Refresh SketchUp Preview” button (the circular arrow icon) in the left toolbar
6. Lighting Adjustments (Optional)
- You can also adjust the lighting of the scene using the SketchUp shadows tray
- Try checking the “Use sun for shading” option
- Refresh the scene
- Click render, and test out the output by running multiple iterations