We’re using pre-Revit 2024 Advanced Revit Sample Model for this getting started tytorial.
1. Install Veras
- Download the installer for windows here: EvolveLAB_Veras_Setup.msi
- Run the downloaded msi installer, which will add the Veras plugin to Revit under the EvolveLAB ribbon tab
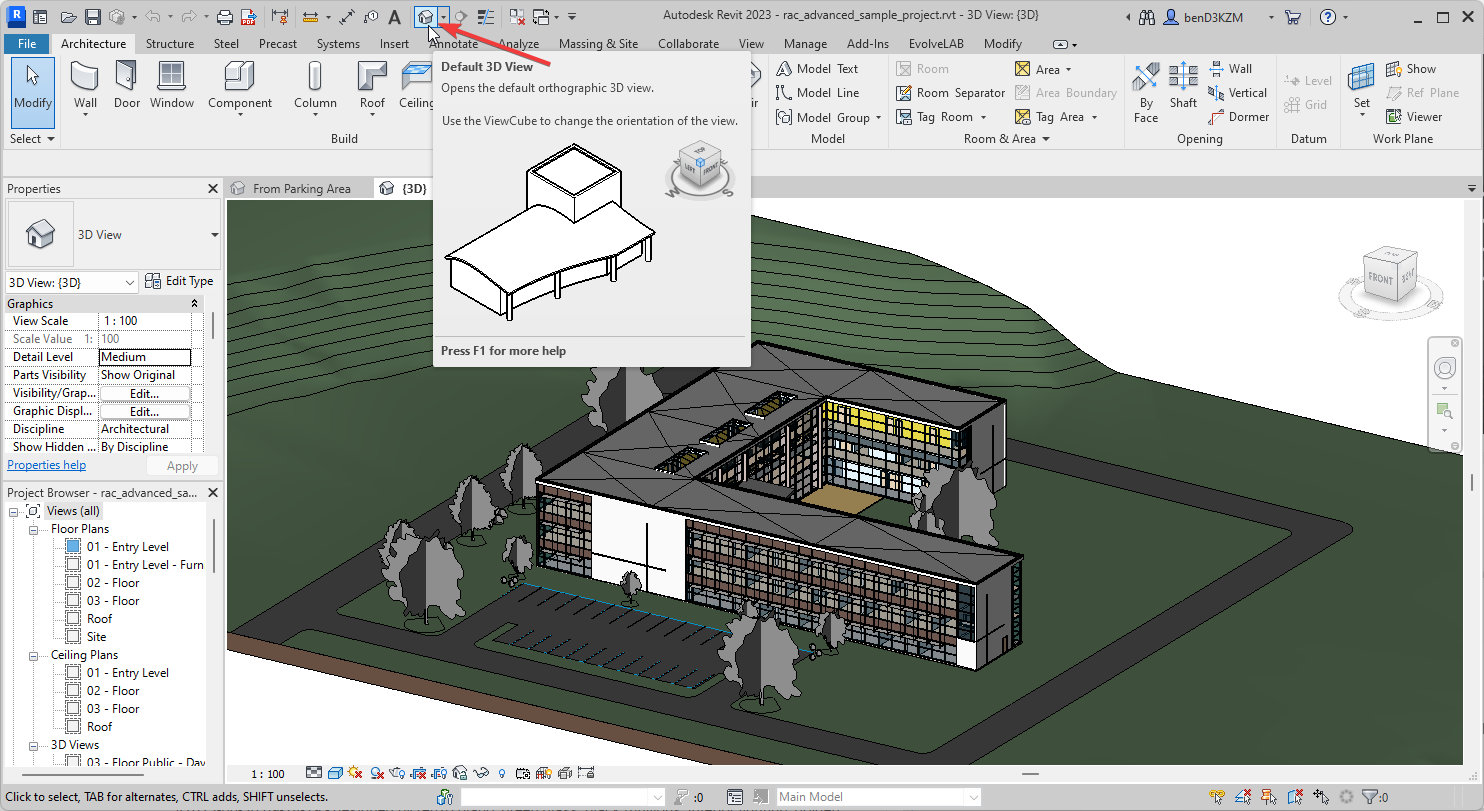
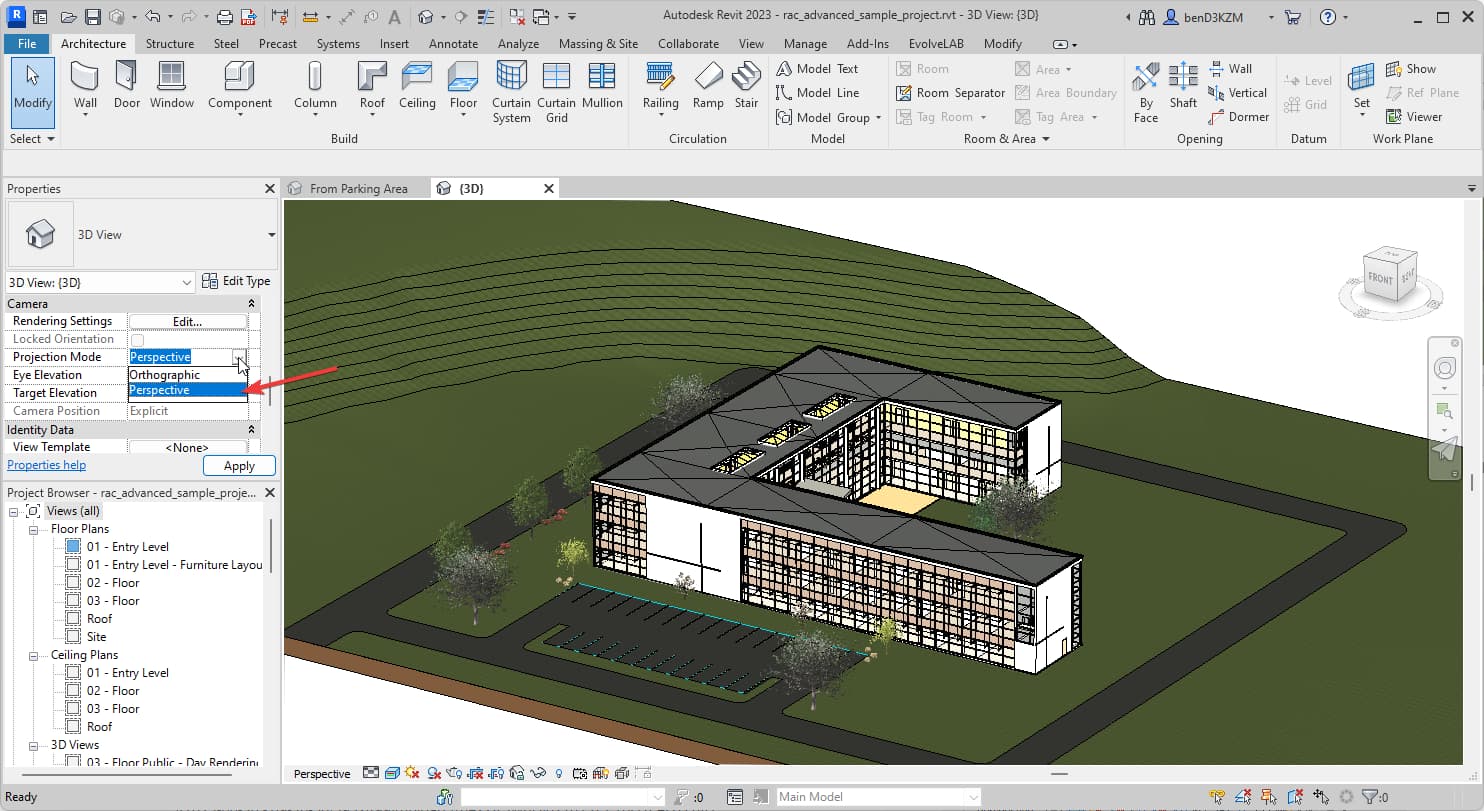
2. Revit View Setup
-
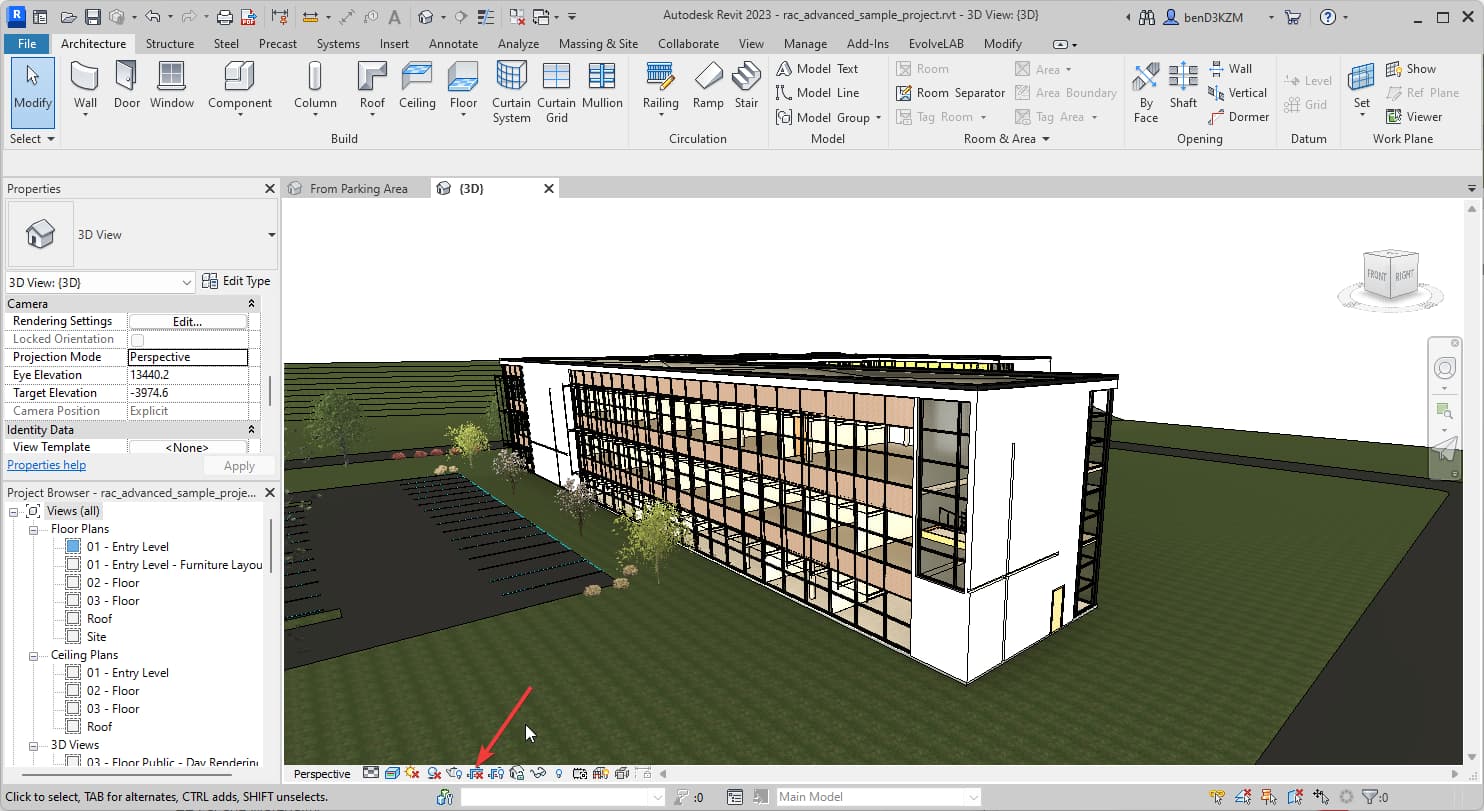
Go to a 3d perspective view that is uncropped
-
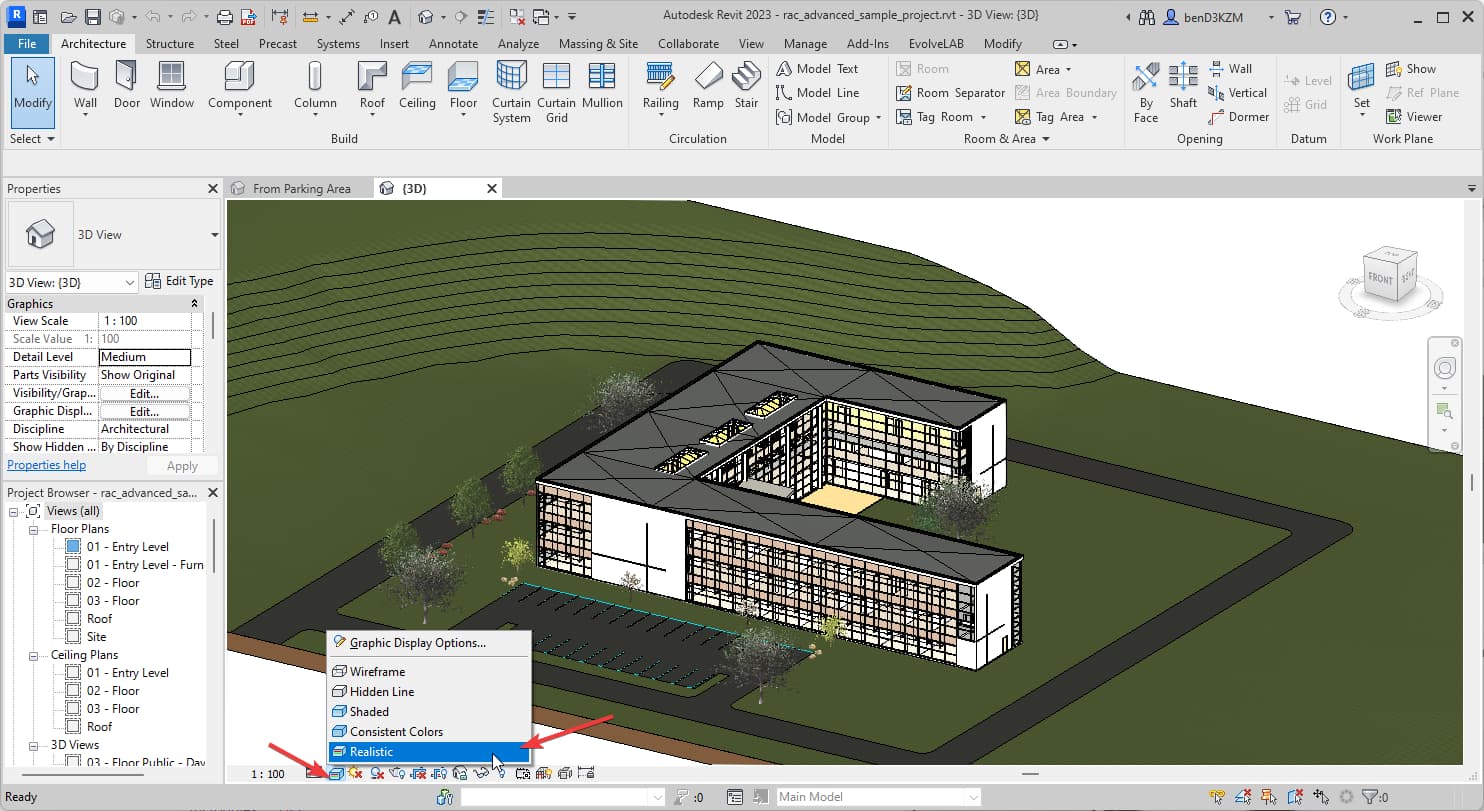
Set the view to Realistic mode
-
Set the view to be perspective
-
Set the view to be uncropped
-
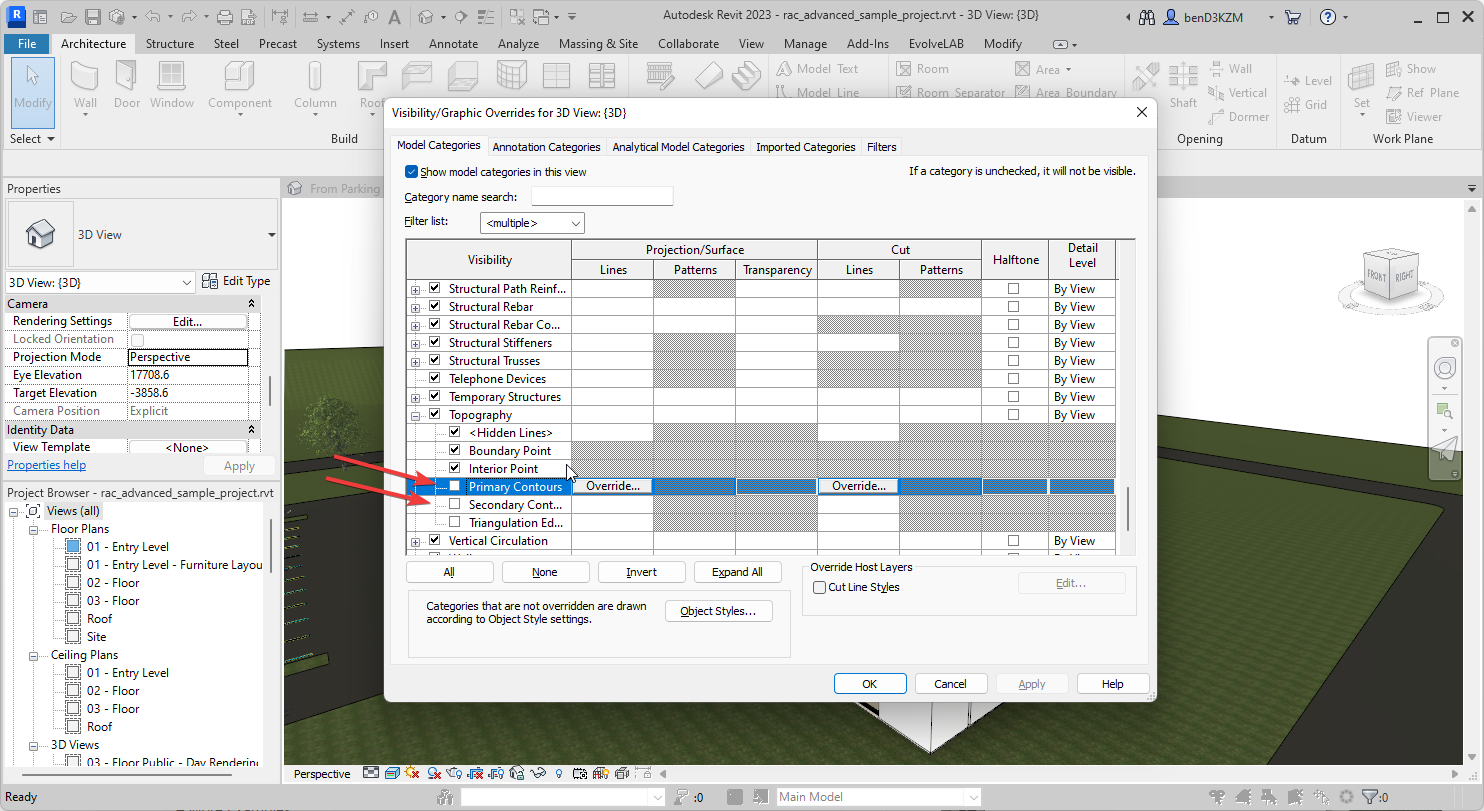
Disable the topo lines, as they will be read as design features. Type
VGthen scroll down toTopographyand unselect thePrimary ContoursandSecondary Contours
-
Setup the view by panning and orbiting
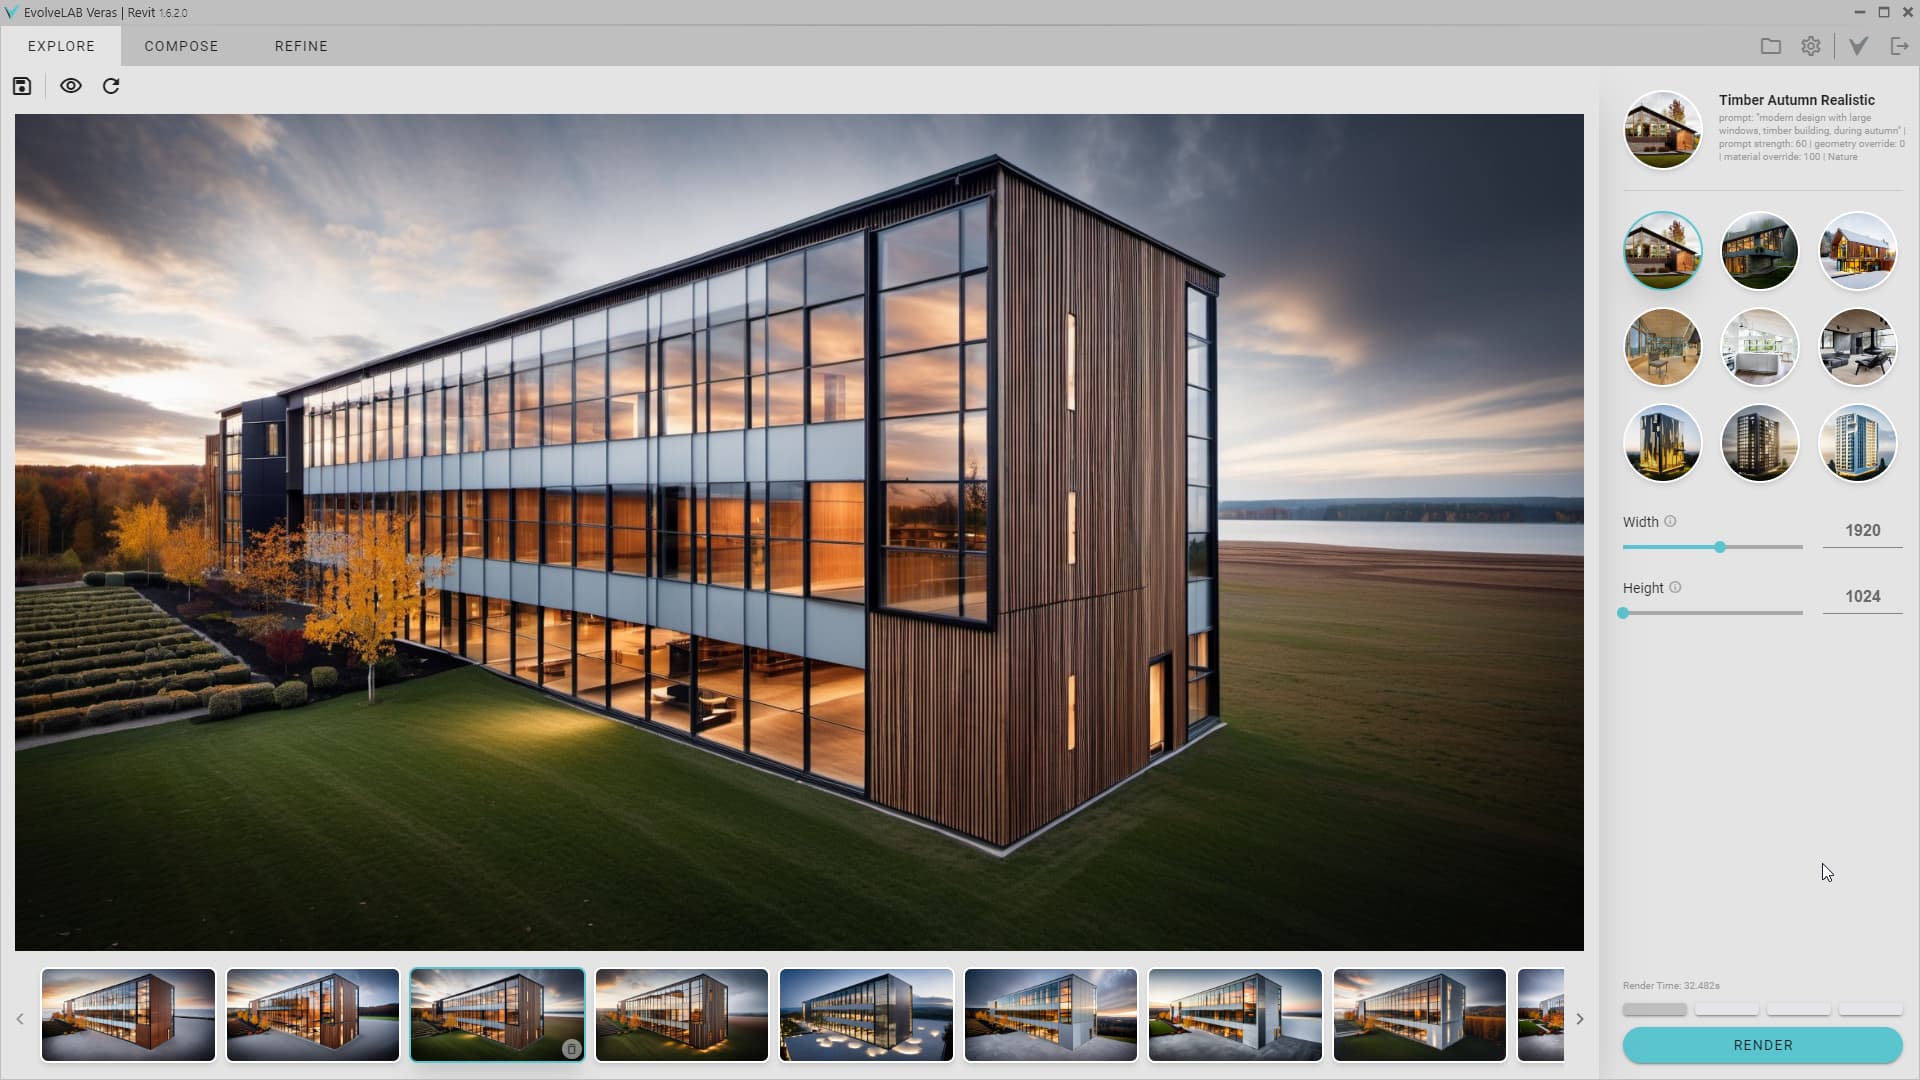
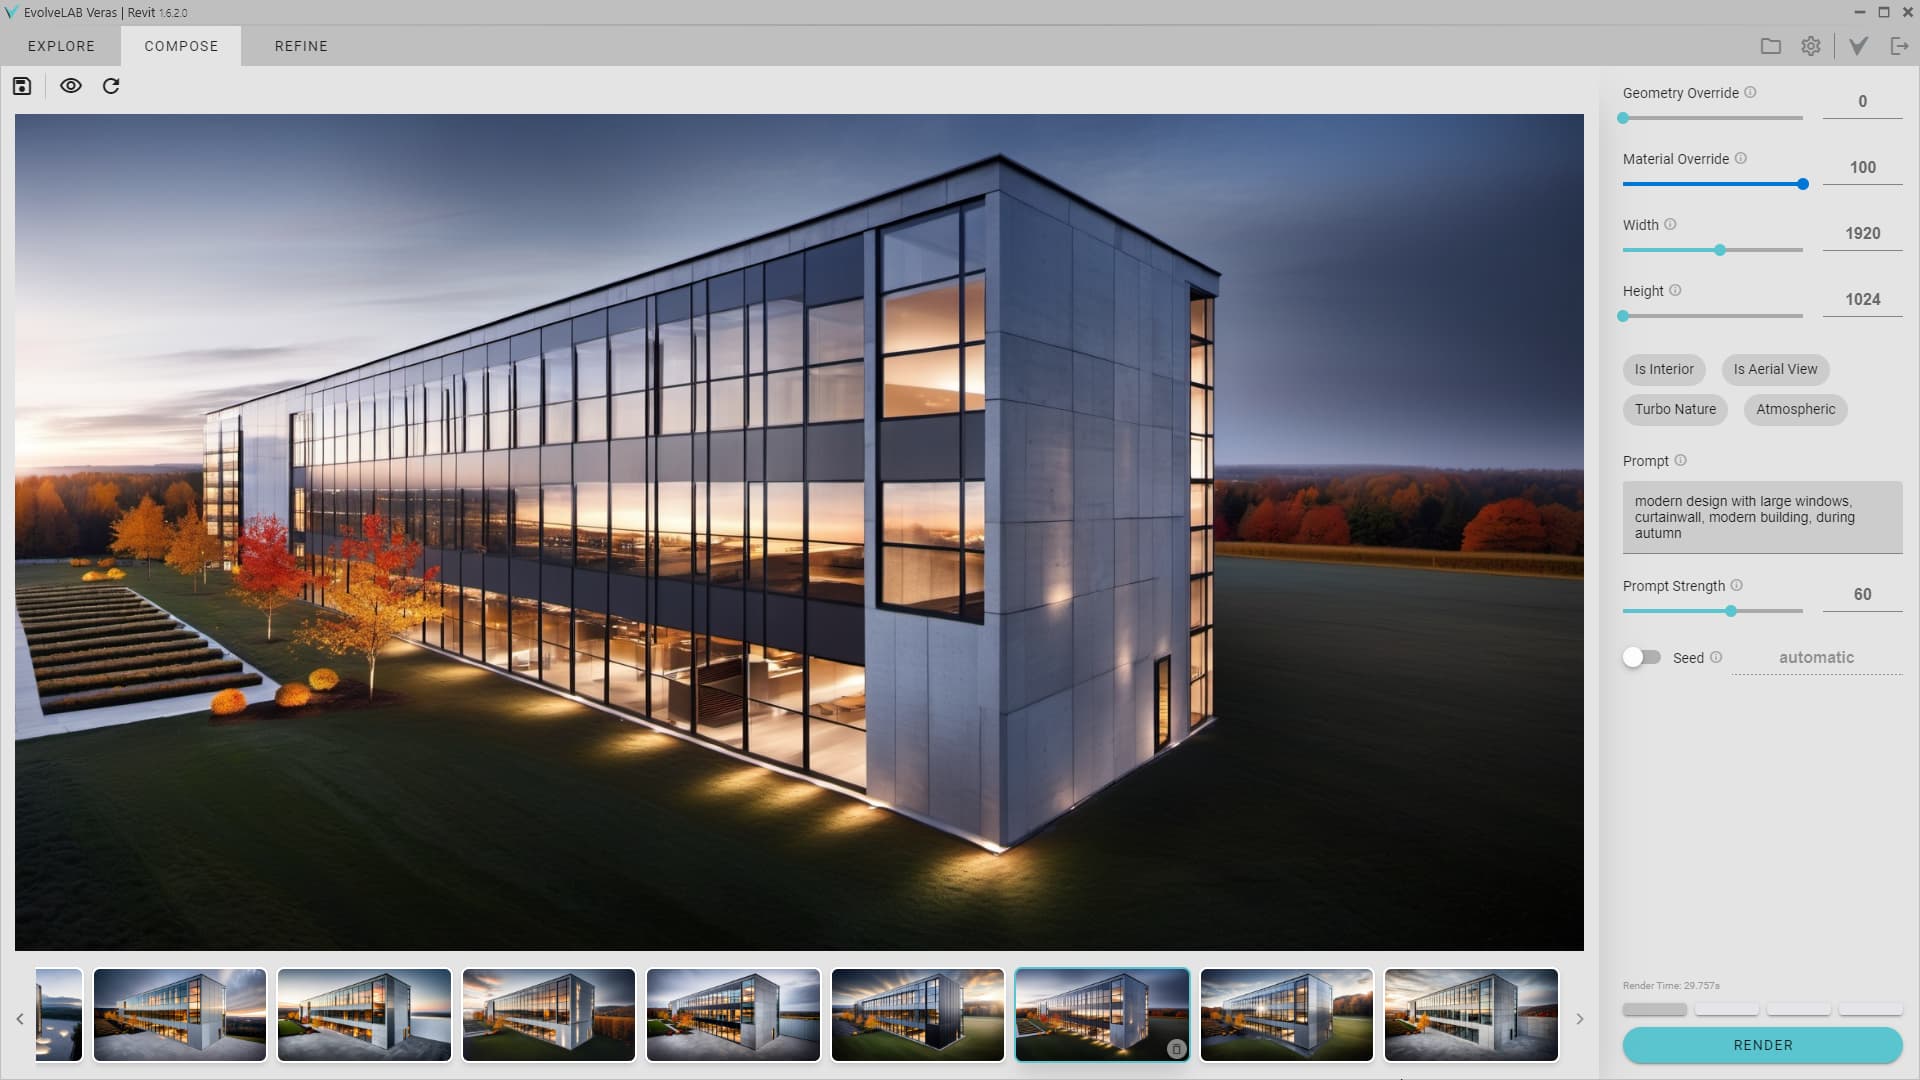
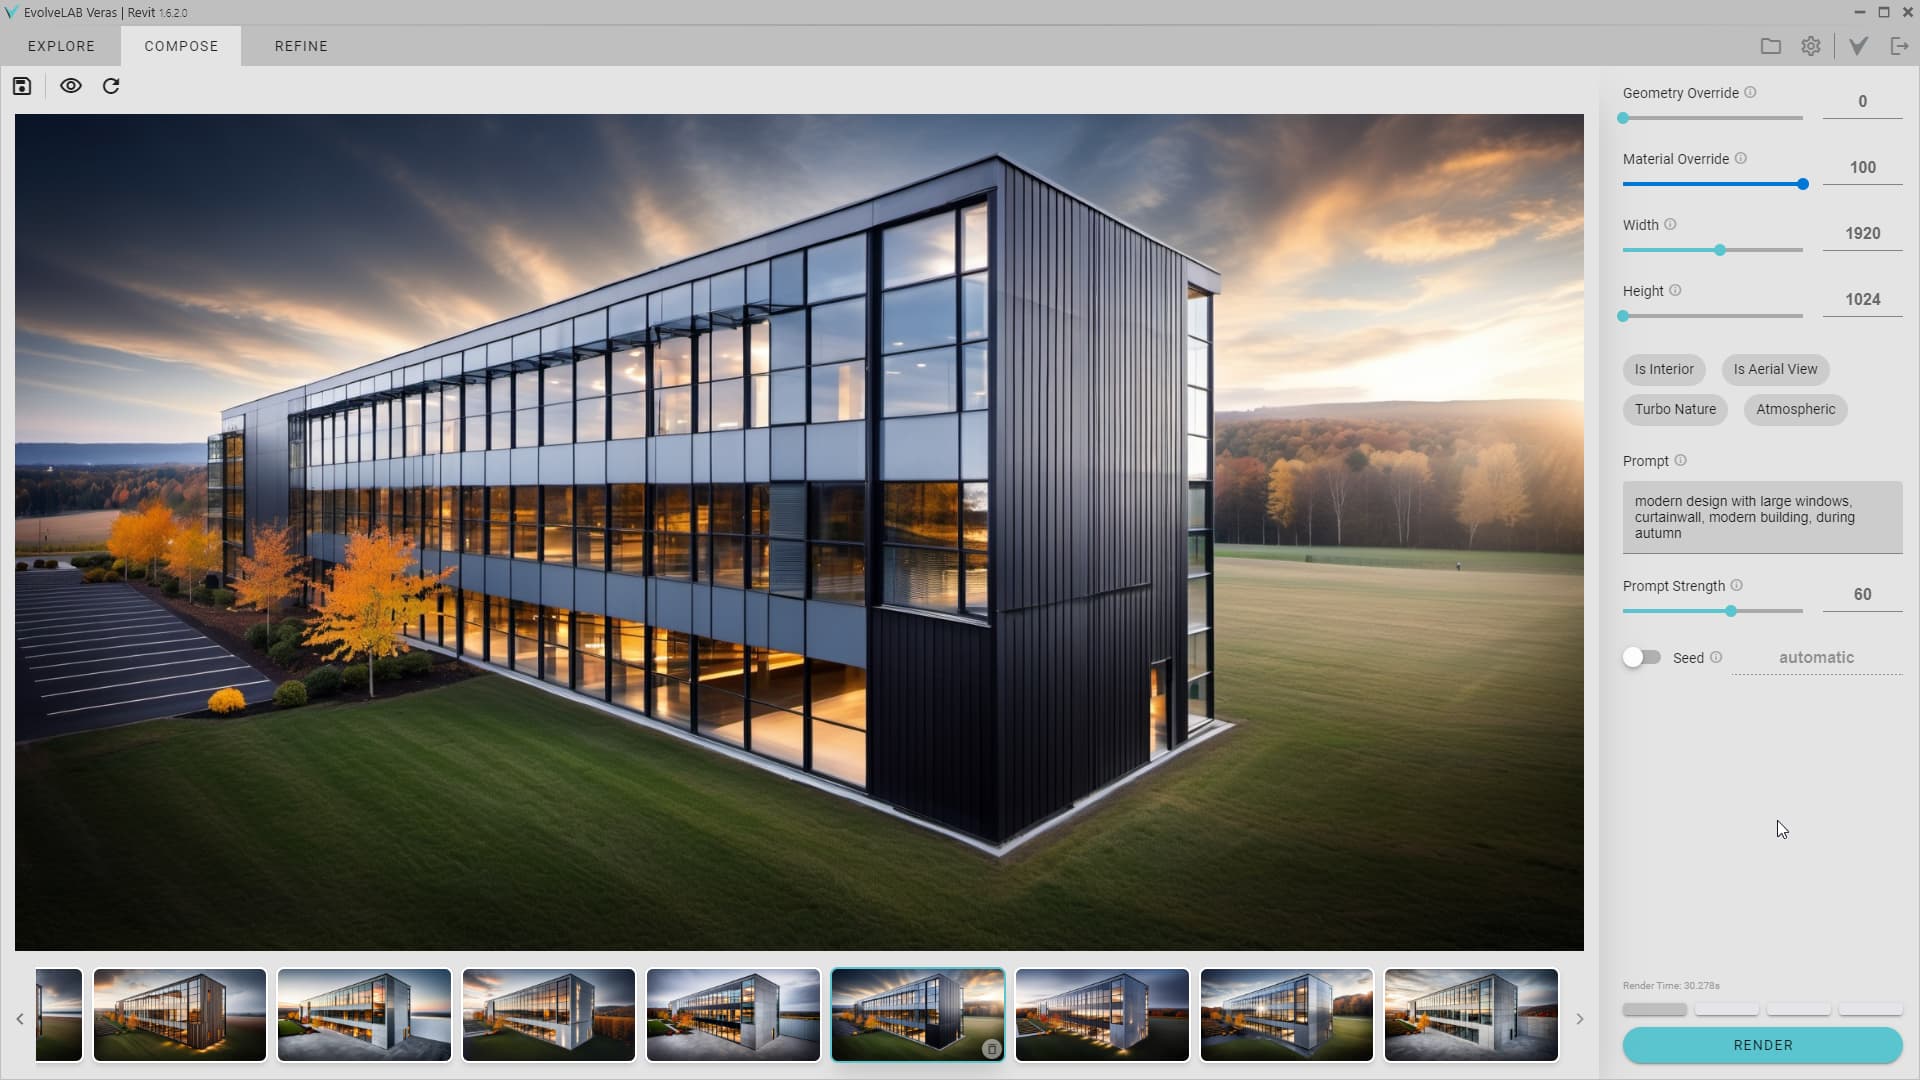
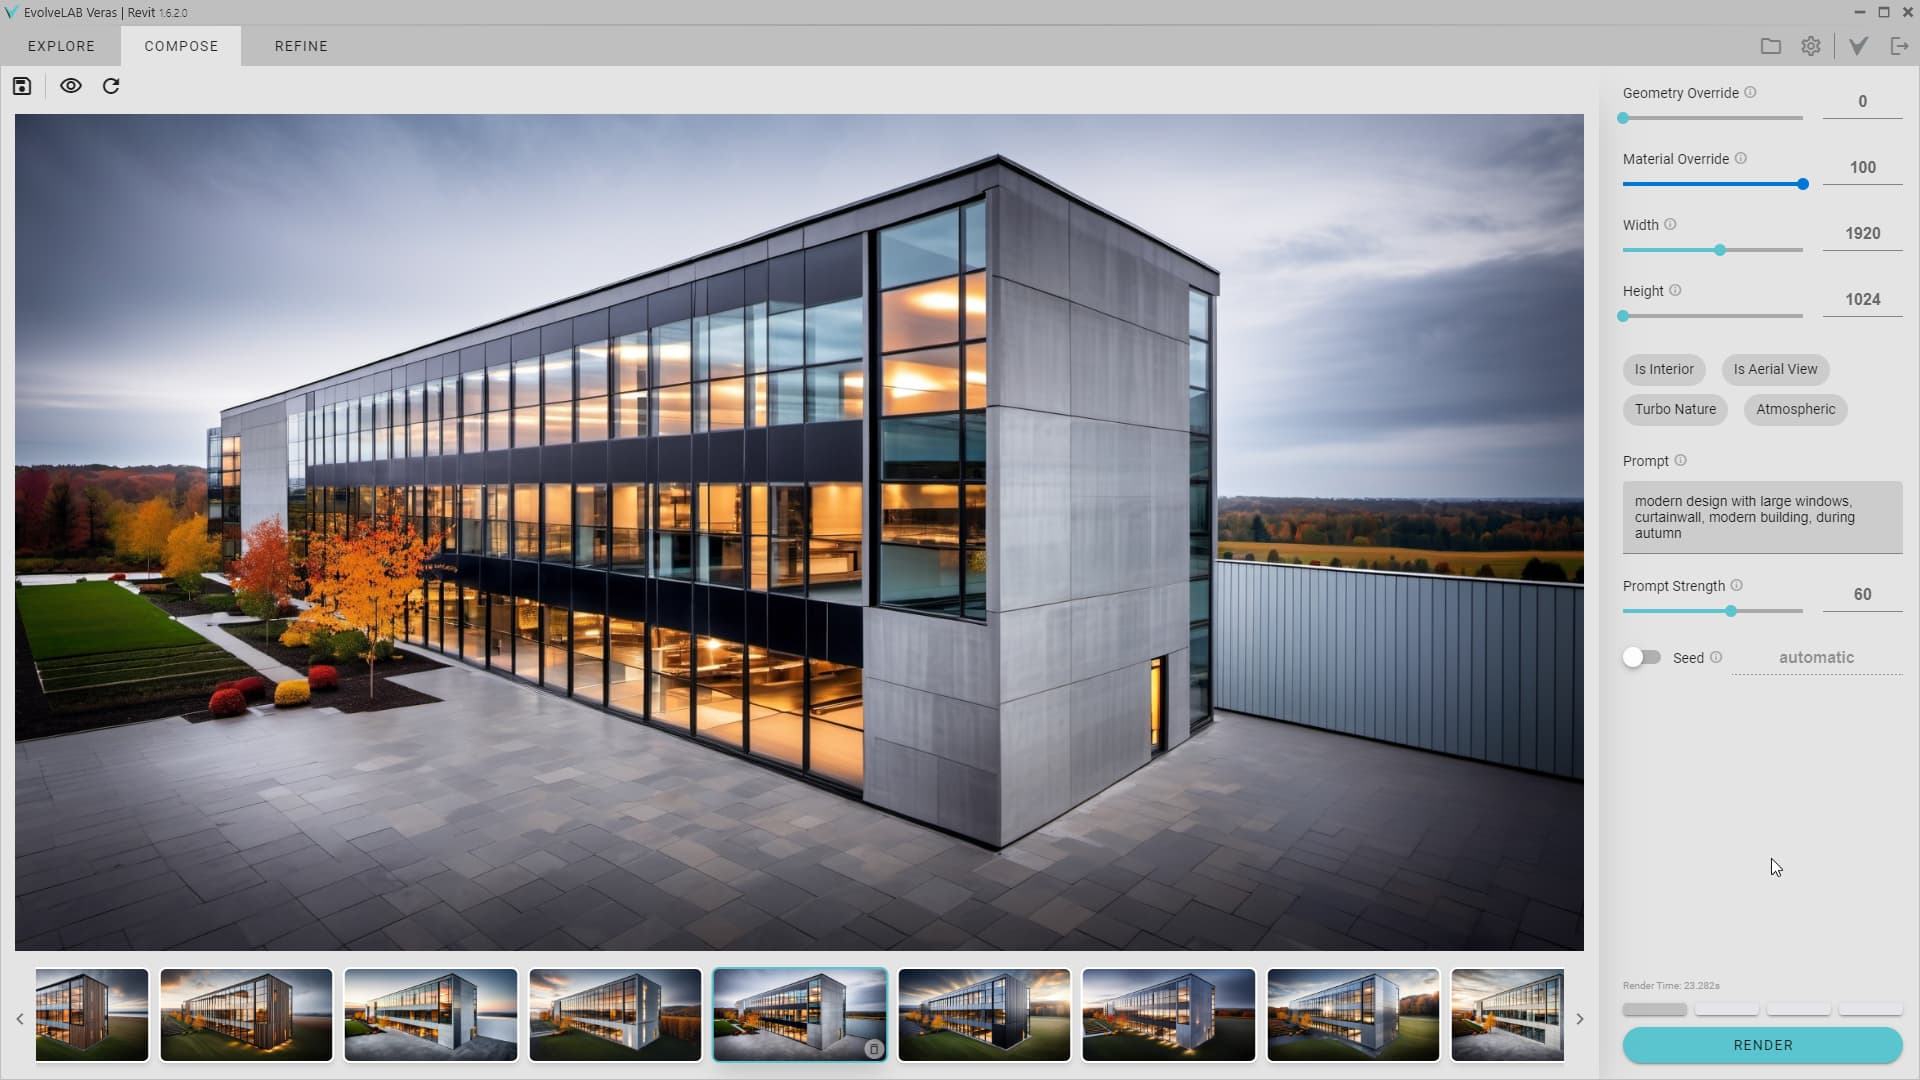
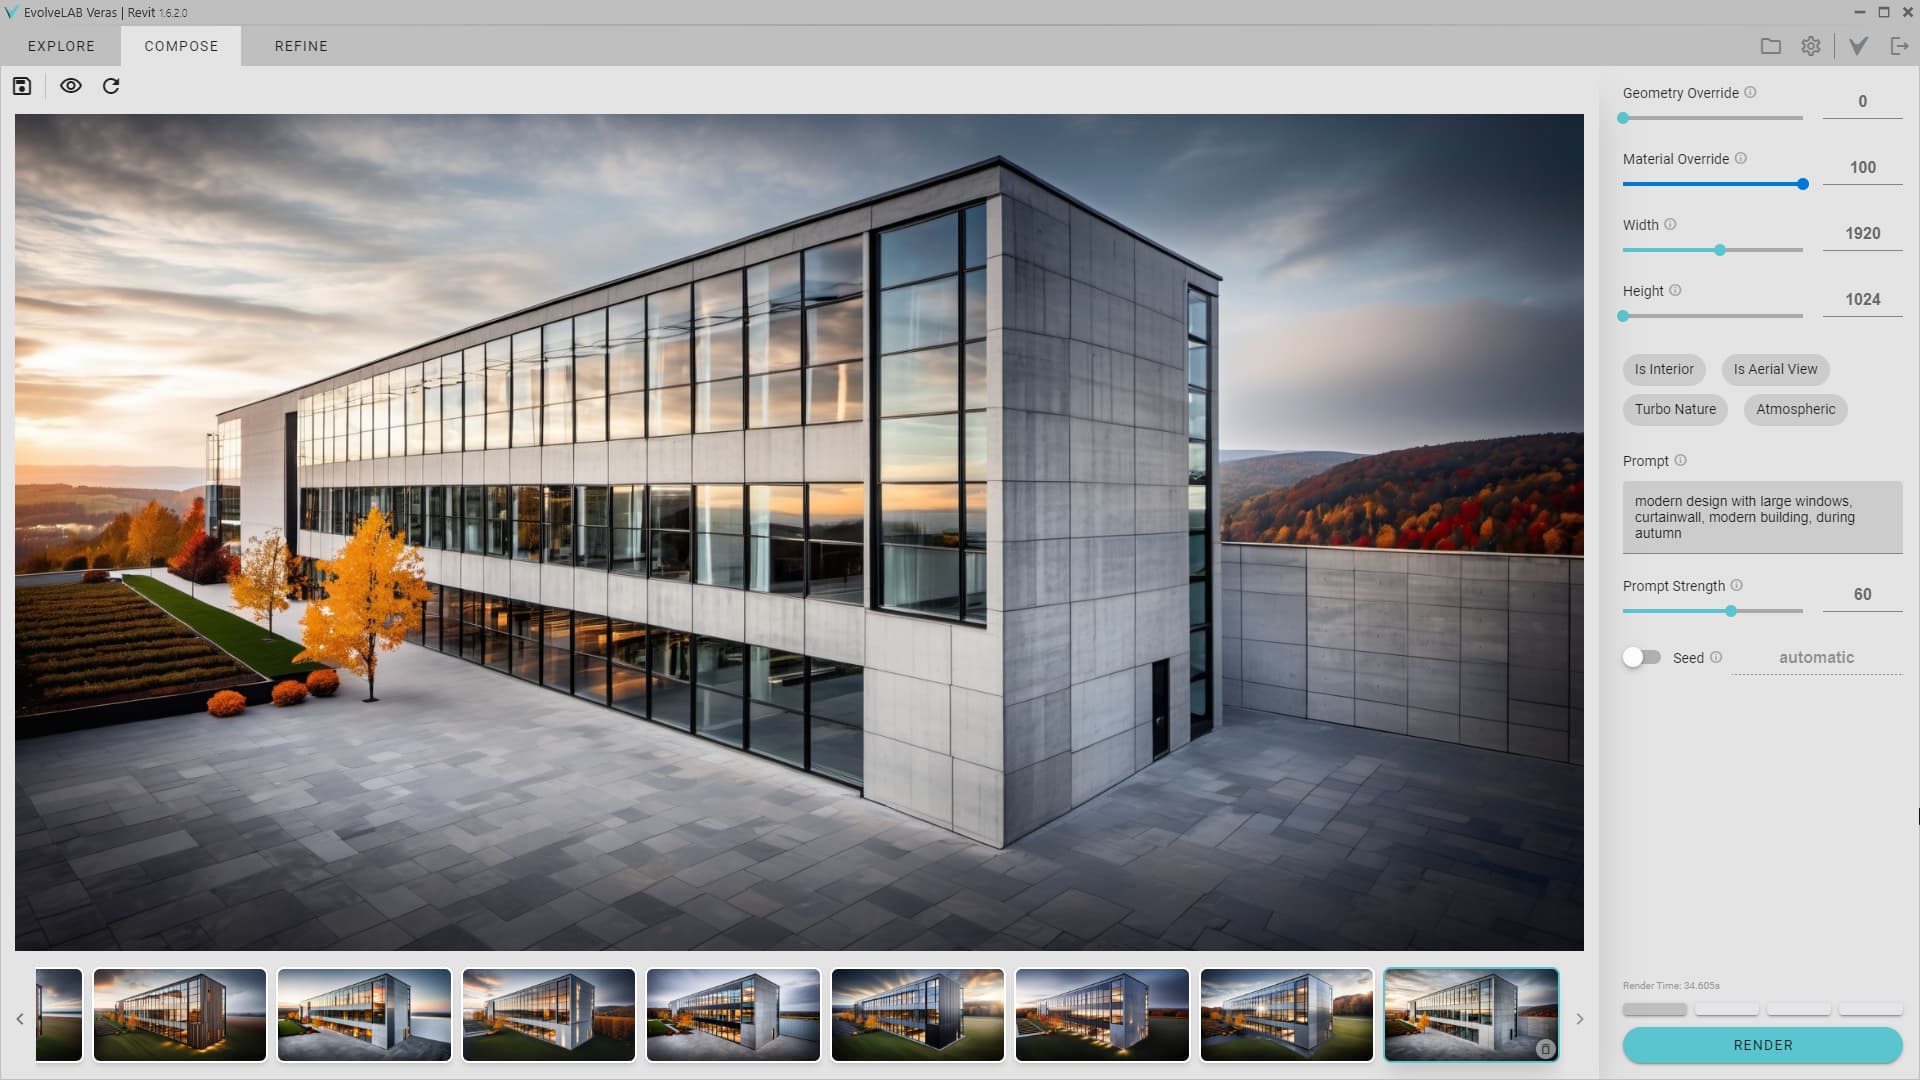
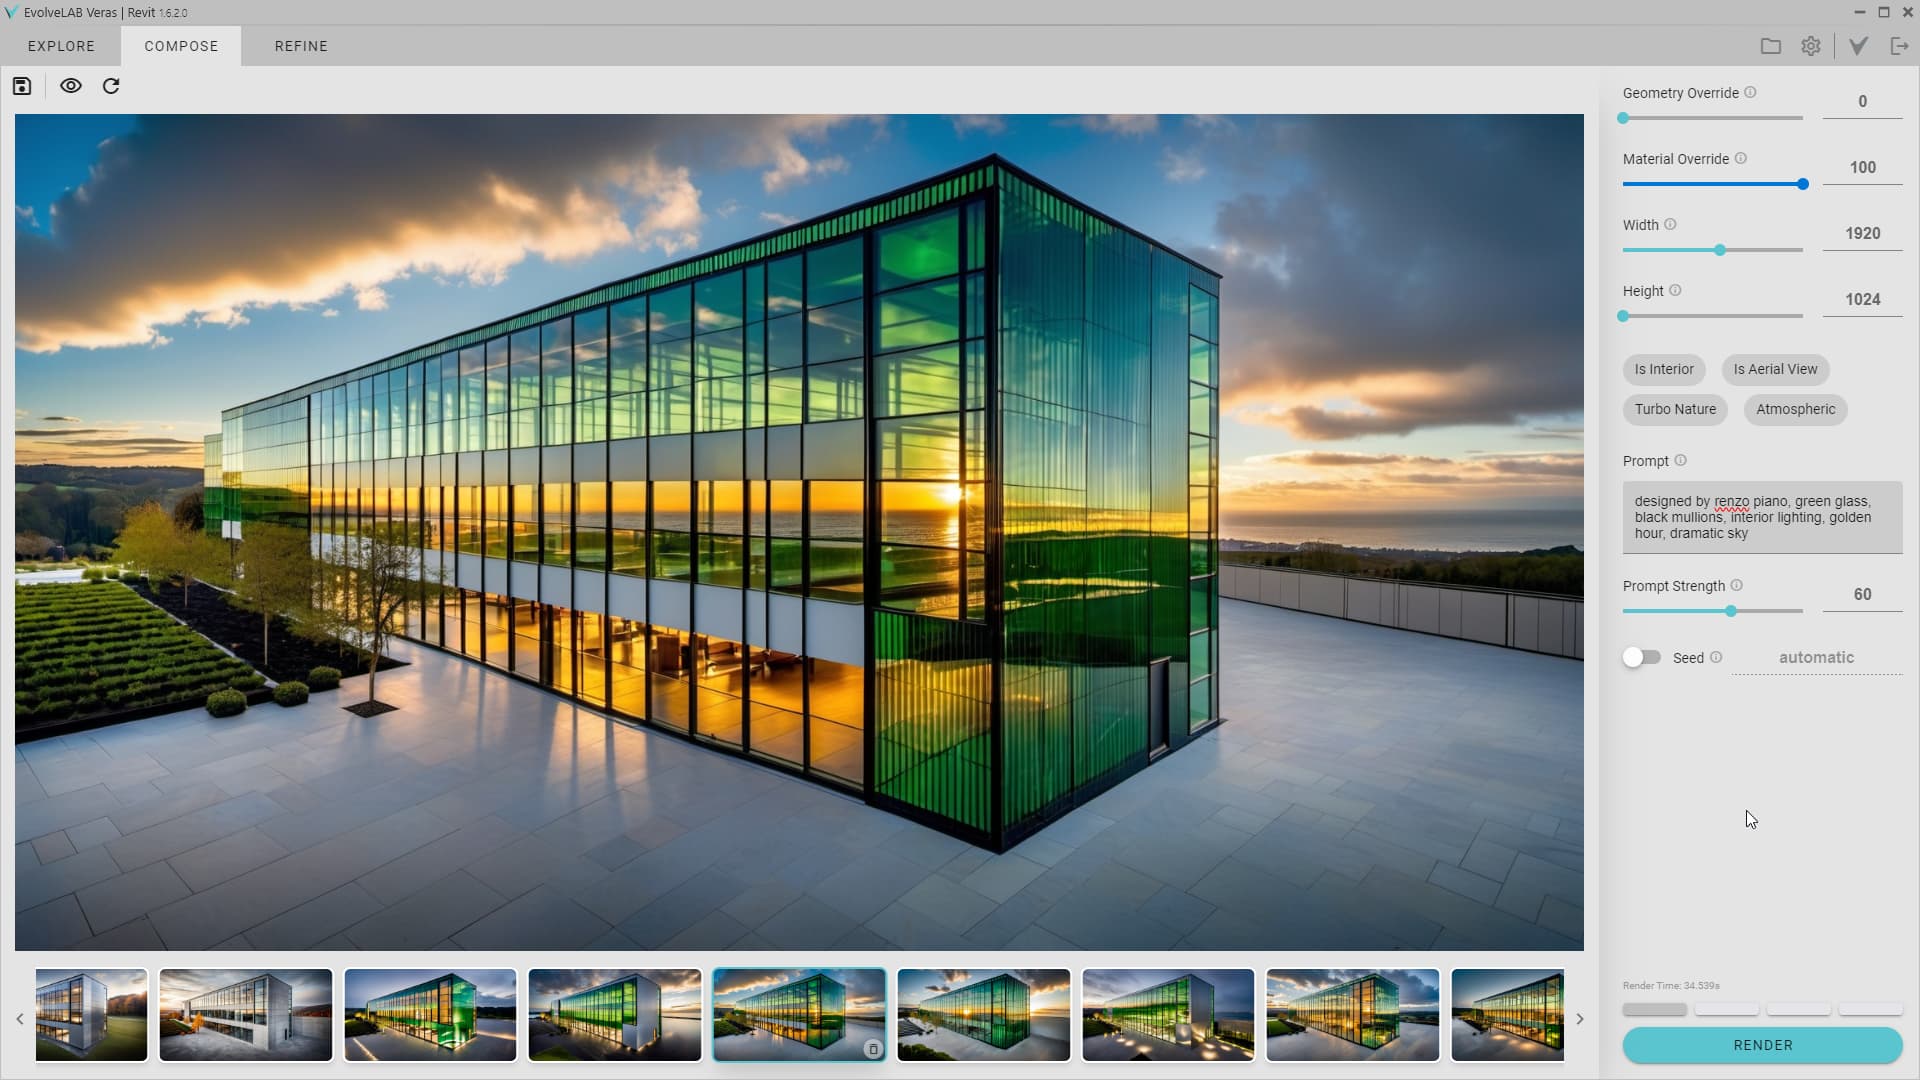
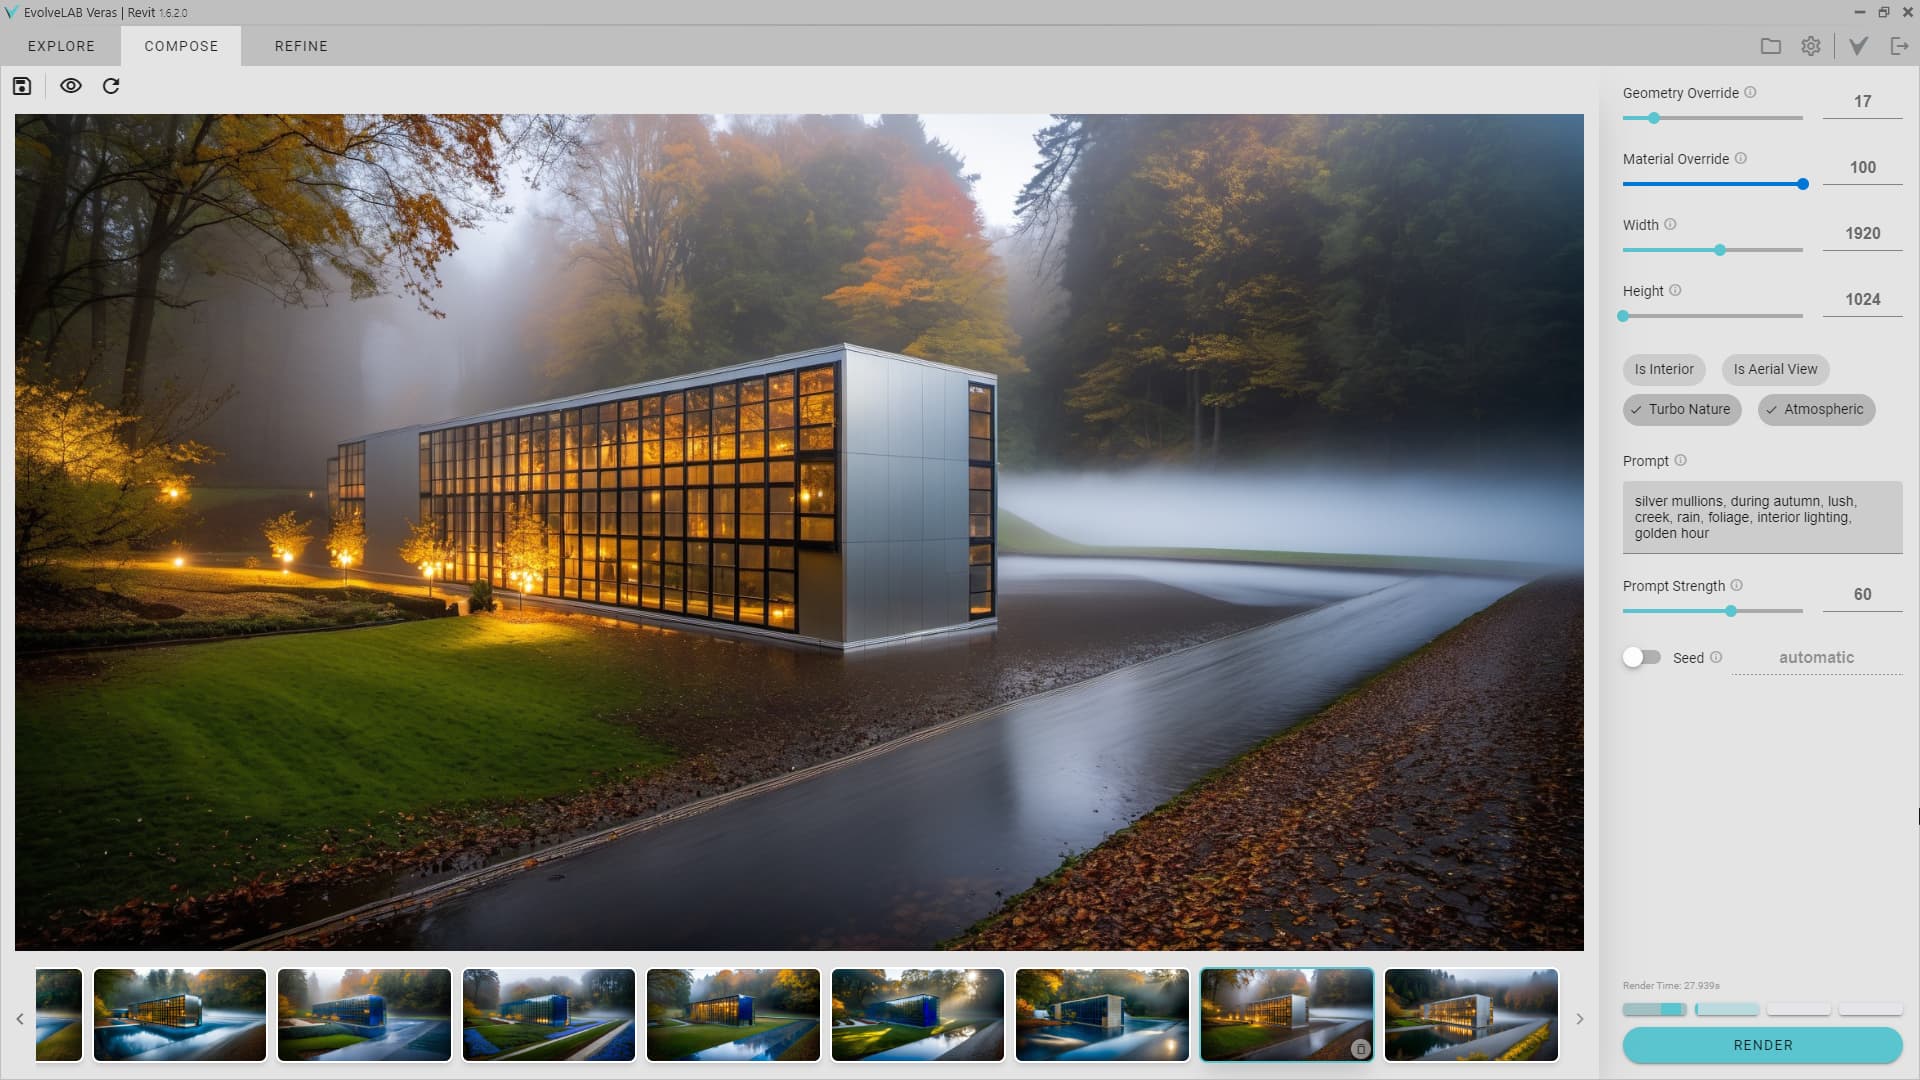
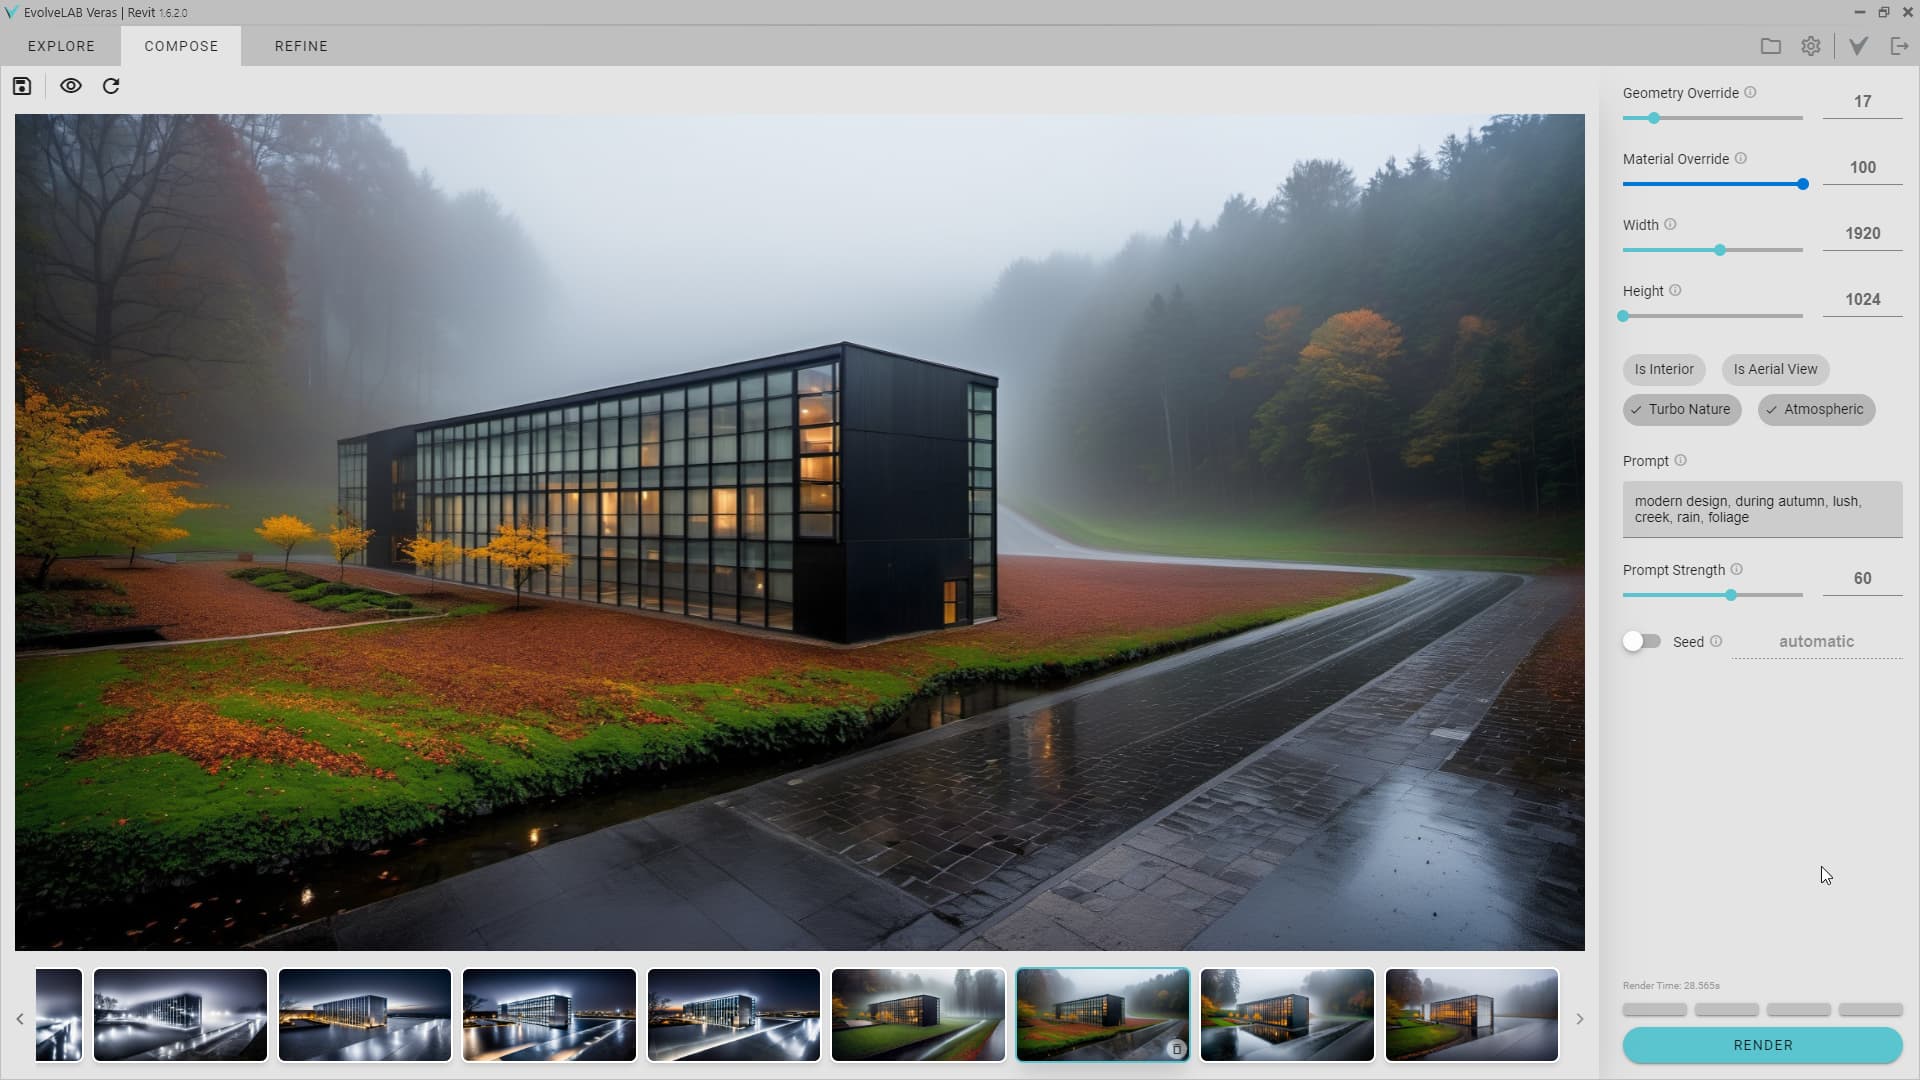
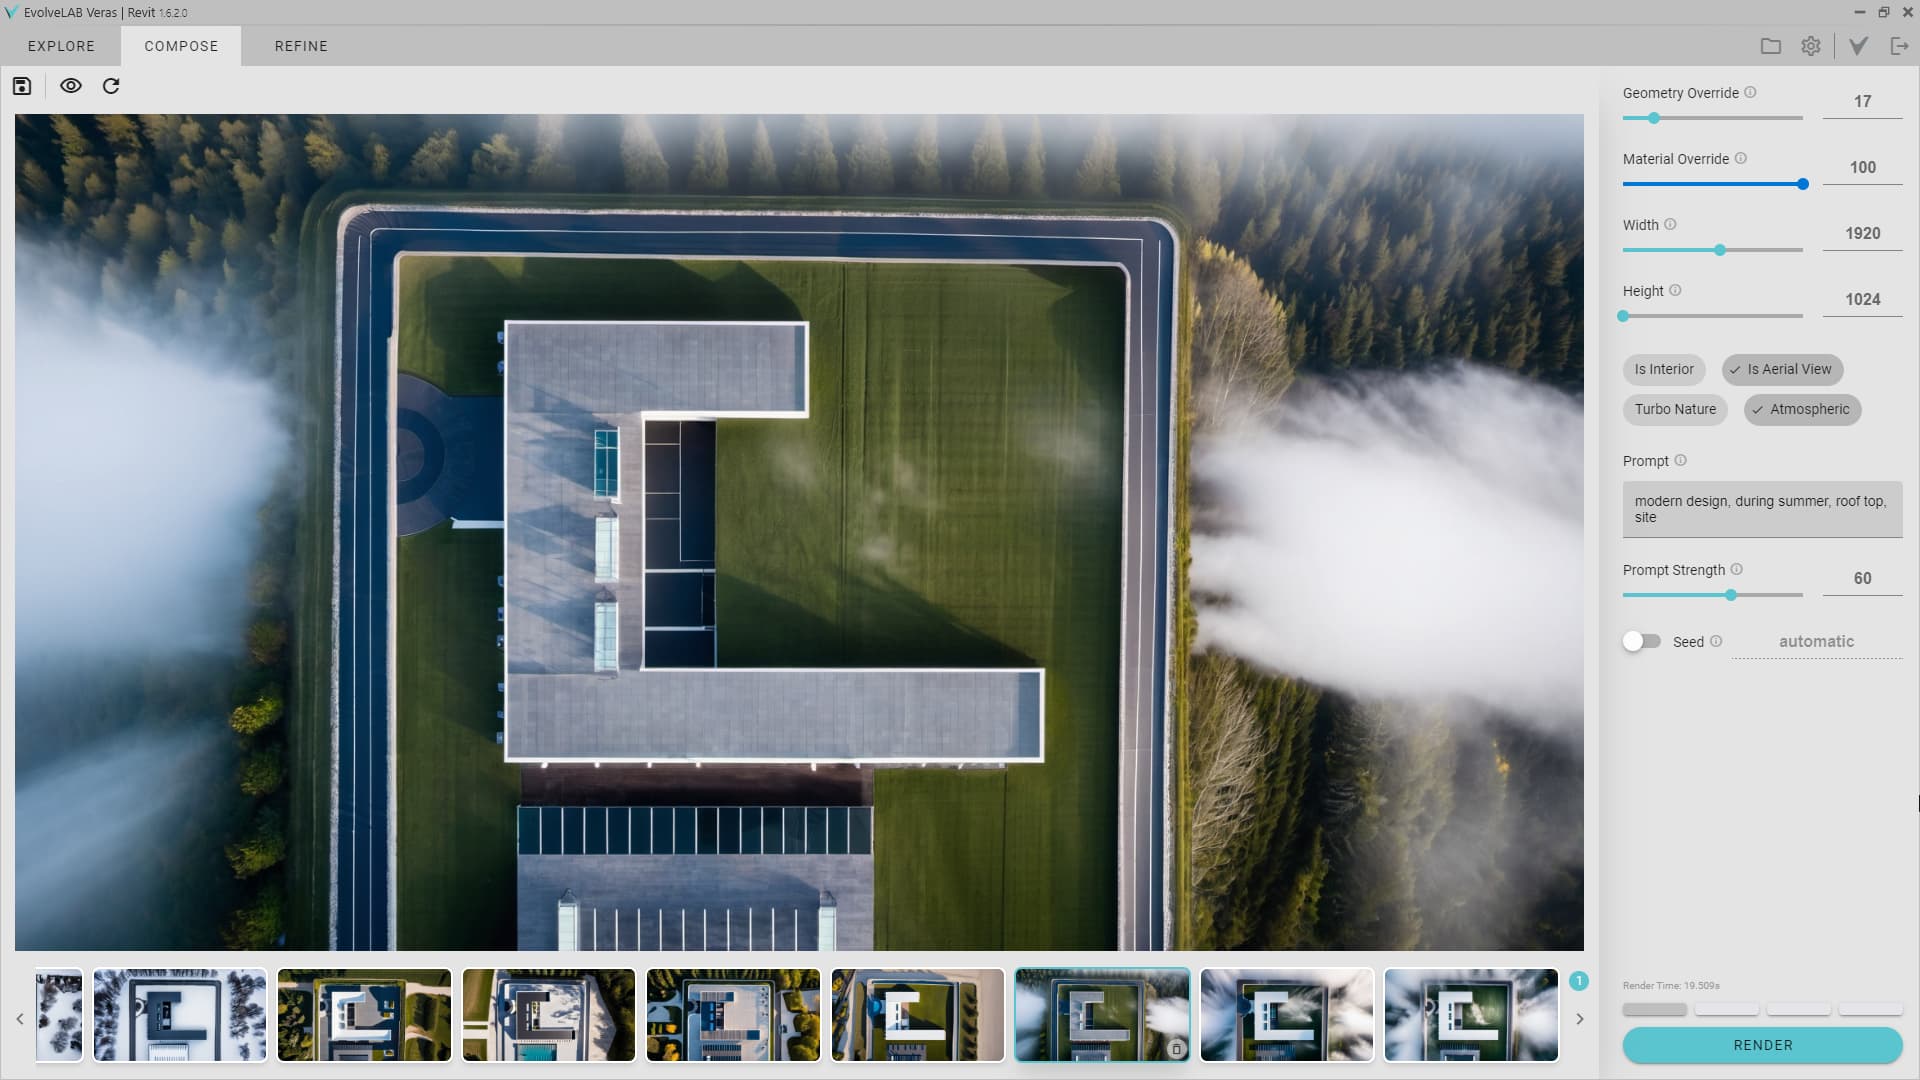
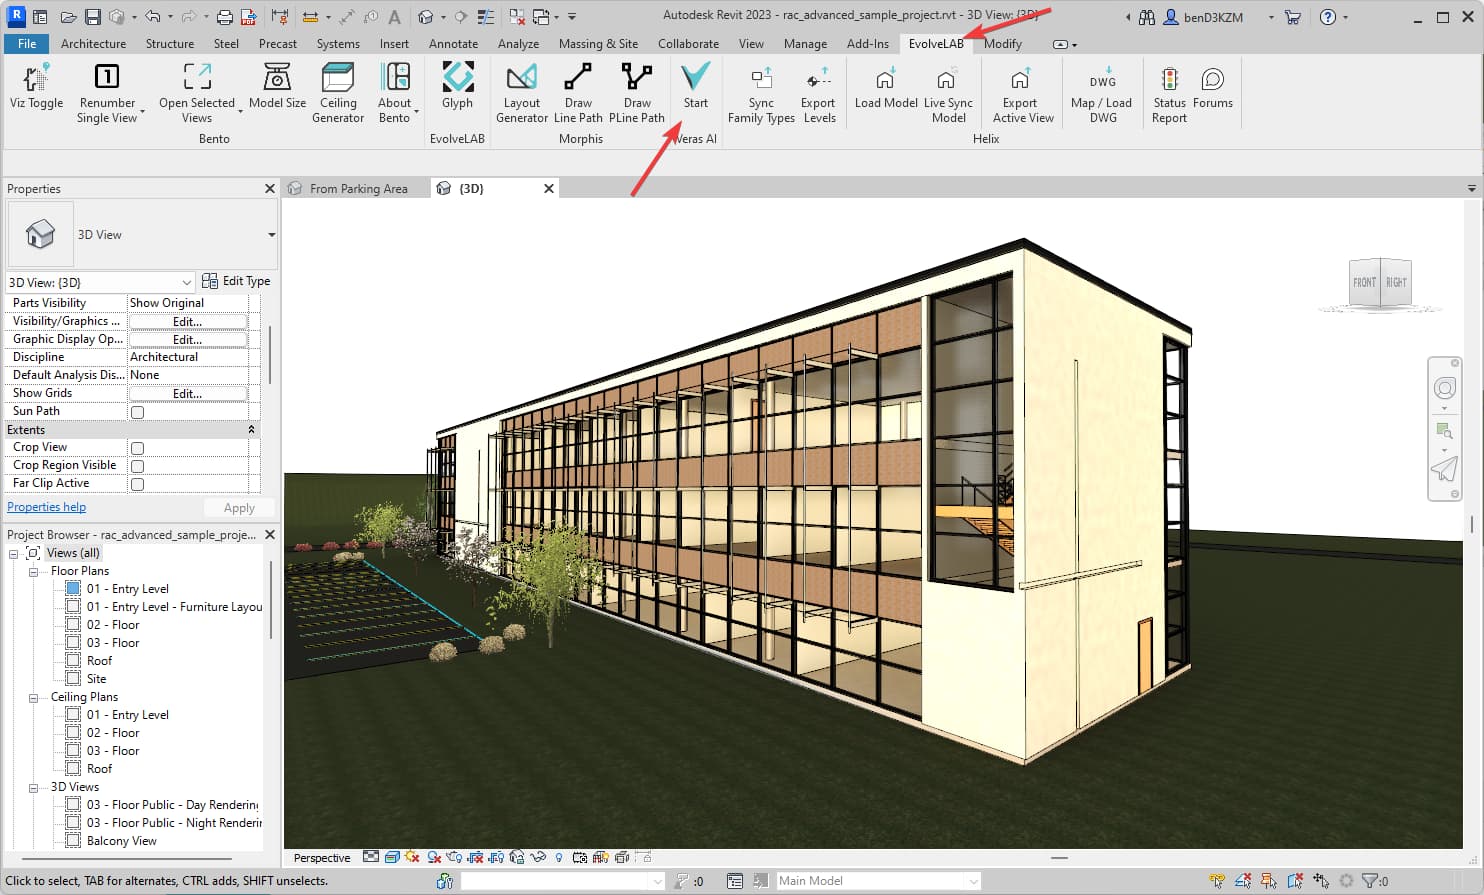
3. Start Veras
- Start the Veras app under the EvolveLAB Ribbon tab
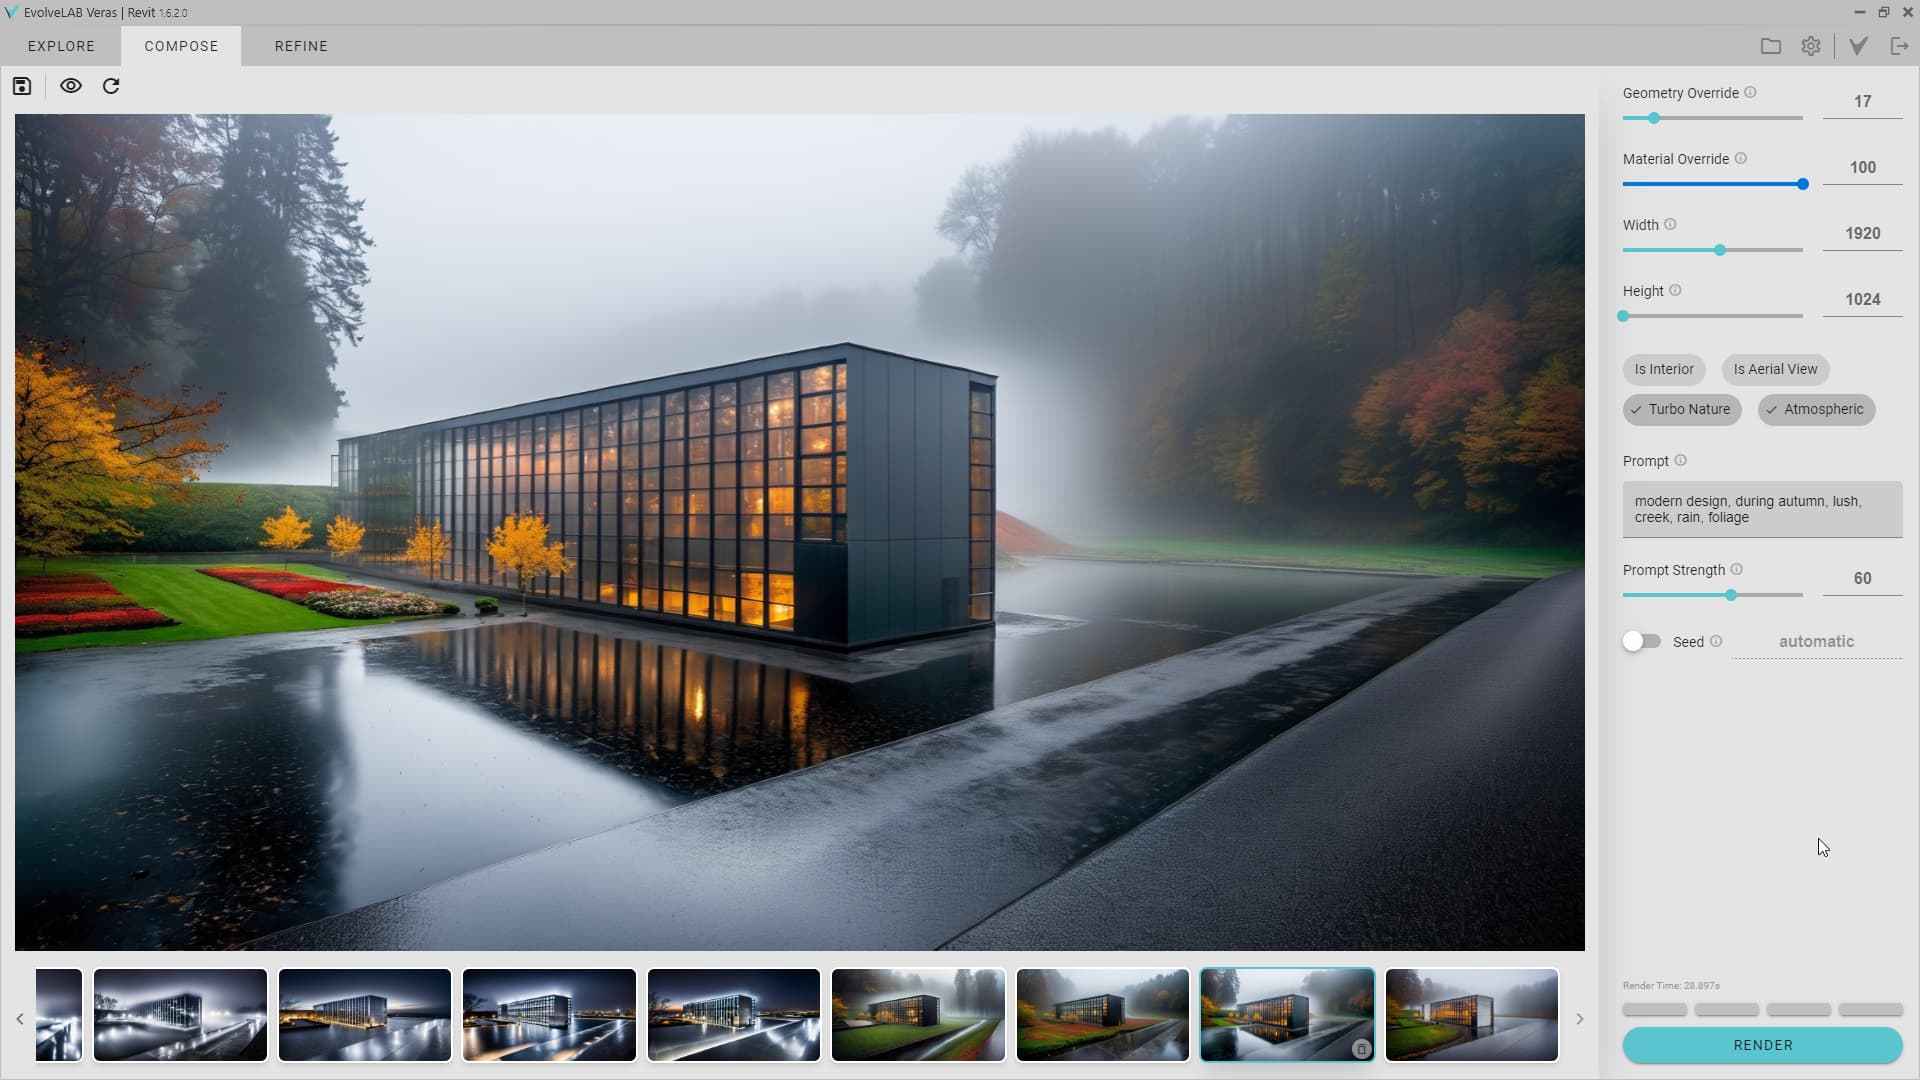
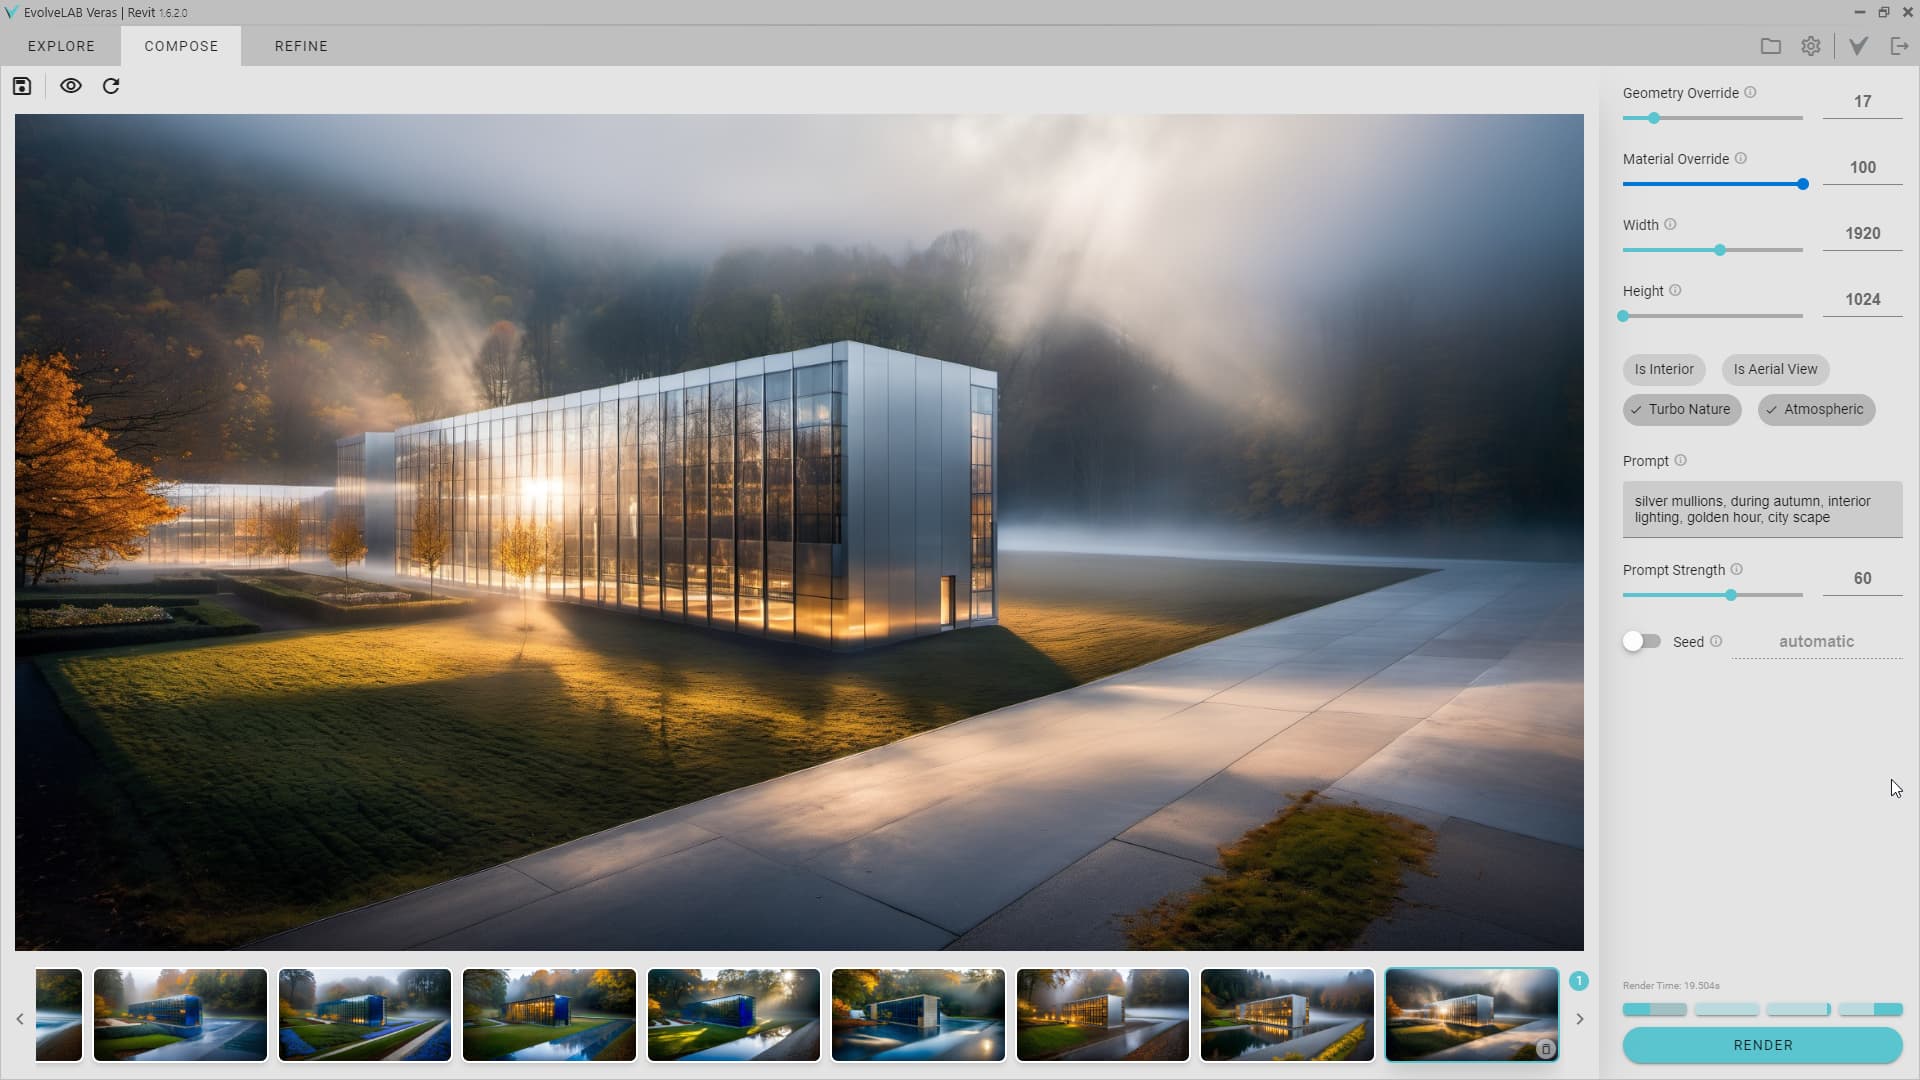
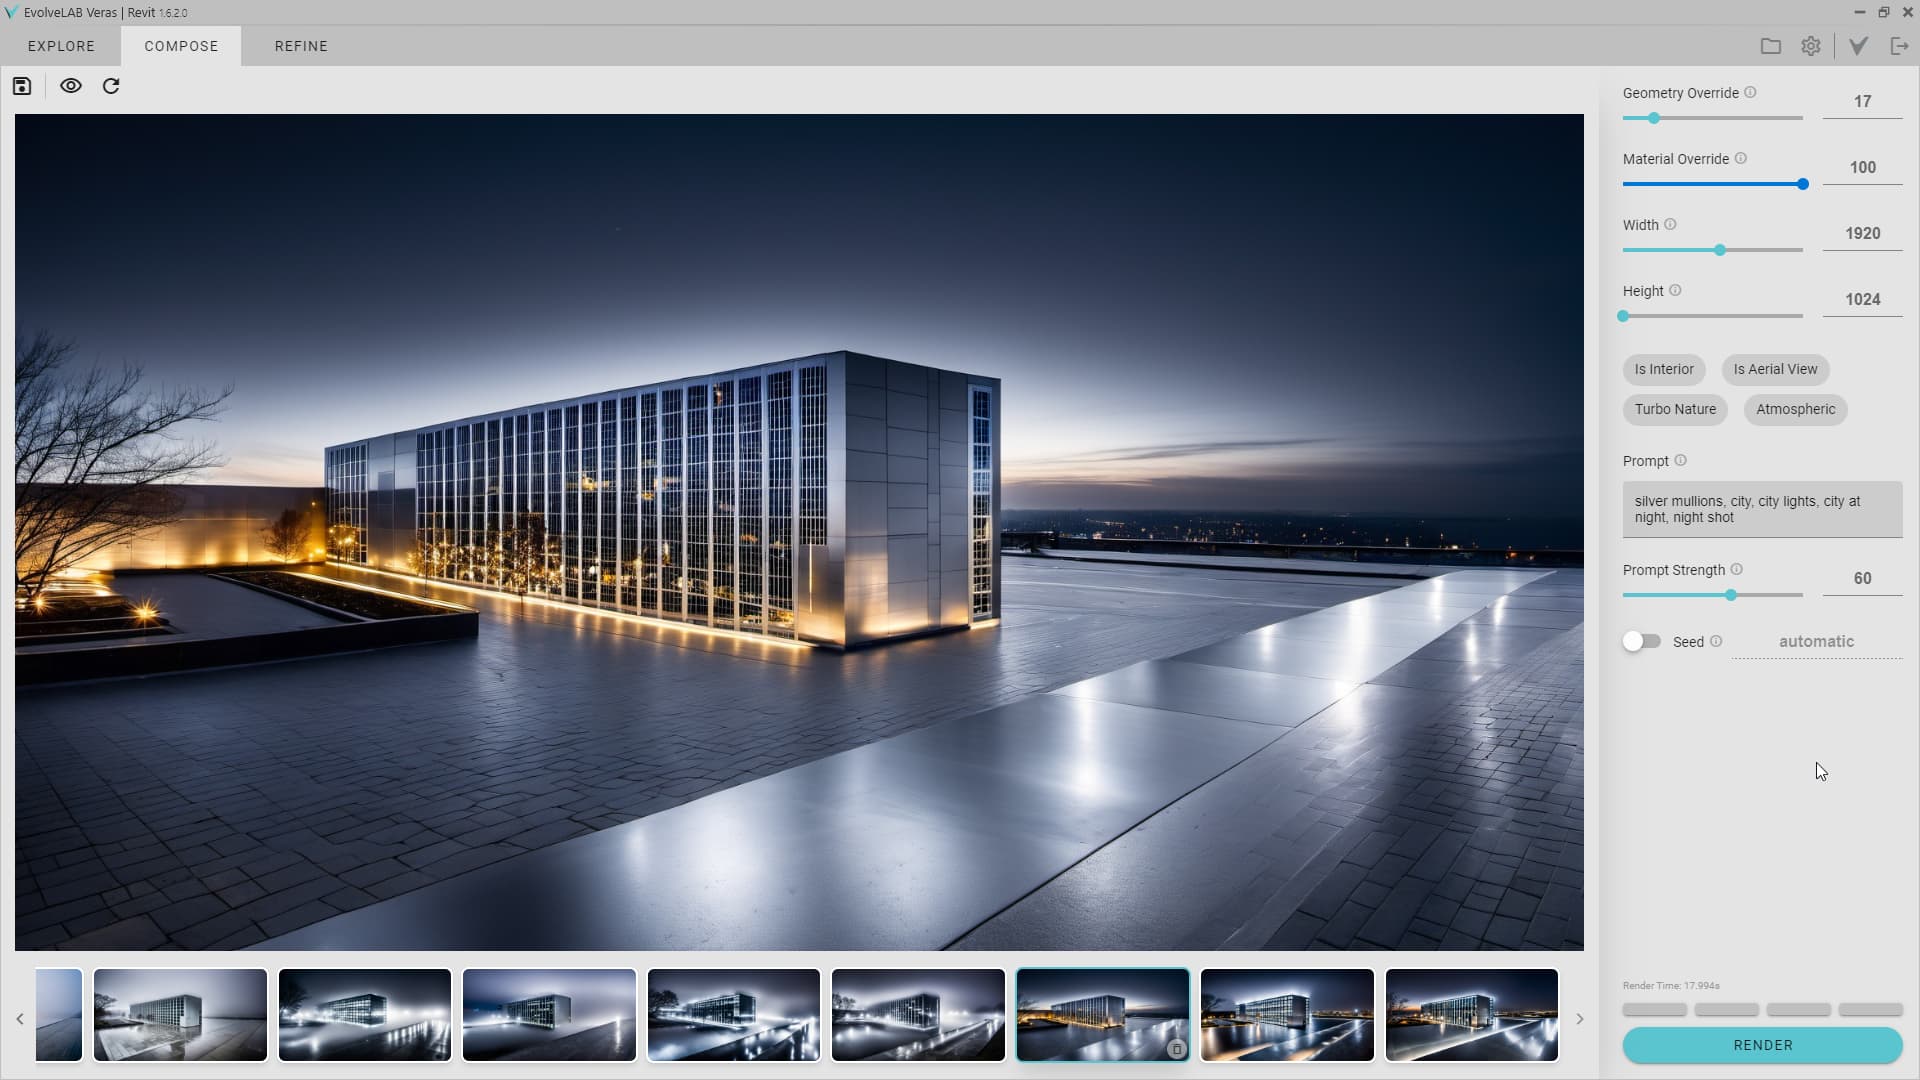
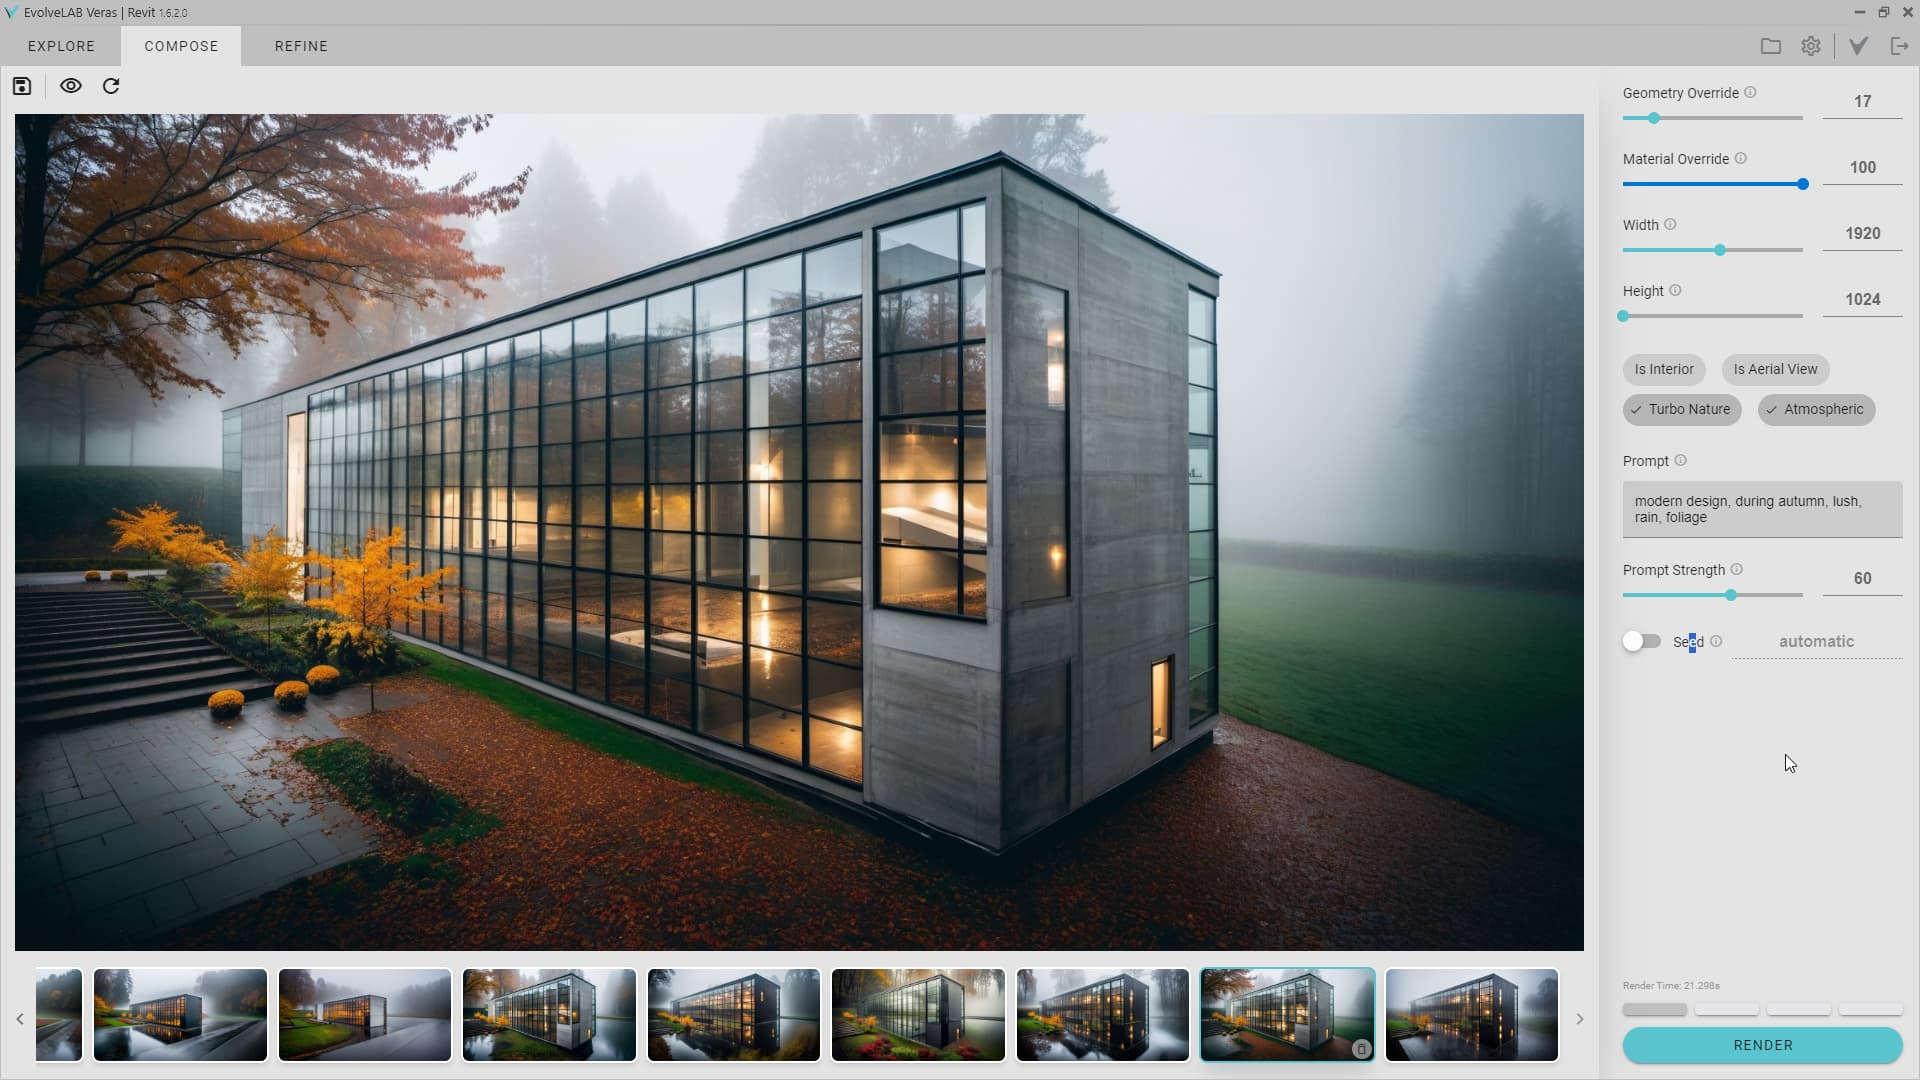
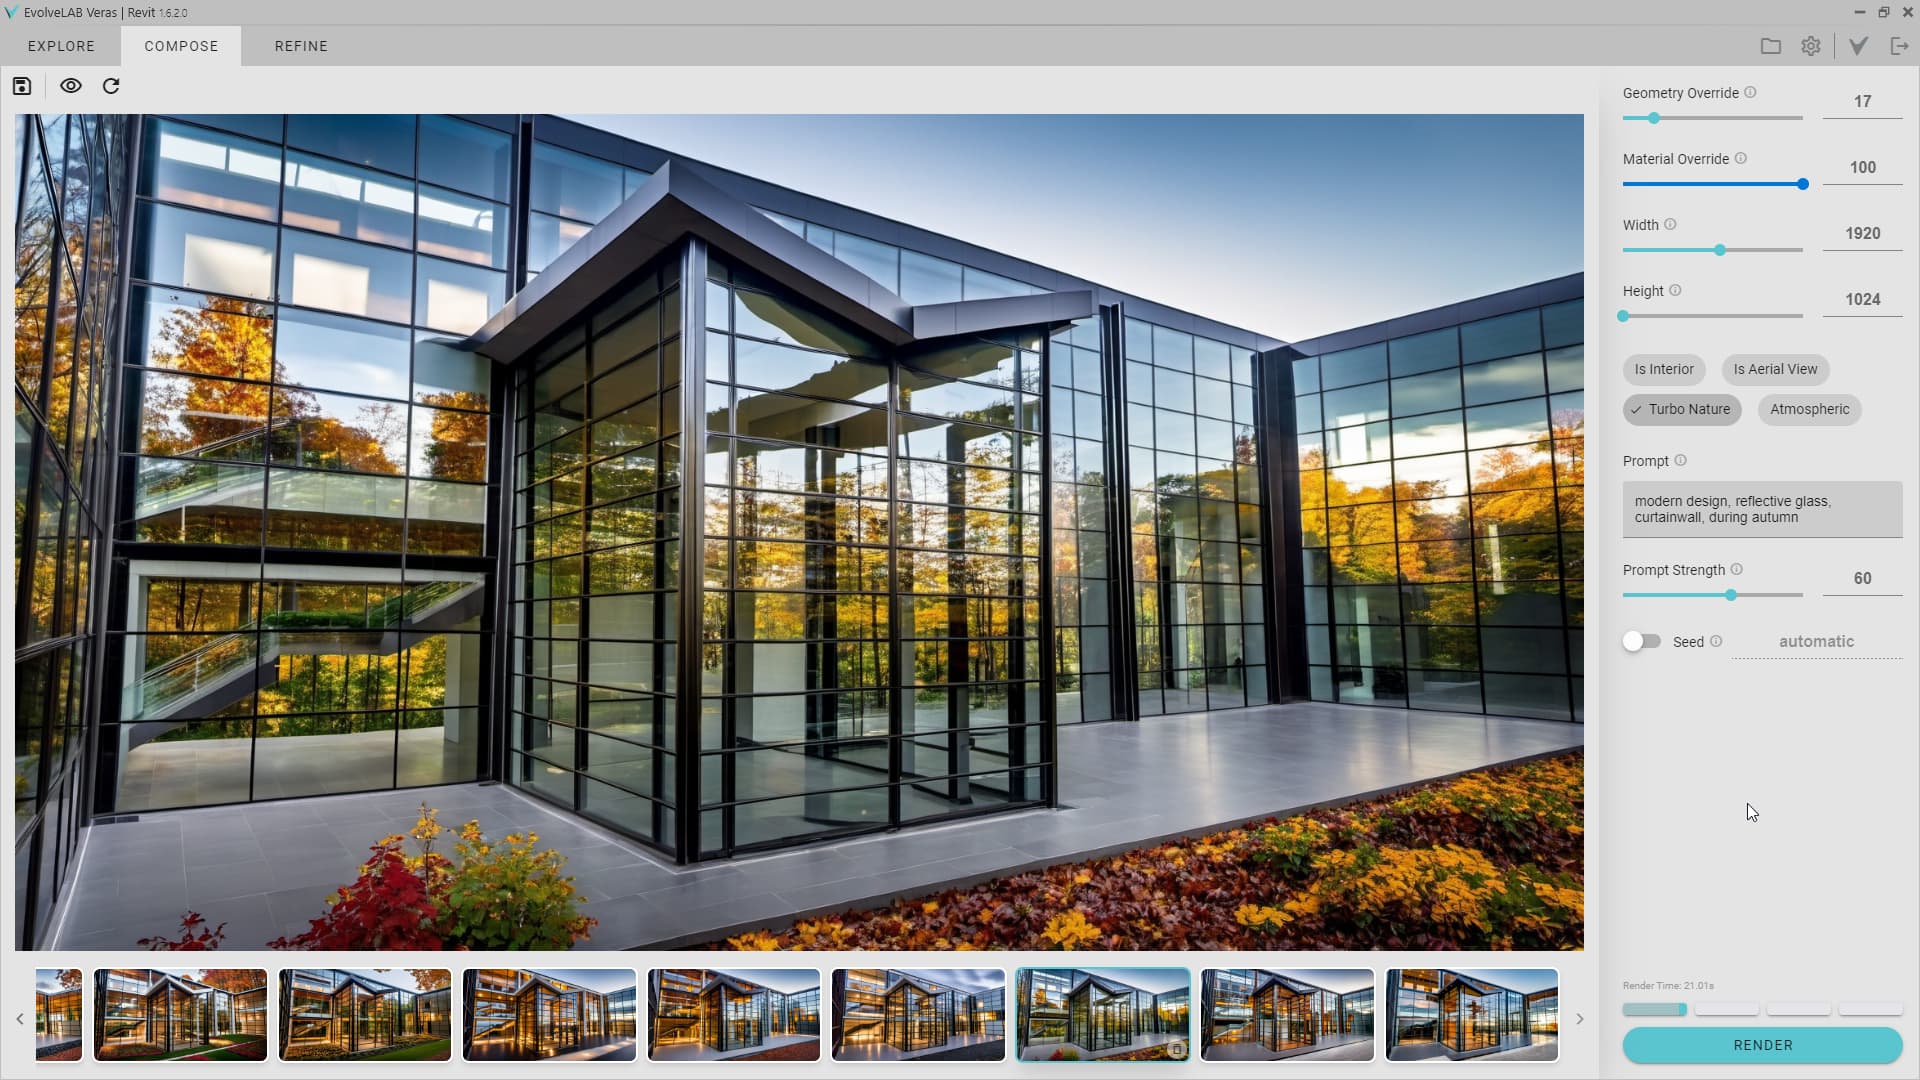
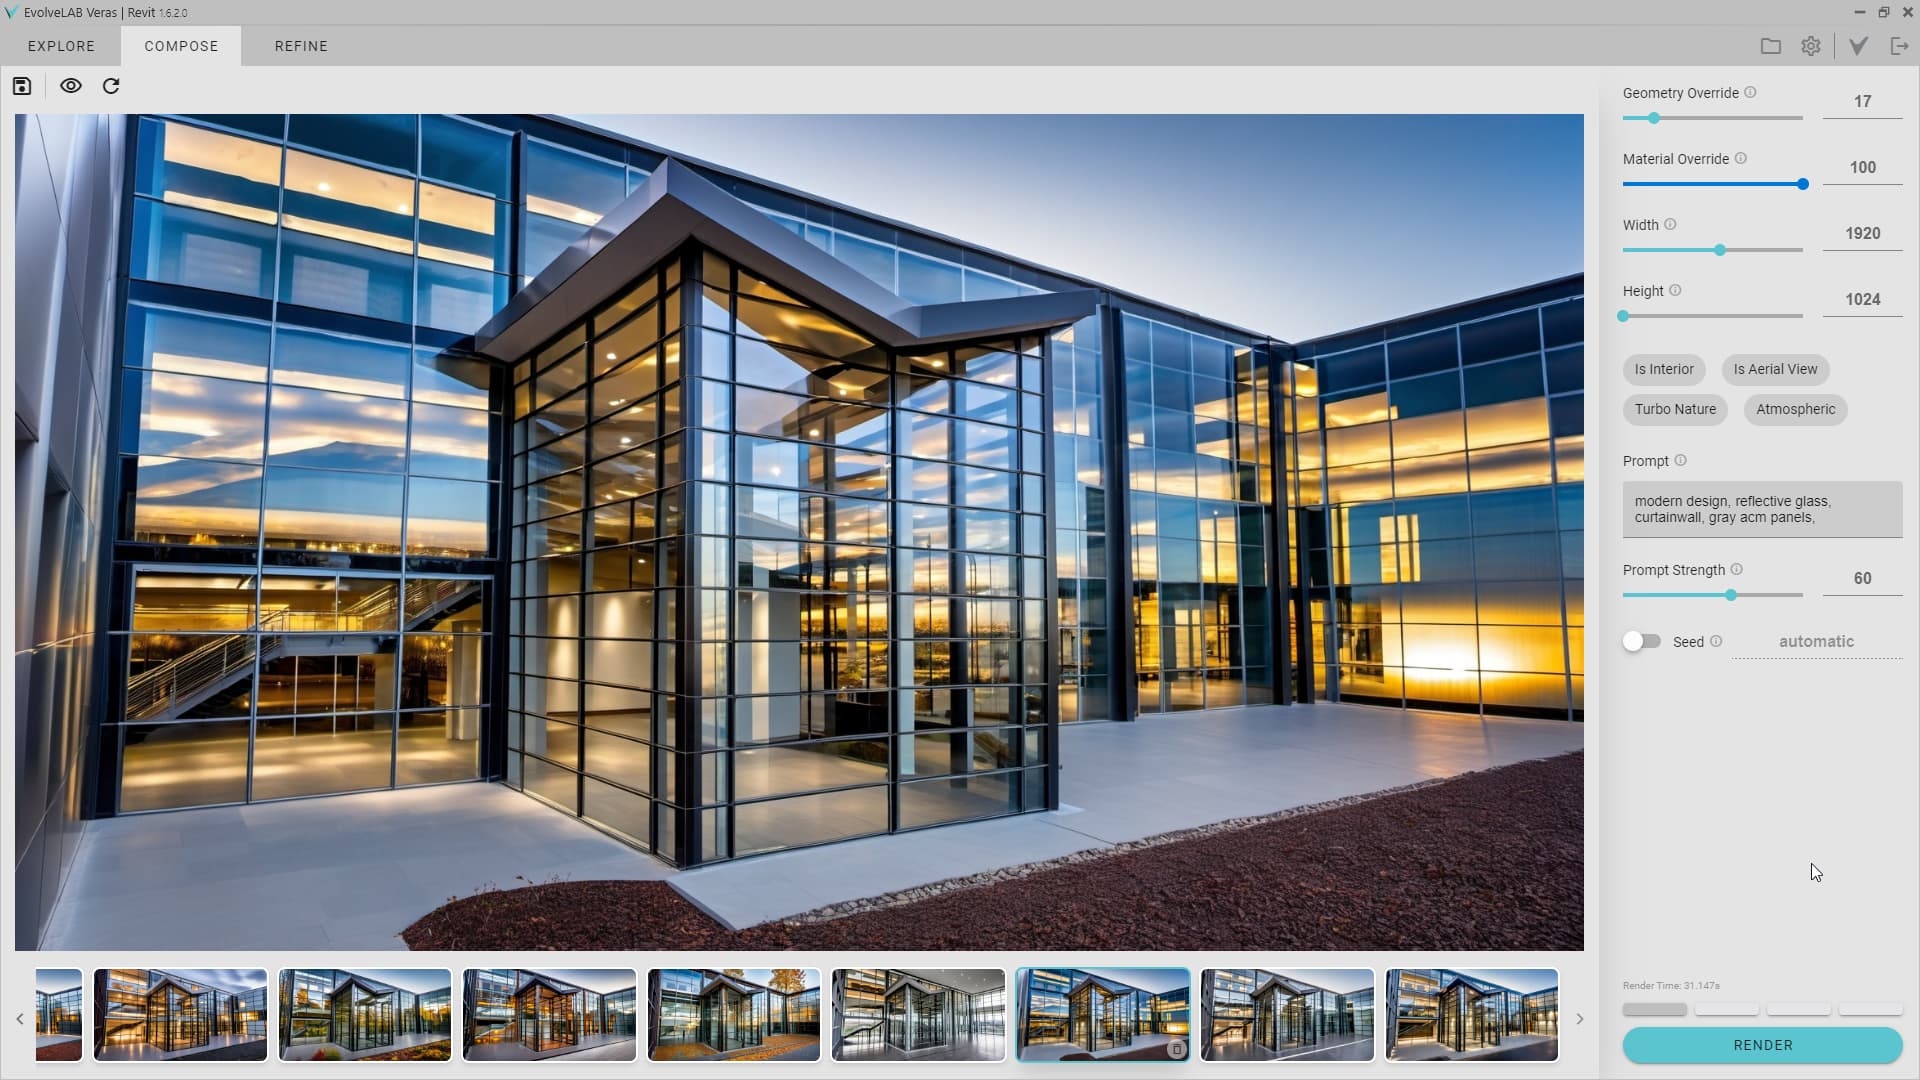
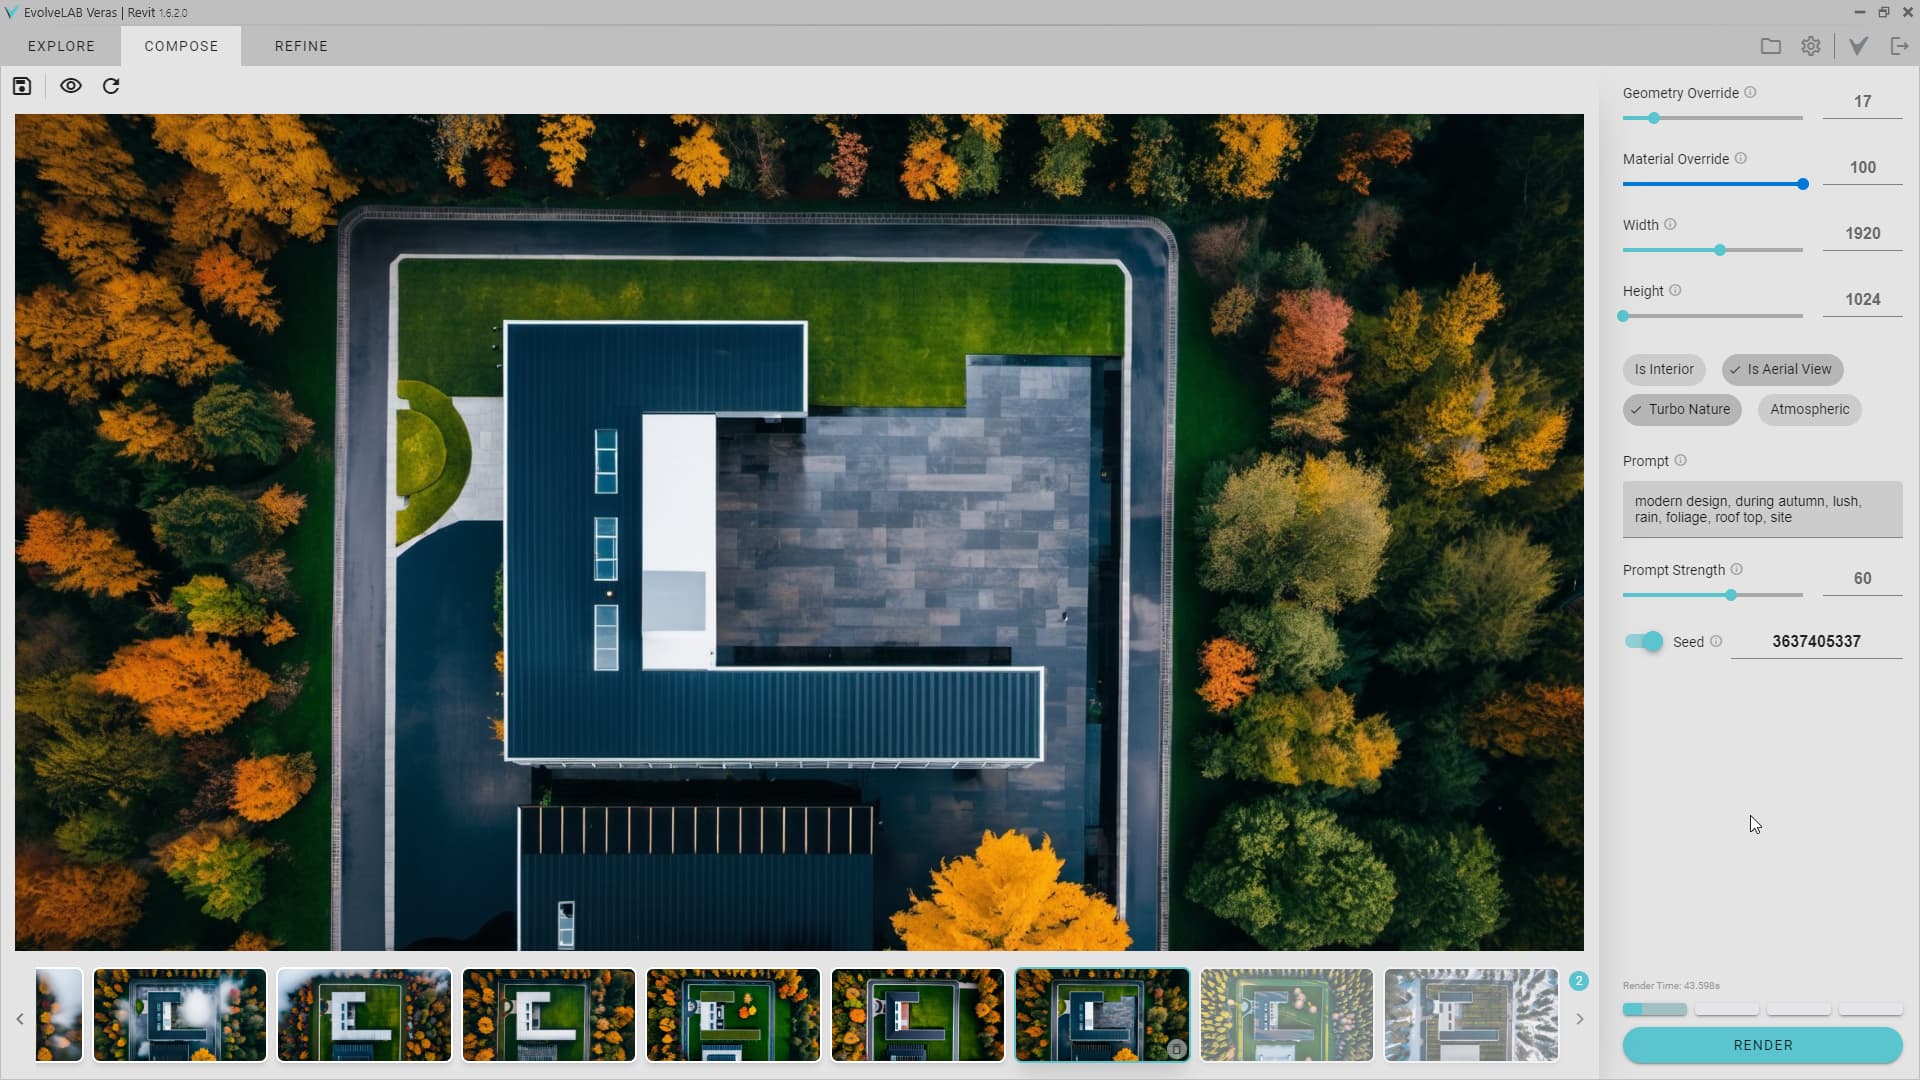
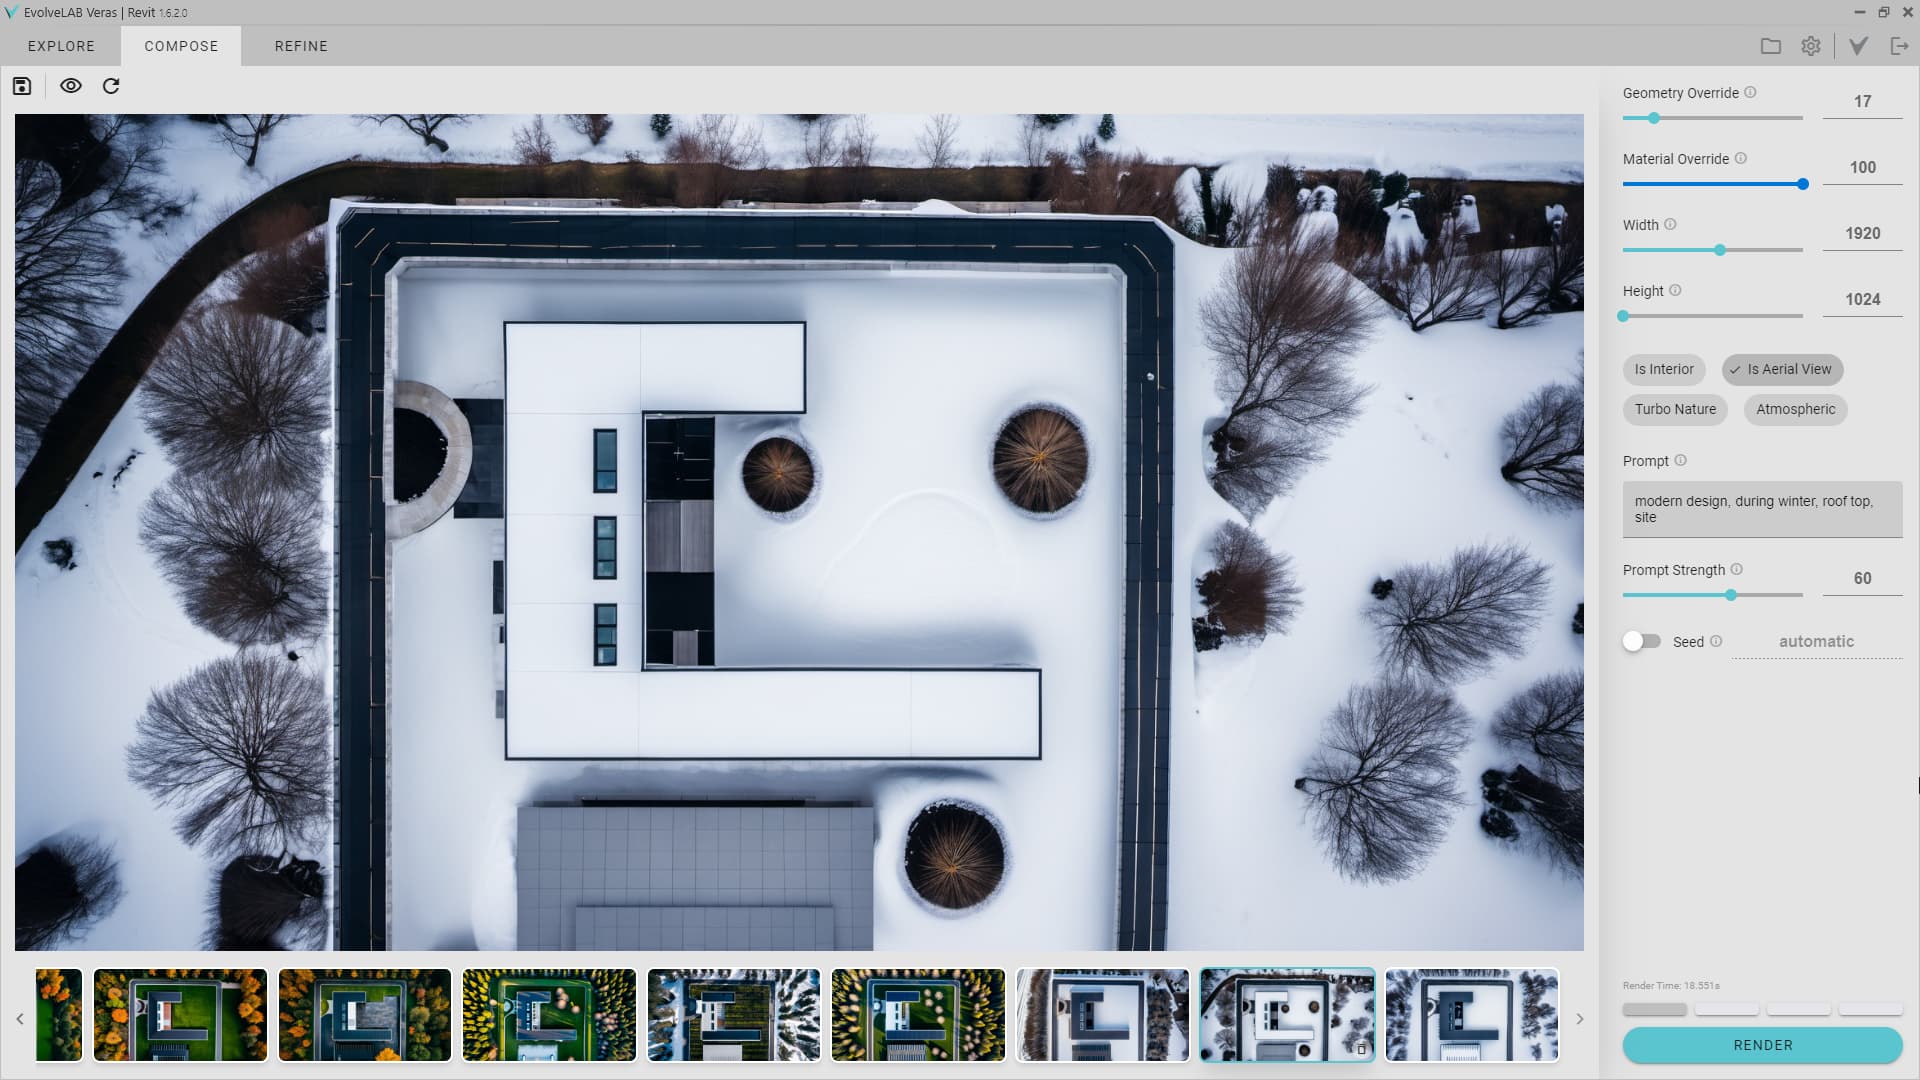
4. Render the View
- Select a preset
- Click the render button