Getting Started with Veras for Forma

1. Add the Extension

  • Within a Forma project to the Extensions tab, and press the + Add extension button
    image
  • Find the EvolveLAB Veras extension and click the Add button
  • Click the Agree button, the close the Extension menu
  • The new extension is now available for this project:
    image

2. Start Veras

  • Launch the app by clicking the app in the extension page
  • Create a user account or sign-in with an existing account
  • You will be prompted to accept the EULA, and select the optional settings for analytics
  • Take a walkthrough thorough the basic functionality of the app

3. Render the view

3 Likes

hi Ben,
is there any particular thing I need to do to get the extension on my Forma account? I can’t find it under beta, shoul I add it based on ID?

@camne.acm ,

After pressing the + Add Extension button, go to the unpublished tab, and type in this id to find it:

01be1700-6c07-4561-b8f1-cdb8418a442b

Best,
Greg

2 Likes

Thanks @Greg for the interim solution. We now have the extension published and no longer need the unpublished key to access. The instructions above are now updated to reflect this.

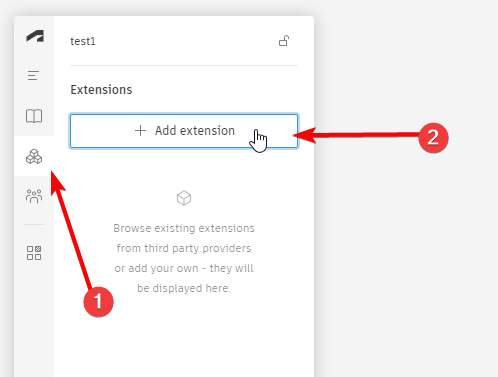
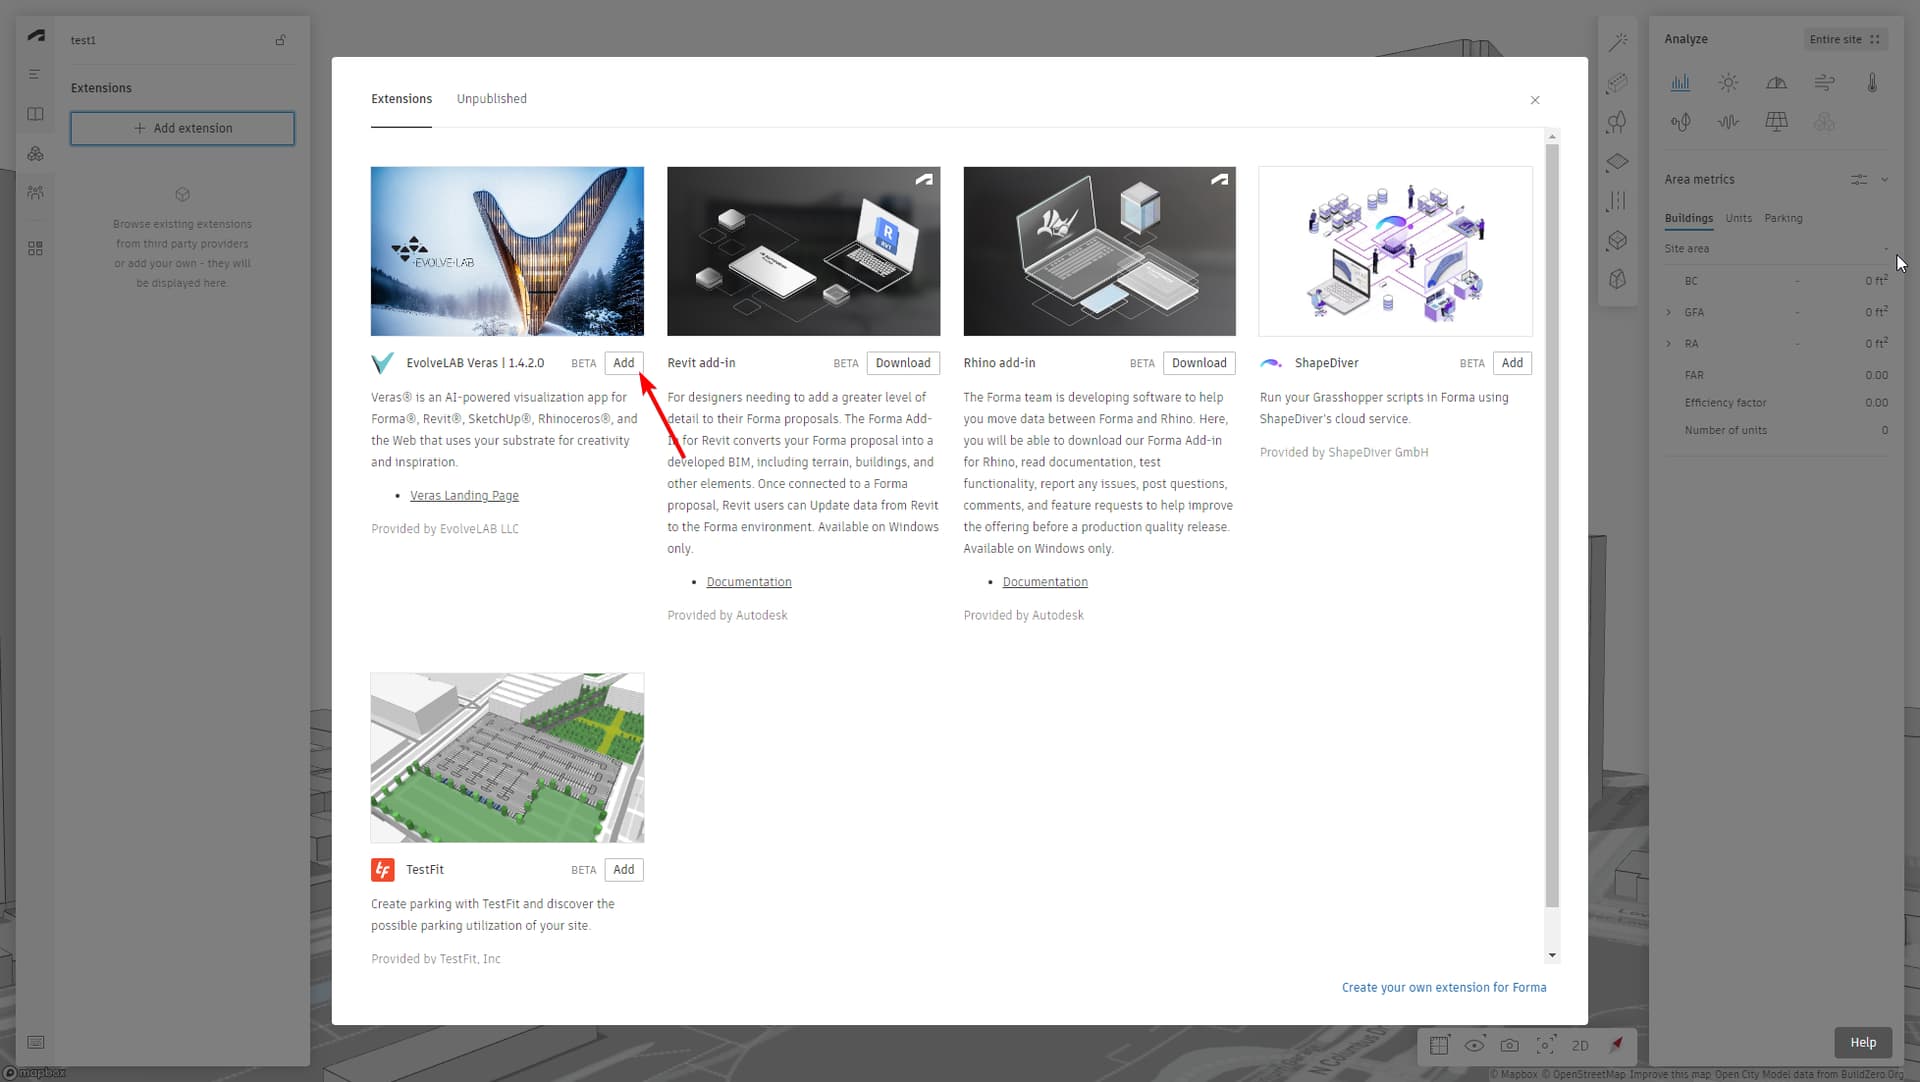
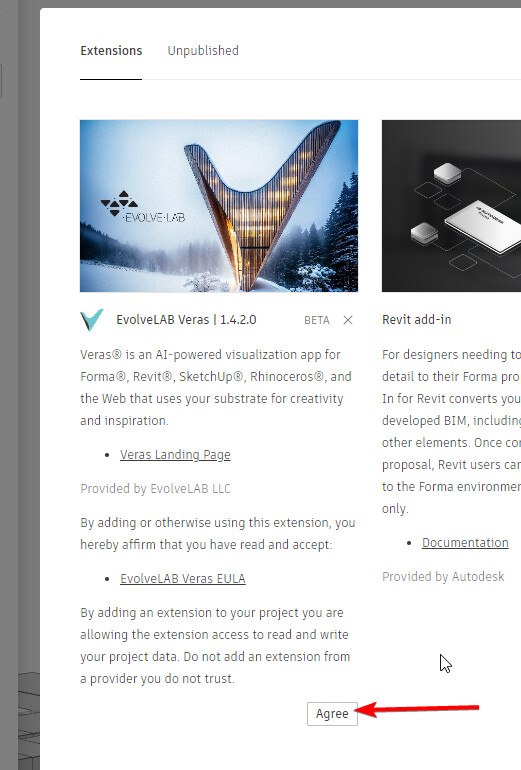
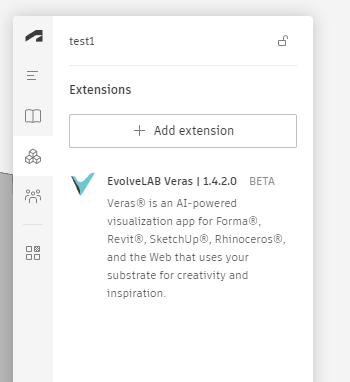
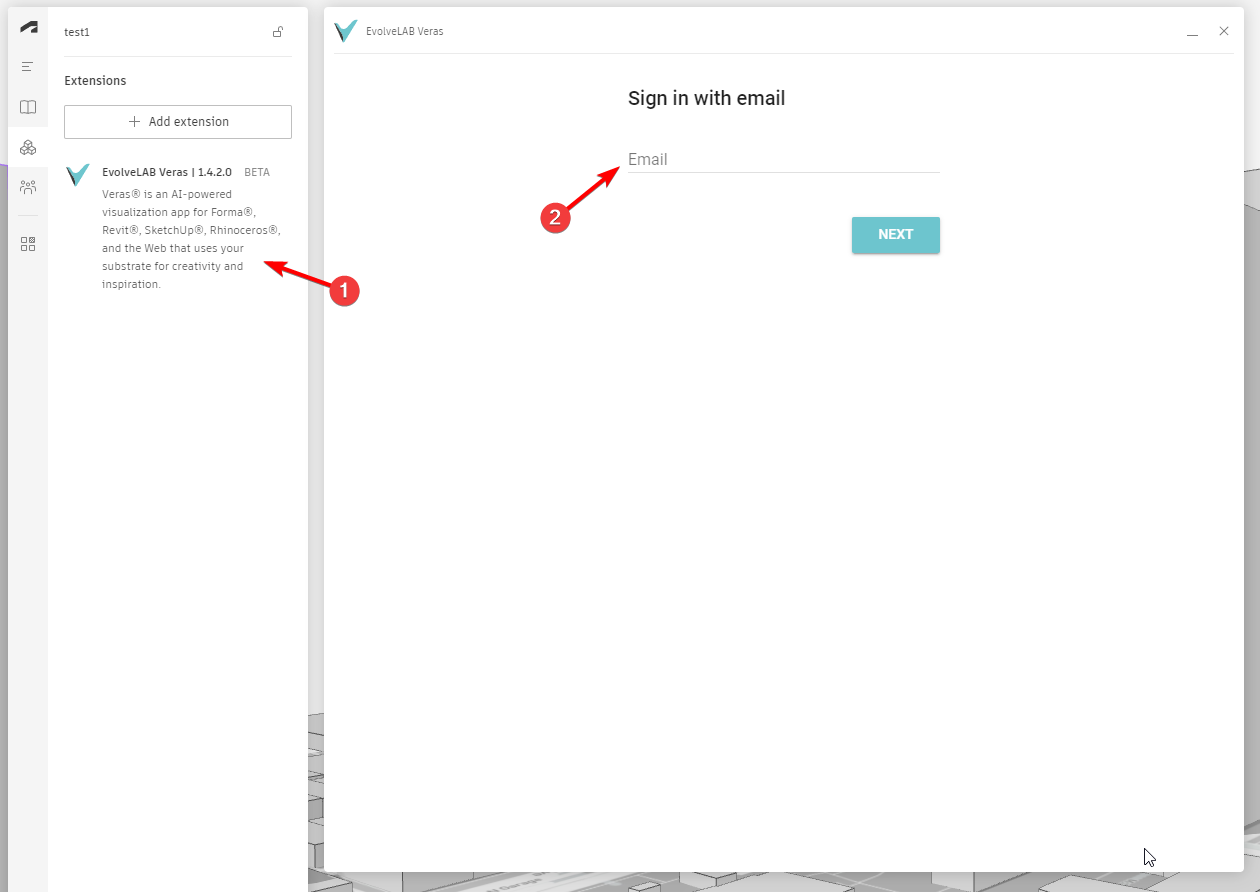
Silly question. I have the Veras plugin installed in Forma. Now what? I assumed I could just render directly from the model, but it keeps asking me to upload an image. Do I need to first export an image of the Forma canvas, then upload it back?

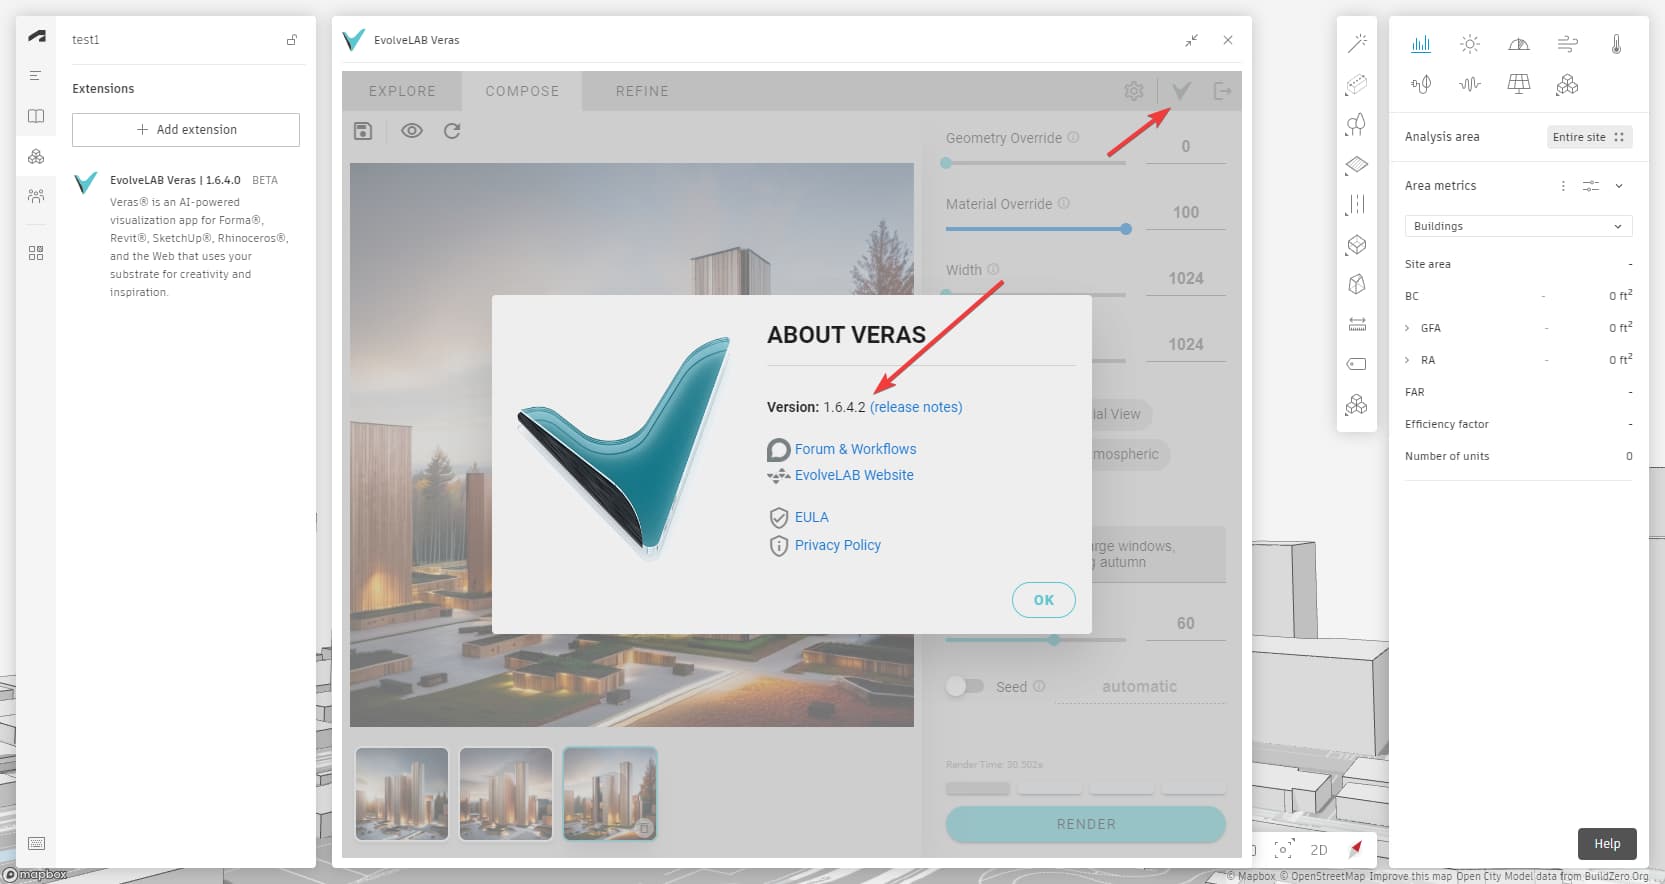
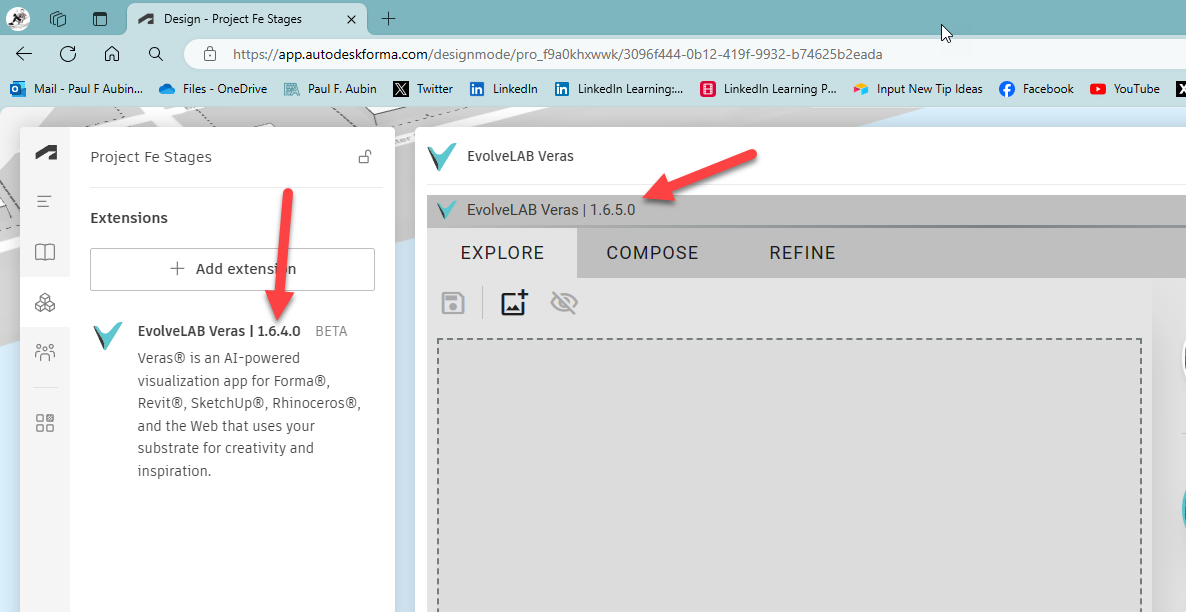
@pfacs - Thanks for bringing this up. Seems like our latest live update has some issue with the Veras in Forma context detection. We rolled back the update, and it should be working properly now. You might need to refresh the browser. The live version should say 1.6.4.0 (not 1.6.5.0).

Thanks Ben. Refresh browser did not work. Do I need to remove and re-add the plugin?

Edit: I removed and readded the plugin, but still no dice. It still shows the later version for me as in the image.

You might need to clear the browser cache for the last few hours.