Workflow Advantages
- Easily create and organize dimensions for Walls Doors and Windows.
- Customize the settings based on your needs:
- Reference Plane
- Tie Condition
- Wall Dimnesioning Options
- Dimension String Offset
- Easily visualize the results by working in Active View.
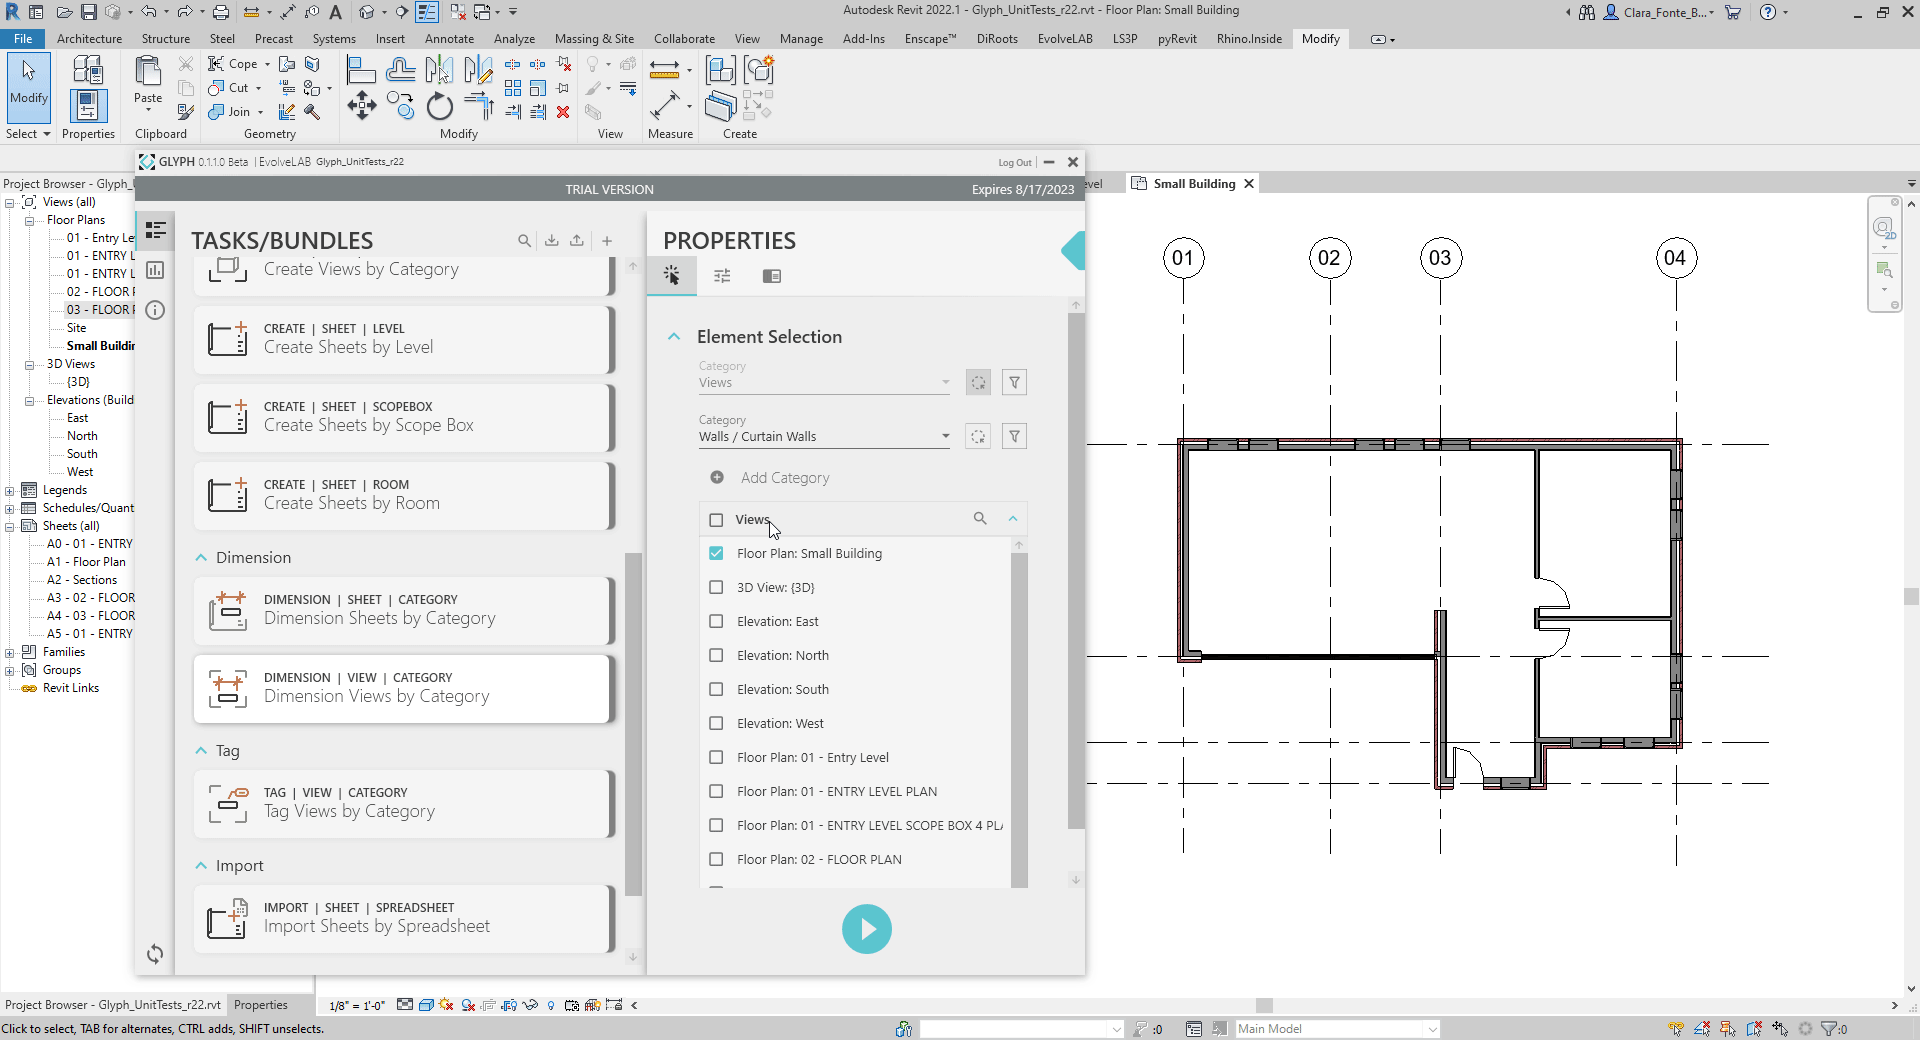
1 | Select Active View
- From within the OOTB Dimension View by Category task, Selection tab, use the Revit Selection button to select the Active View in Revit.
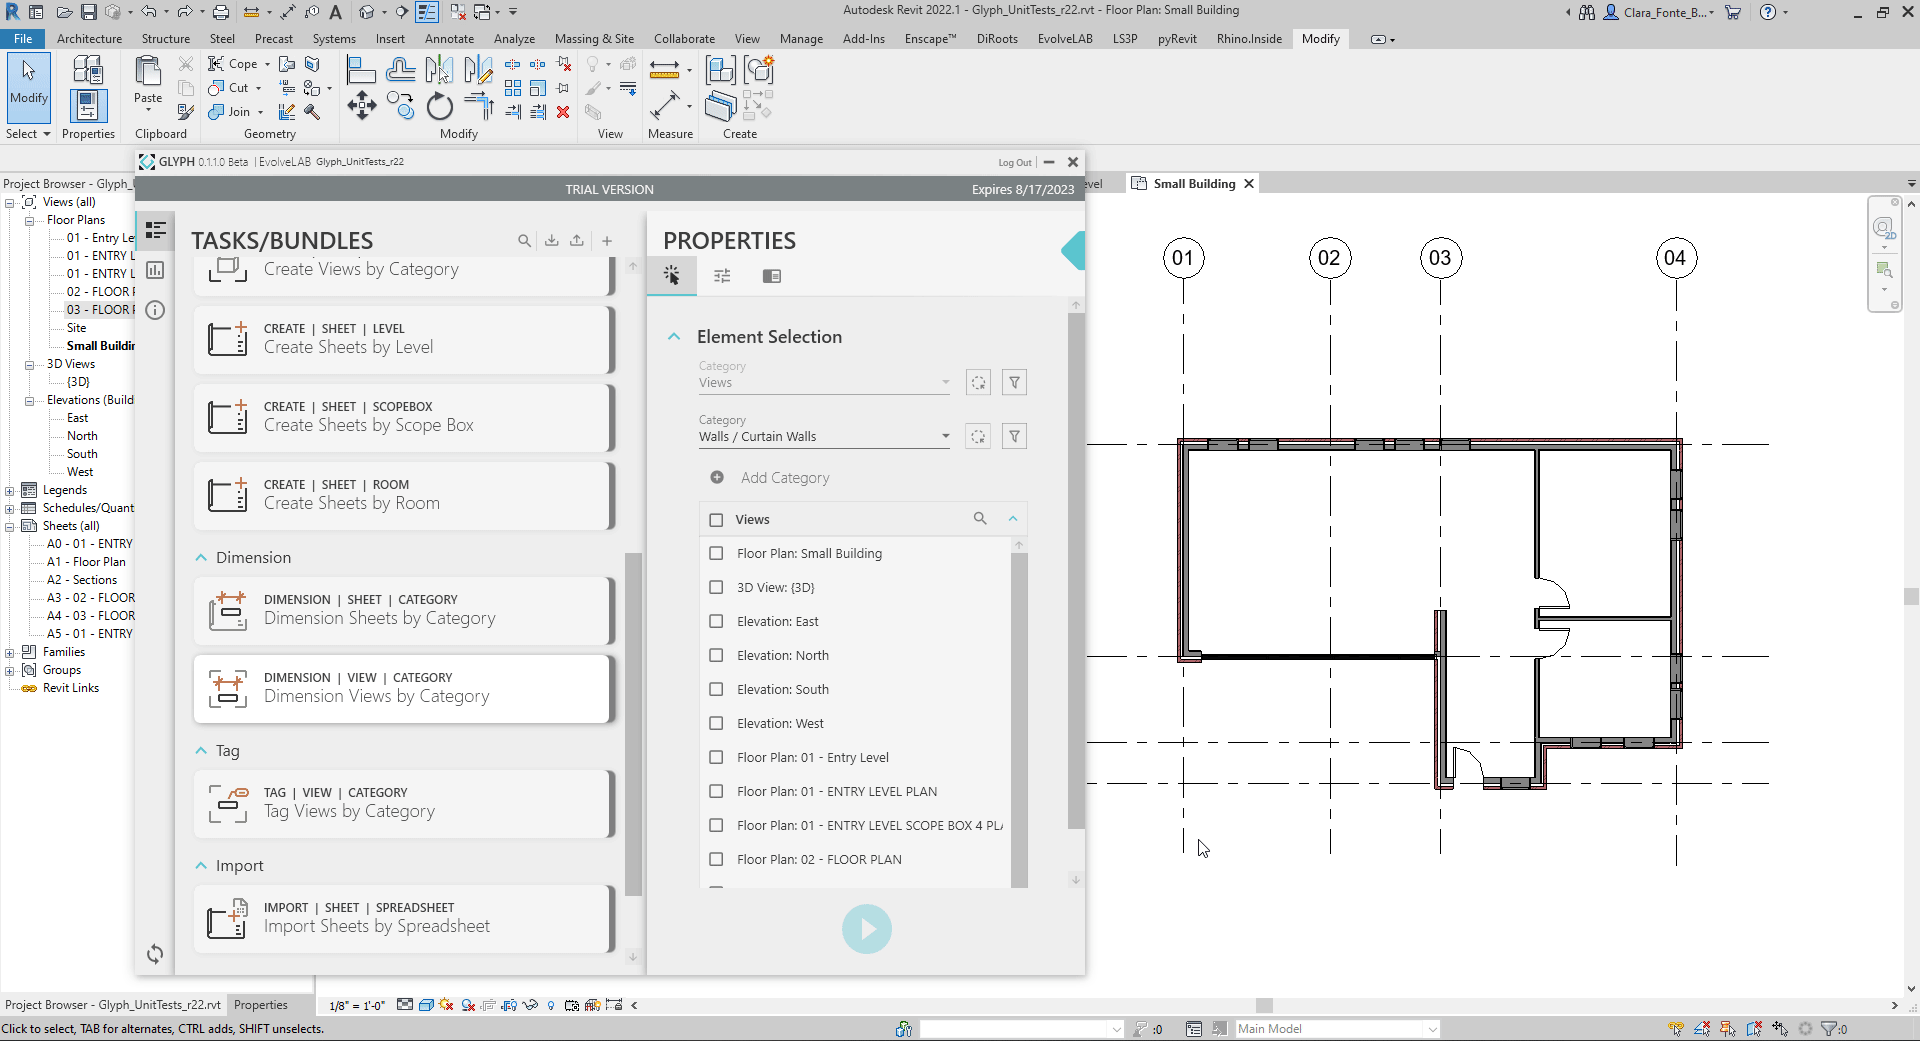
In this workflow we are only dimensioning elements in the current view, but there are methods you can use to select multiple views at once. To learn about these alternative element selection processes, check out the How to Create View By Scope Box workflow.
2 | Select Categories to Dimension
- Right below the already selected Walls / Curtain Walls field, add more Categories by using the Add Category button.
- Use the drop-down menu to define the correct Category.
- To select a Category faster, start typing the Category name then press ENTER to select it.
Note how we use this technique in the example below to select the Window Category. On the other hand, to select the Door Category we used the mouse cursor instead.
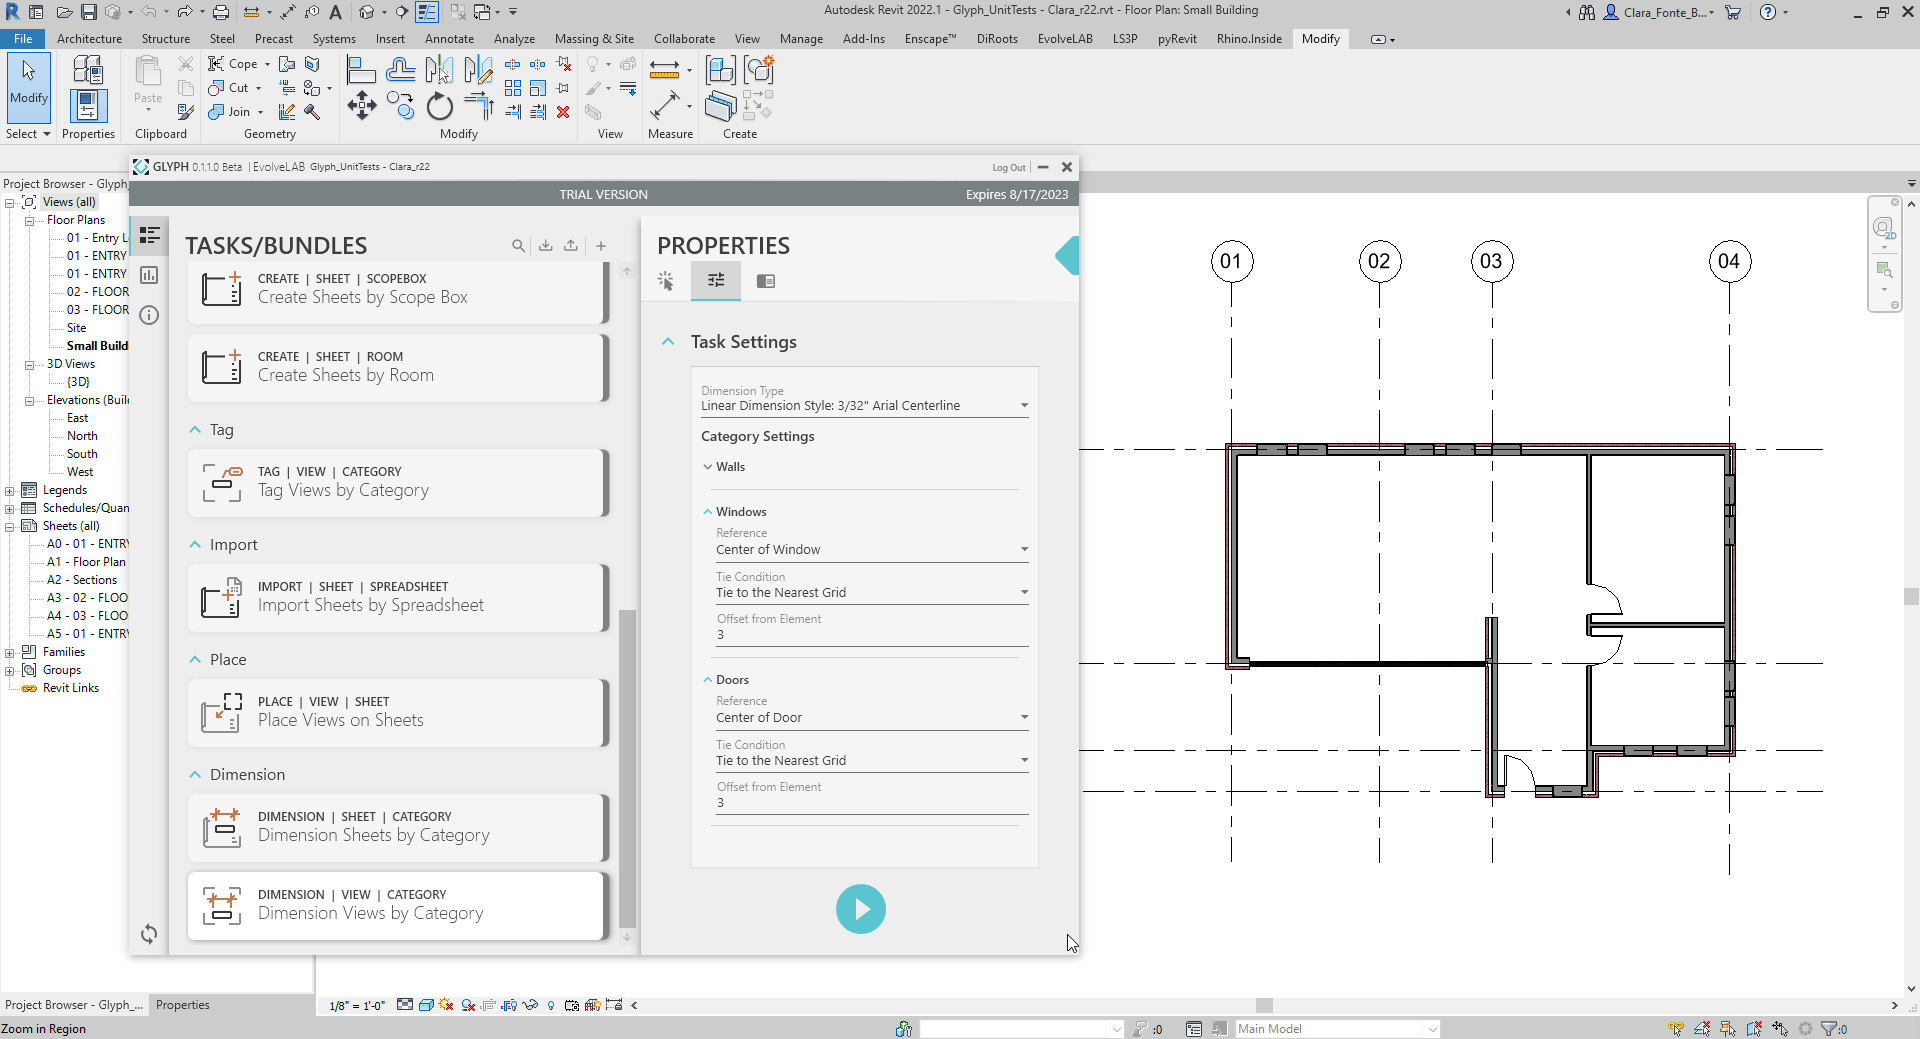
3 | Define Dimension Style
- Go to the Settings Tab (sliders icon below “PROPERTIES” text)
- Use the drop-down menu to select the preferred Dimension Style.
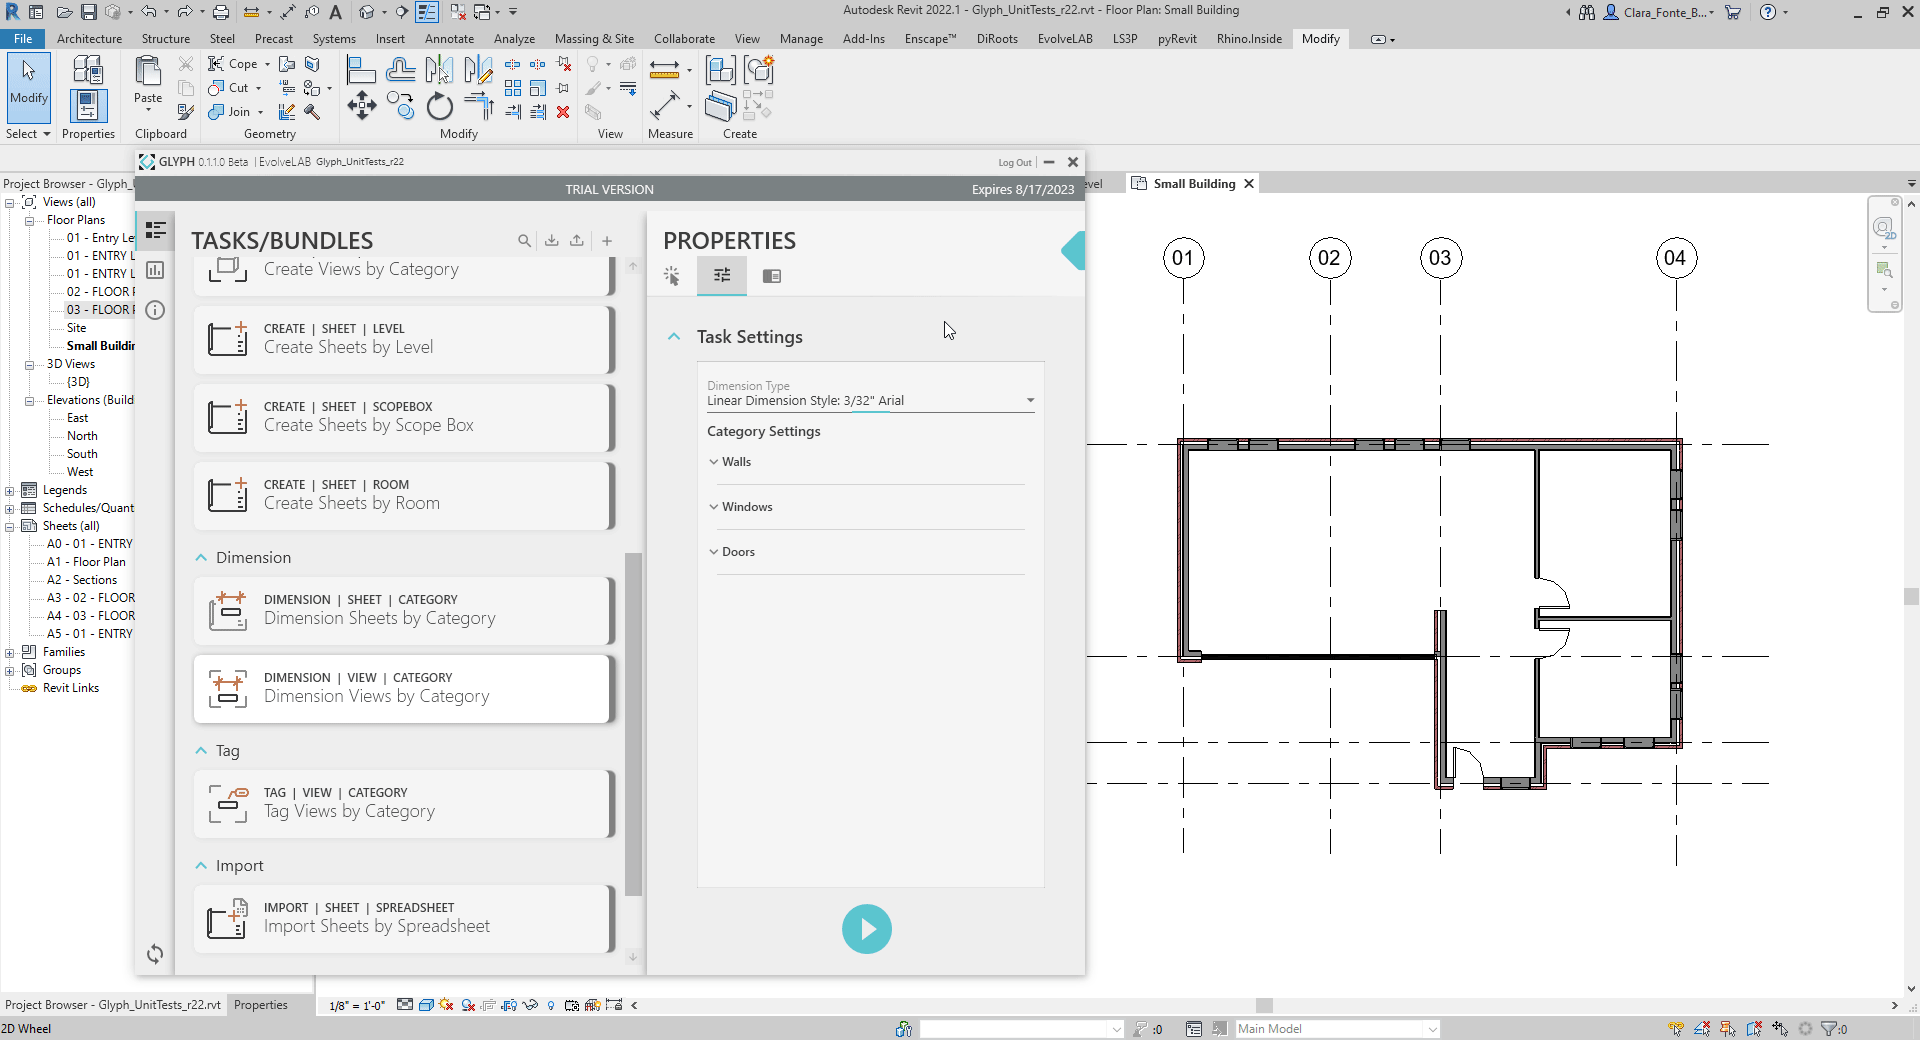
4 | Define Wall Dimensioning Settings
Under Category Settings - Walls, customize the settings as needed.
- Use the drop-down menus to pick:
- Reference - define Reference Plane to be used by the dimension string.
- Tie Condition - Define when and how the dimension string should tie to other elements from the model.
- Wall Dimension Options - Pre-set dimensioning options for walls.
For this example we are using the Core Exterior Reference Plane, Tie to the Nearest Grid Tie Condition, and Overall Exterior Wall Length Dimensions and Overall Building Dimensions Wall DimensionOptions.
- Type in a value for:
- Offset from Element - Distance (based on Project Units) between the dimensioned element’s Reference Plane and the dimension string, and between dimension strings of elements of the same Category.

5 | Define Door & Window Dimensioning Settings
For both Windows and Doors, customize the:
- Reference
- Tie Condition
- Offset from Element
For this example we are using the Center of Door/Window Reference Plane and Tie to the Nearest Grid Tie Condition.

6 | Run the Task
- Press the play button.
- Watch the Active View and see it being dimensioned.