Workflow Advantages
- Easily create multiple customized Views at once.
- Define Views base levels and Scopeboxes cropping.
- Customize Views Settings like View Template, naming, and more.
1 | Select Levels
- From within the OOTB Create Views by Scope Box task, Selection tab, select the Levels to be used for your views.
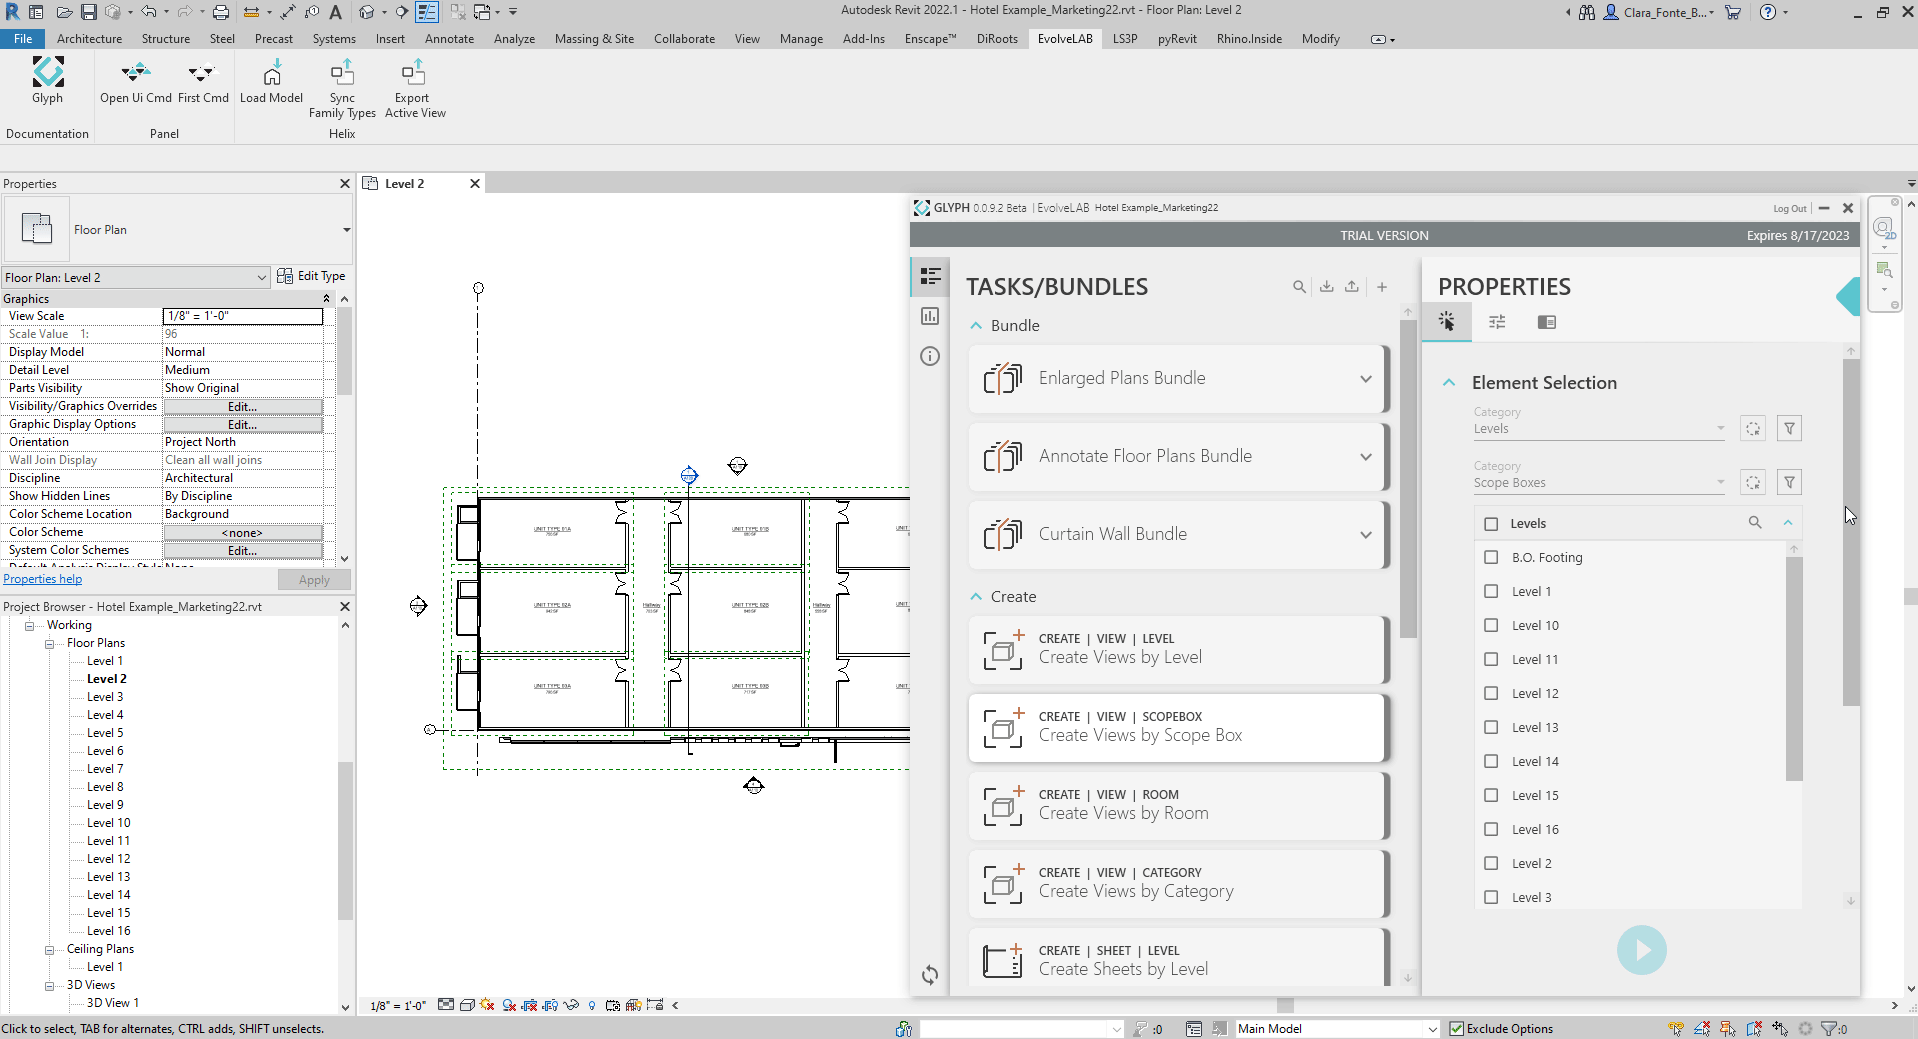
This example shows how to apply Selection Filters.
2 | Select Scope Boxes
- In the same tab, also select the Scope Boxes to be used.
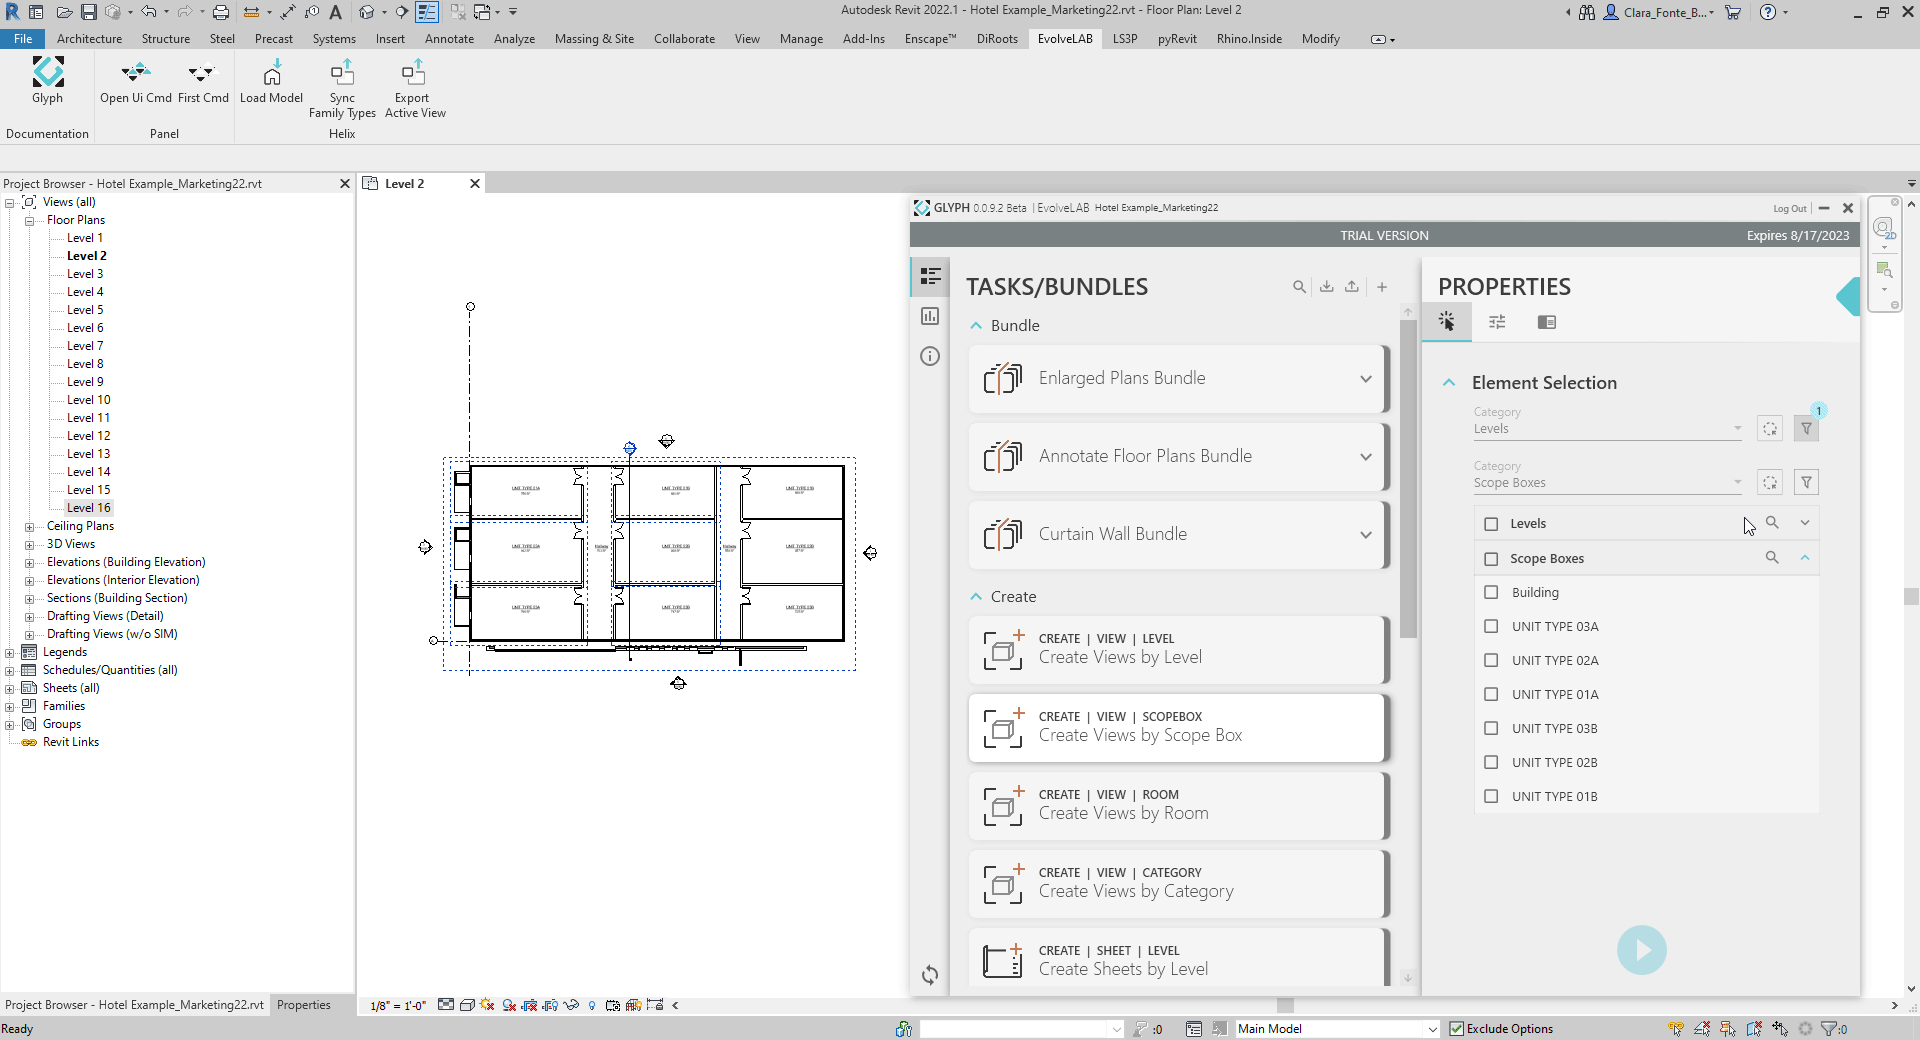
This example shows how to Select Elements from Revit and how to refine the selection using checkboxes.
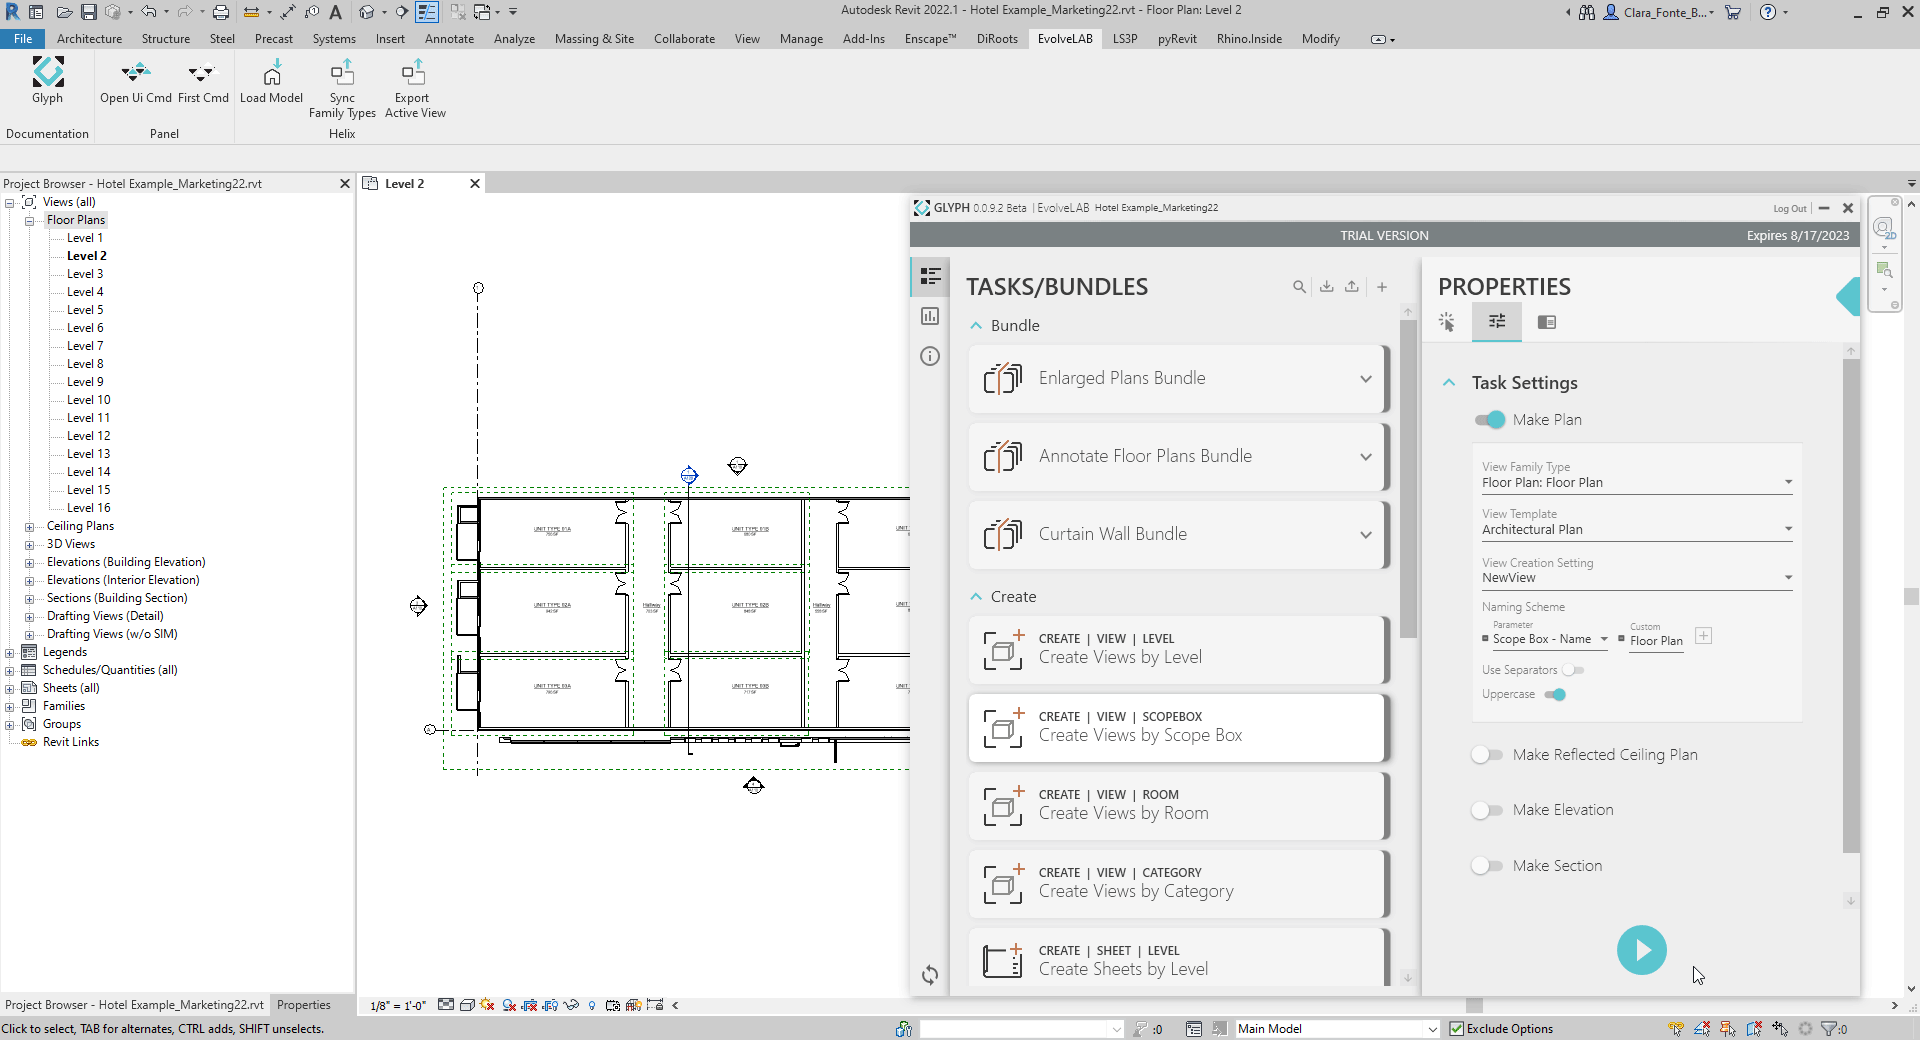
3 | Pick Views to create and define their’s settings
- Go to the Task Settings tab.
- Choose types of views to make. Eg: make Floor Plans.
- Define View Settings:
- View Family Type - define View Type from among options in the Revit project.
- View Template - define View Template from among options in the Revit project.
- View Creation Settings - define whether the Views are to be dependent or not from other Views in the project.
- Naming Scheme - define parameters, prefixes, and/or suffixes for the View name.
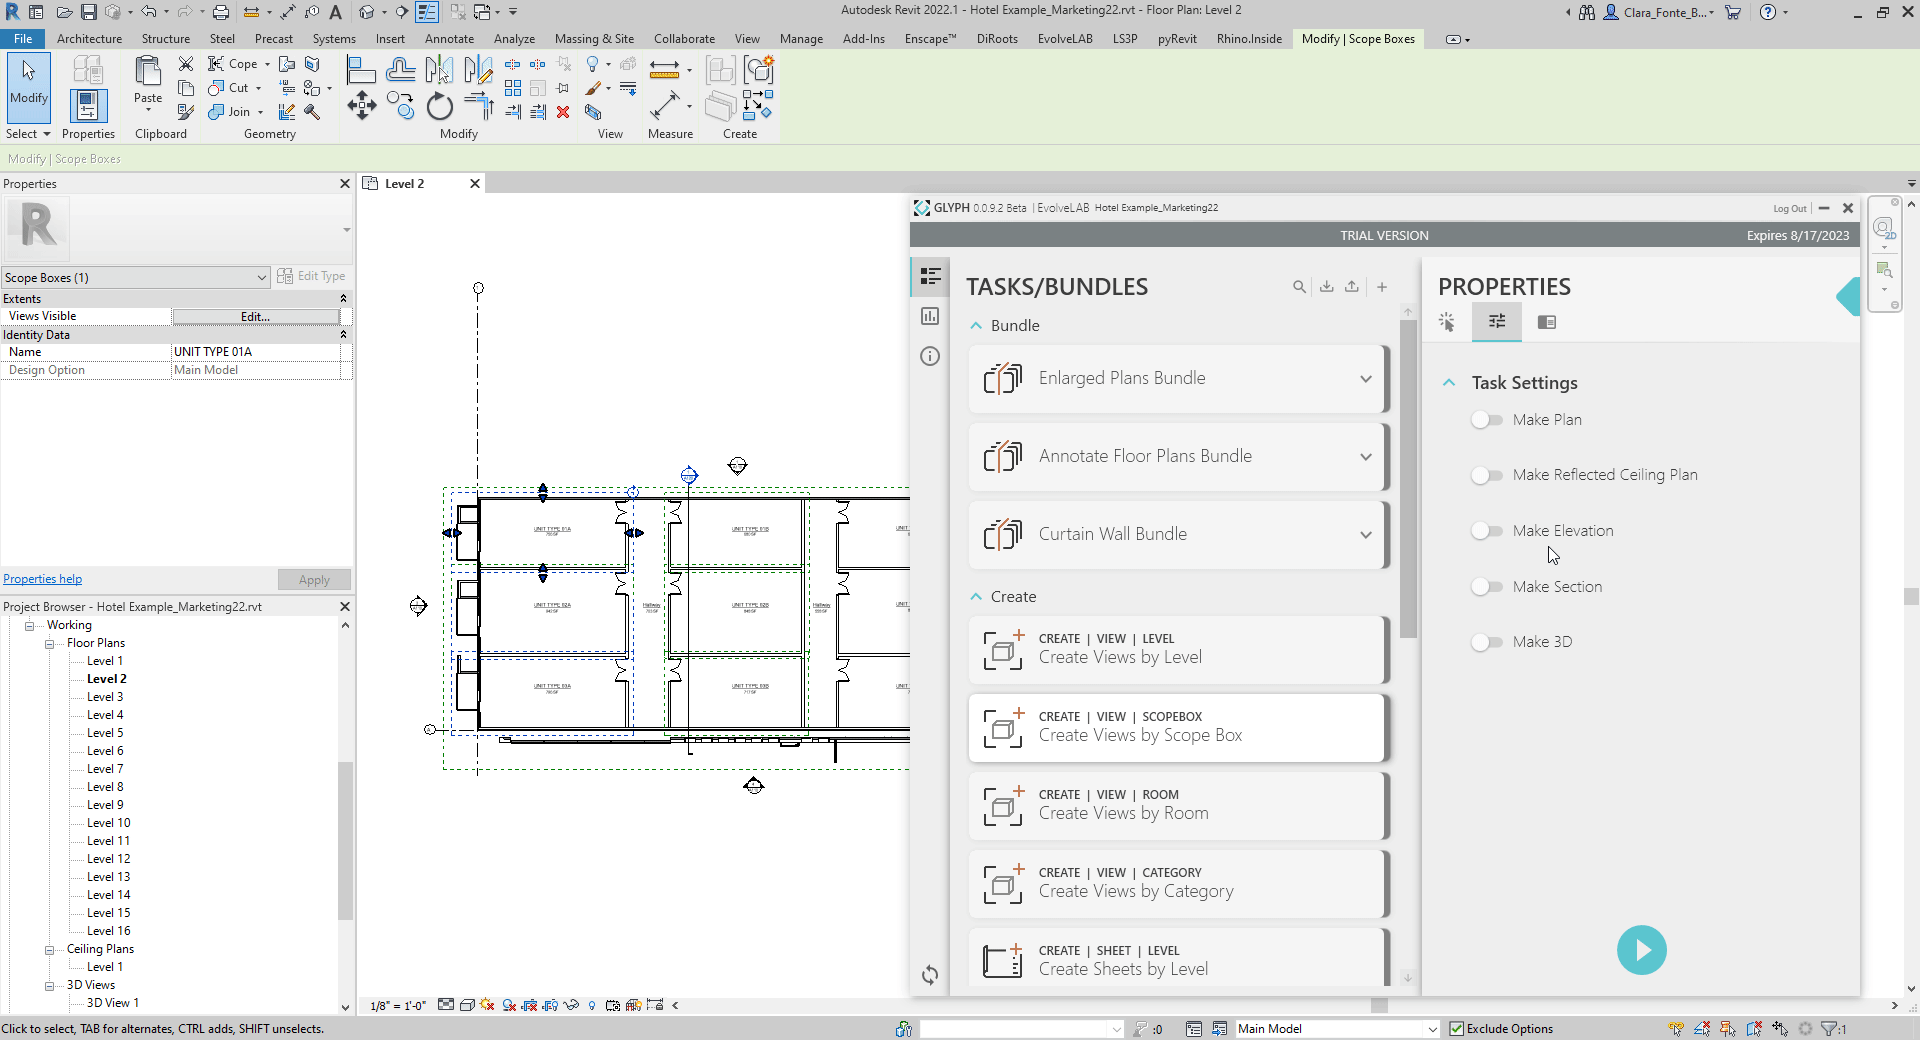
4 | Run the Task
- Press the play button.
- Watch the Project Browser to find the newly created Views