Workflow Advantages
- Easily Tag elements of different Categories in the Active View.
- Select multiple categories to apply identical settings.
- Easily visualize the results by working in Active View.
1 | Select Active View
- From within the OOTB Tag View by Category task, Selection tab, use the Revit Selection button to select the Active View in Revit.
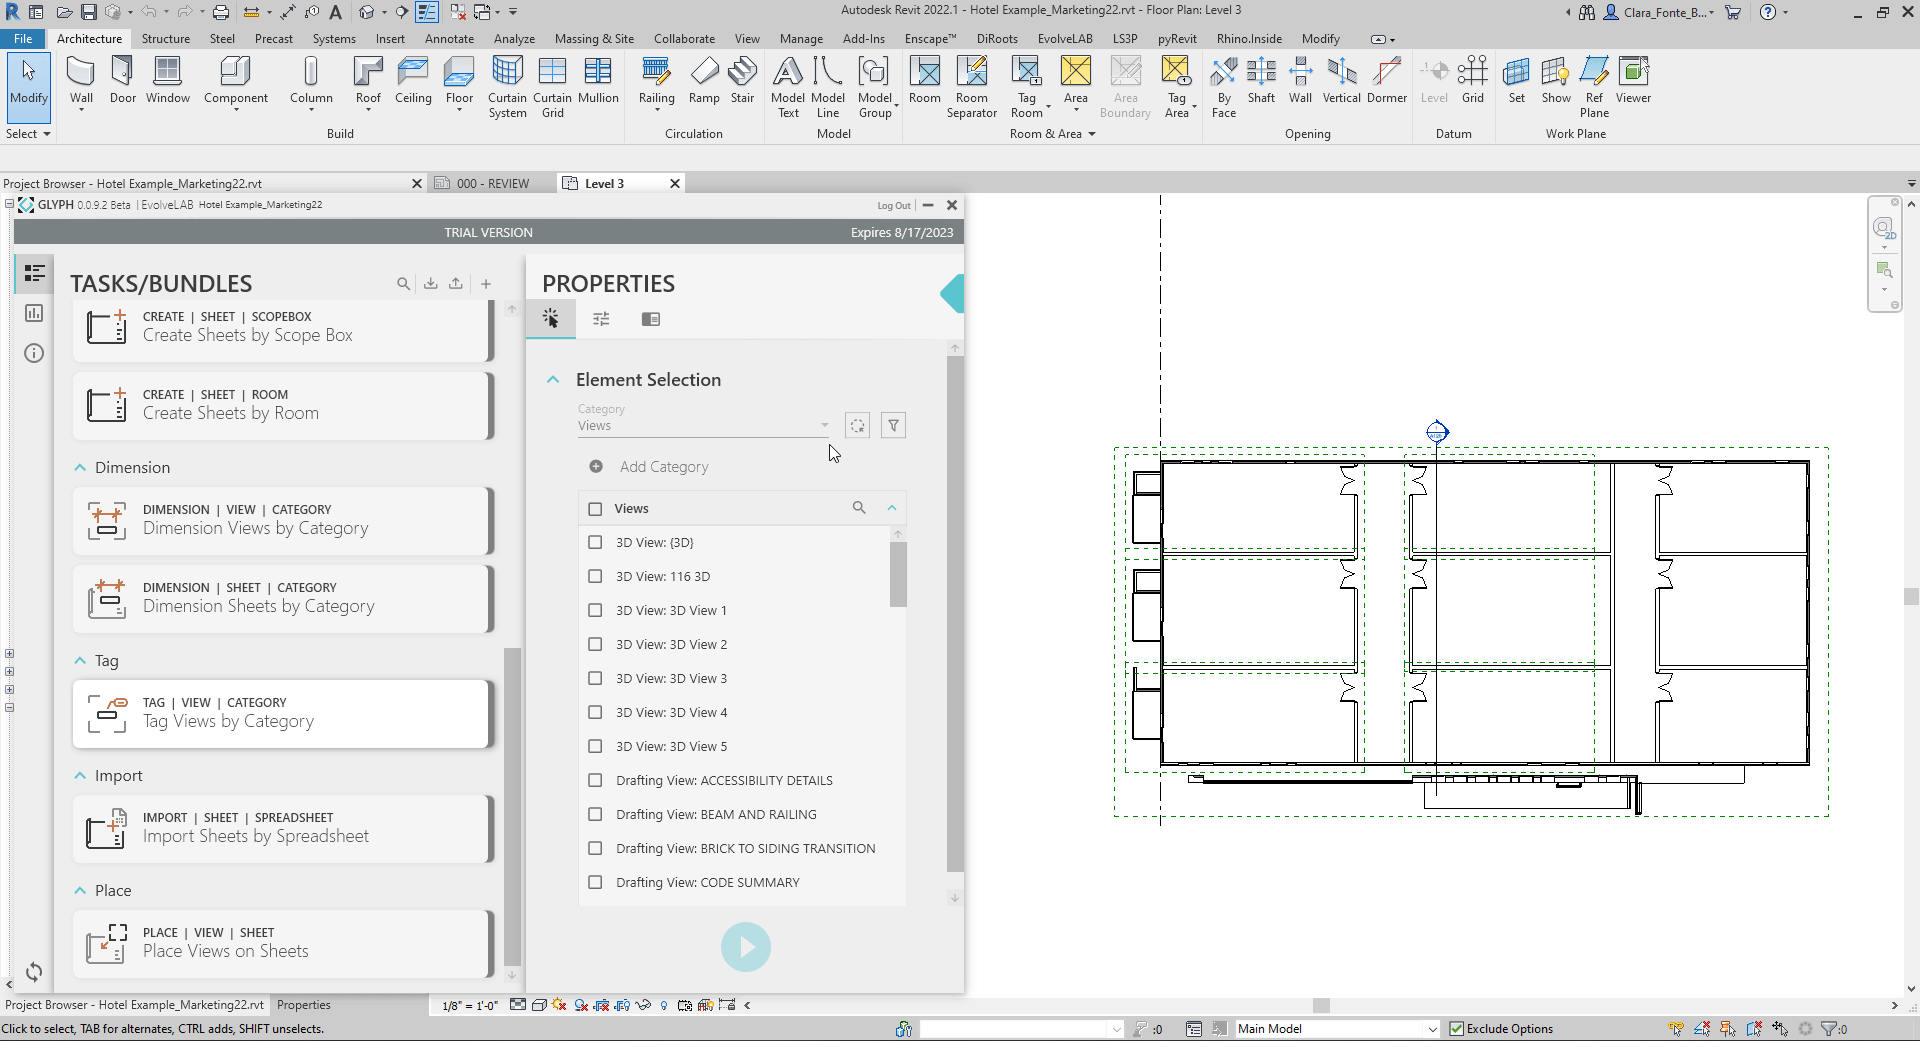
In this workflow we are only tagging elements in the current view, but there are methods you can use to select multiple views at once. To learn about these alternative element selection processes, check out the How to Create View By Scope Box workflow.
2 | Select Categories to Tag
- Right below the View Selection field, use the drop-down menu to pick a Category to tag.
- After opening the drop-down menu, you can start typing in the name of the Category to more quickly find it.
- Add more Categories as needed using the Add Category button.
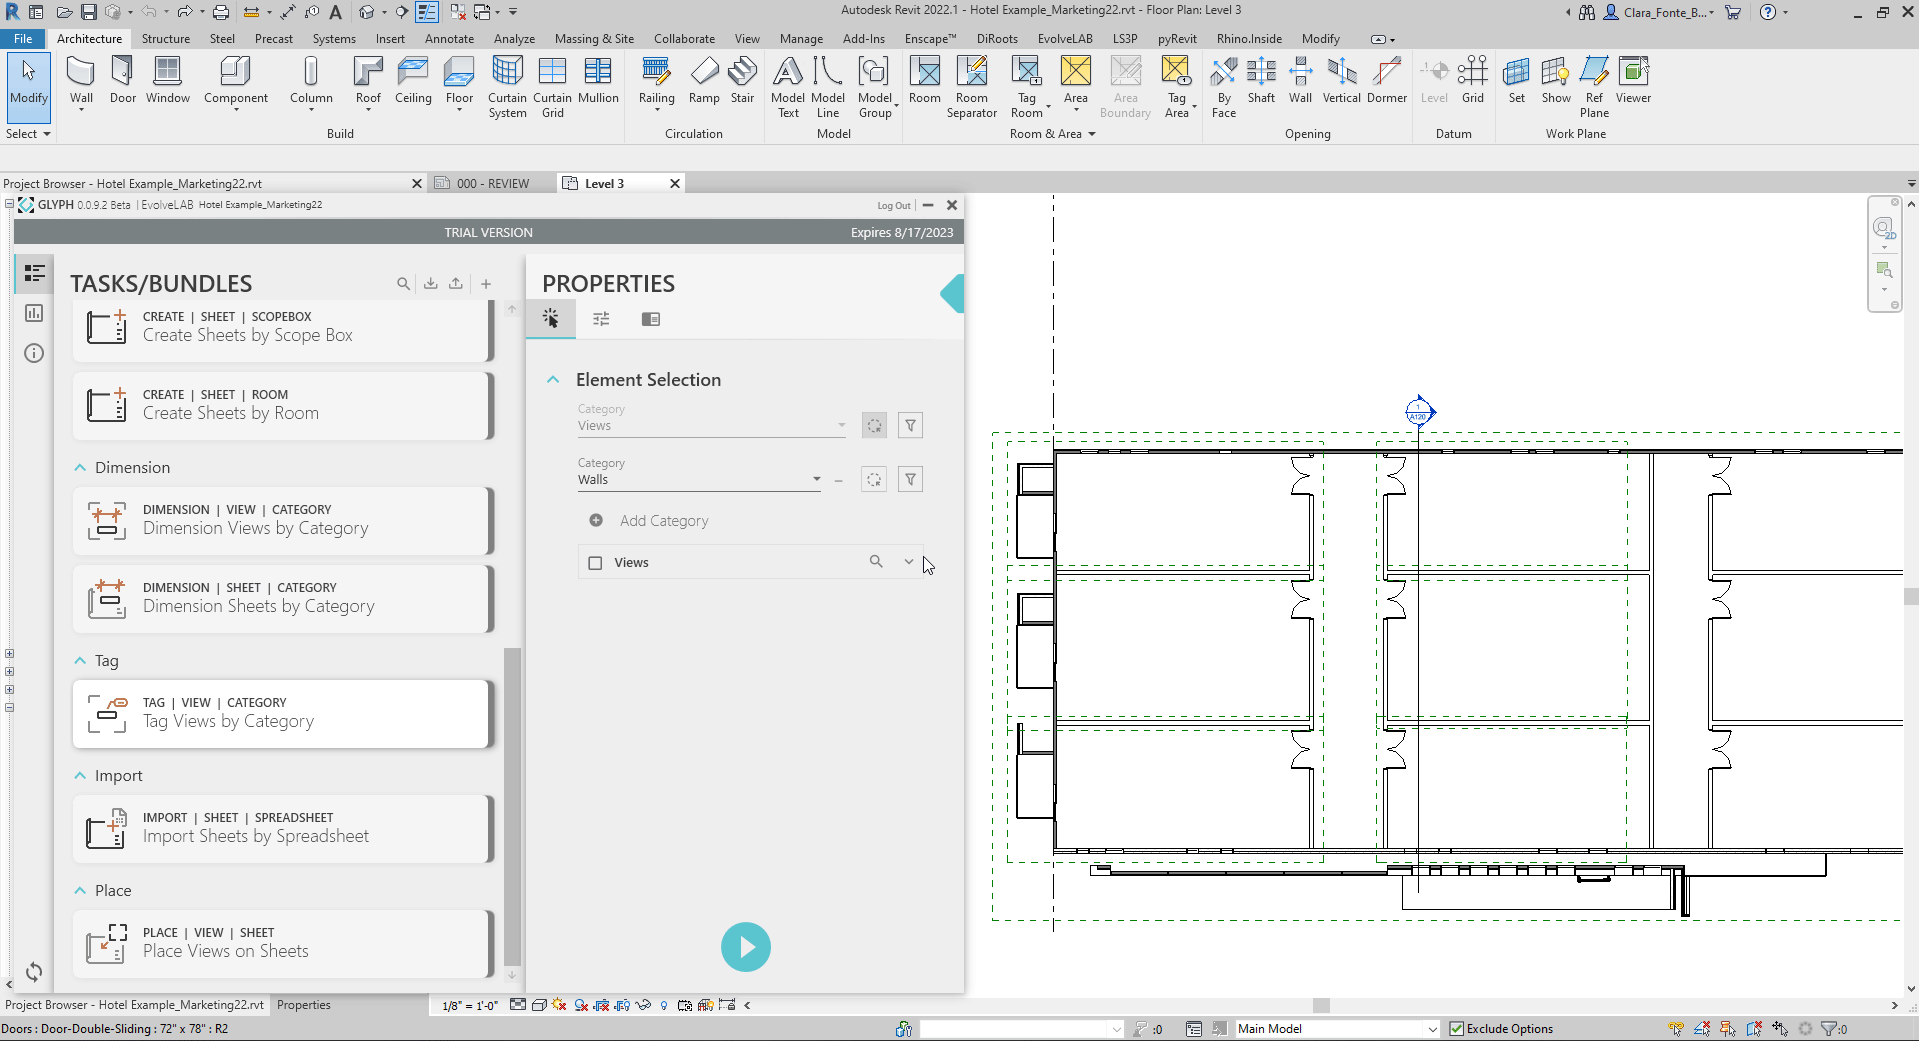
In this workflow we are tagging all elements in the view, but you can narrow down your selection using the Revit Selection button and the Selection Filter button. To learn how to use them check out the How to Create View By Scope Box workflow.
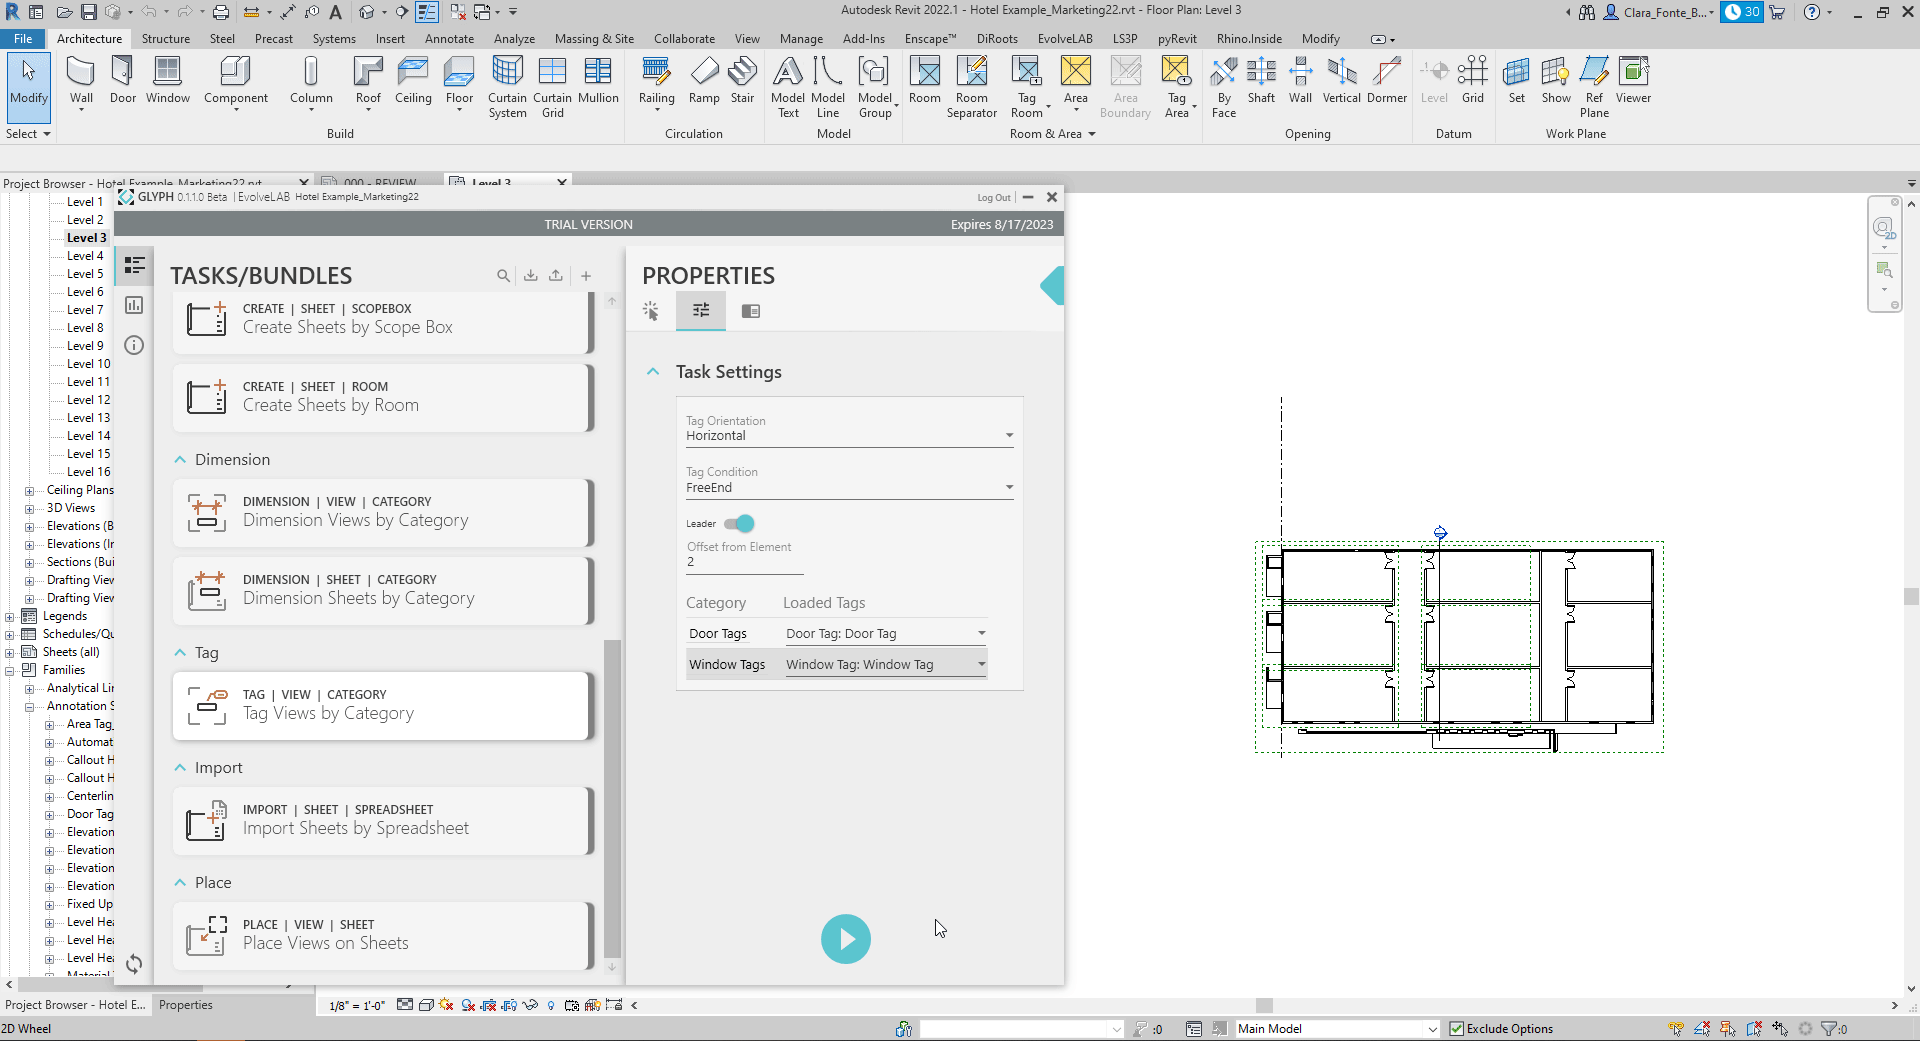
3 | Define Tag Settings
- In the end of the Task Settings tab, customize the settings as needed. There you can define:
- Tag Orientation - horizontal vs vertical.
- Tag Leader Condition - free vs attached end.
- Leader - whether to use leaders and offset distance.
- Tag Family and Type - pick Family and Family Type for each selected Category.
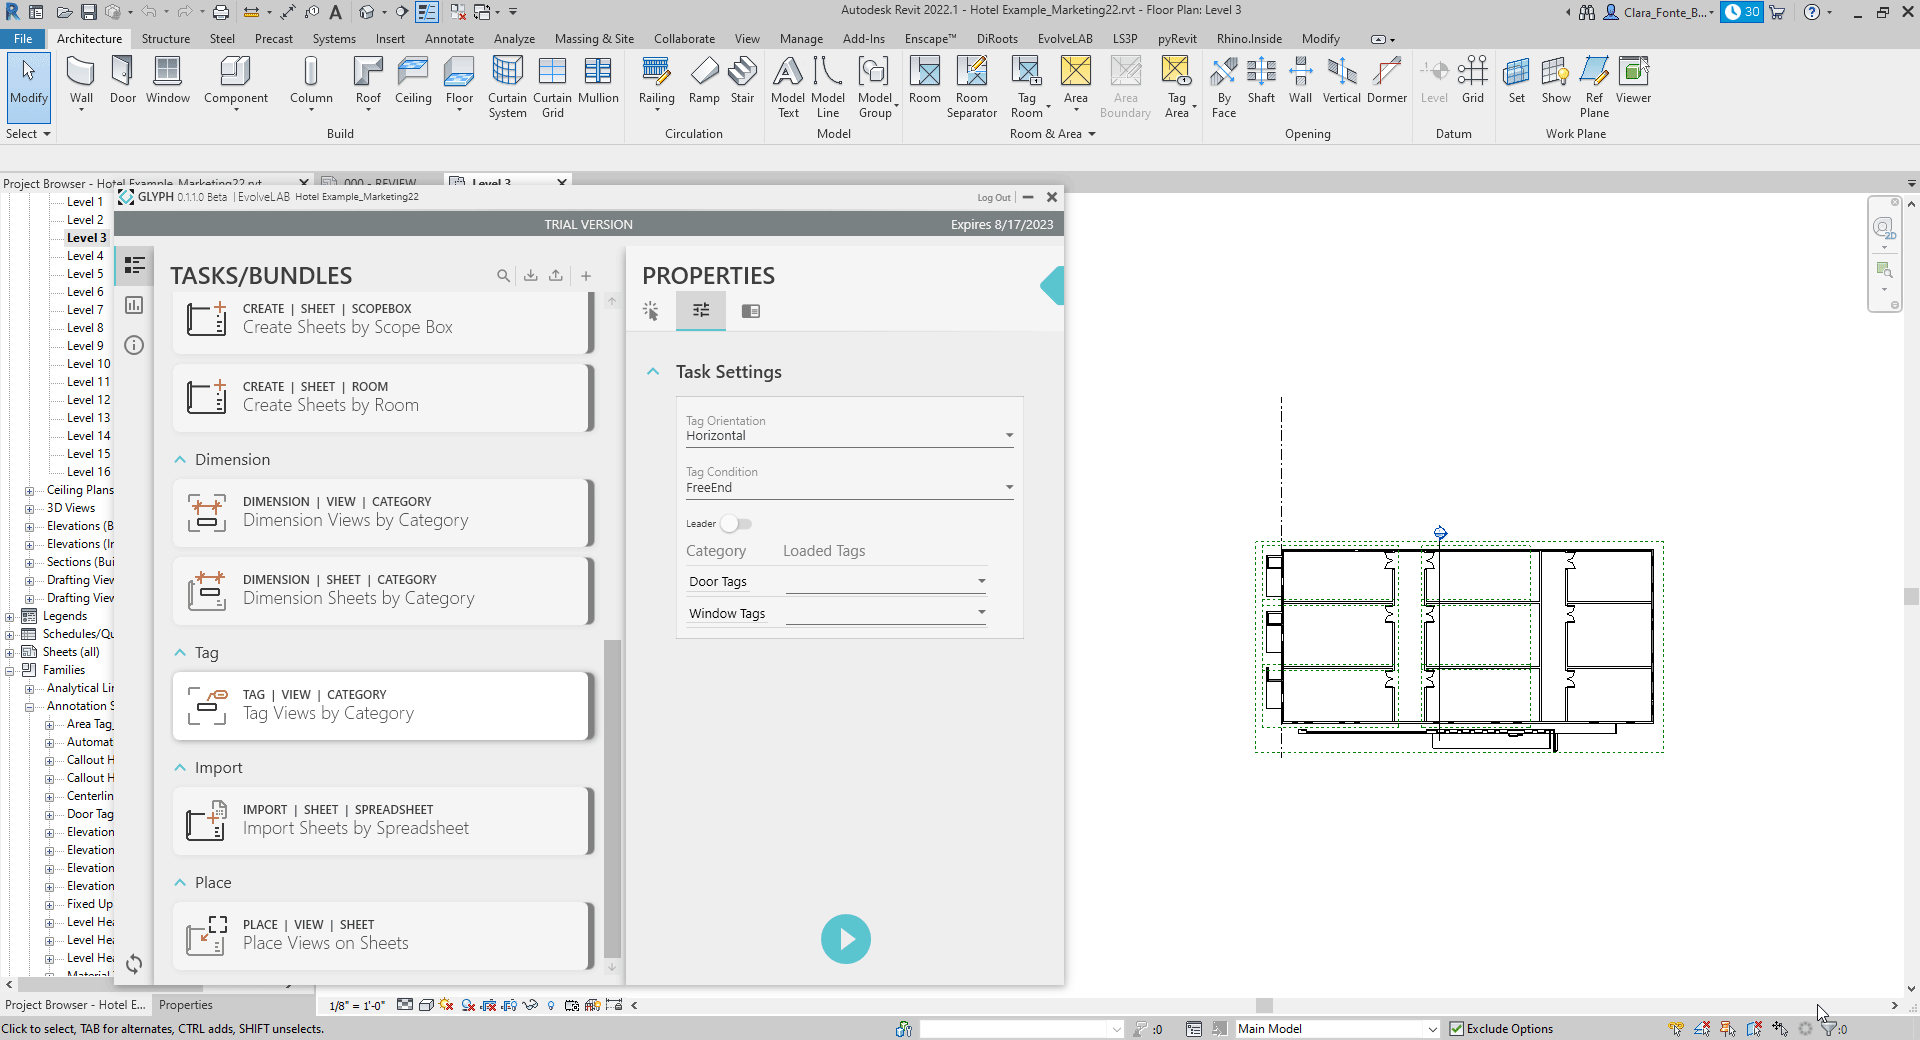
4 | Run the Task
- Press the play button.
- Watch the Active View and see the new Tags being populated.