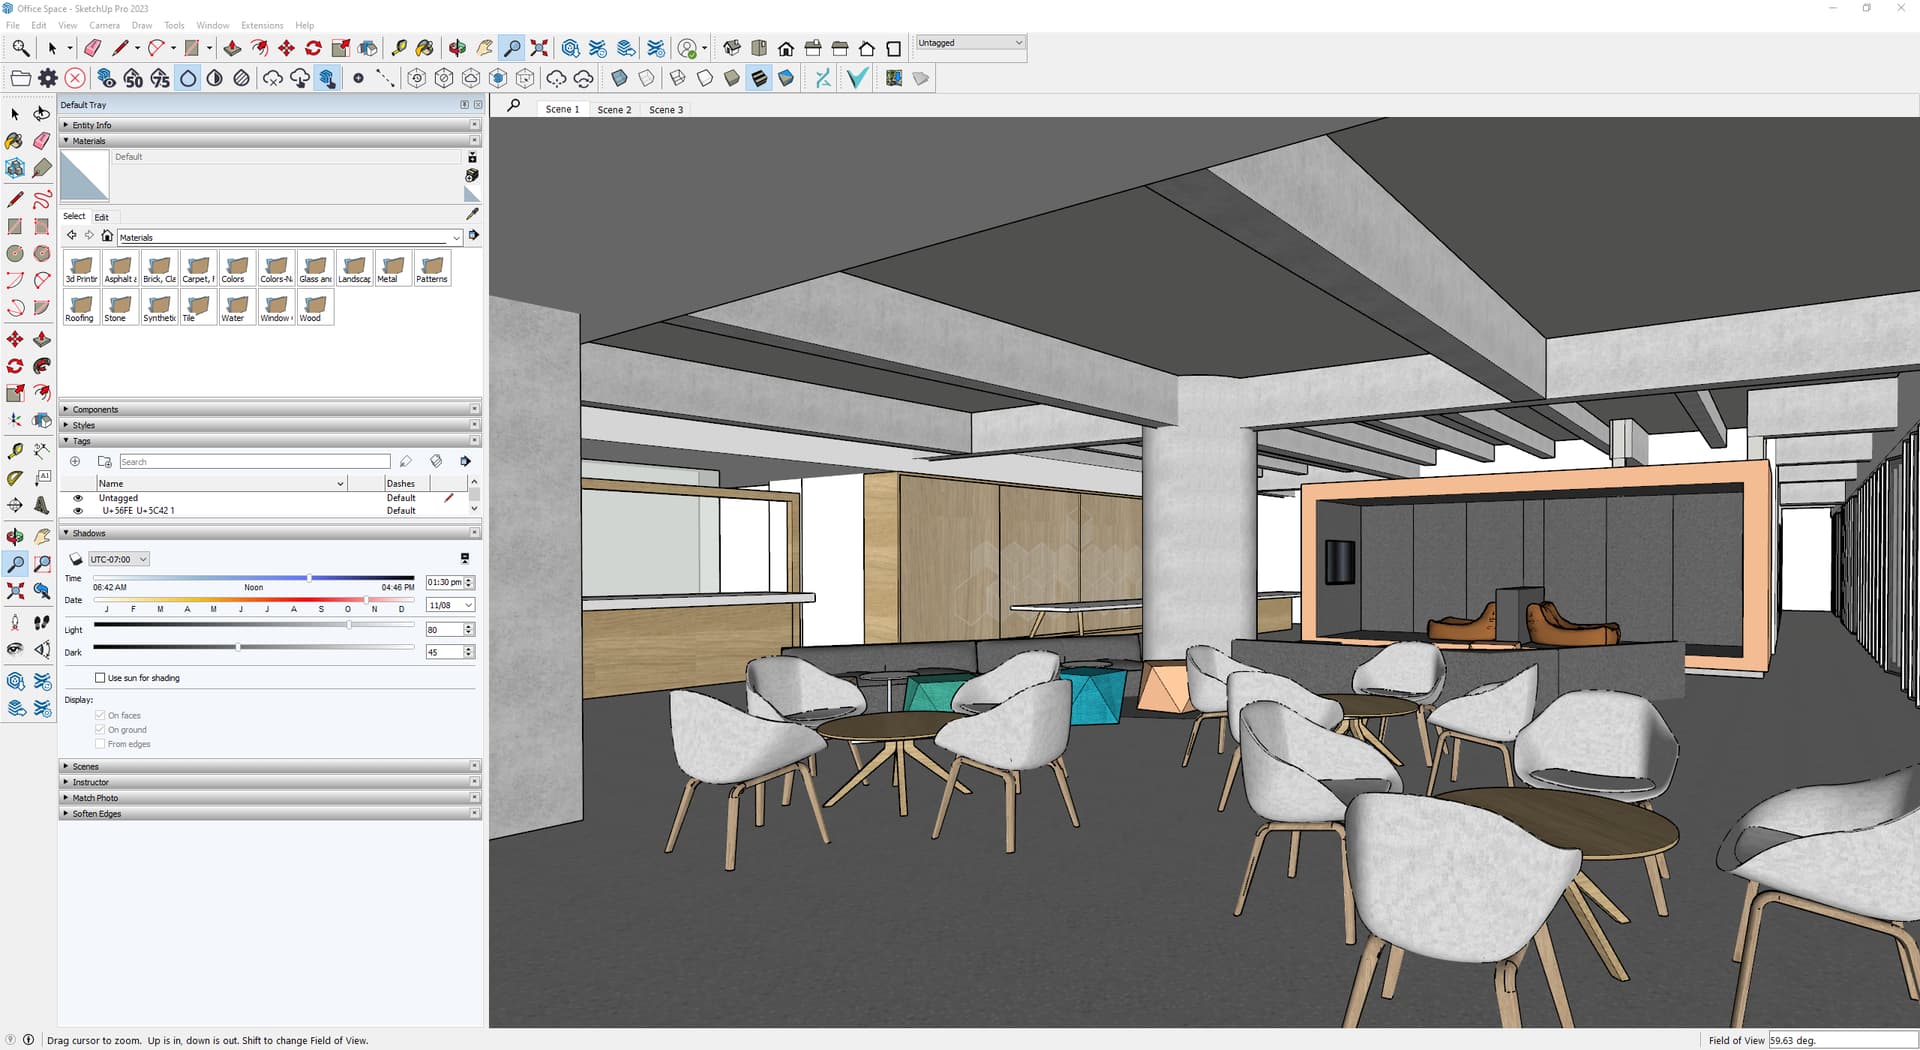
I downloaded another office interior model from the SketchUp Warehouse, to explore the new Render Selection feature. Check out the process below.
The settings and the prompt is also included below each render.
1. Finding a Render to Refine
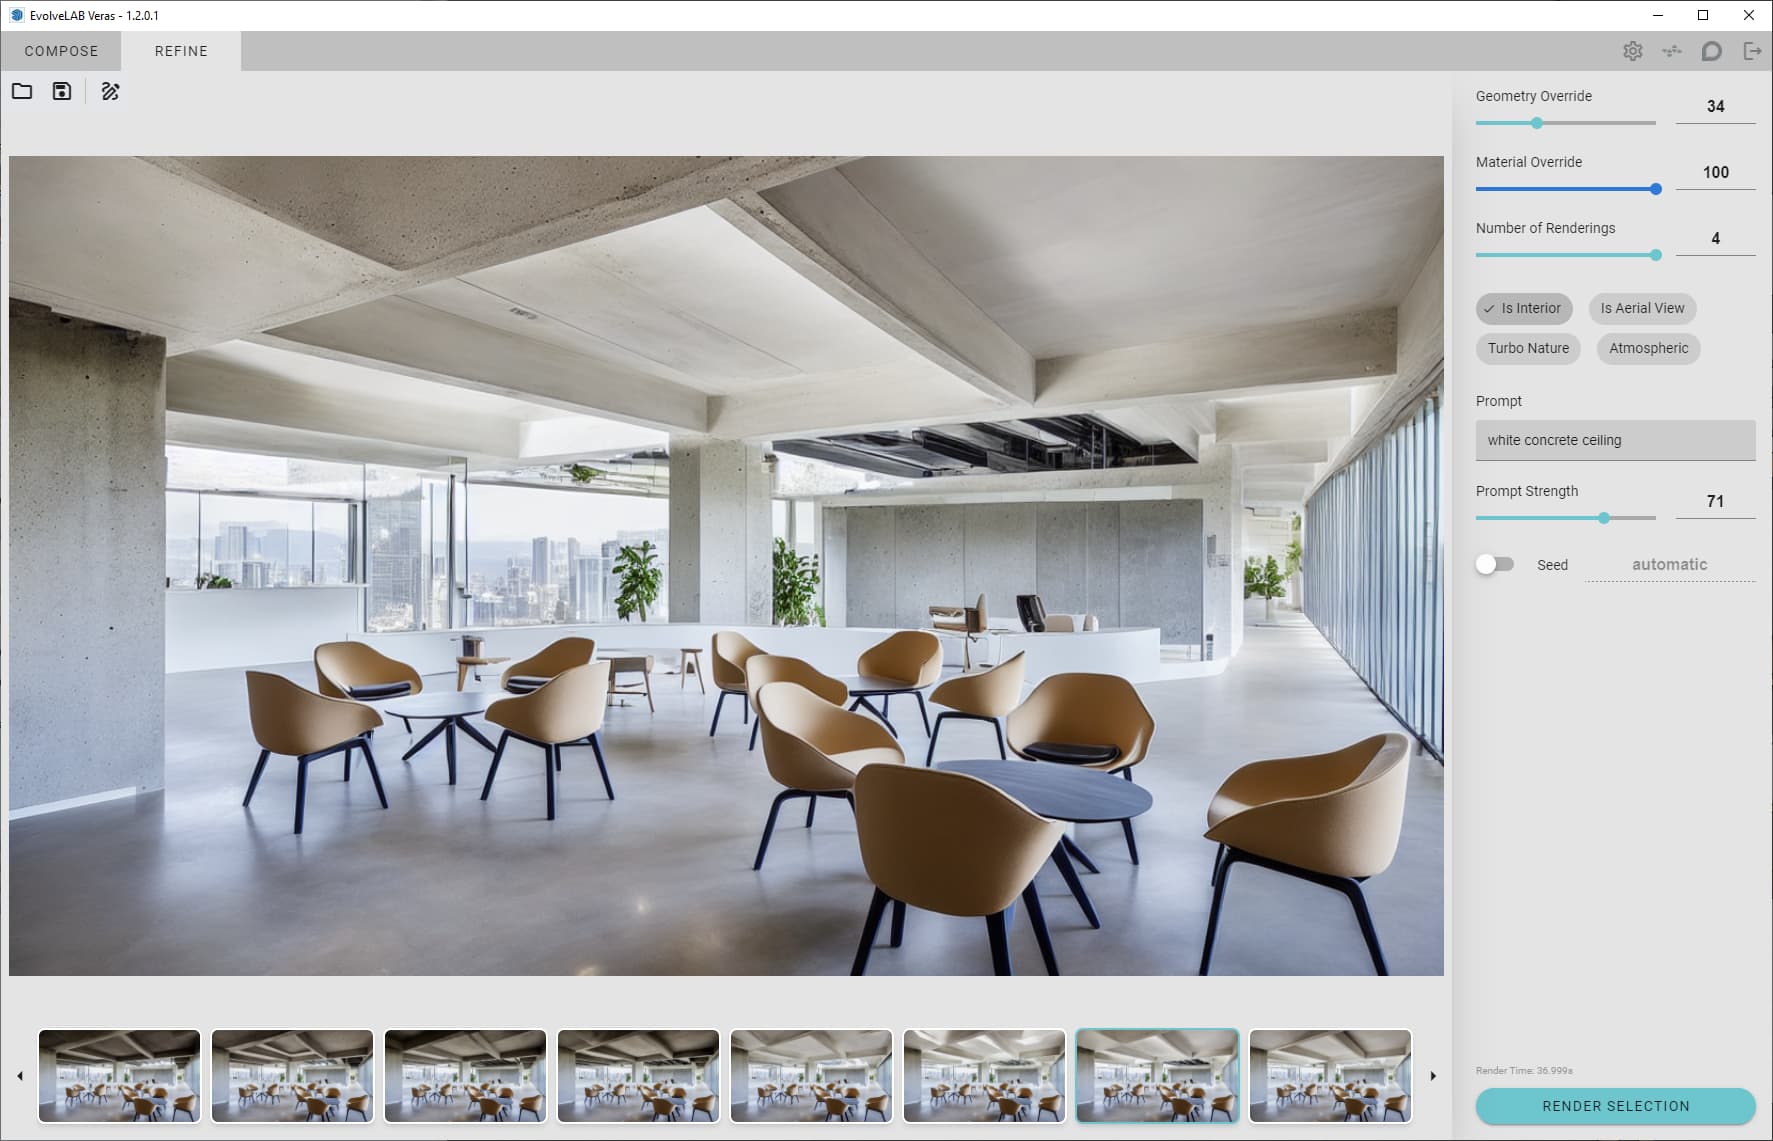
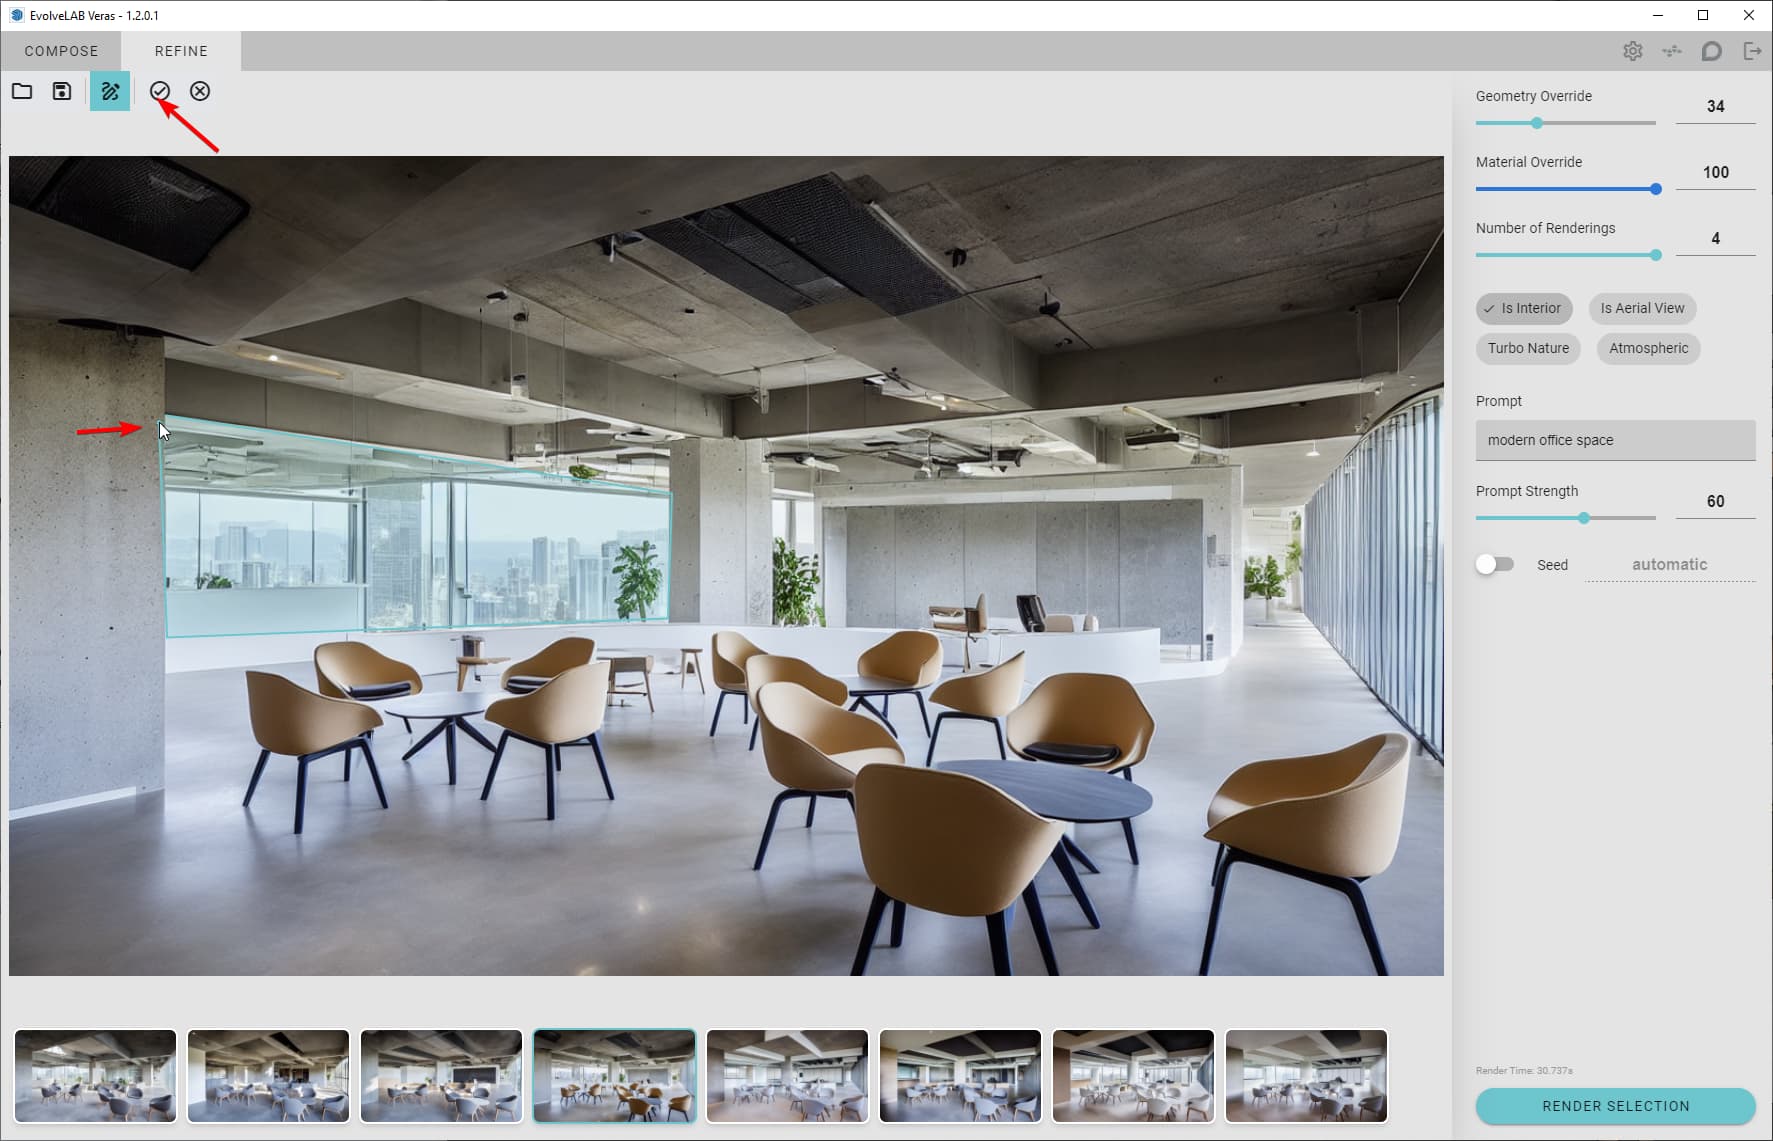
I tried a few renderings with different settings, so that we can have a good base. Here’s the one that I chose:

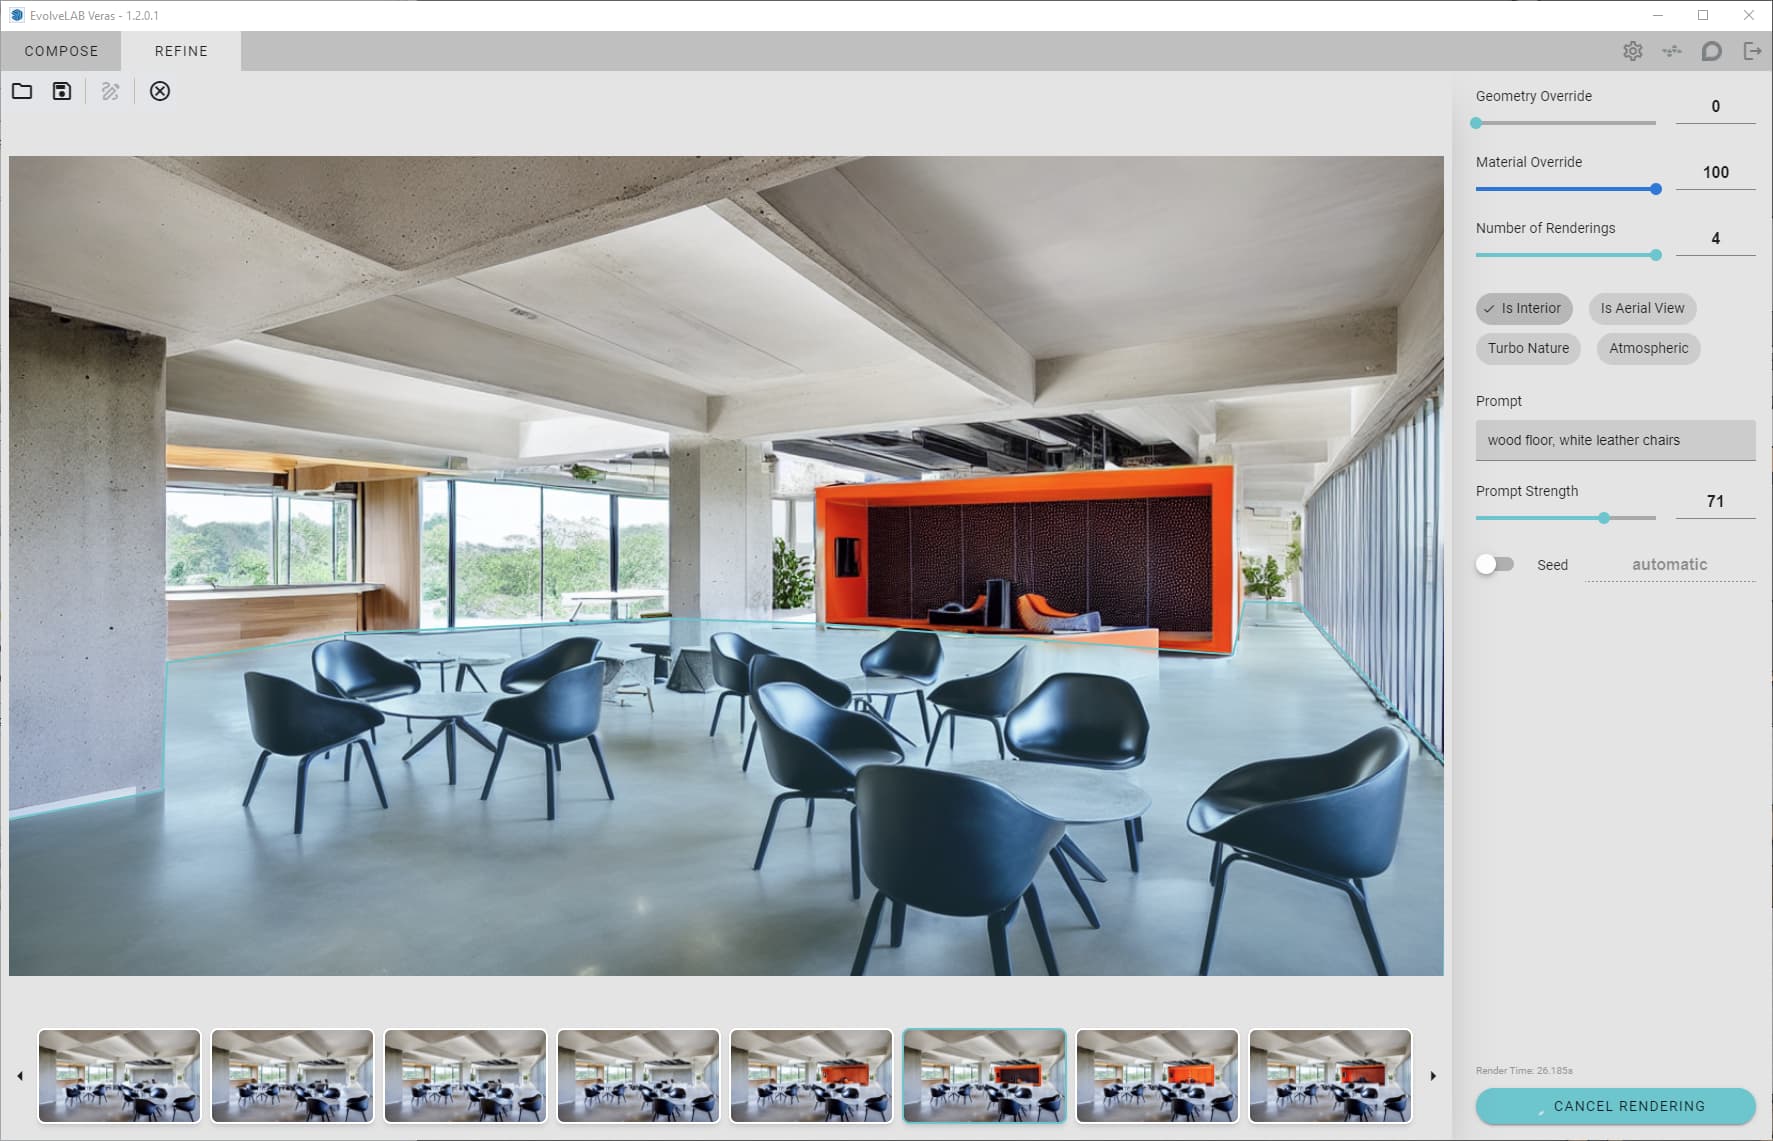
Geometry Override: 34
Material Override: 100
Width: 1344
Width: 768
Is Interior: ON (other toggles OFF)
Prompt: modern office space
Prompt Strength: 60
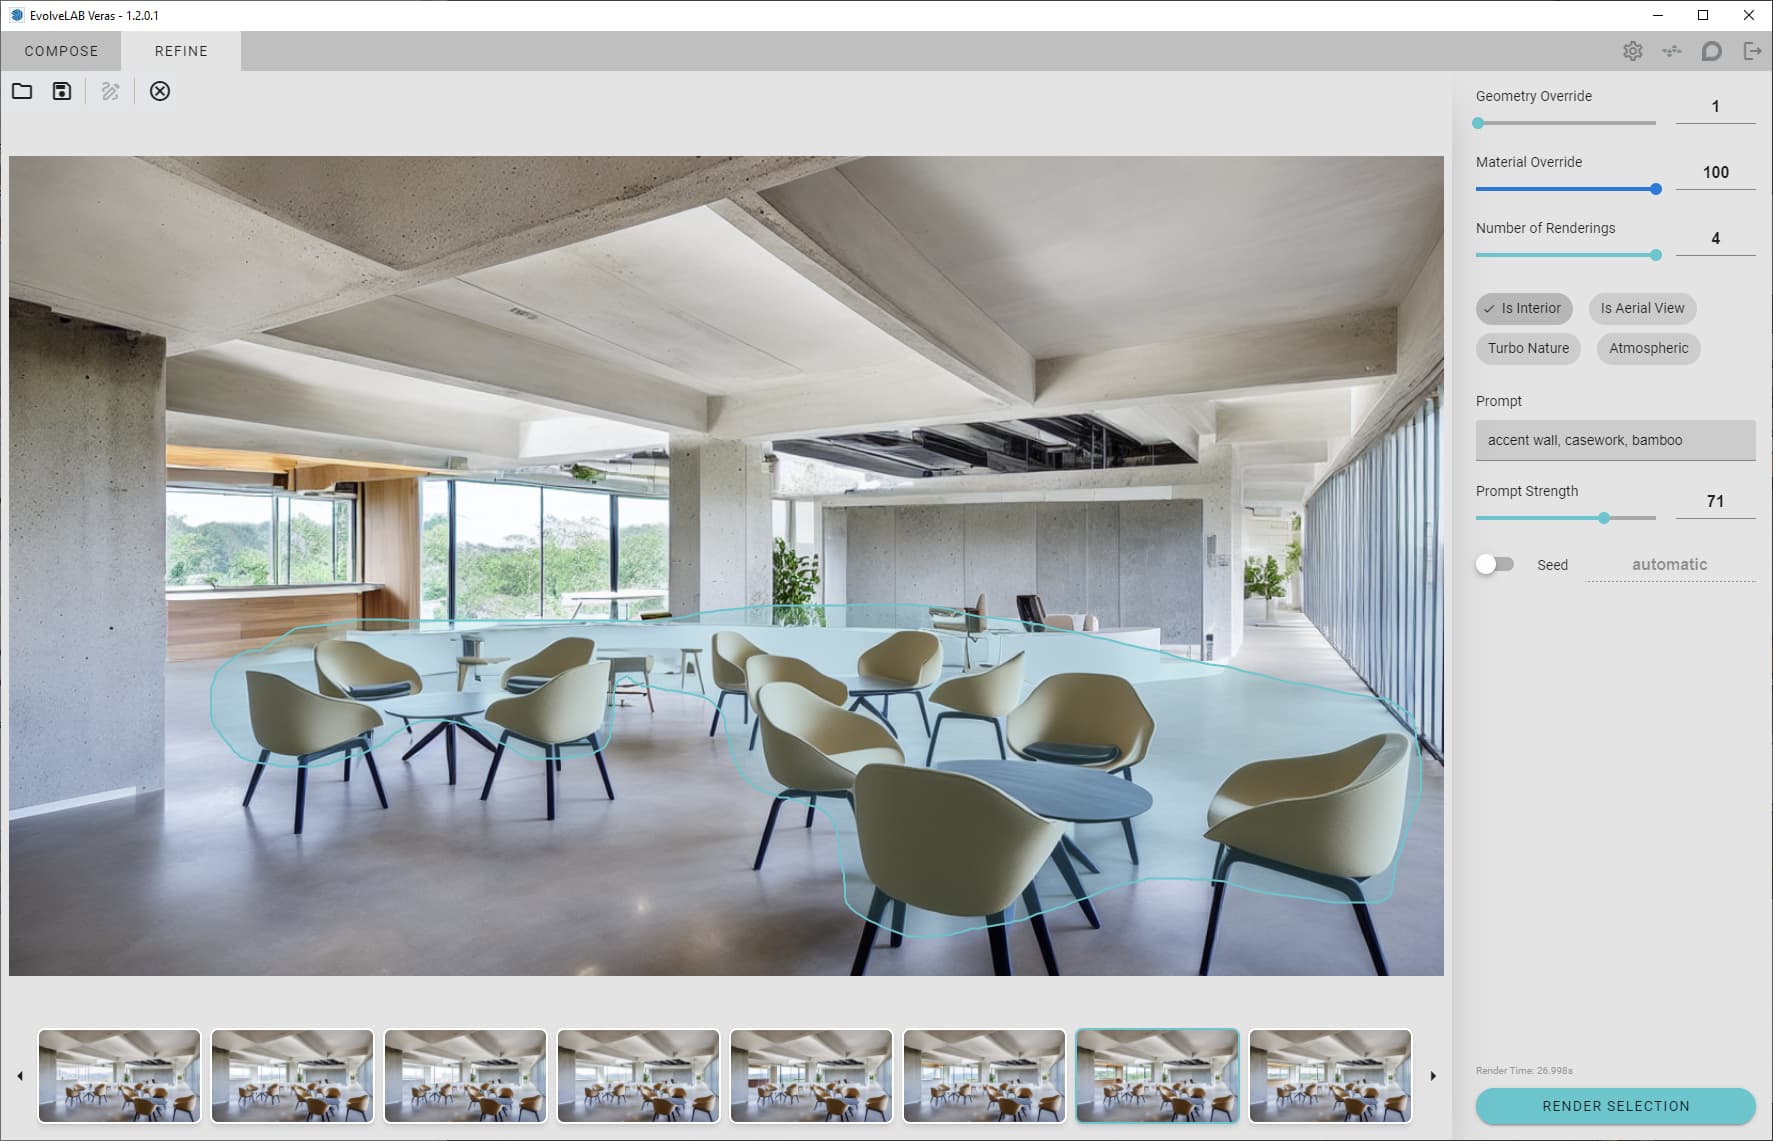
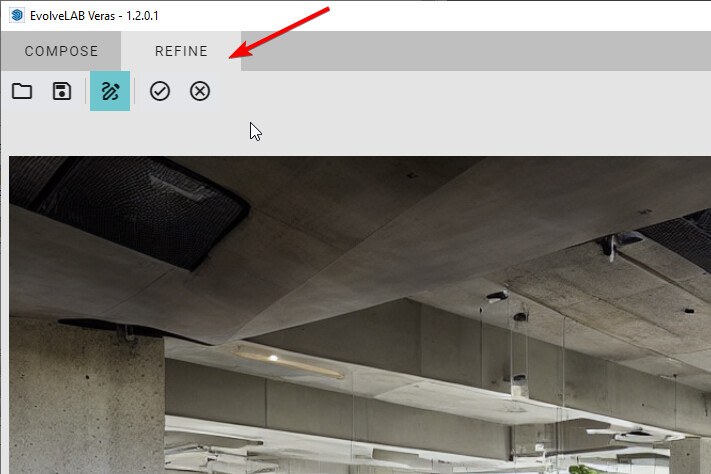
2. Draw the Selection
-
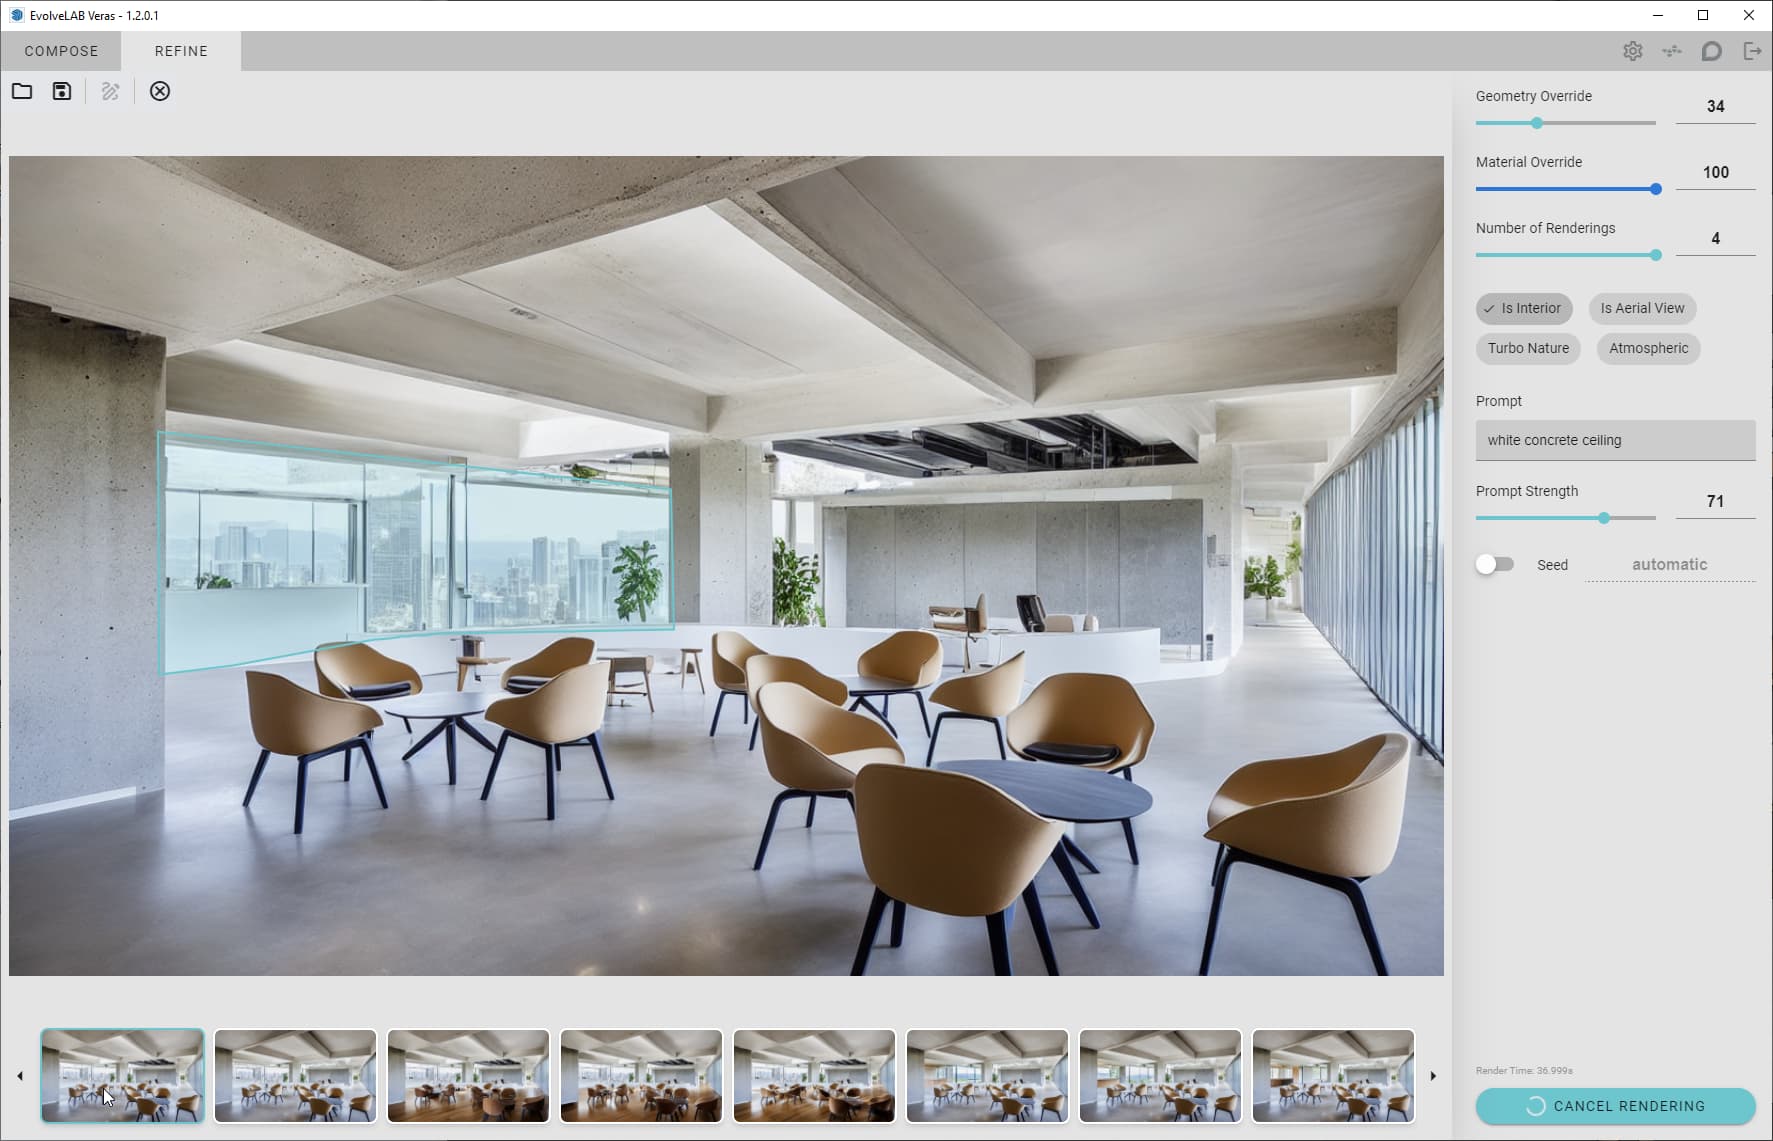
Now that we have a decent start, move over to the REFINE tab. Notice how the Pen tool is already highlighted in blue.
-
You can start drawing by clicking, then releasing which will place a vertex for the selection polygon
-
Alternatively you can click and hold the mouse down to organically draw
- You can finish the sketch the following ways:
- click the circle checkmark
 button
 - click near the start point of the sketch
- press the [ENTER] key
- click the circle checkmark
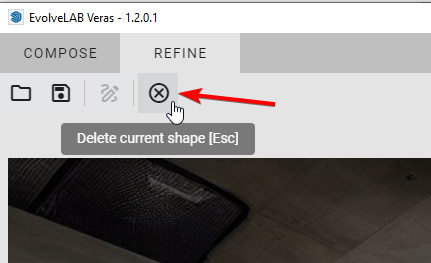
- To clear the selection:
- click the circle
 button
 - or press [ESCAPE] key
- click the circle
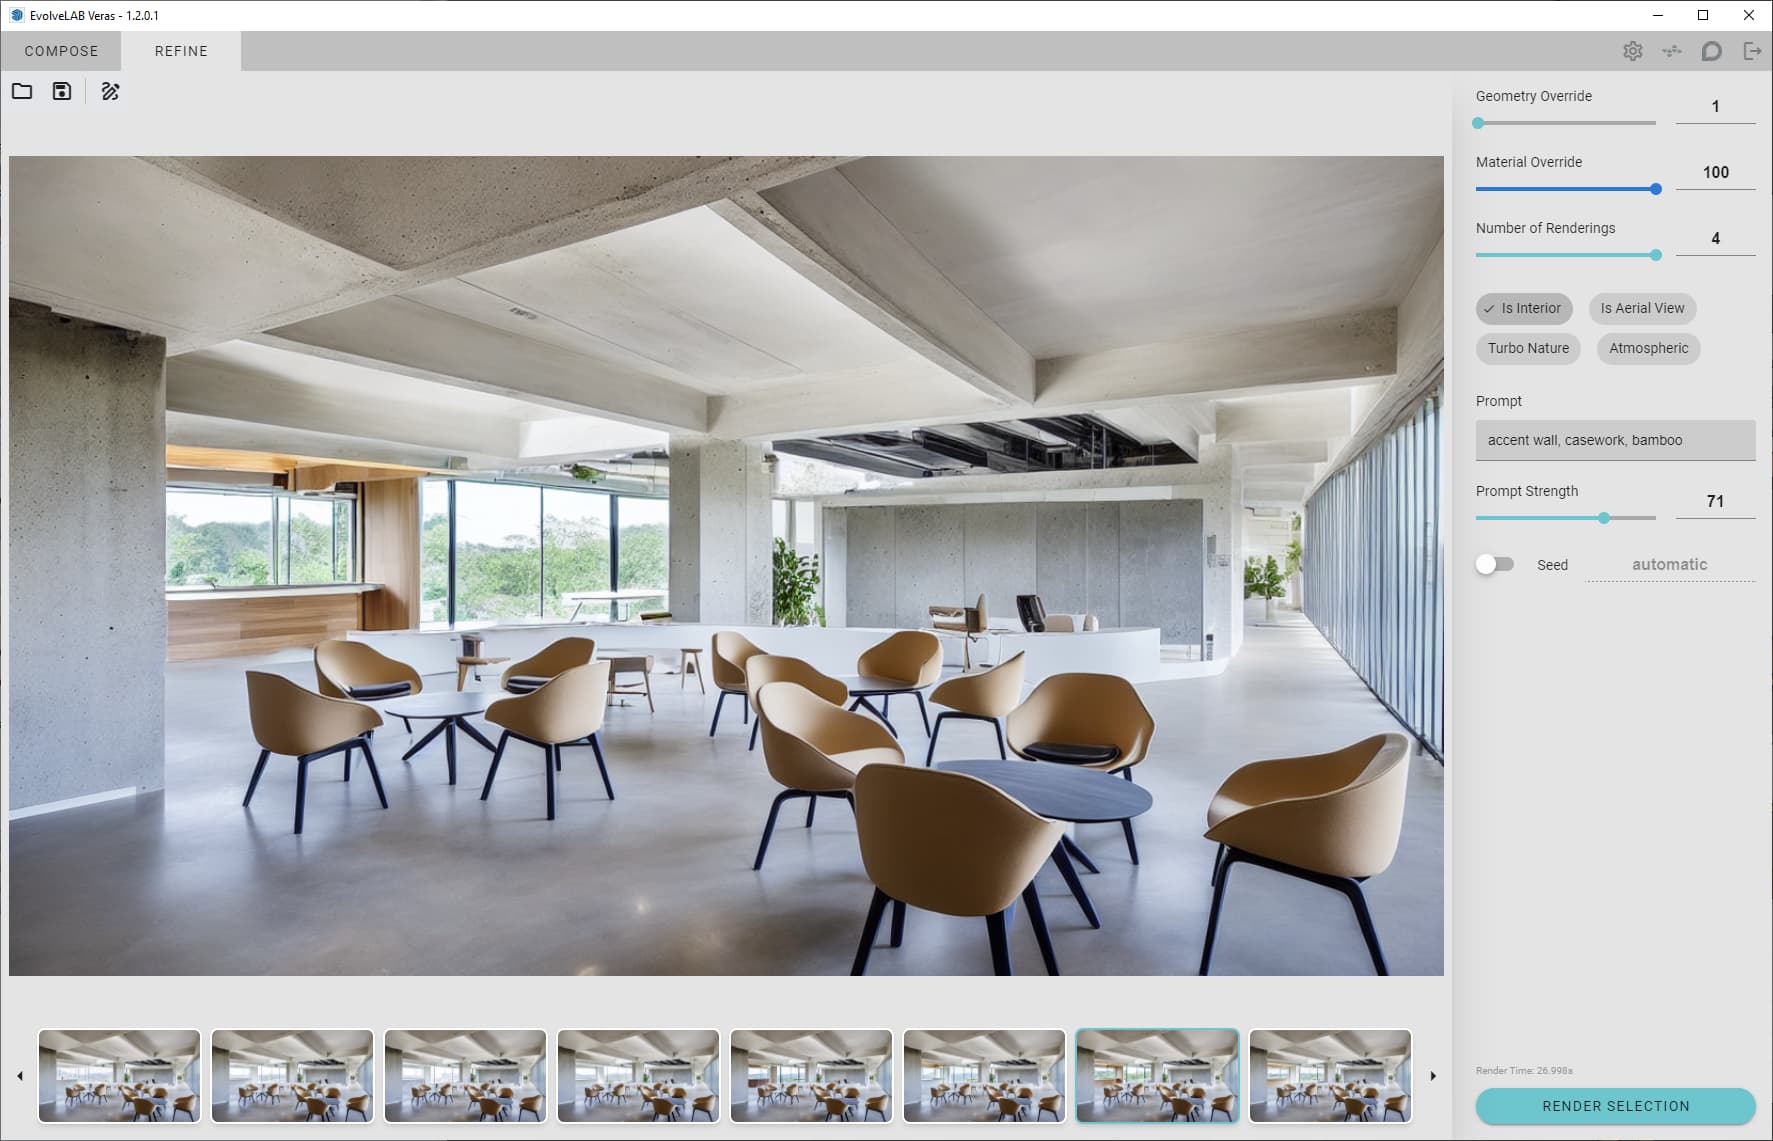
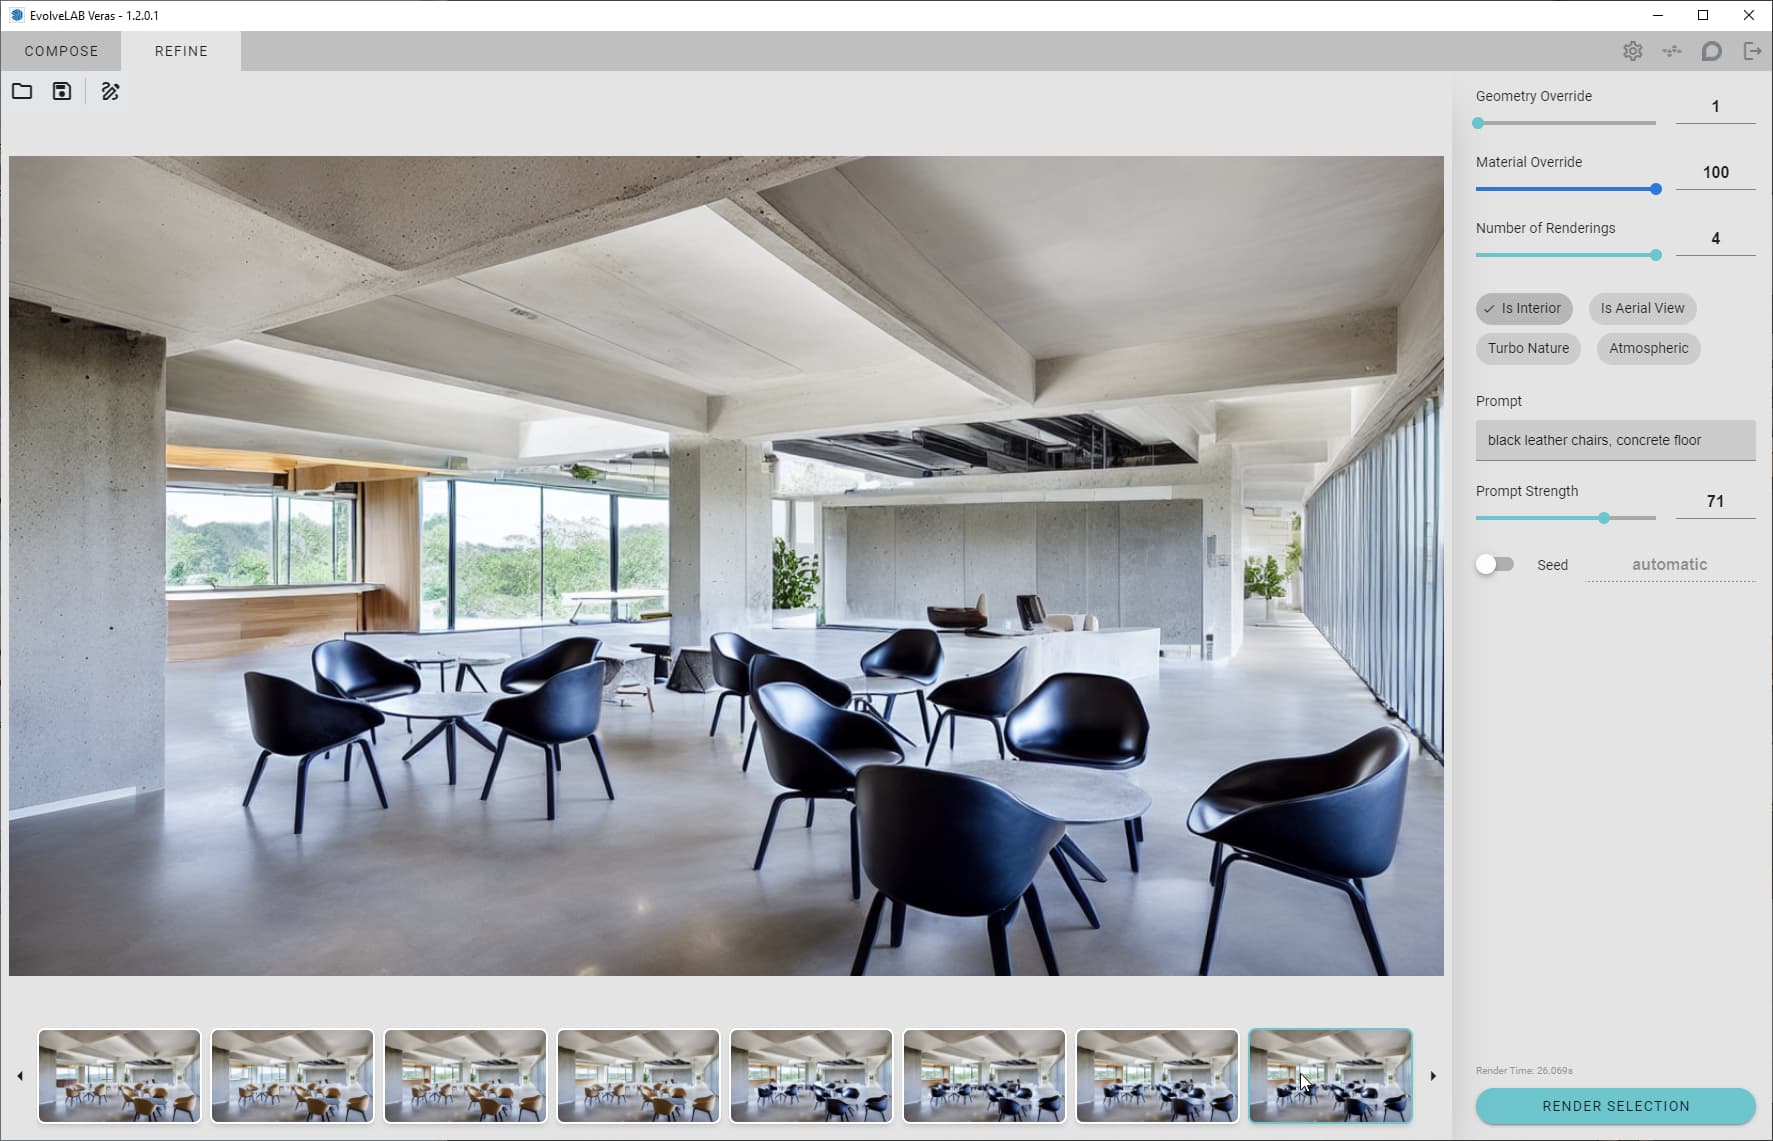
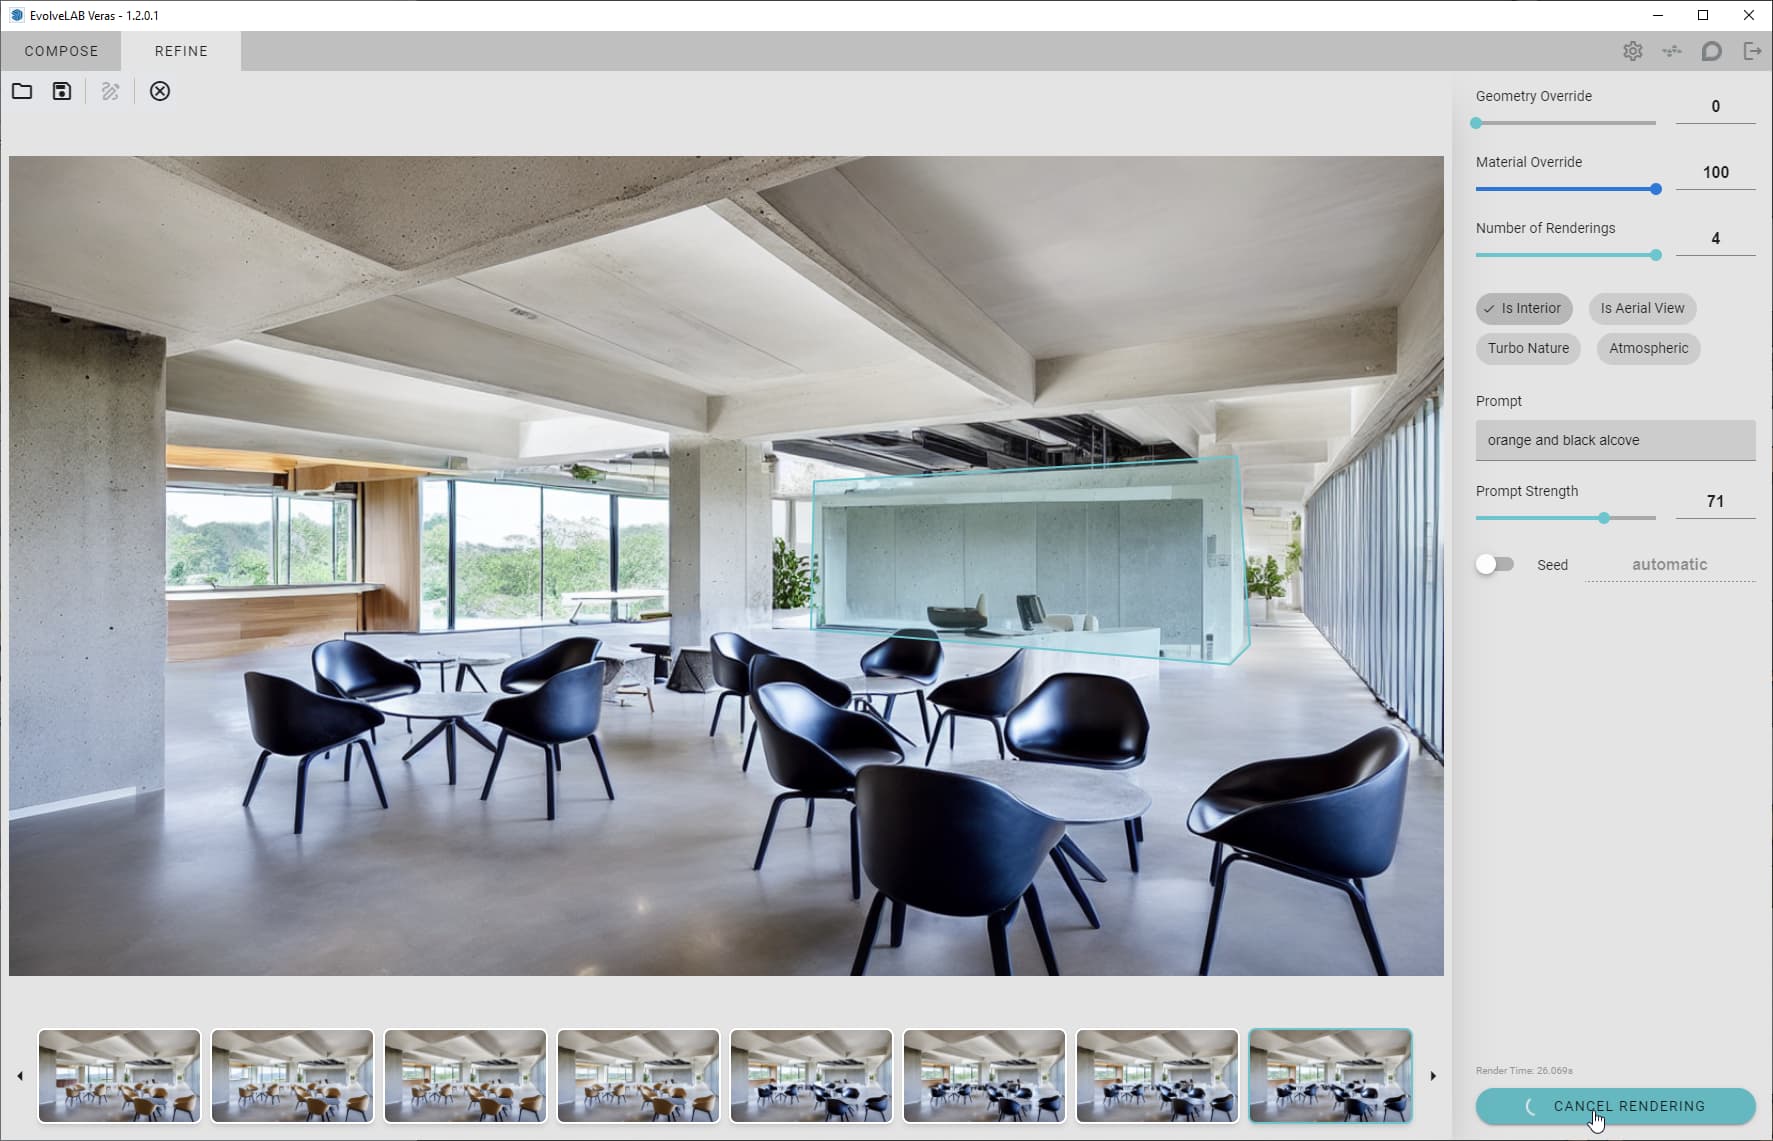
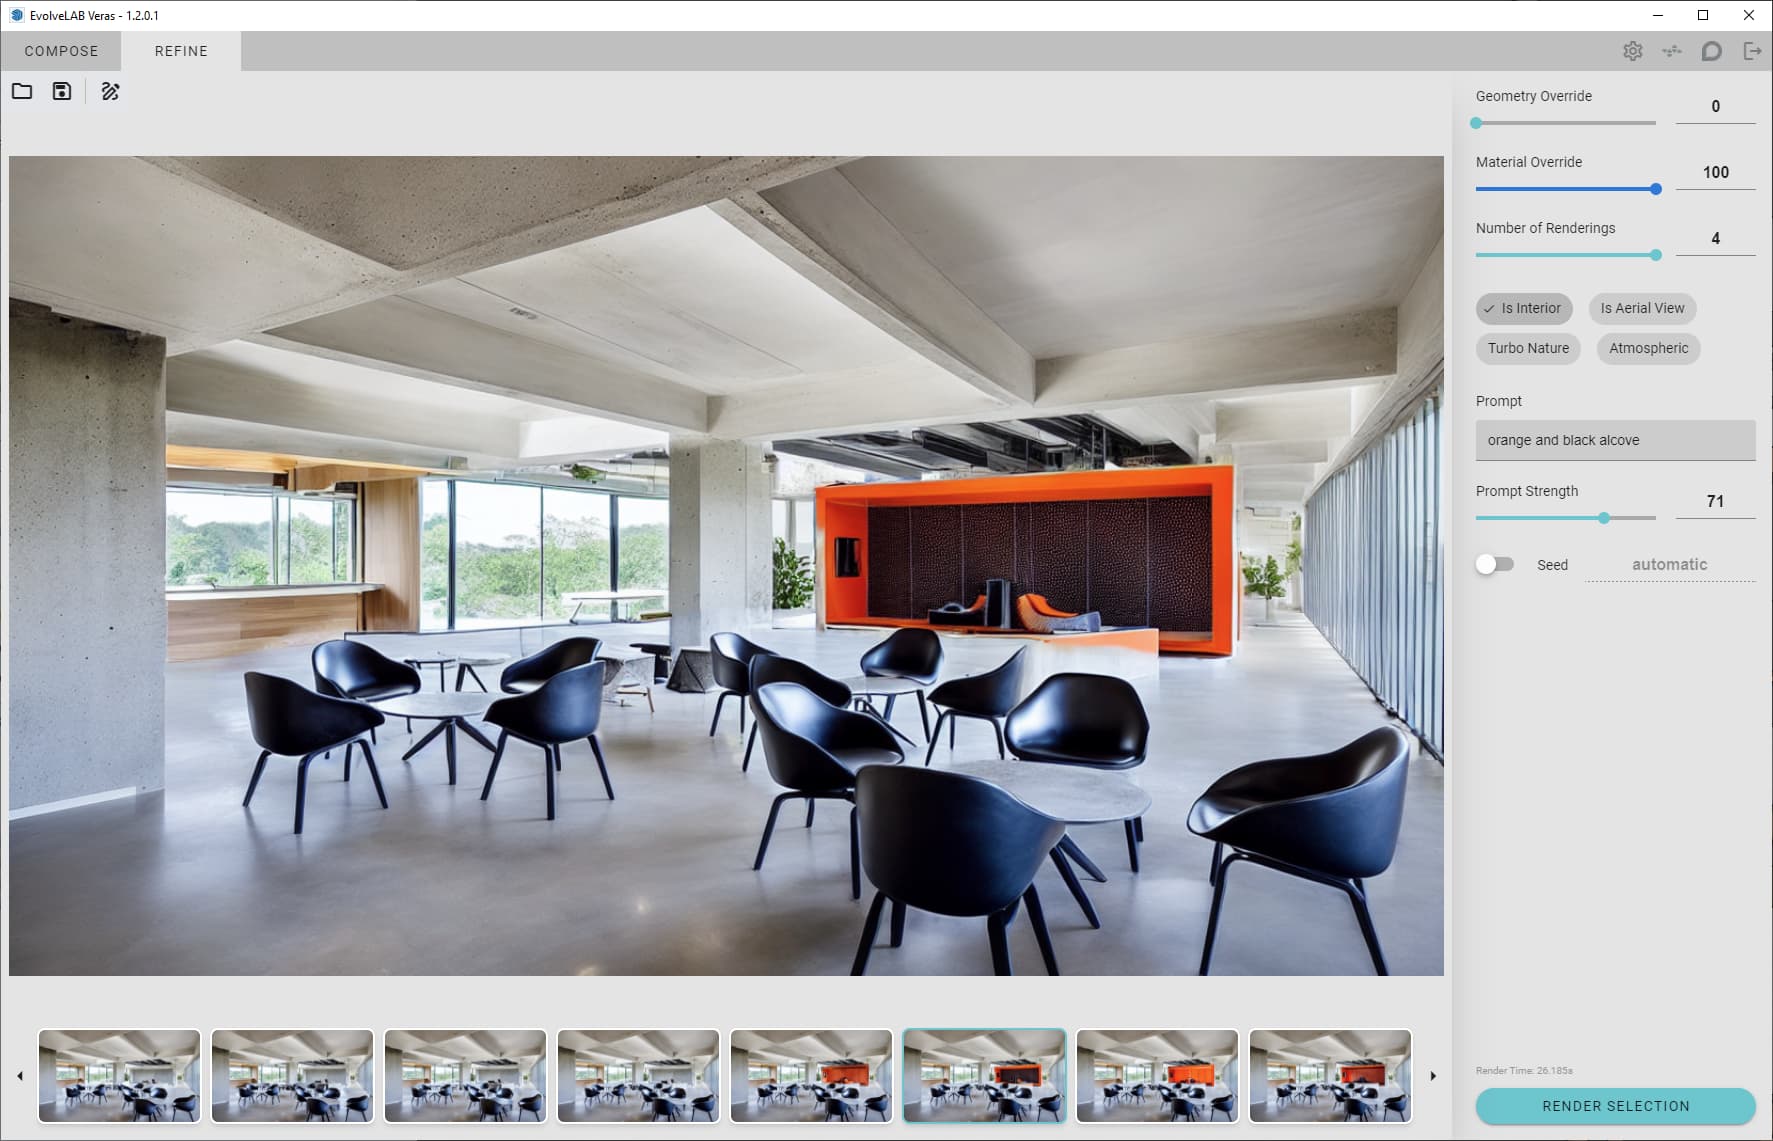
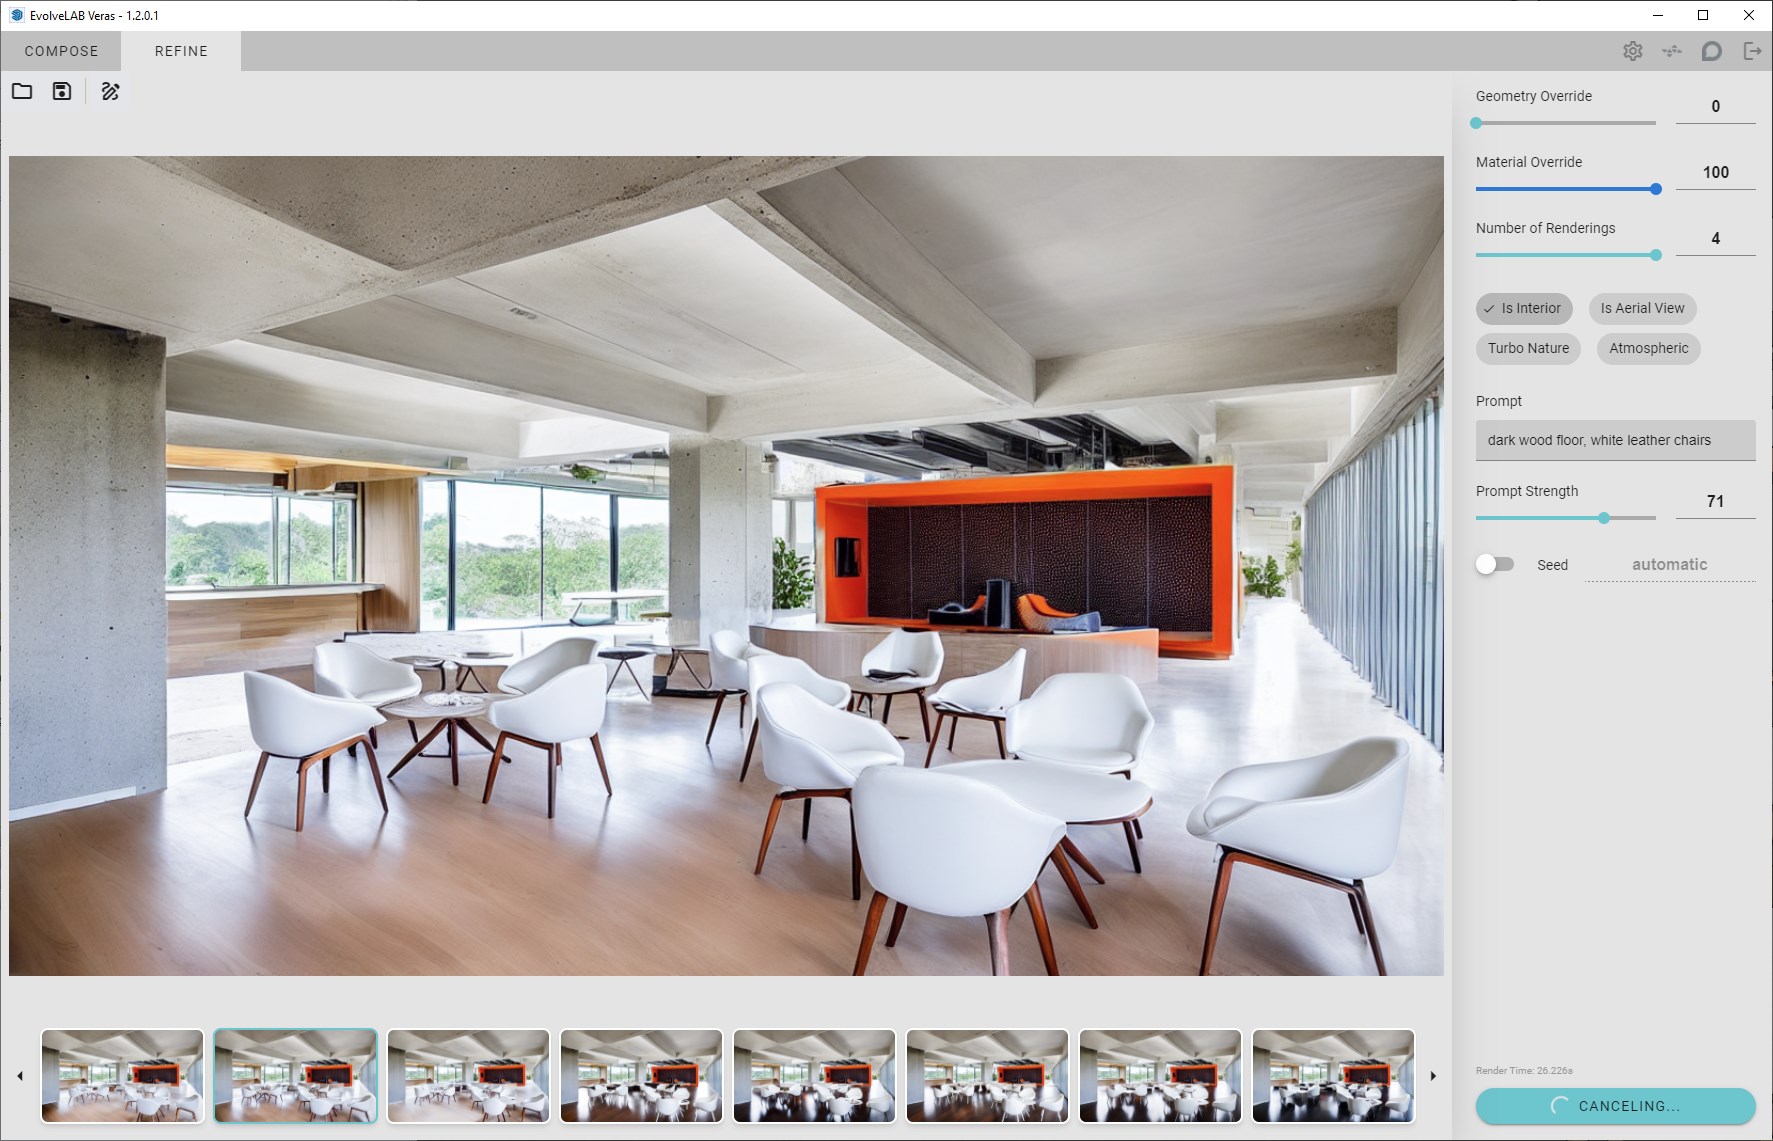
3. Render the Selection
- You can type a new prompt and change the settings to further define what is in the selection.
- Let’s fix the ceiling by selecting it, then changing the settings
- NOTE: the selection does not need to be perfect, but it’s good to overshoot a bit