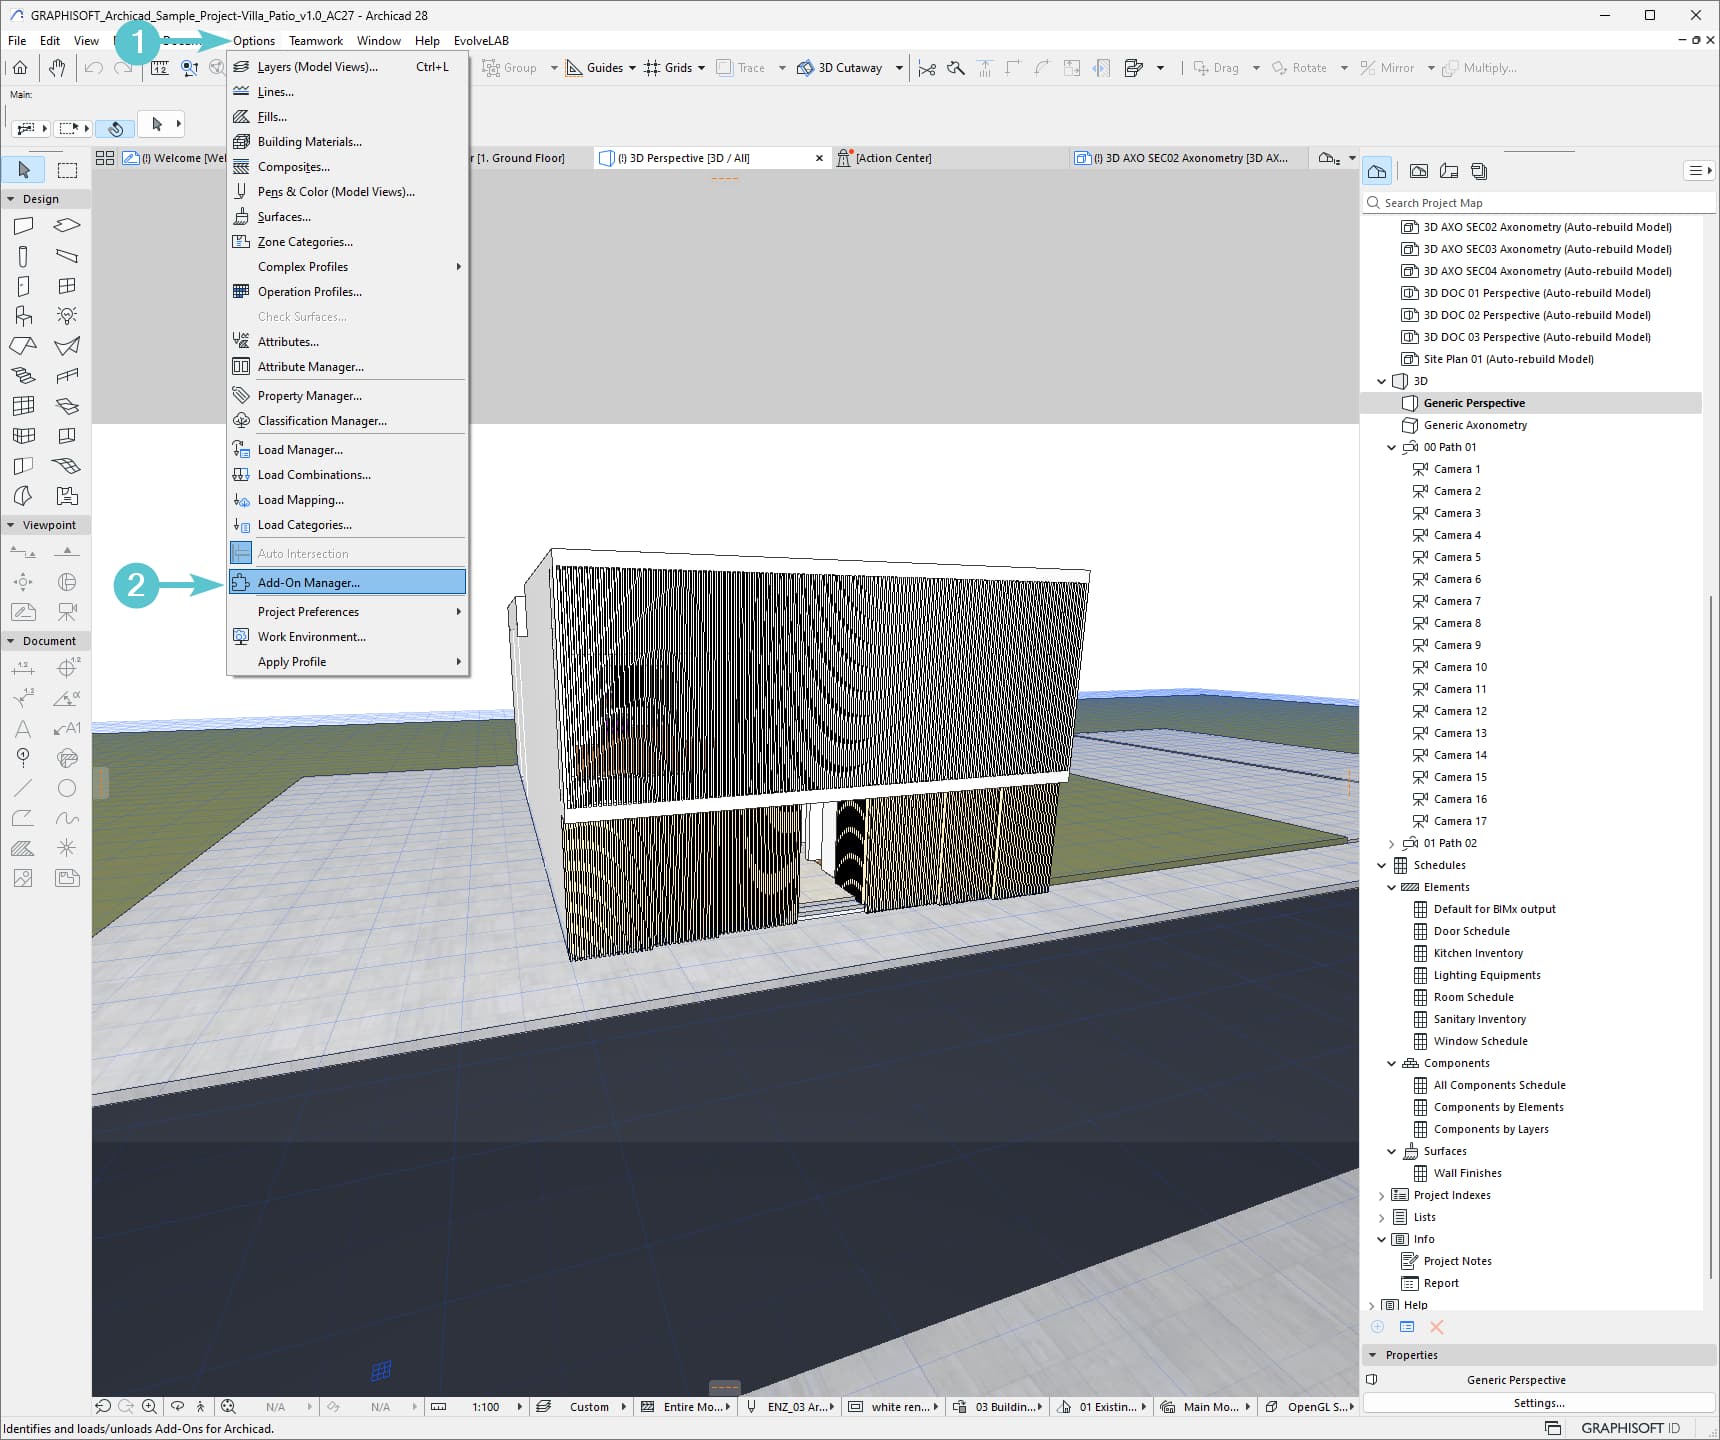
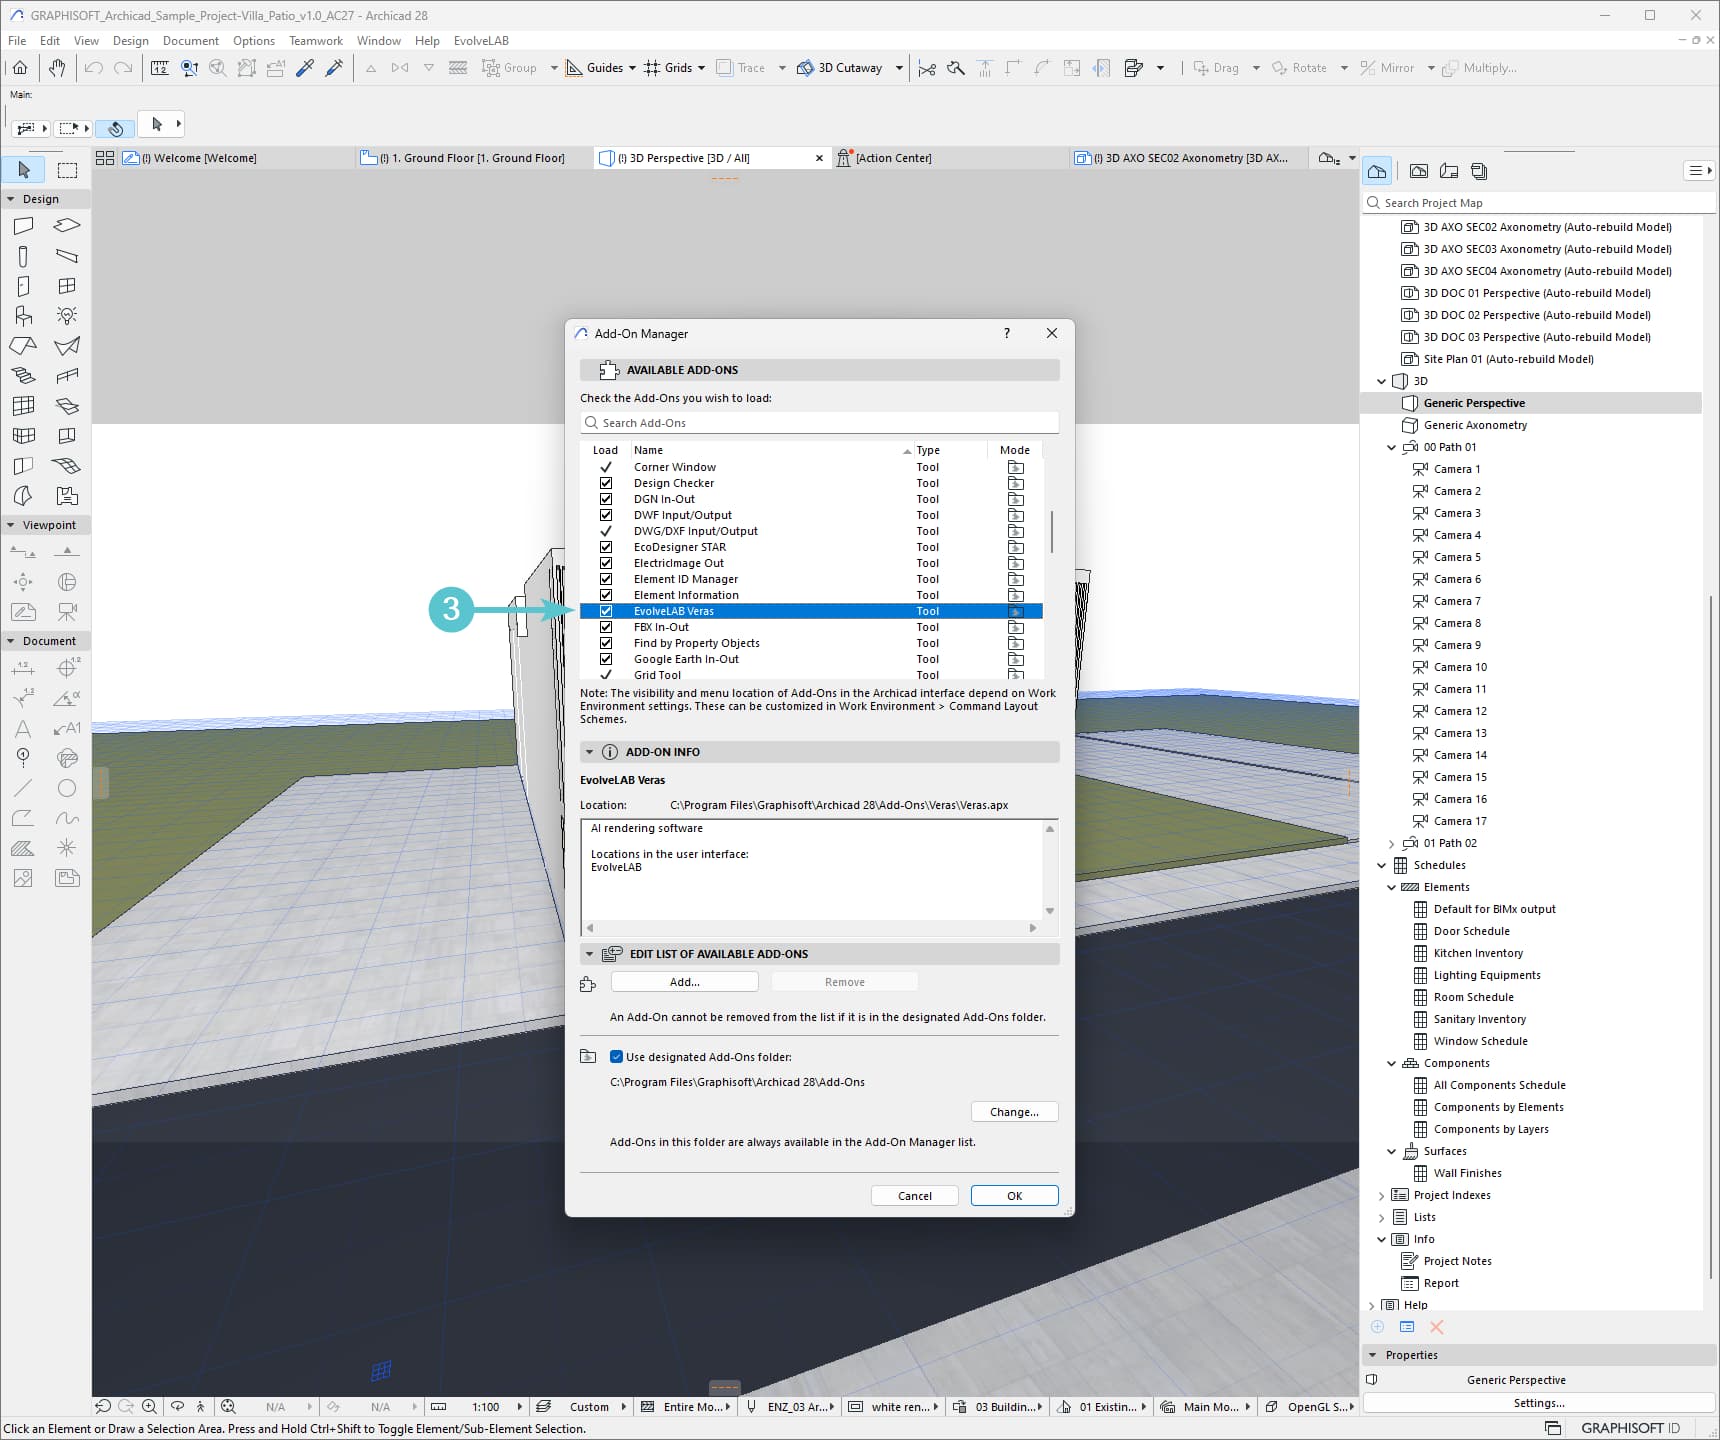
Double-click the “Add-Ons” folder first, to open it within the Finder. Then drag the “Veras” folder into that opened Finder window. Simply dragging the “Veras” folder over the “Plug-ins” folder icon, within the dmg, will not work.
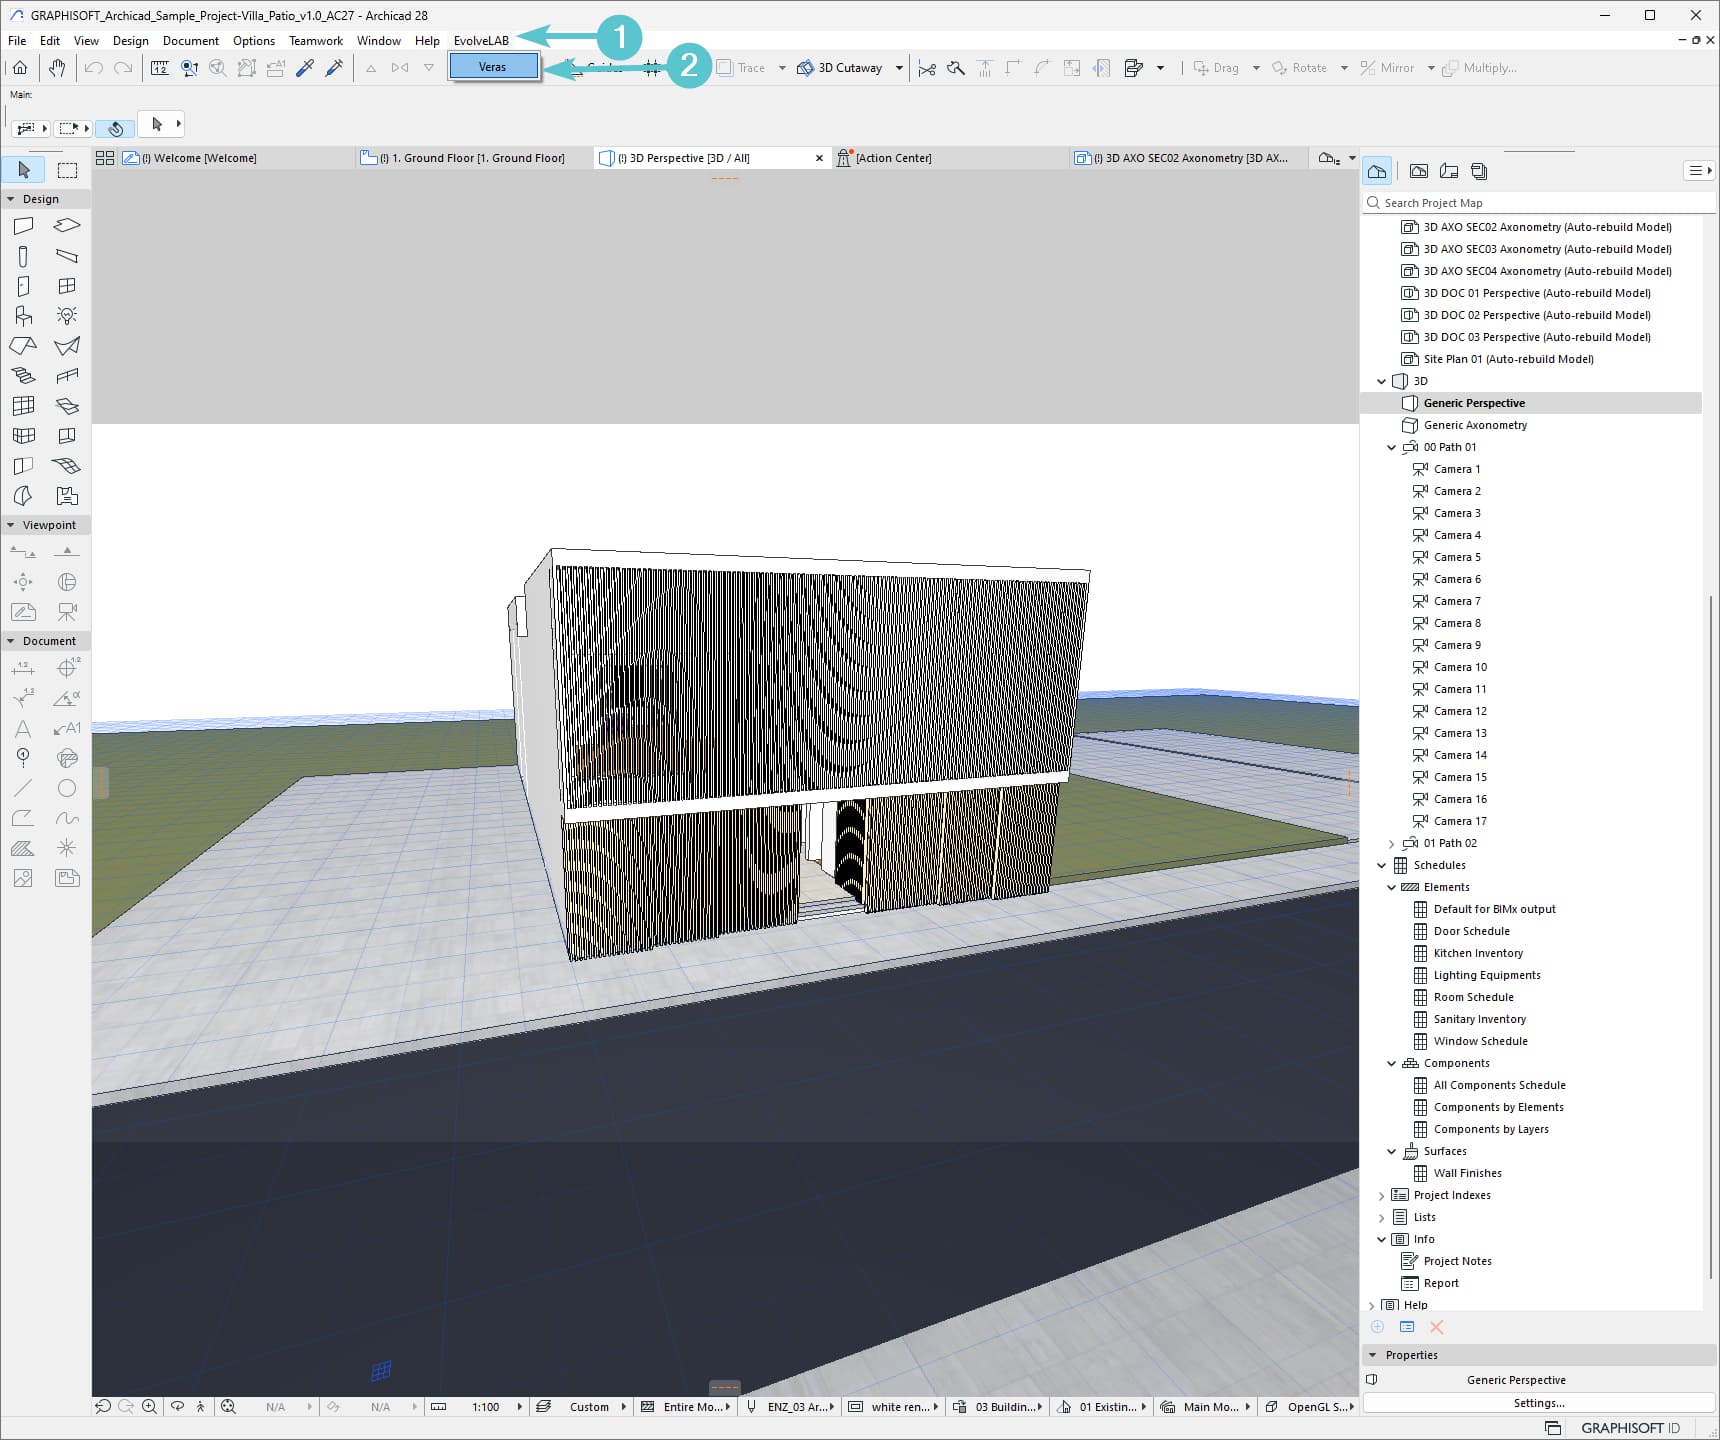
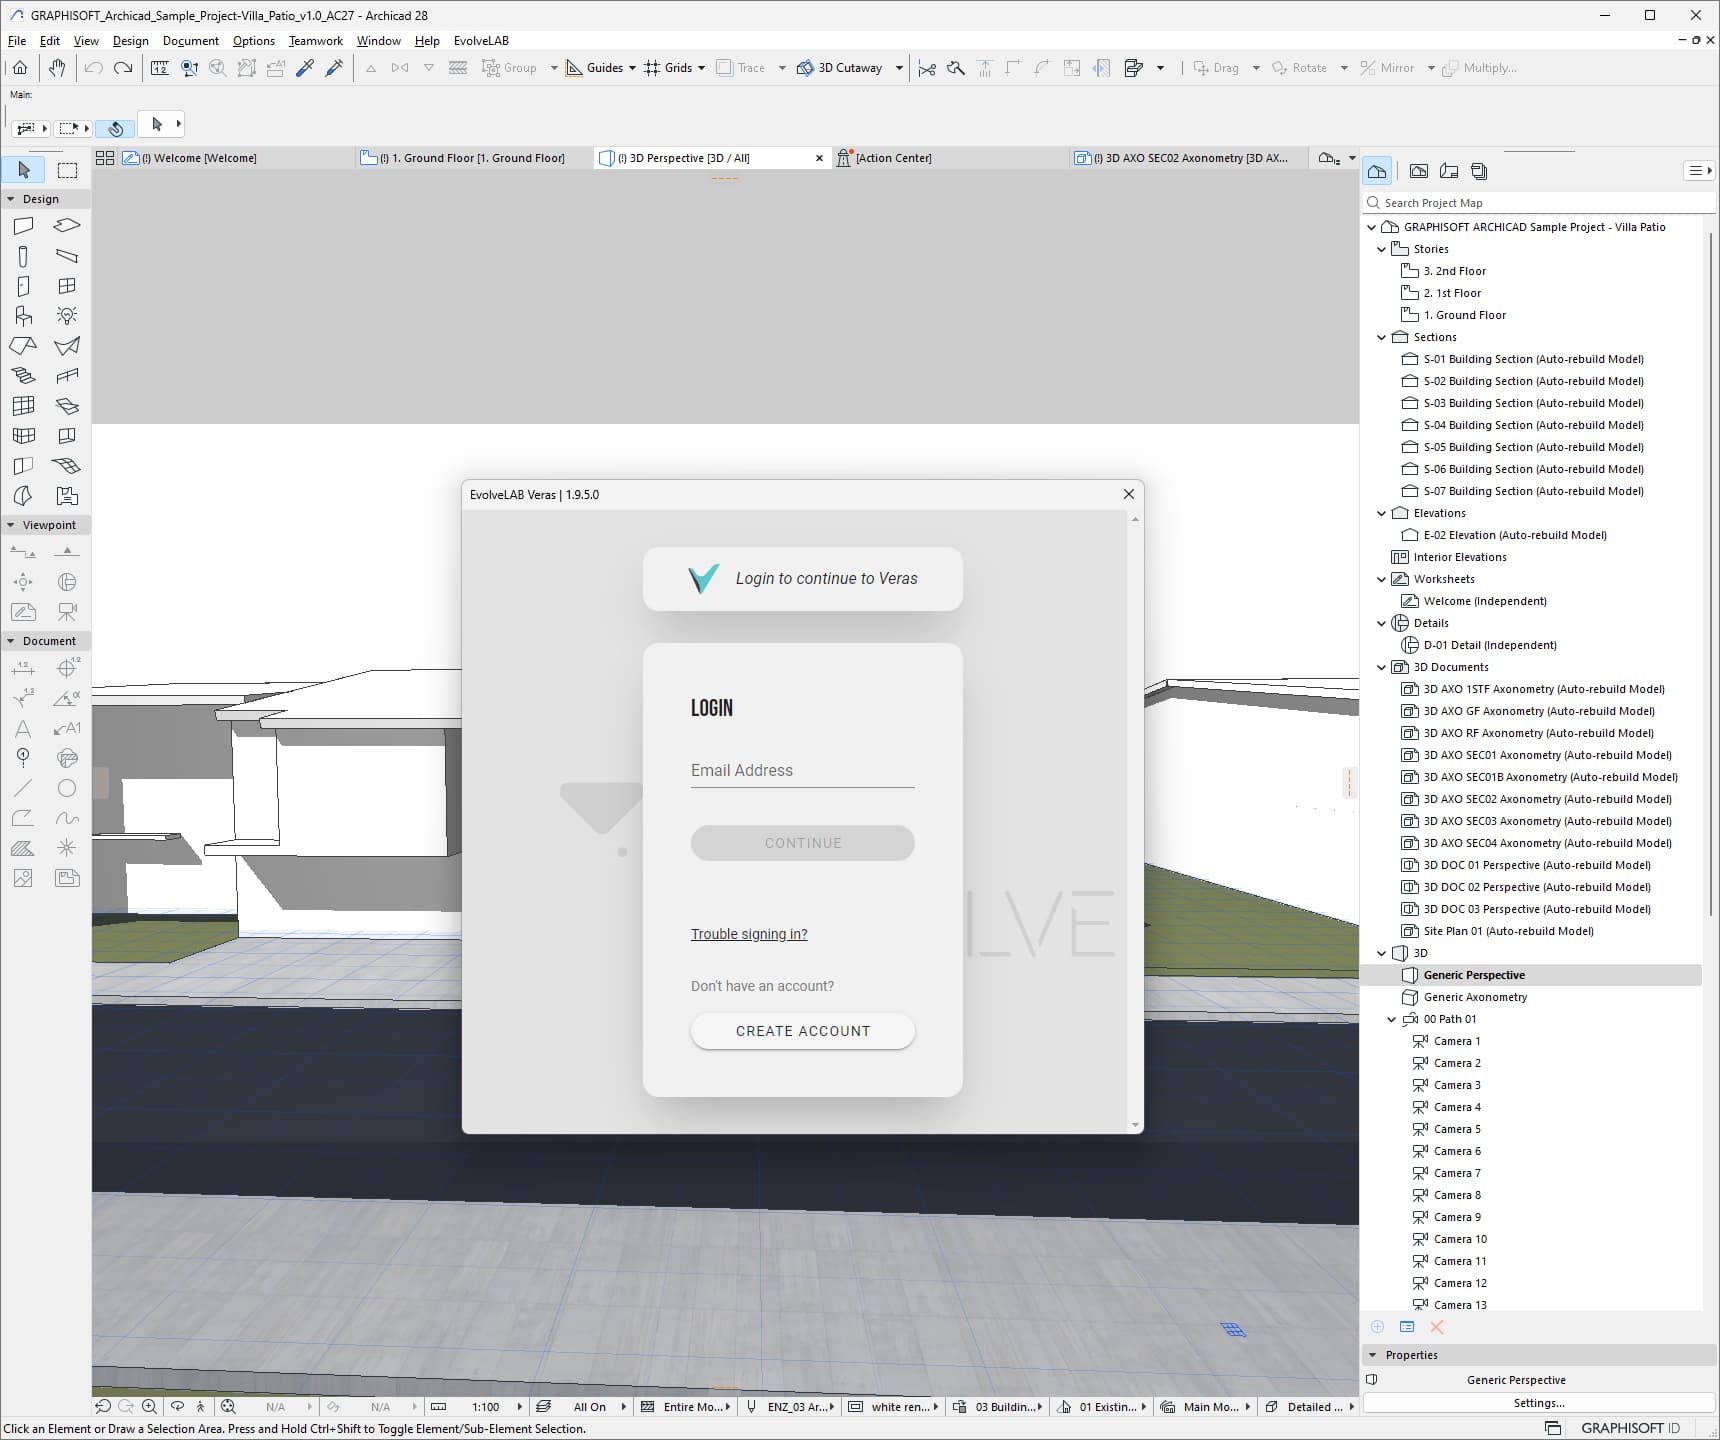
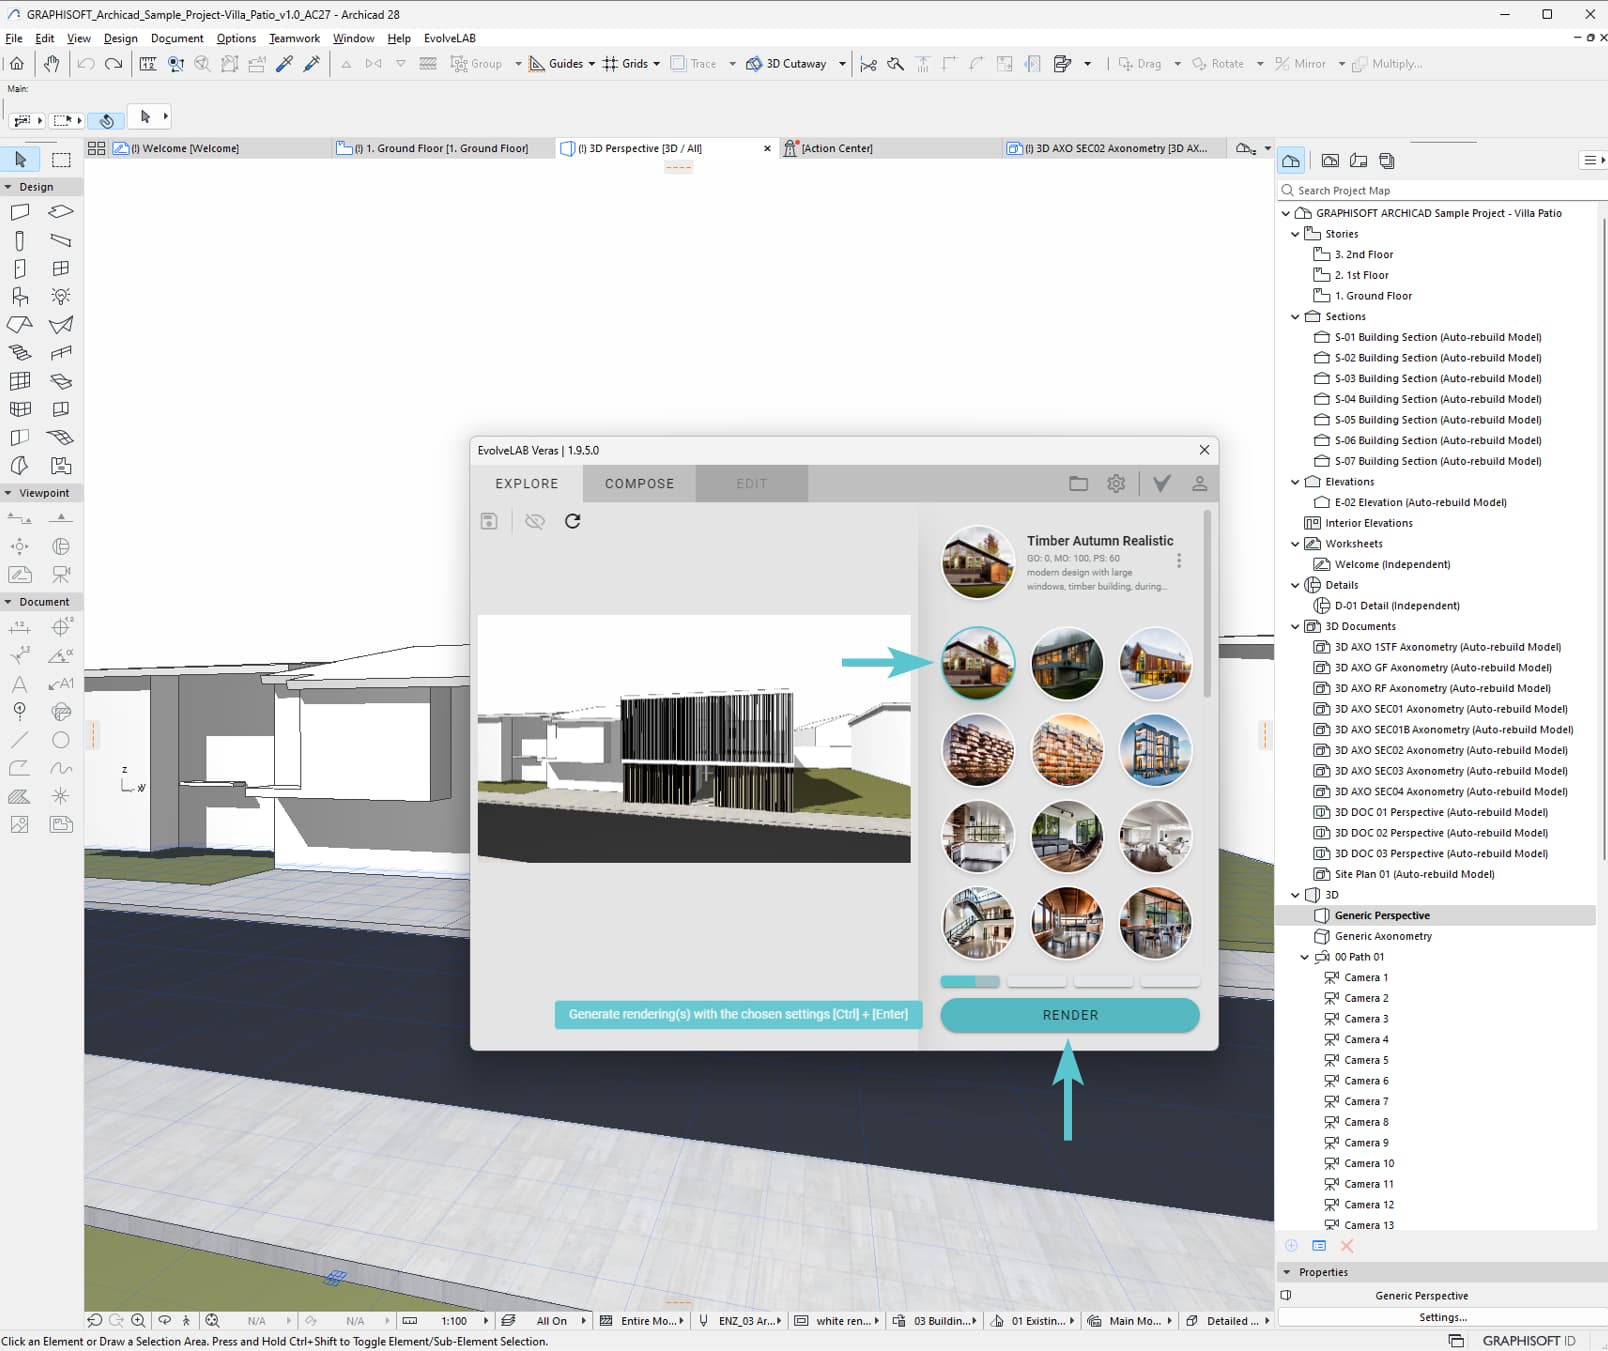
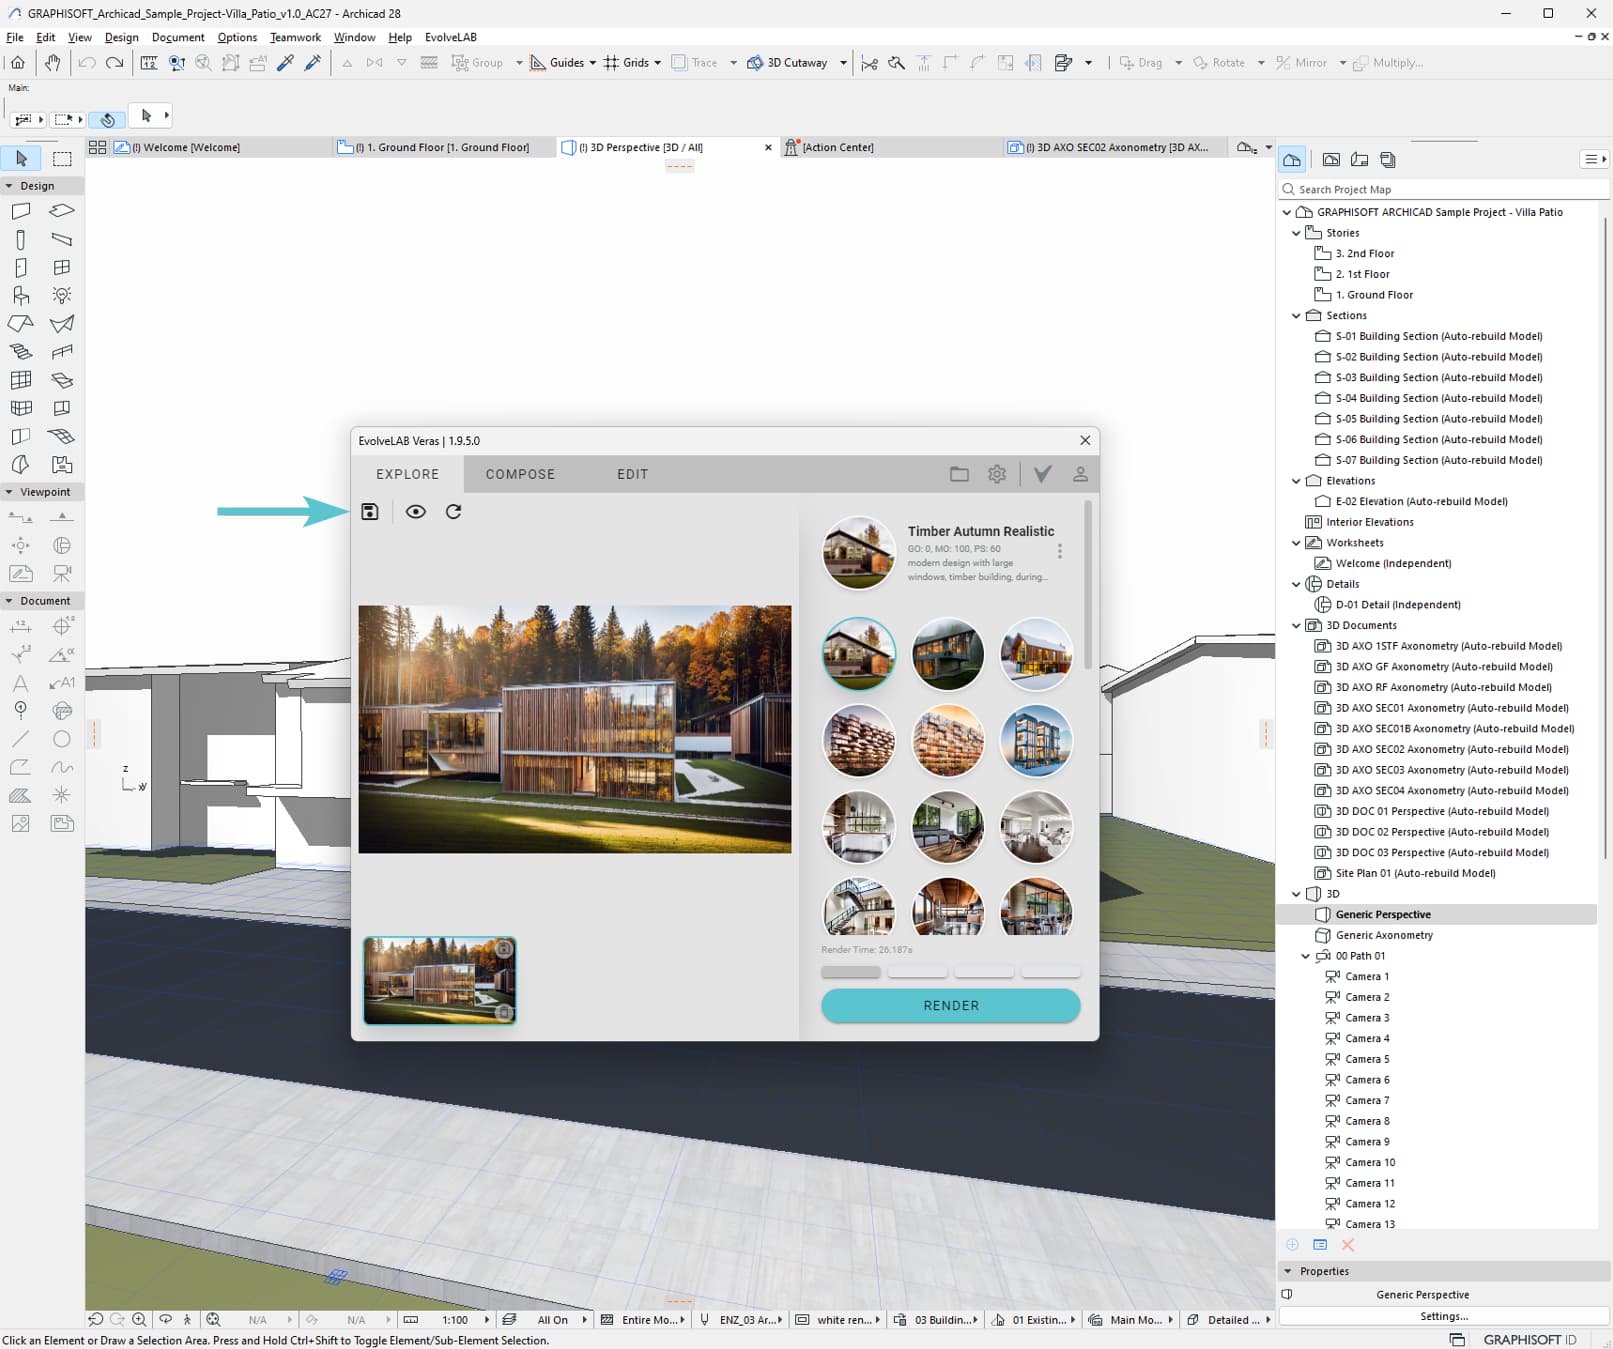
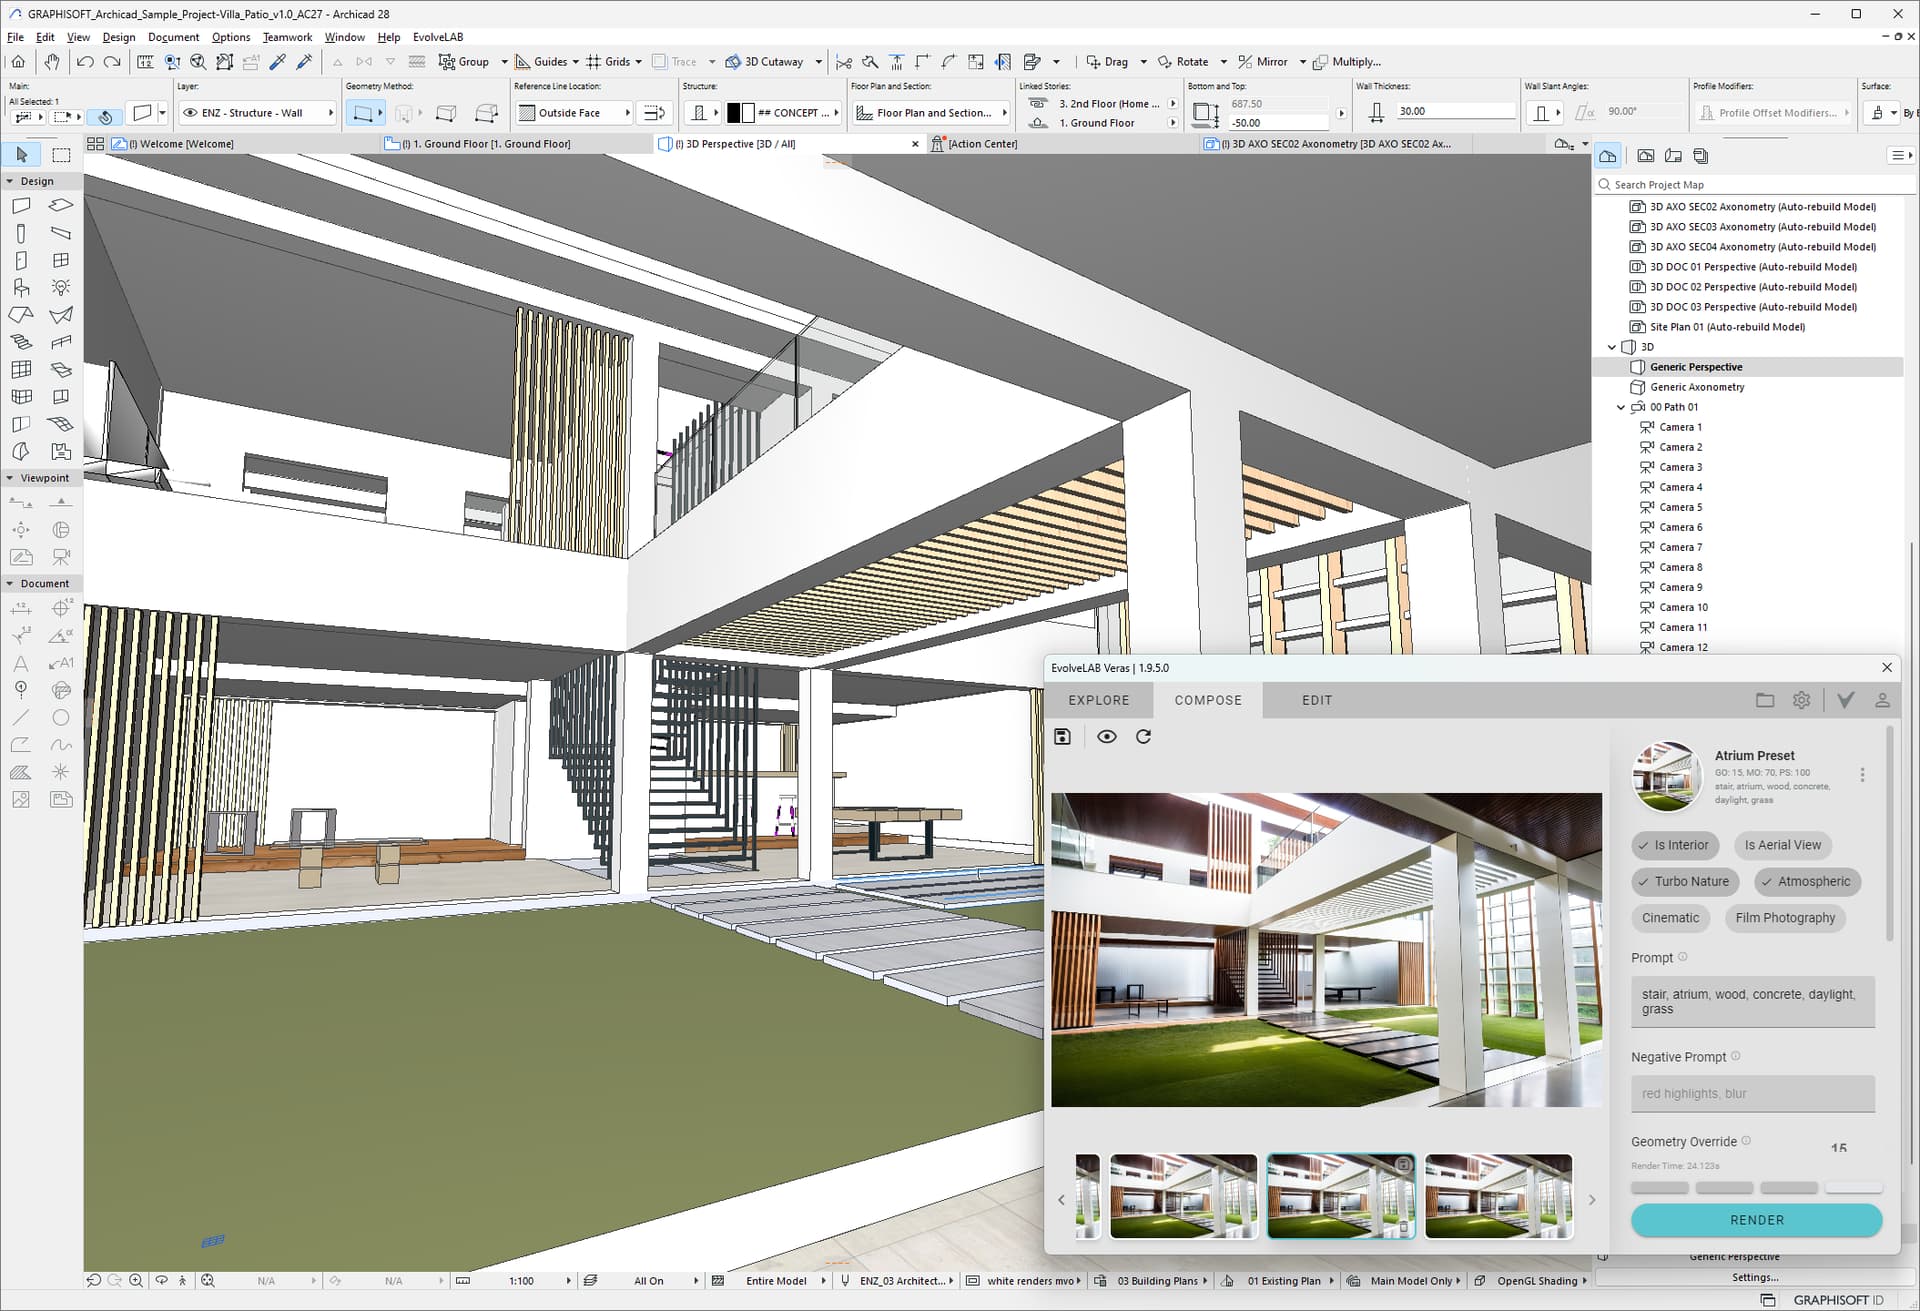
2. Setup View
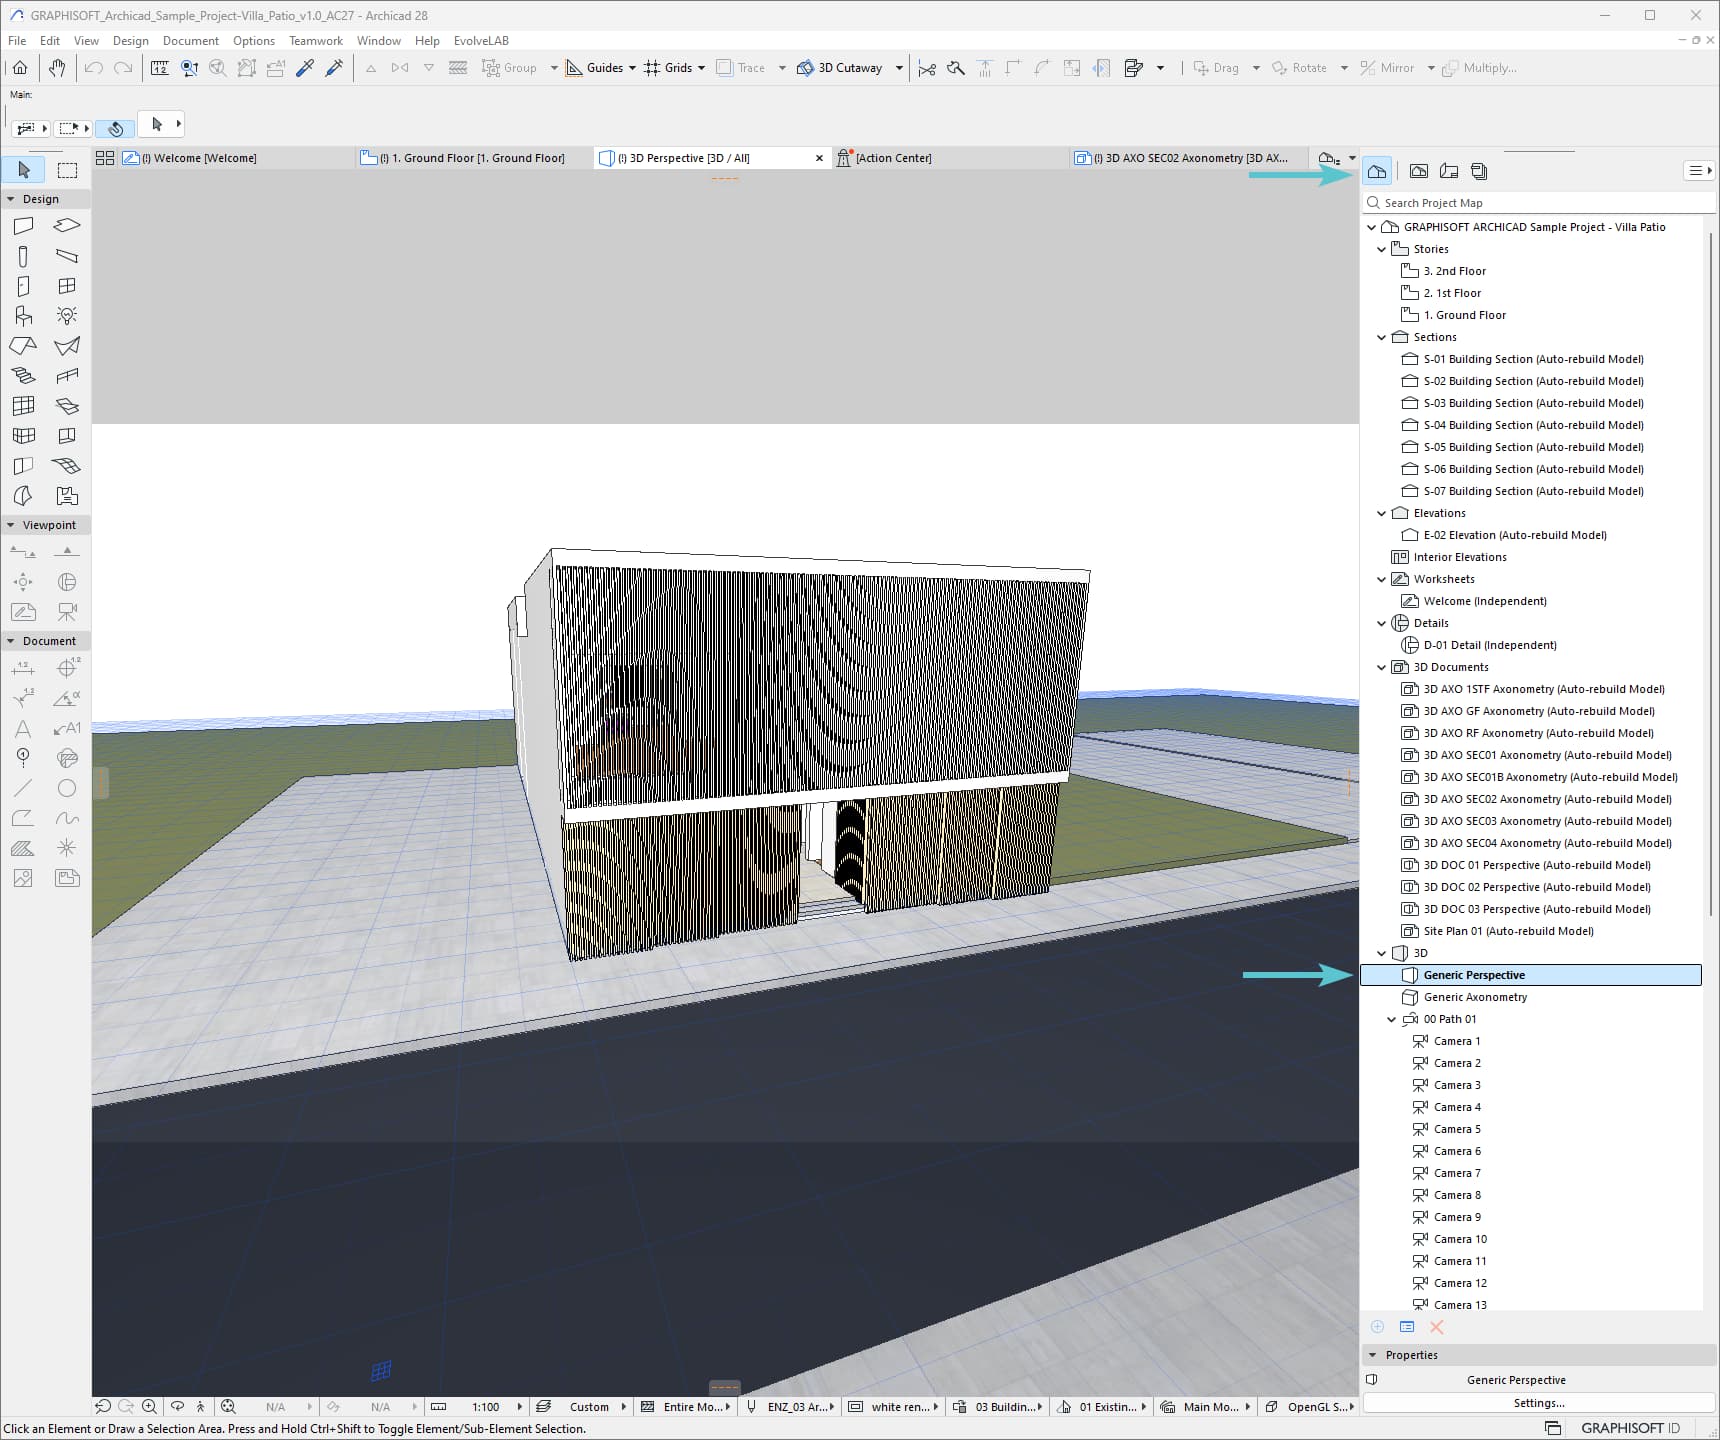
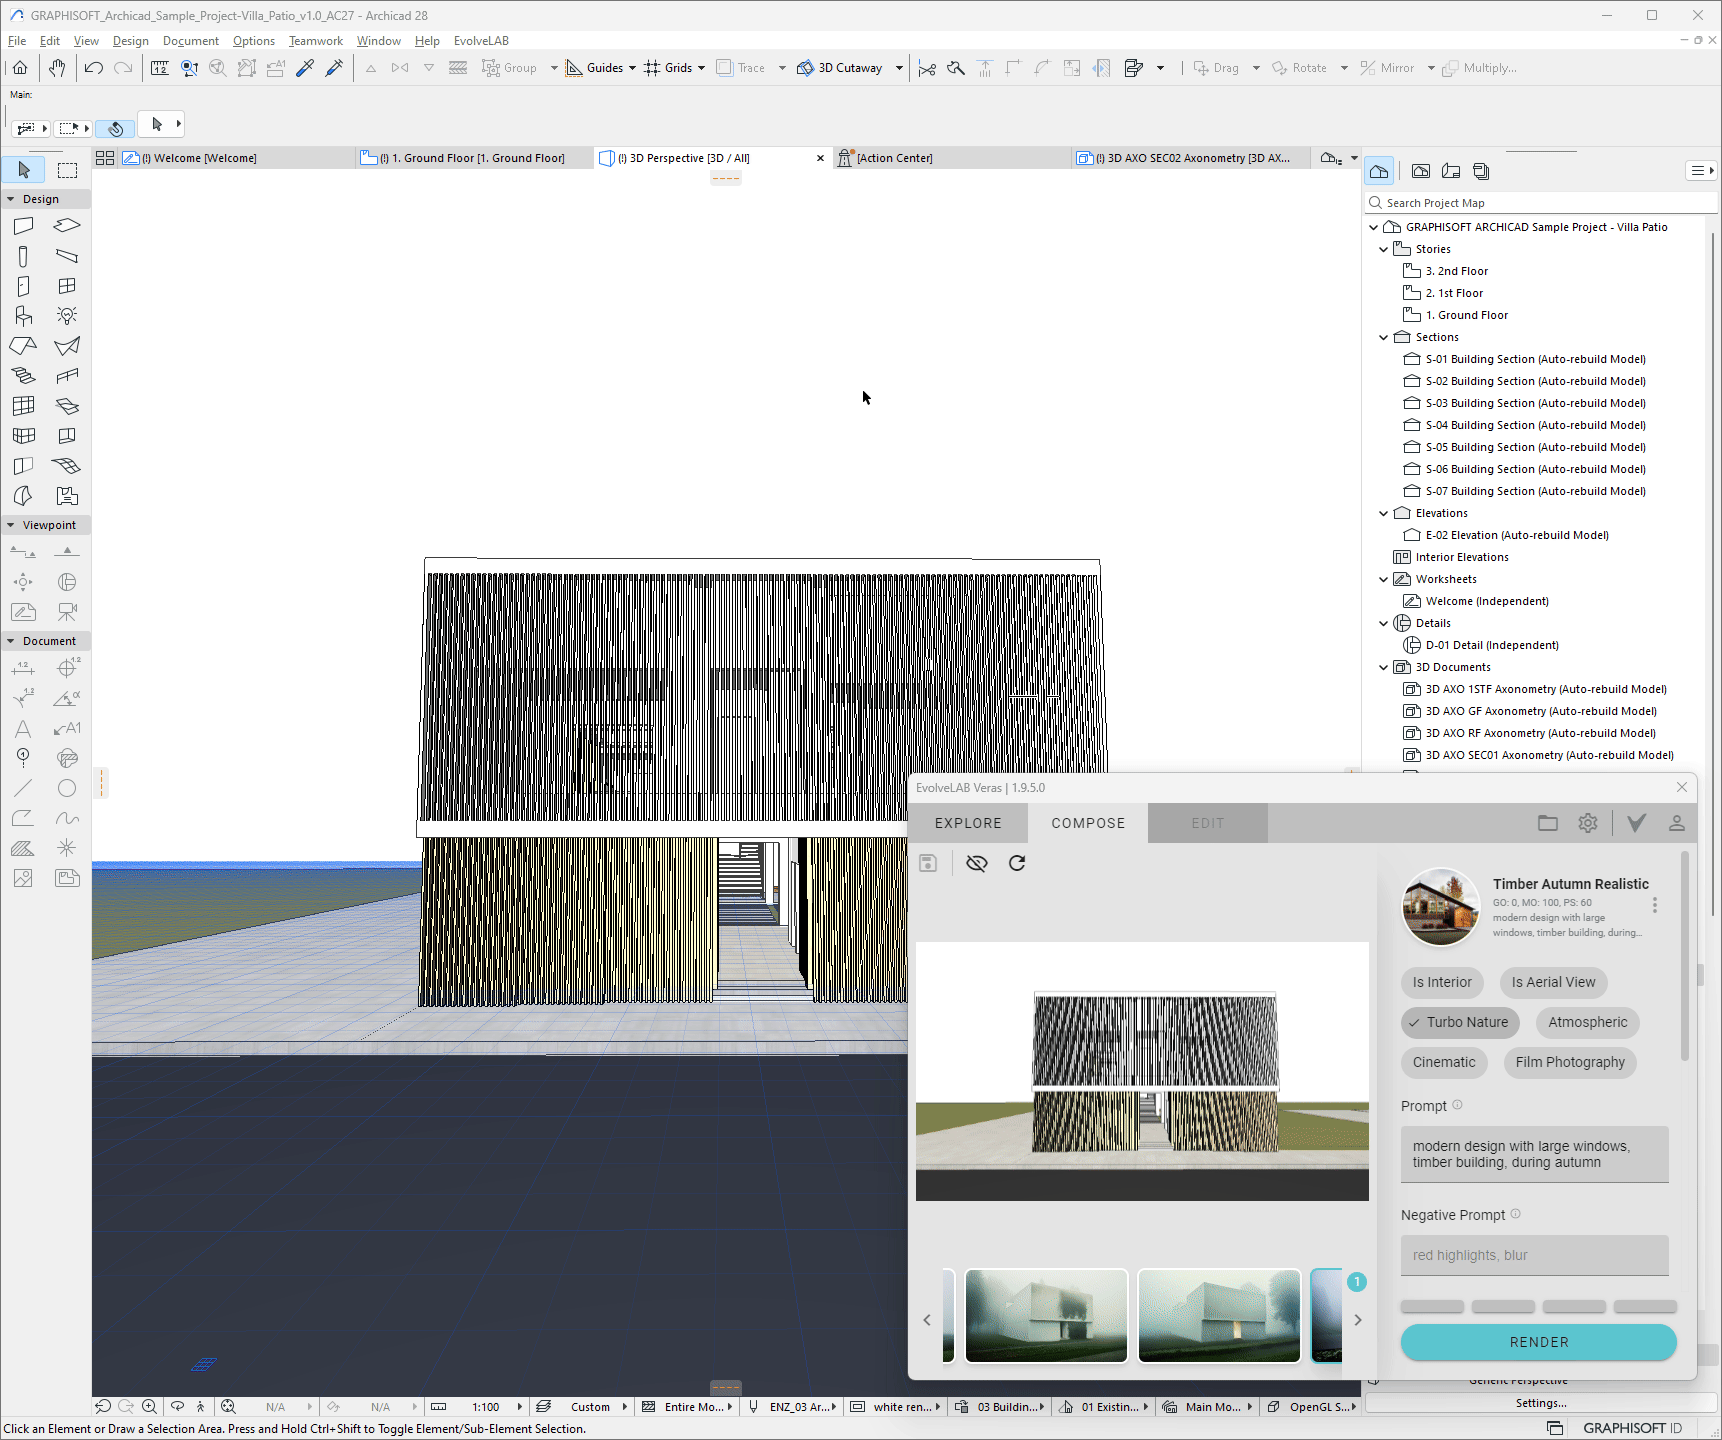
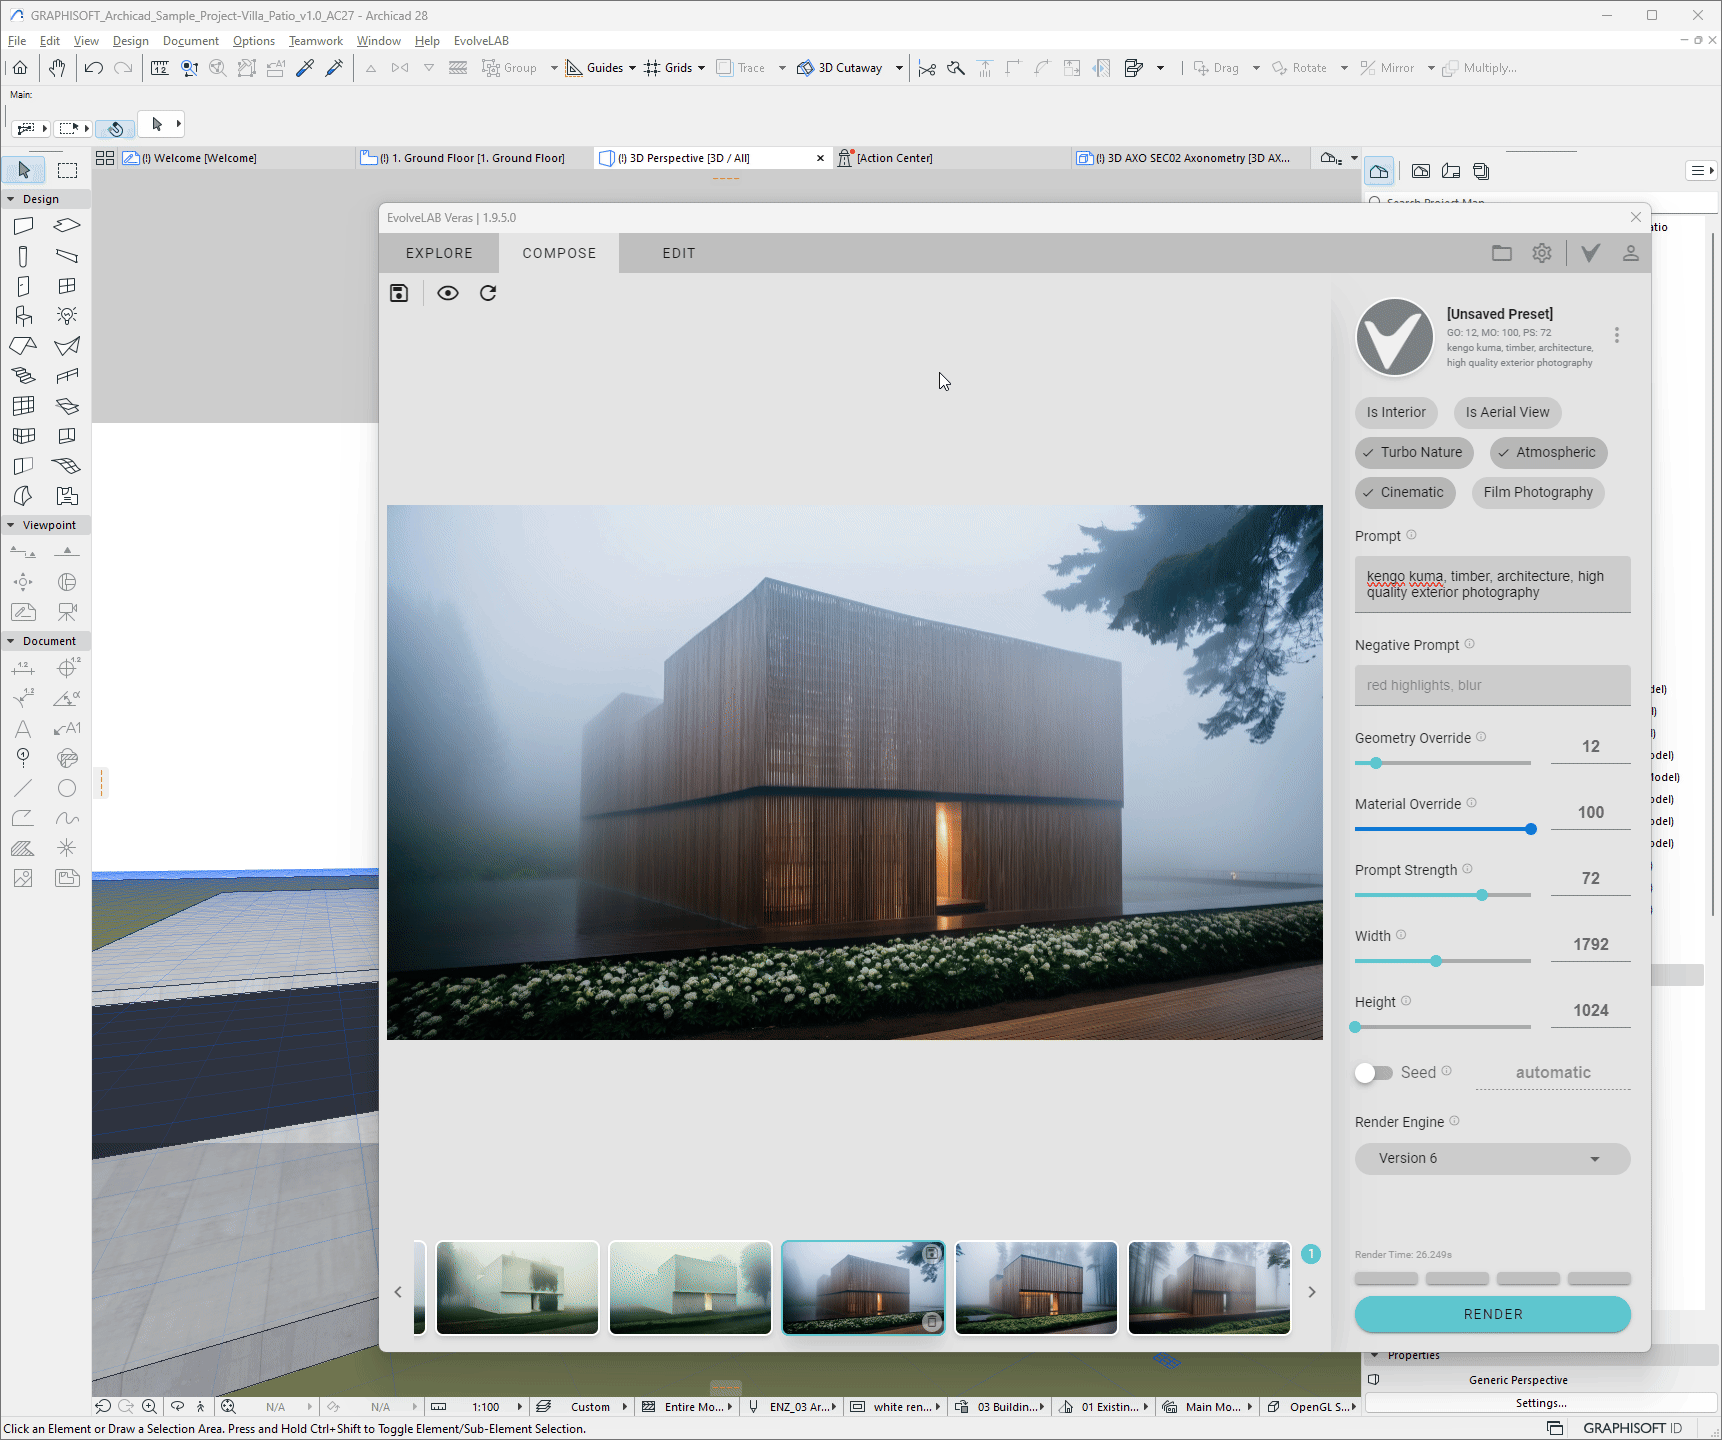
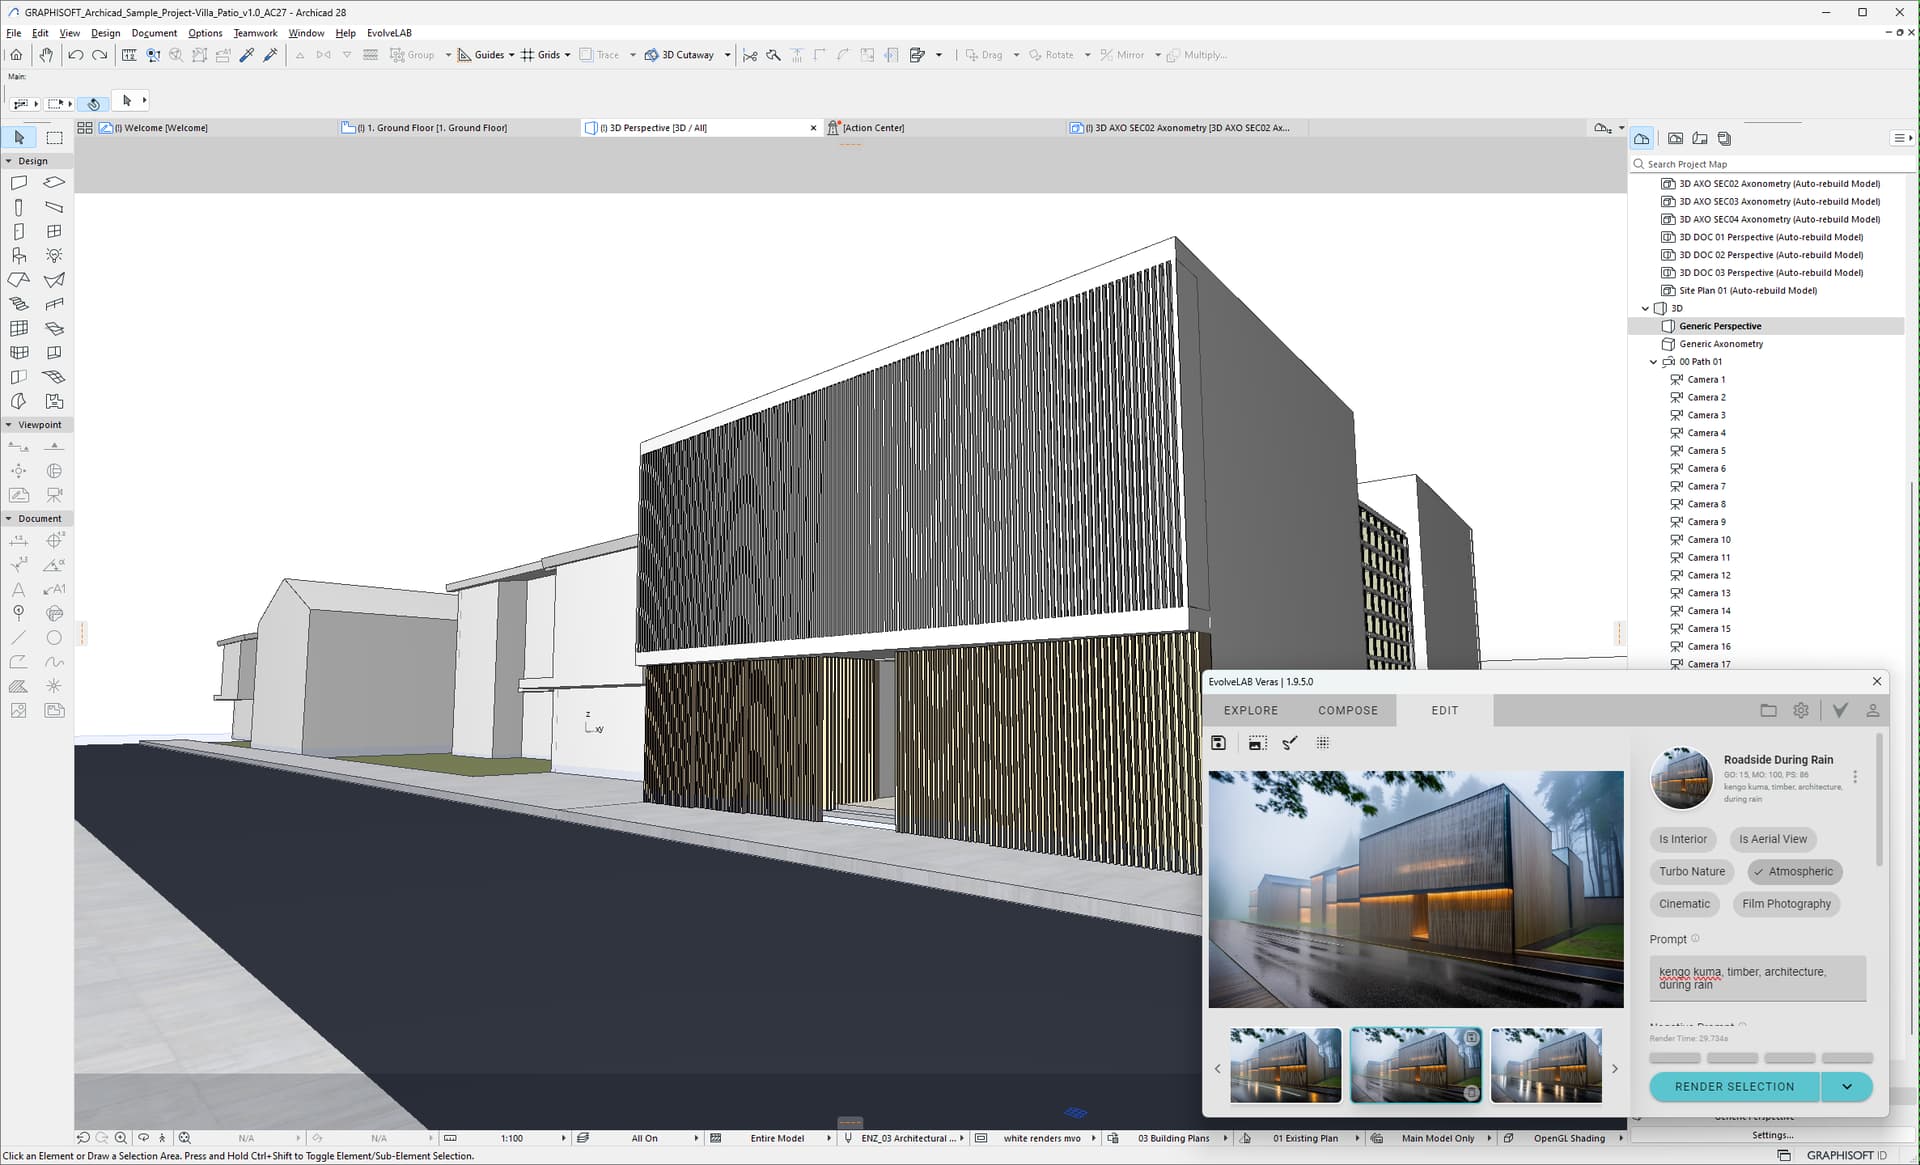
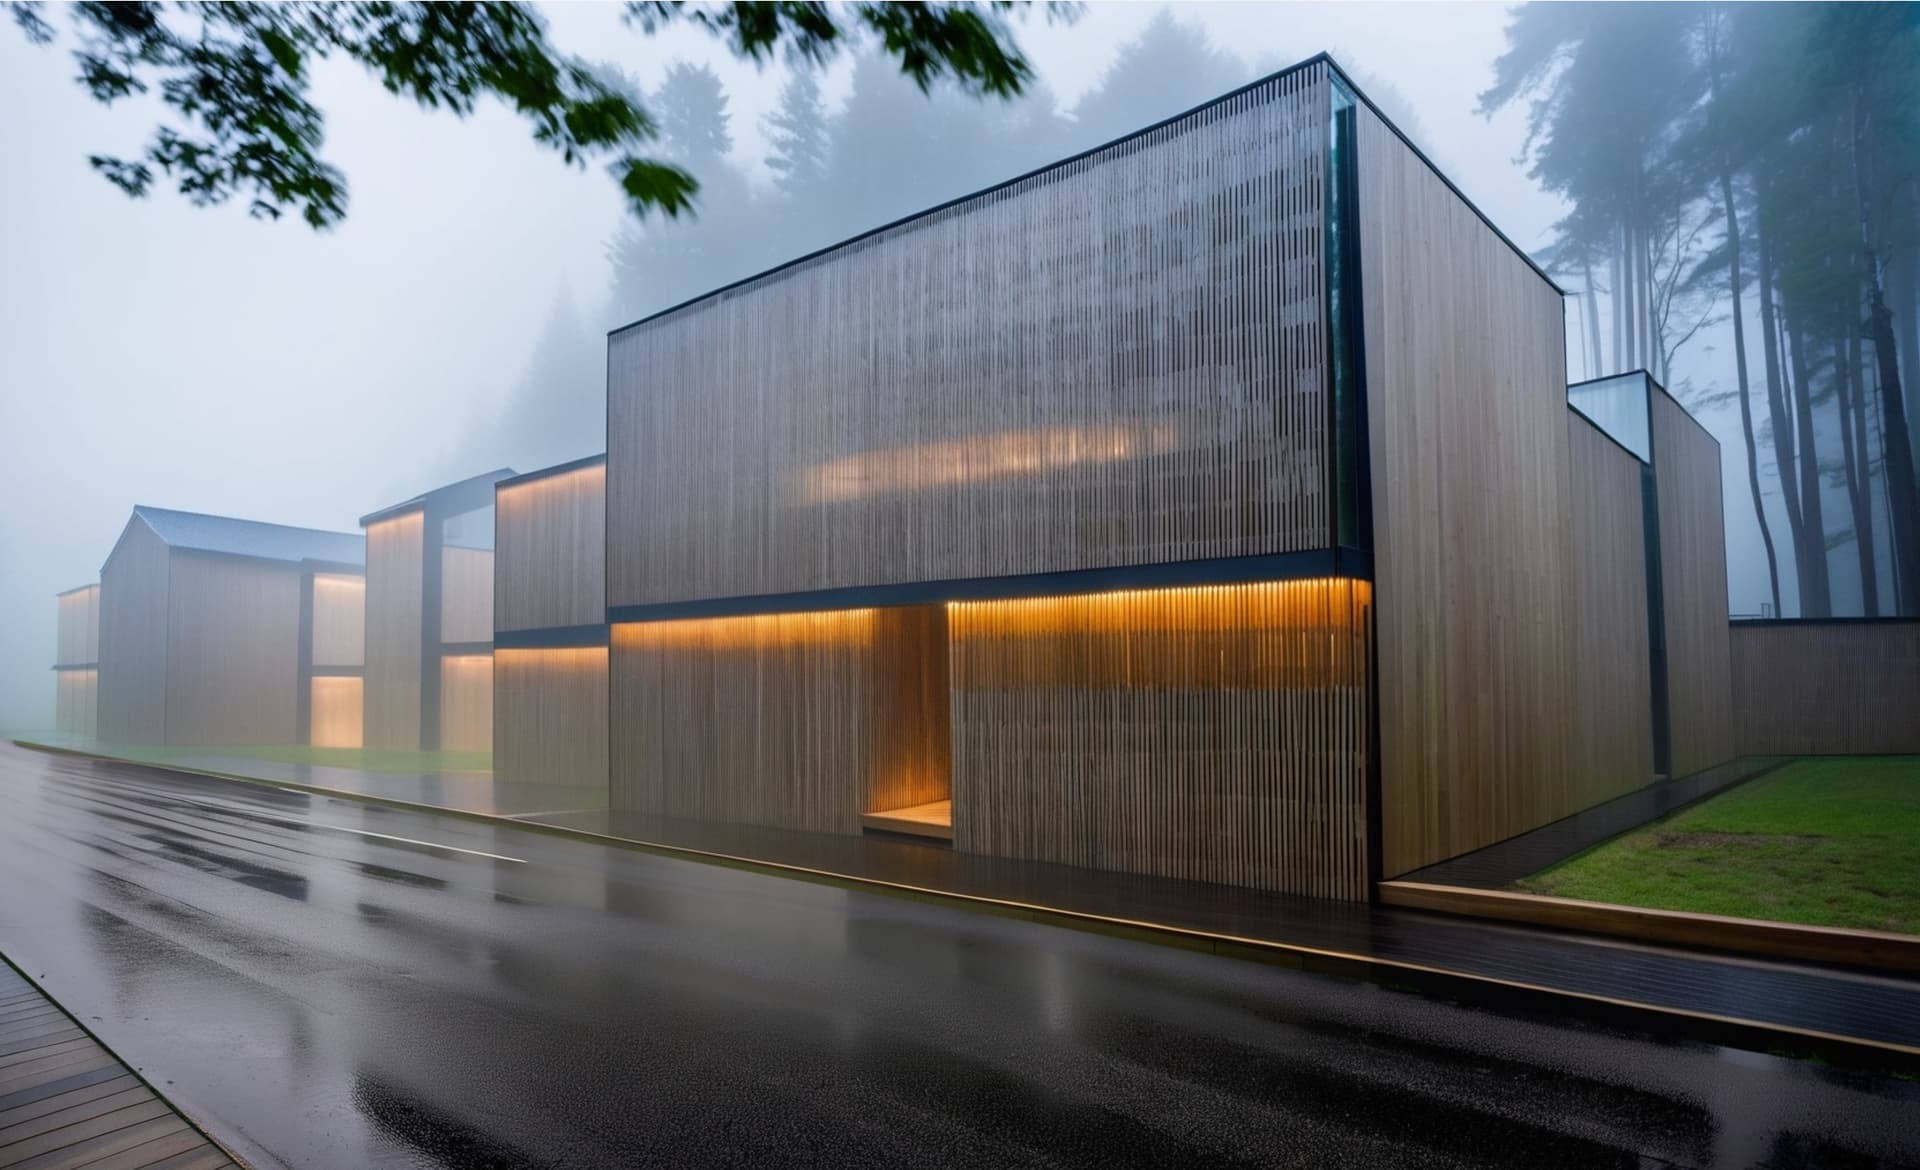
Open a model in ArchiCAD. We used this sample model (click link to download): VILLA PATIO
Do we have a more in depth installation description for installing for Mac?
I have issue after double clicking the “Add-Ons” icon (which is a linked alias) and it says it can’t be open because the original item can’t be found.
As Dan said, if you are using Archicad 27, this is something that could happen, and the Veras add-on is not compatible with it.
However, if you are appropriately installing this for Archicad 28 on your machine, I guess it could be possible that there is somehow a mismatch between the dmg’s “Add-Ons” alias and where your add-ons are stored. Would you be able to share the path for your Archicad add-ons, if you know where that is?
Hi Greg, I have both AC27 & AC28 installed. And yes, I’d like to use AC28 with Veras and still wanna keep AC27 (will this be a problem?). The Add-on folder path for AC28 on my laptop I assume is - Applications> Graphisoft> Archicad 28> Add-Ons. Also under Graphisoft folder, there’s a separate folder for installed Archicad 27.
Thanks for sharing those details. What you’re saying all seems right–nothing awry there. I will be able to take a deep dive on this in a couple days. Thank you for your patience.
I have a problem with the installation I have archicad 28 SPA version not the INT, I do not know if that is a factor why the Veras addon is not installed in the archicad addons.
I also have archicad 26,27 installed on my computer, I don’t know if that is another factor.
But I would like a solution because I do all the installation process but it is not installed in archicad 28.
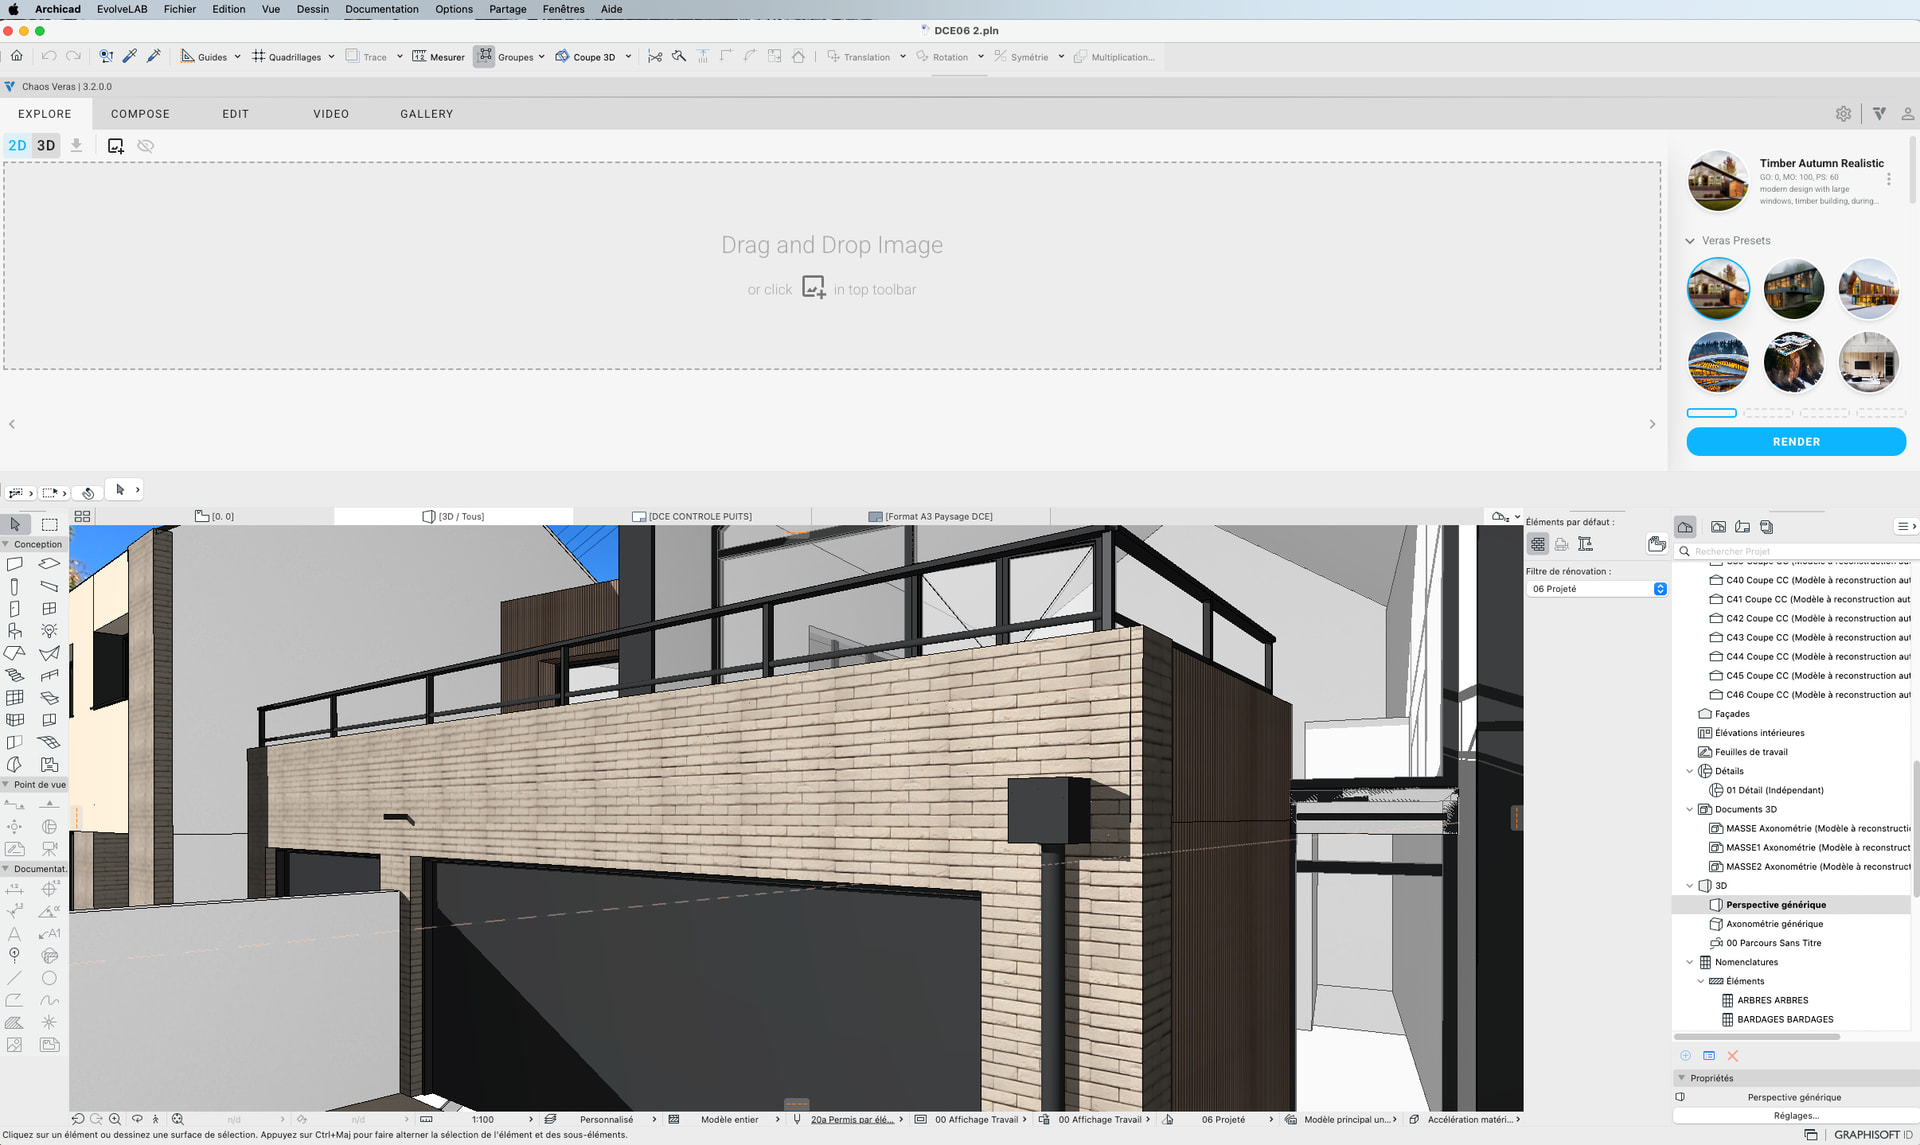
I’m using Veras 3.0.0 with Archicad 28 (Mac) and I would like to confirm whether the following behavior is expected.
In my setup, Veras opens as an independent window that looks and behaves like the web application, rather than as a native Archicad palette linked to the active 3D viewport (as shown in earlier Veras for Archicad examples, e.g. Veras 1.9.x).
I can run renders, but the workflow feels disconnected from the Archicad 3D view, with a visible “Drag and Drop Image” state similar to the web UI.
Is this the normal and intended behavior for Veras 3.x in Archicad 28, or am I missing a step / configuration?
@dnj We’re not going to be supporting it since since we have few users through AC, and we also now offer Veras in Enscape in Archicad (including for AC 29).