Sample Files
Auditorium_Ceiling_Scan_Partial_SU2023_01_base.skp
Auditorium_Ceiling_Scan_Partial_SU2023_02_tagged.skp
Auditorium_Ceiling_Scan_Partial_R2024_01_final.rvt
1 | Convert the Point Cloud to a Mesh
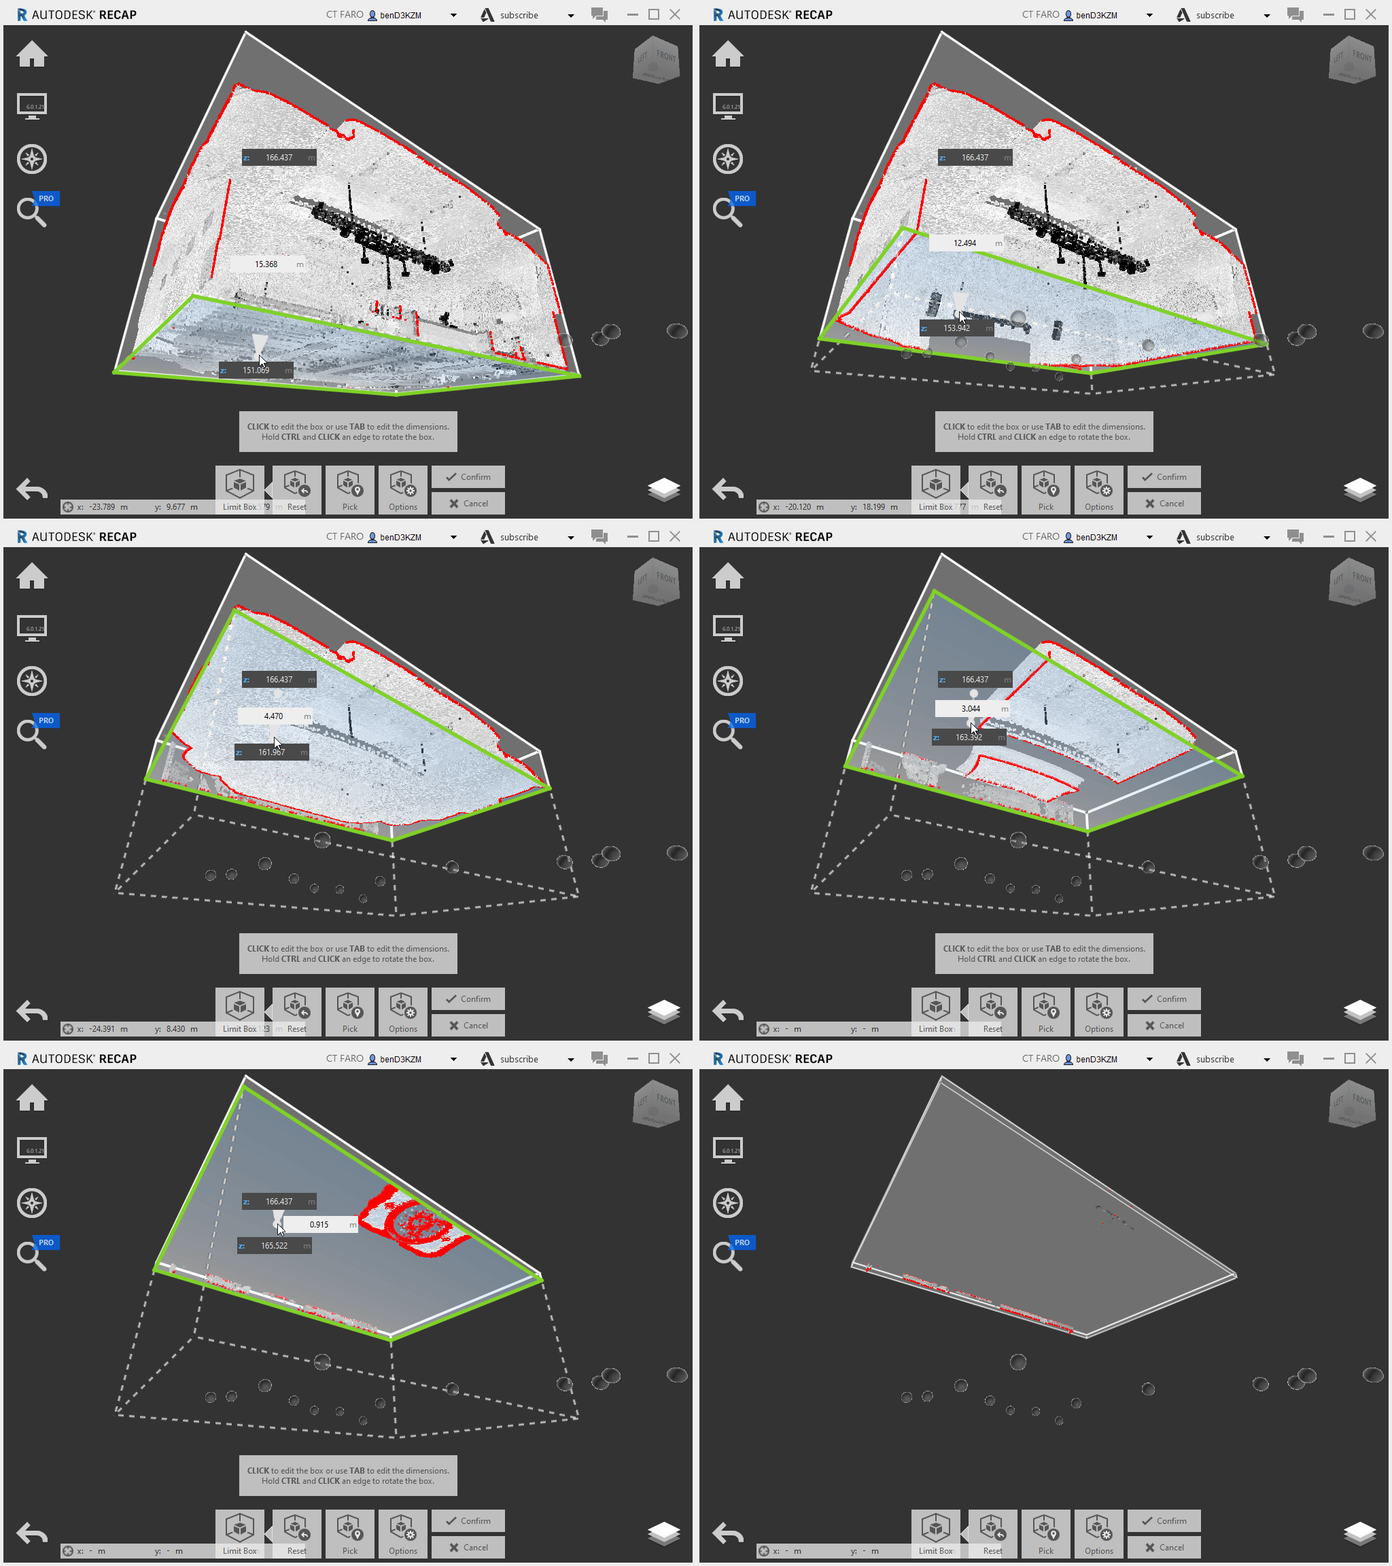
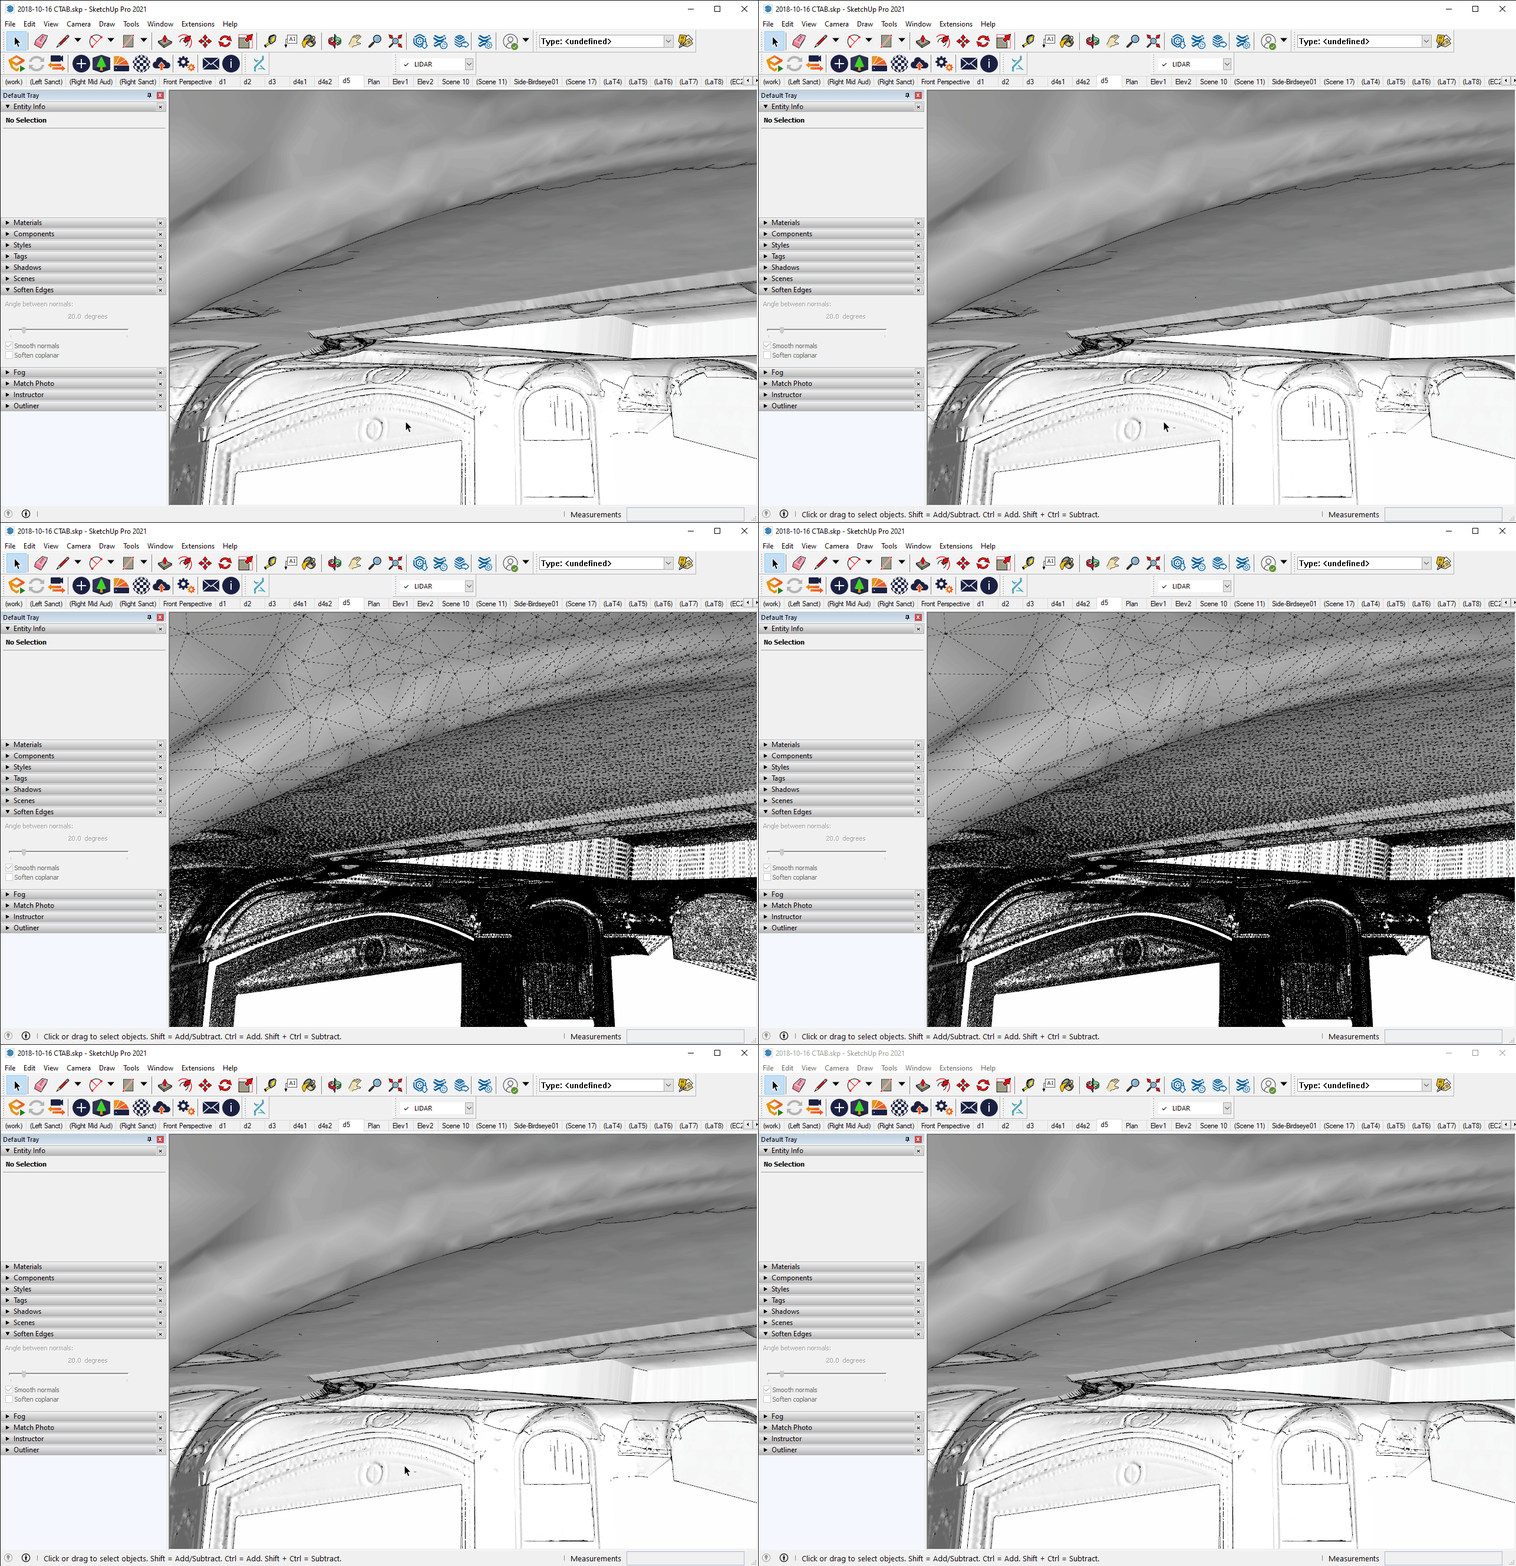
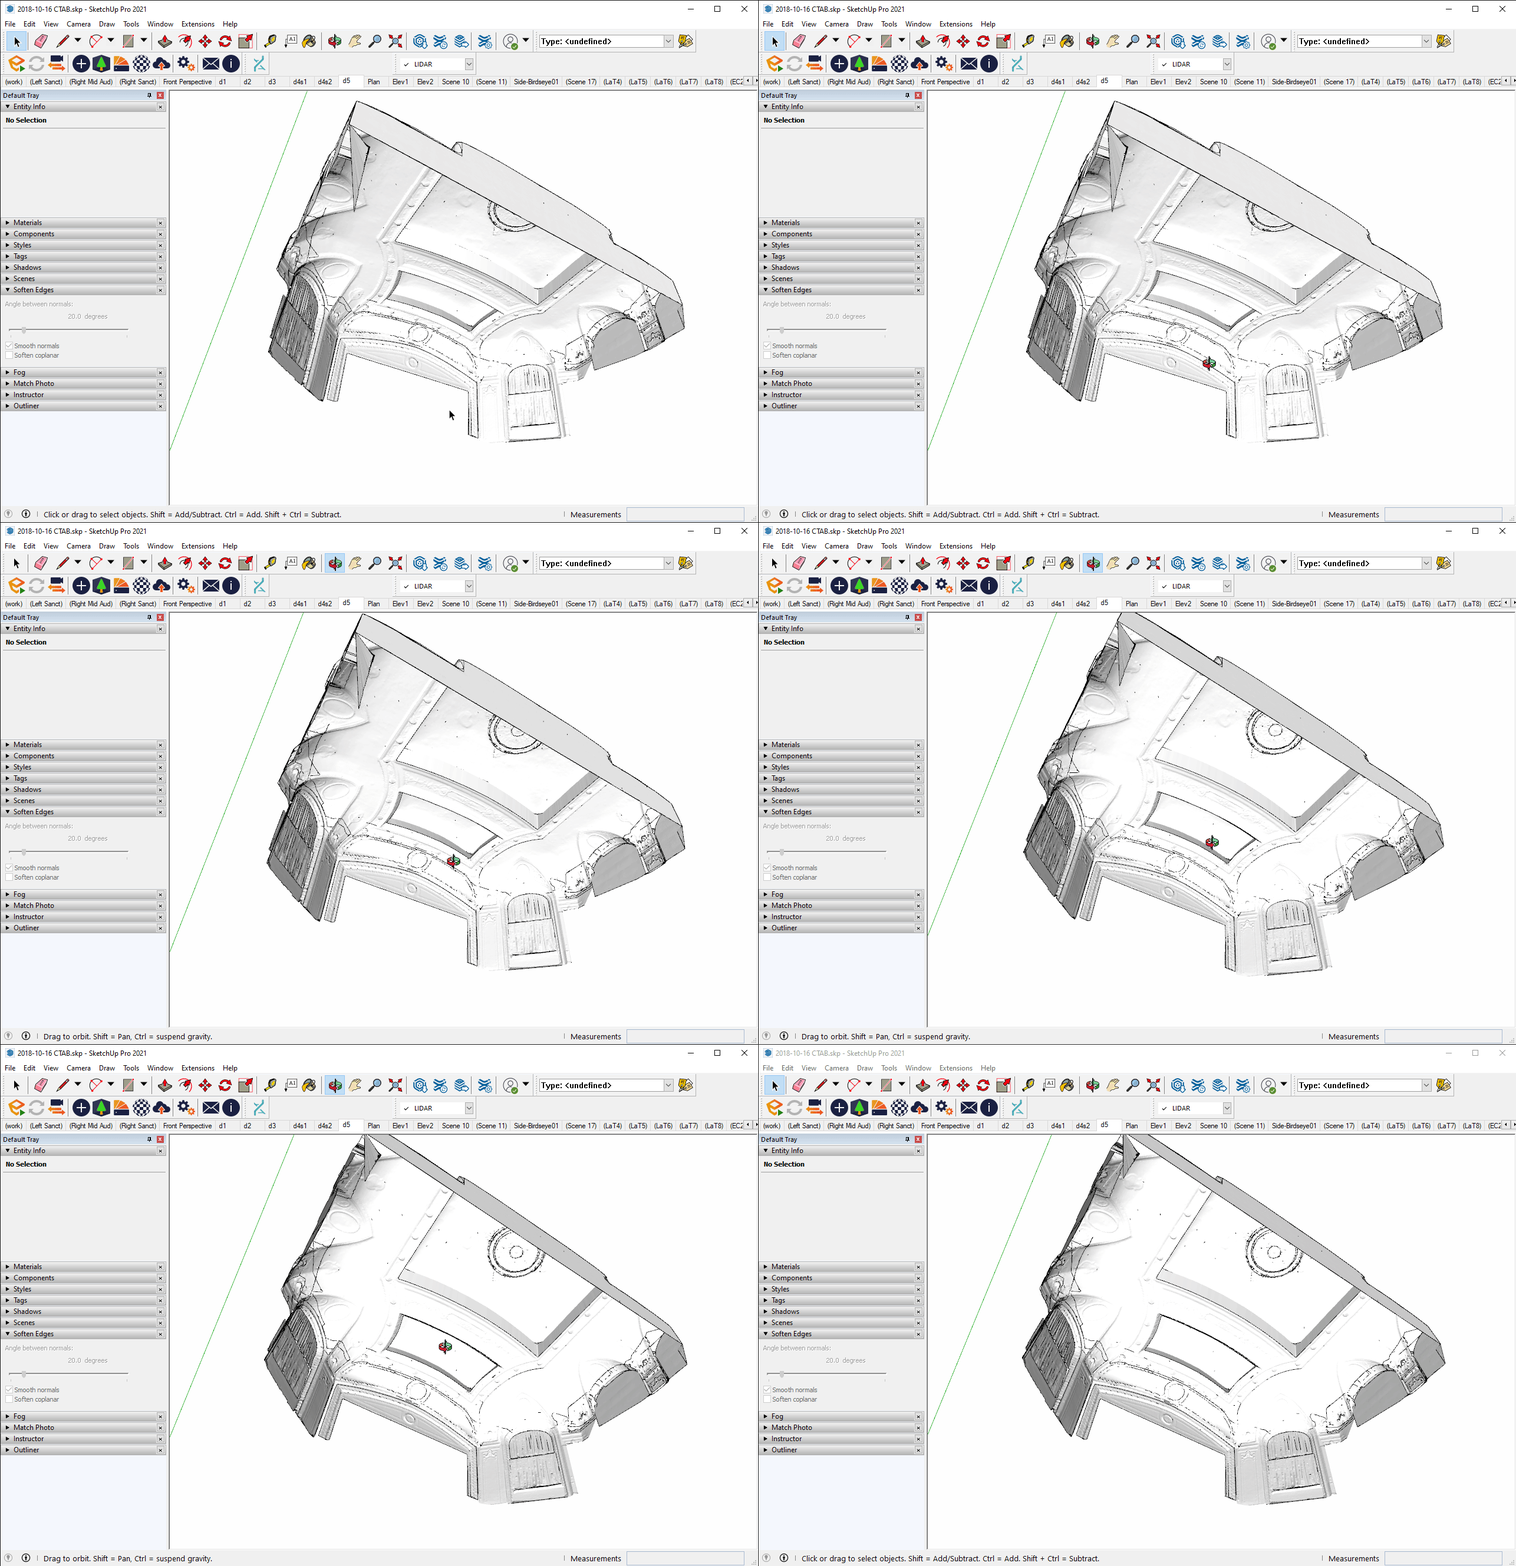
- We used Undet to convert the point cloud to a mesh within SketchUp. Undet offers a simple intuitive interface that lets you visualize the point cloud in SketchUp and create meshes at a specified mesh density.
- Undet site: SketchUp point cloud plugin to create 3D models from scan data | Undet
Alternates: can use other point cloud to meshing tools, then bring the generated mesh into SketchUp
– MeshLab: open source and free
– Cloud Compare: free
2 | Place Mesh Geometry on Specific Tag (Layer)
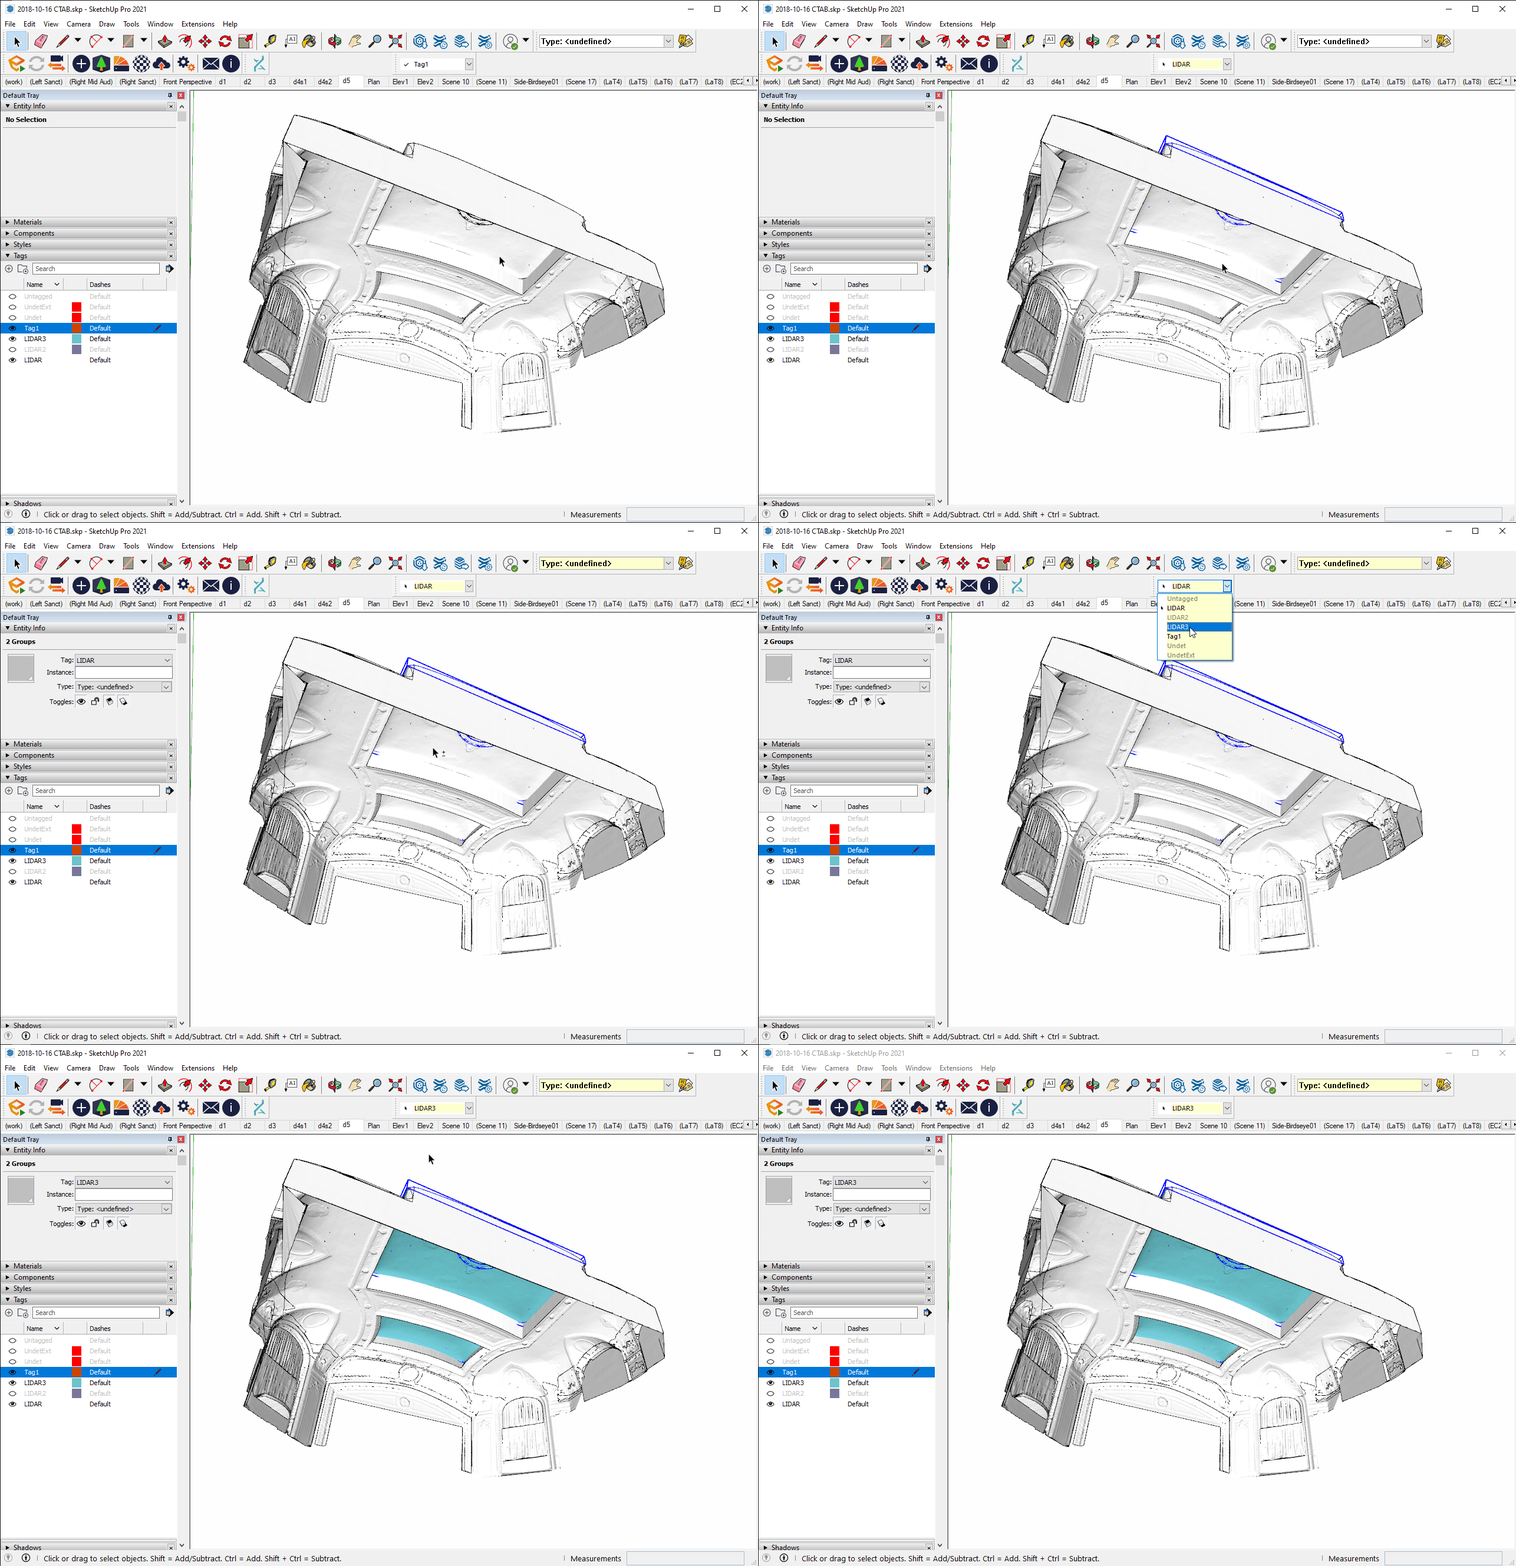
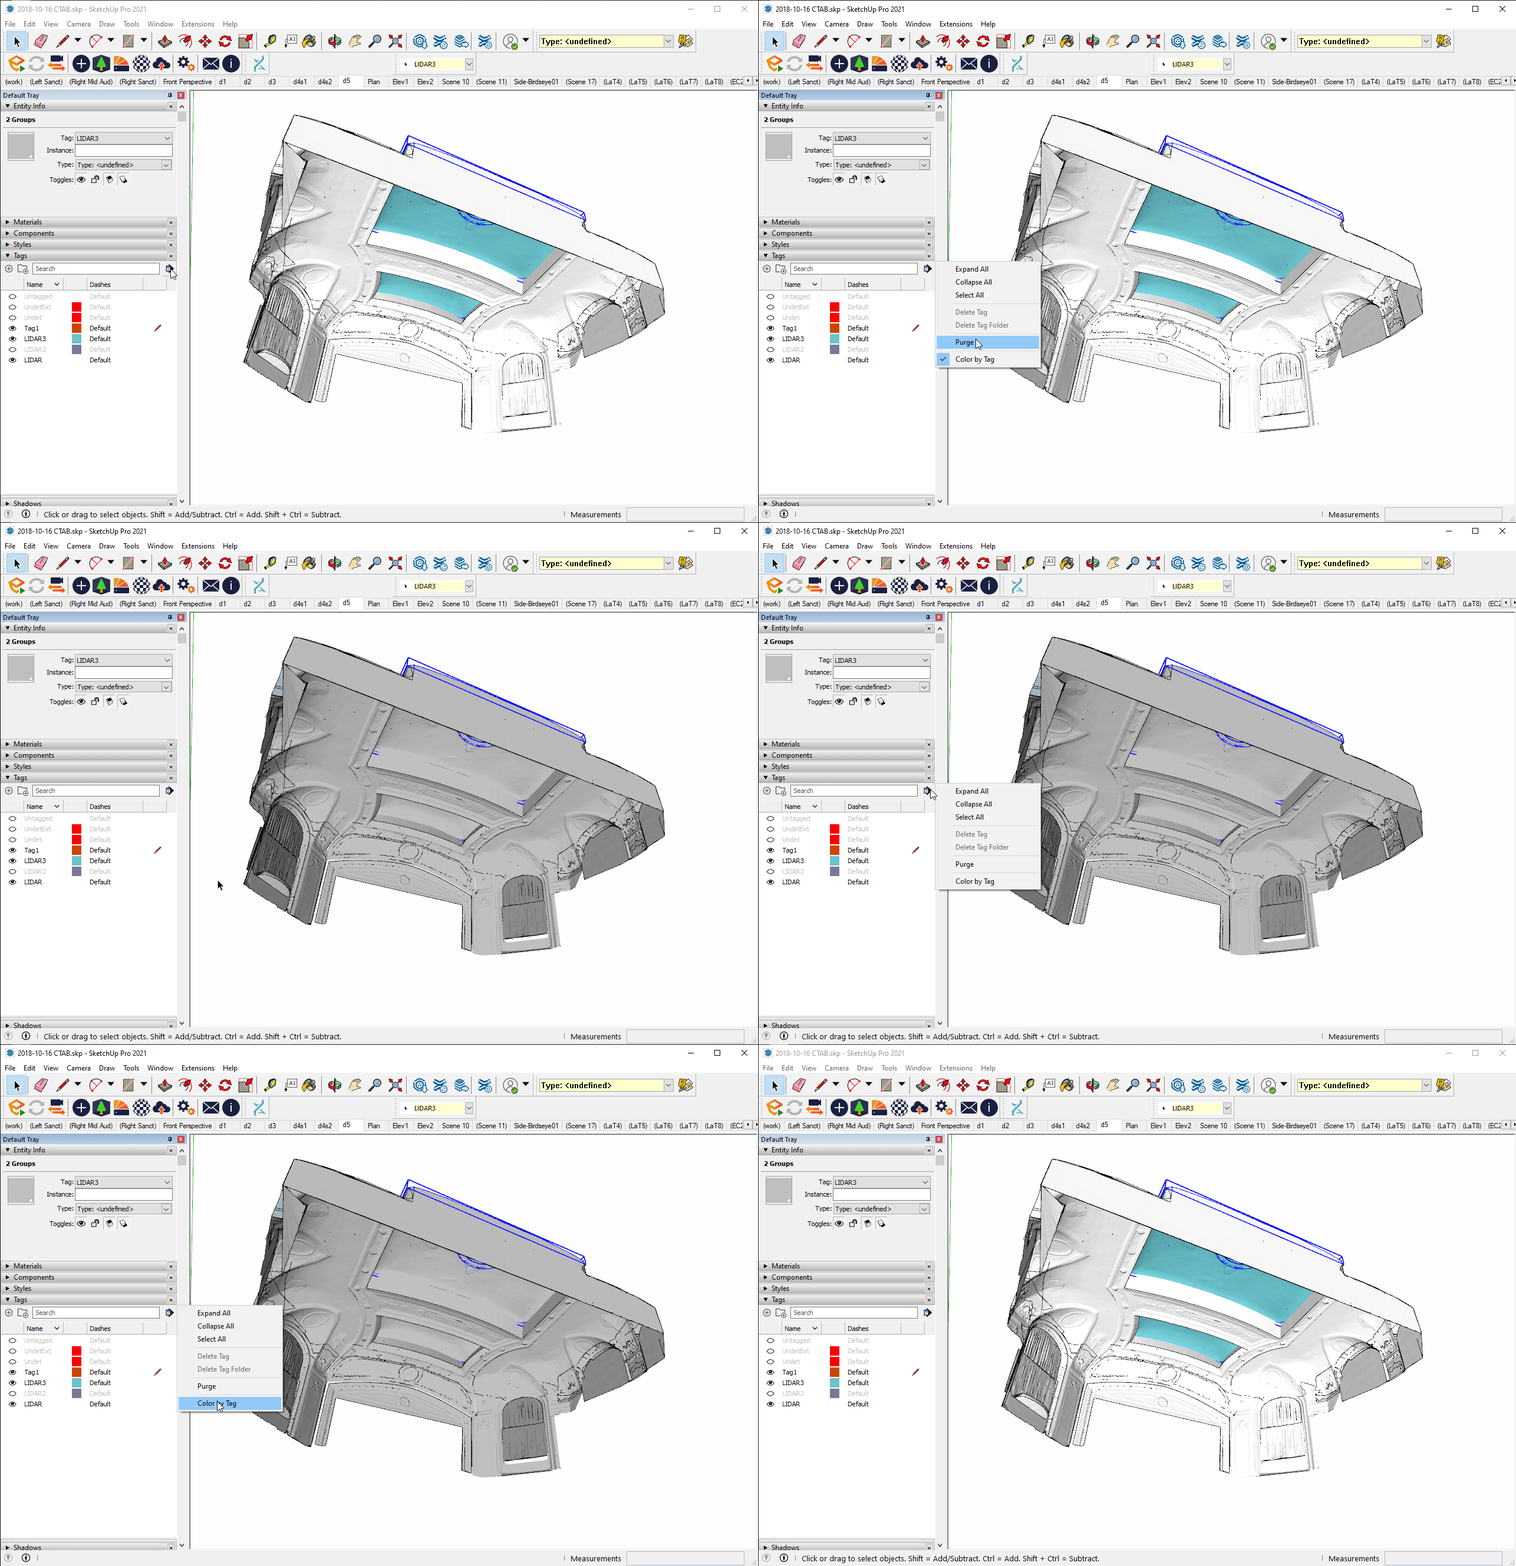
- Select the point cloud geometry, and place it on the appropriate tag
TIP: It might be best to create a new tag to ensure that the only geometry present on the tag is the point cloud mesh
TIP: Can set the color by tag option to visually see what geometry is set to a tag
3 | Map Tag in Helix
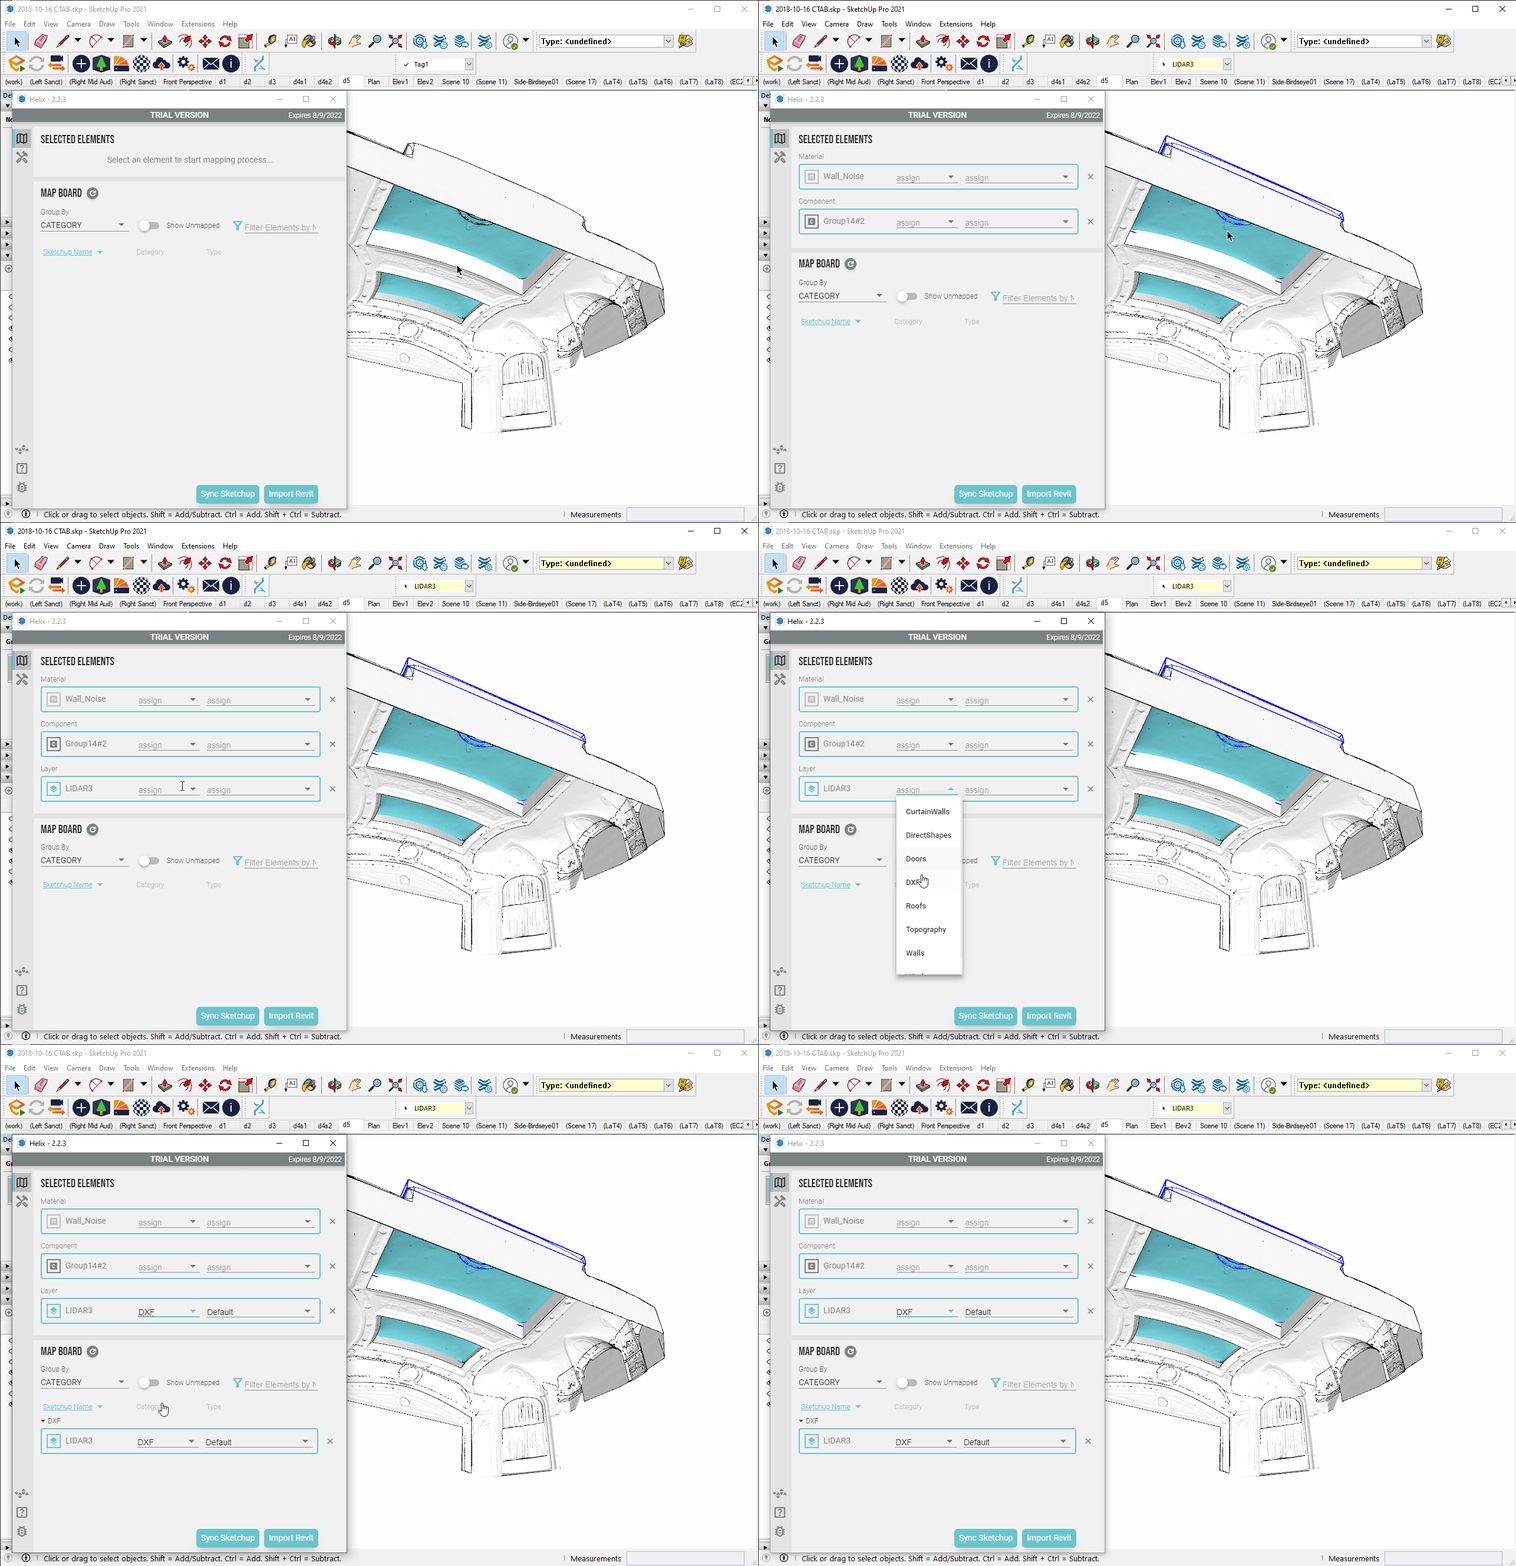
- Open the the Helix UI by clicking the Helix Icon in SketchUp
- Select the component
- In the SELECTED ELEMENTS section change the selected Layer “LIDAR3” (newly created tag) to DXF in the dropdown
4 | Sync with Revit
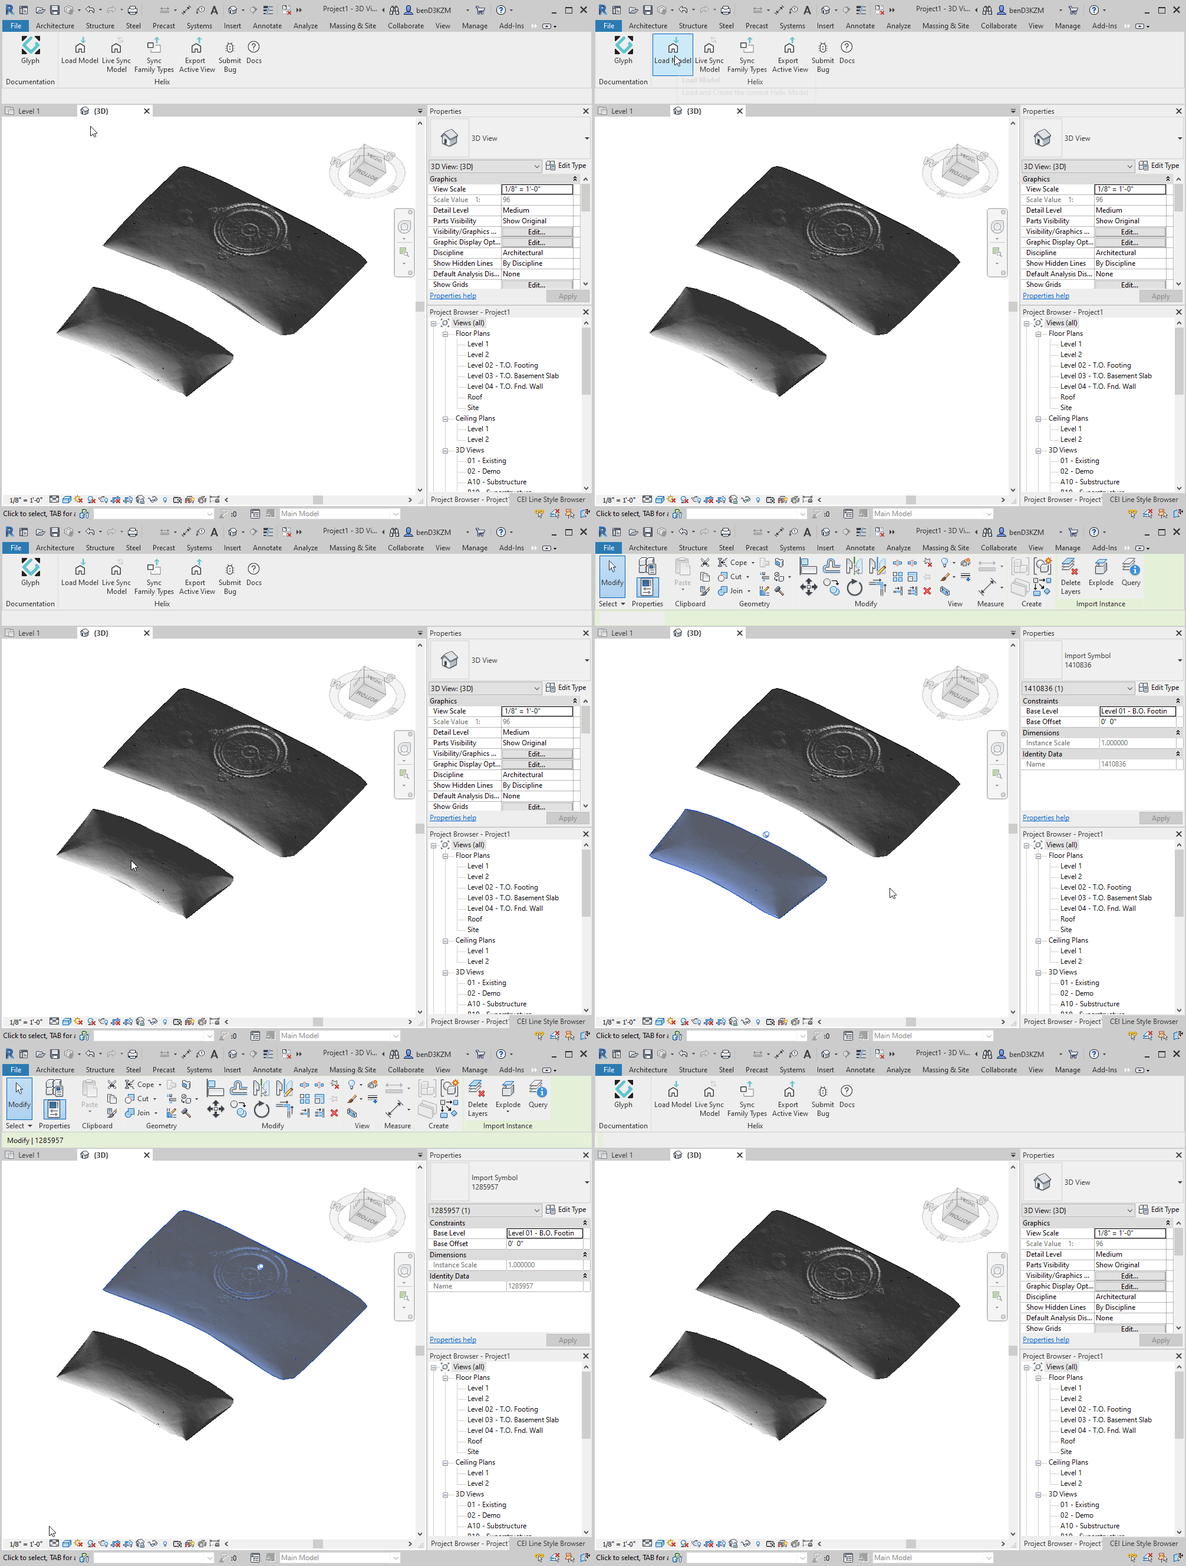
- Click the Sync SketchUp button in the Helix UI
- With Revit open, click the Load Model button in the EvolveLAB Revit Ribbon Tab
5 | Continue Process for the Entire Model
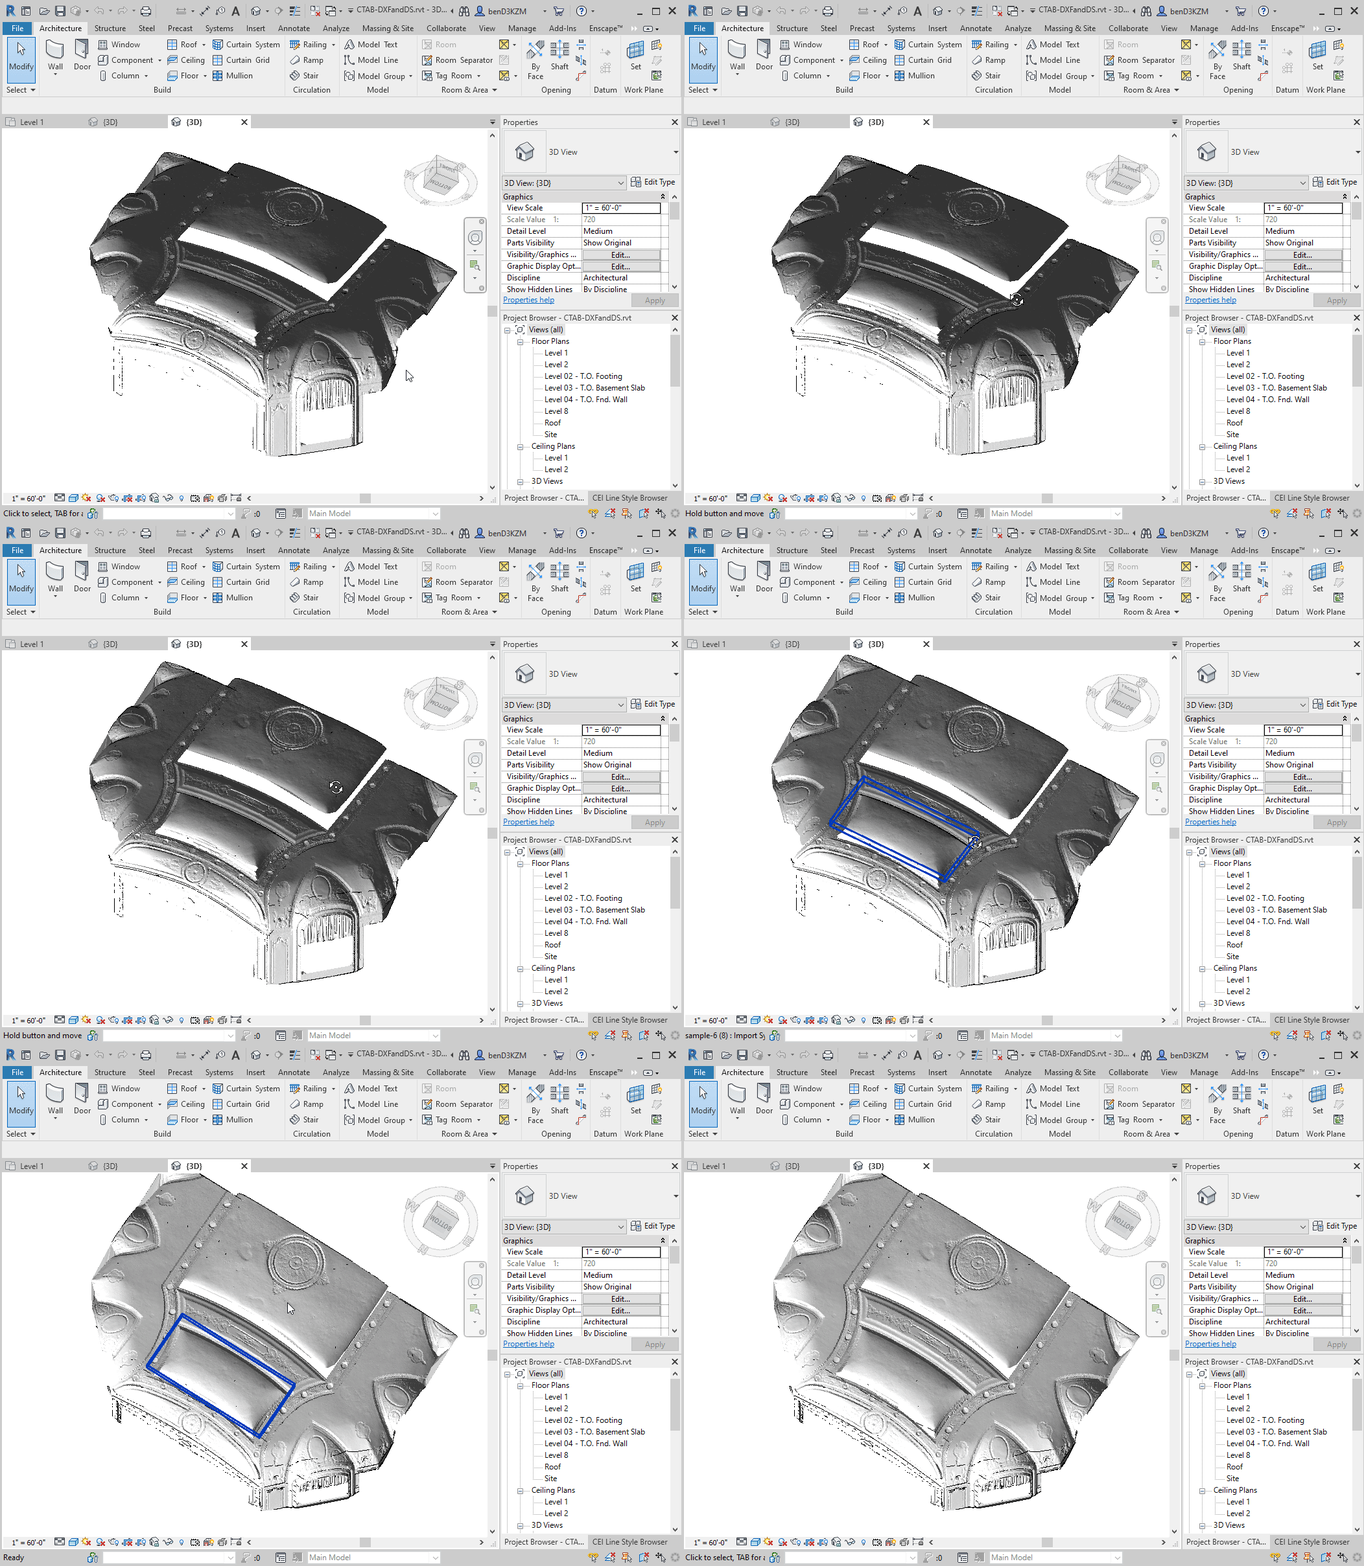
- Continue and add the other tag to sync with Revit so that all the desired geometry is translated.
- Can also set all the desired geometry to the same tag used in the second step
6 | Create Views in Revit
- Create section, plan, or rcp views in Revit
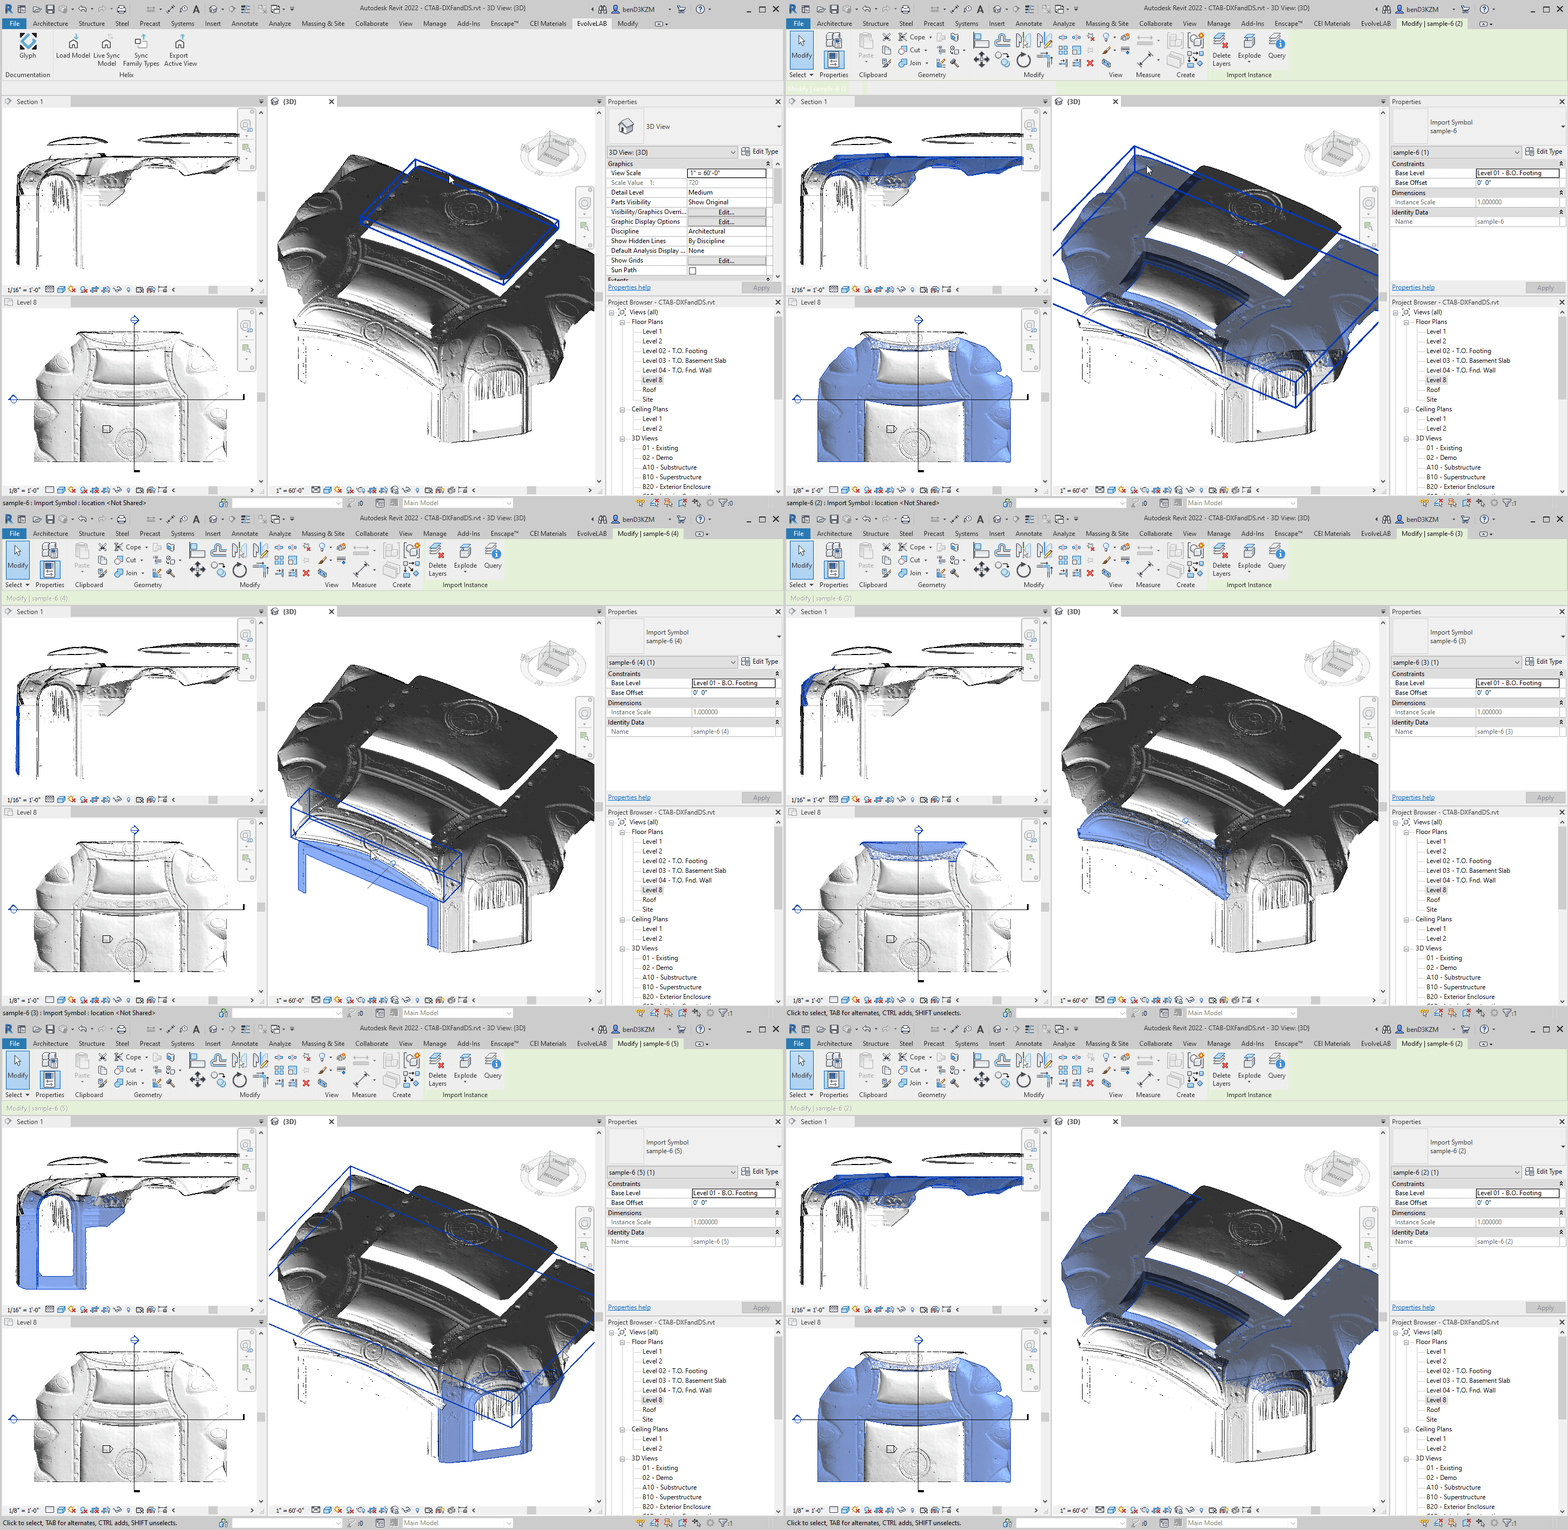
7 | Document the Revit Views
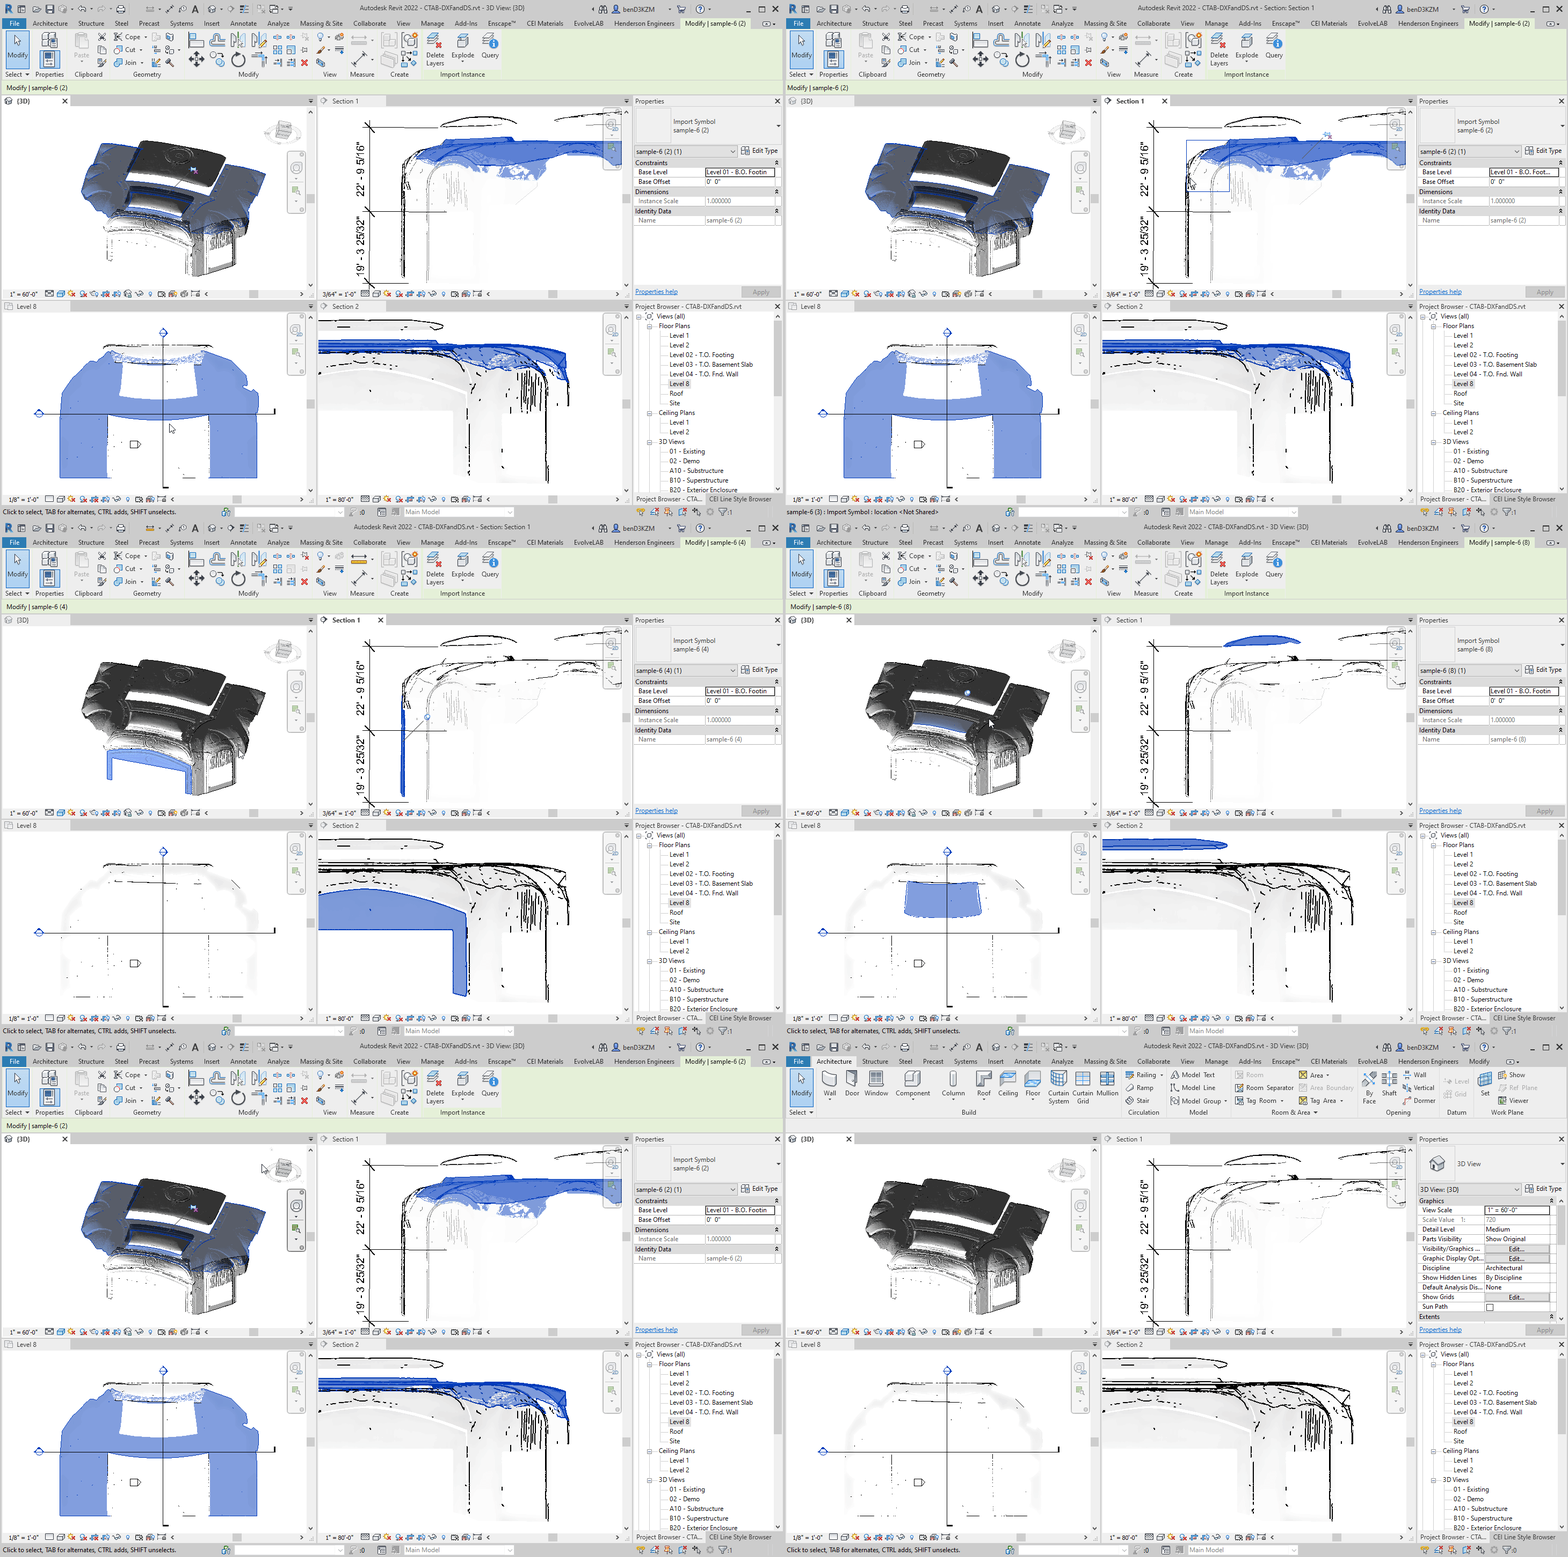
- Use the imported point cloud mesh as a background along with other BIM geometry
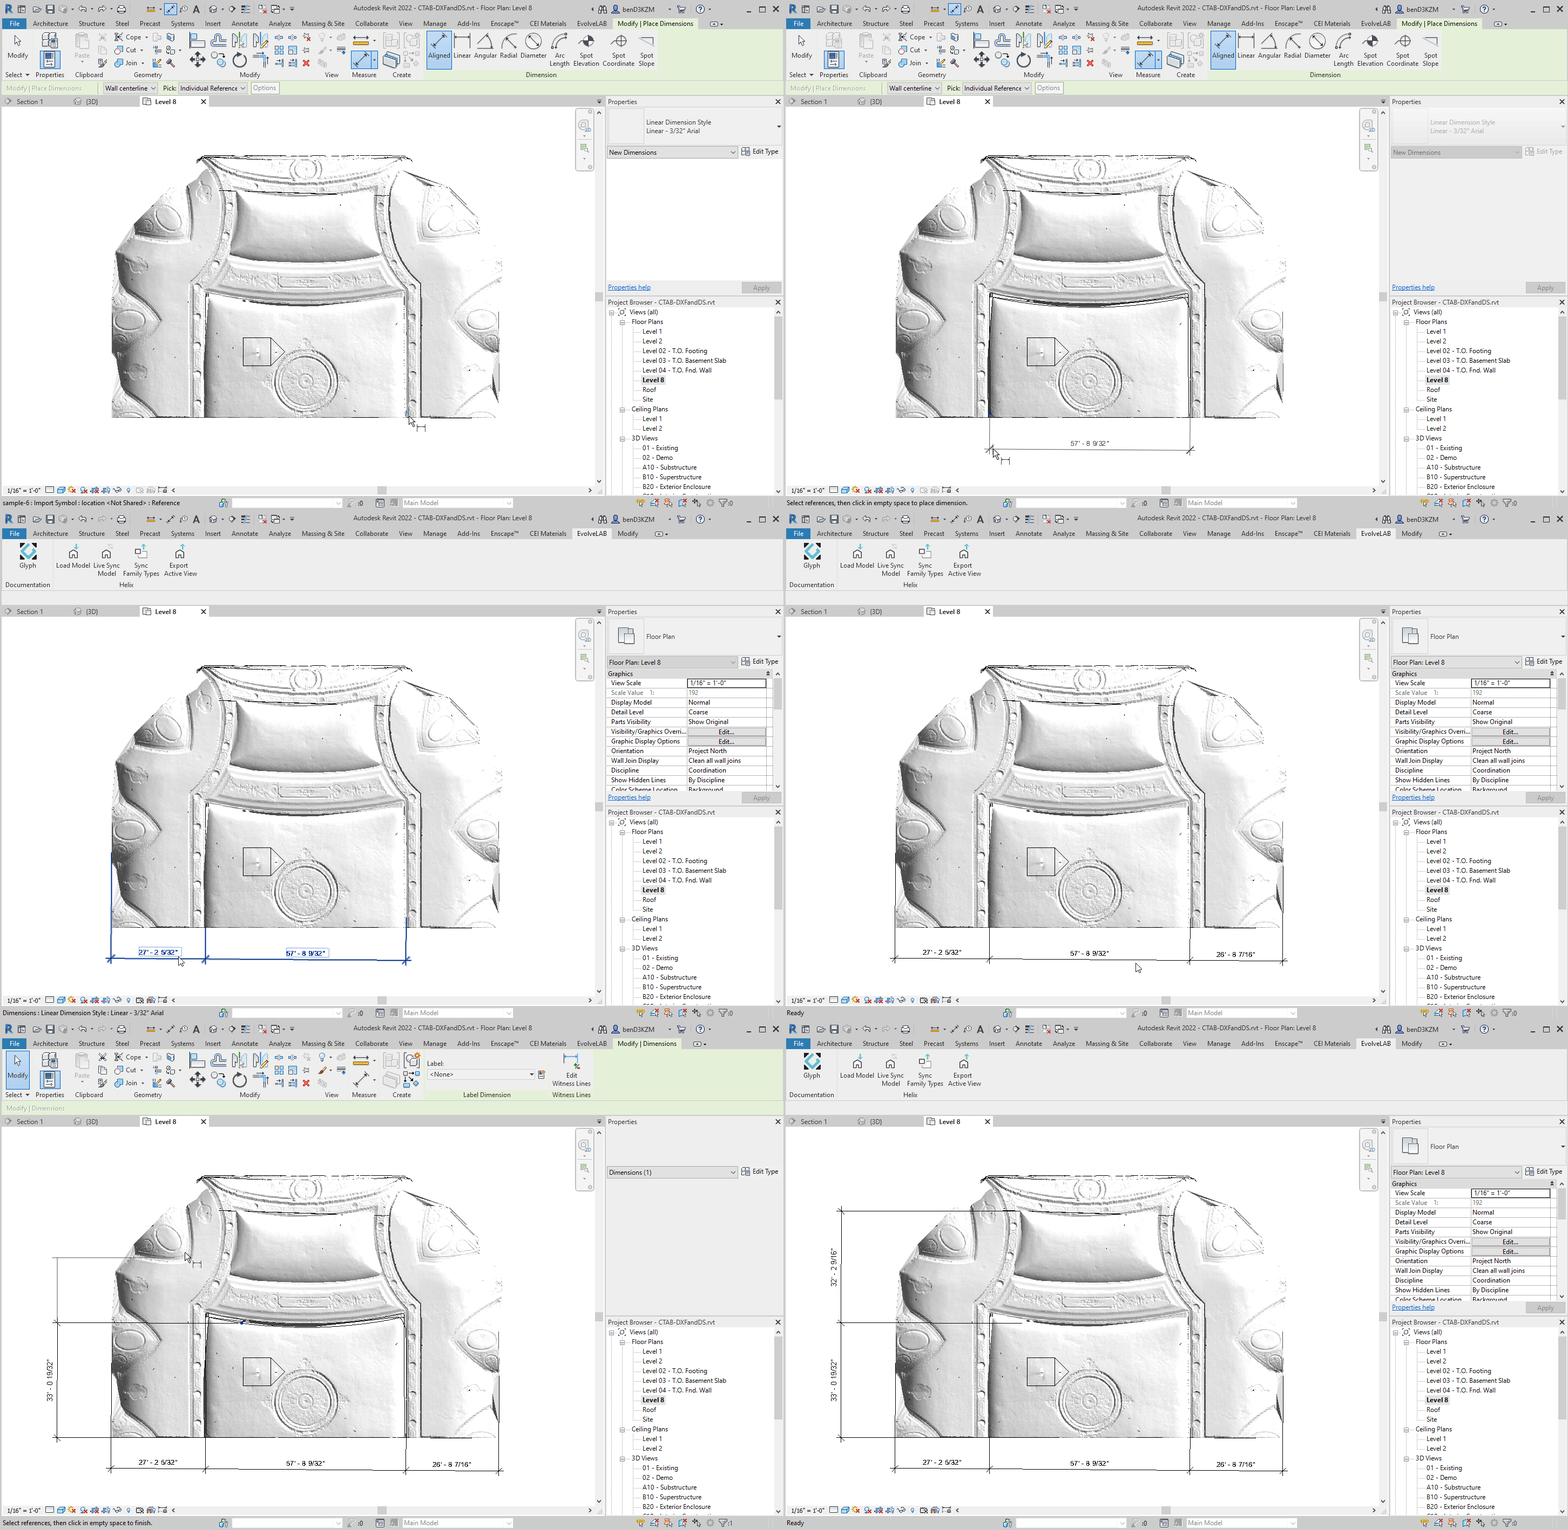
- Can also add dimensions to the imported mesh geometry:
– dimensions to self
– dimensions to other BIM content
Ideas & Feedback
Let us know how we can improve this workflow.
Are there other ideas that could be useful to this workflow?