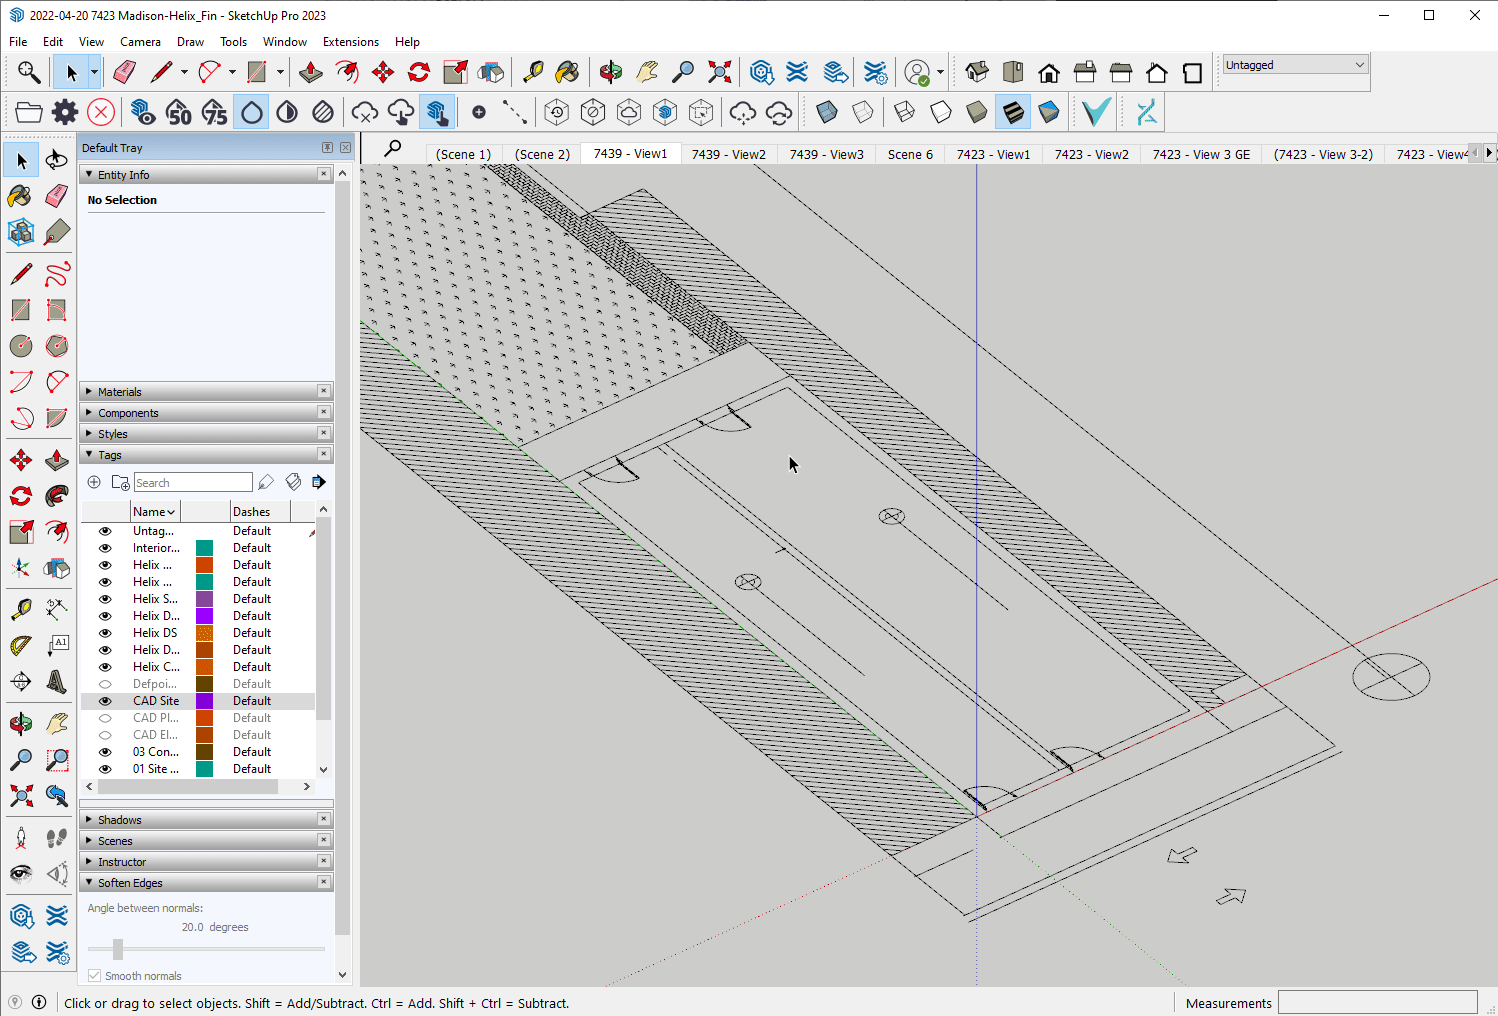
1 | Model the Building Massing
Option A - CAD
- If you have a CAD file you can start by tracing the footprint from the file.
- Don’t worry about getting the height correct right now (unless you have the correct height). We can trace the SketchUp photo-match to get the height of the building
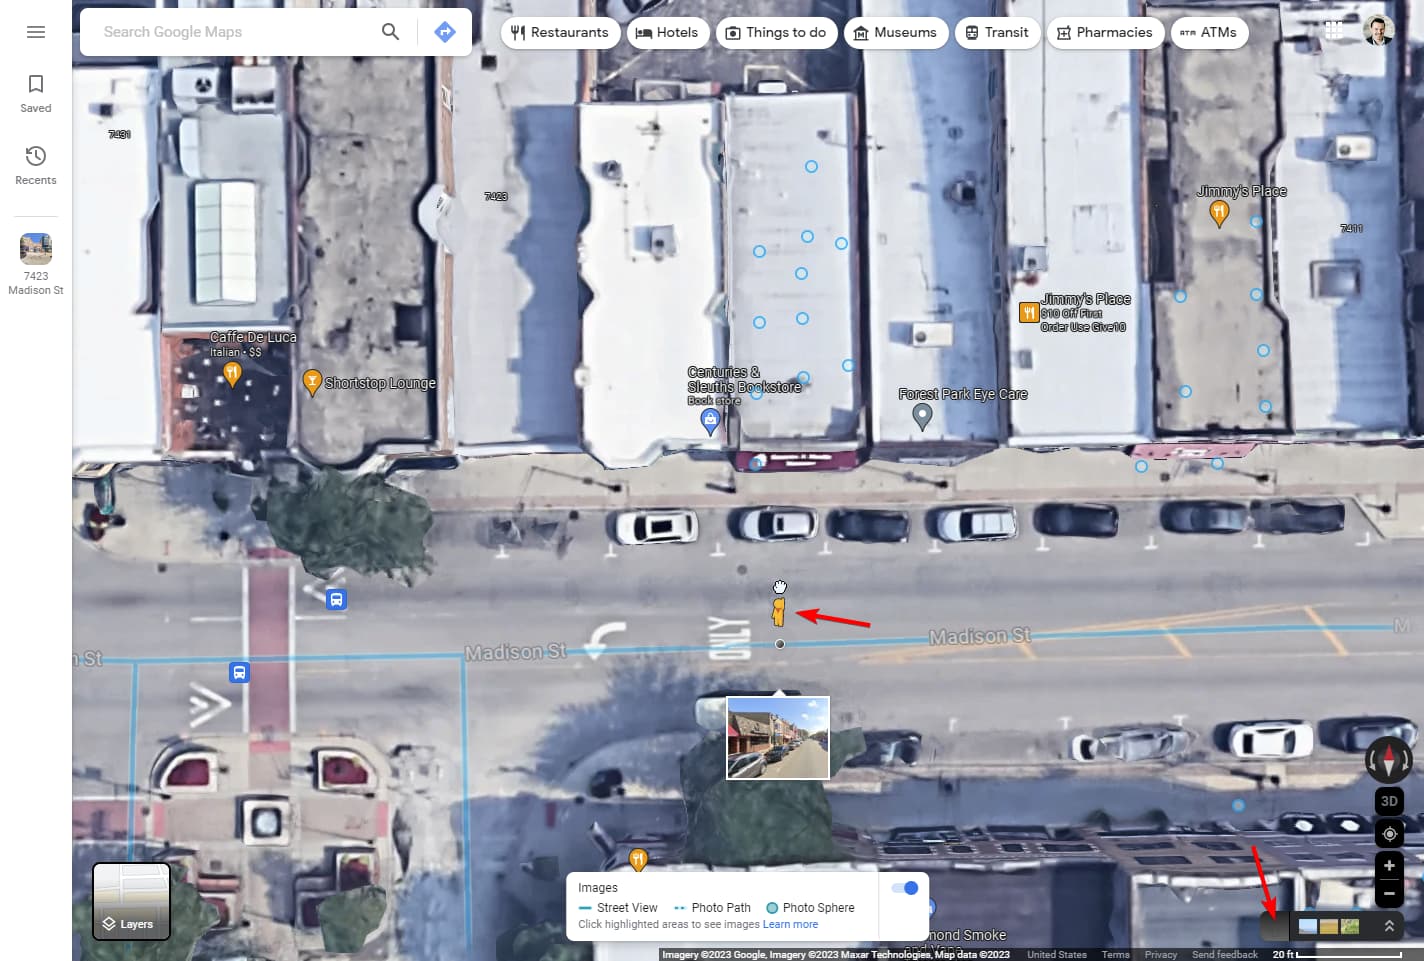
Option B - Location Map
- alternately, you can extract the google map plan and trace that instead
- click the Add Location button

- select a location (you can type an address)
- select a region on the map clicking the Select Region
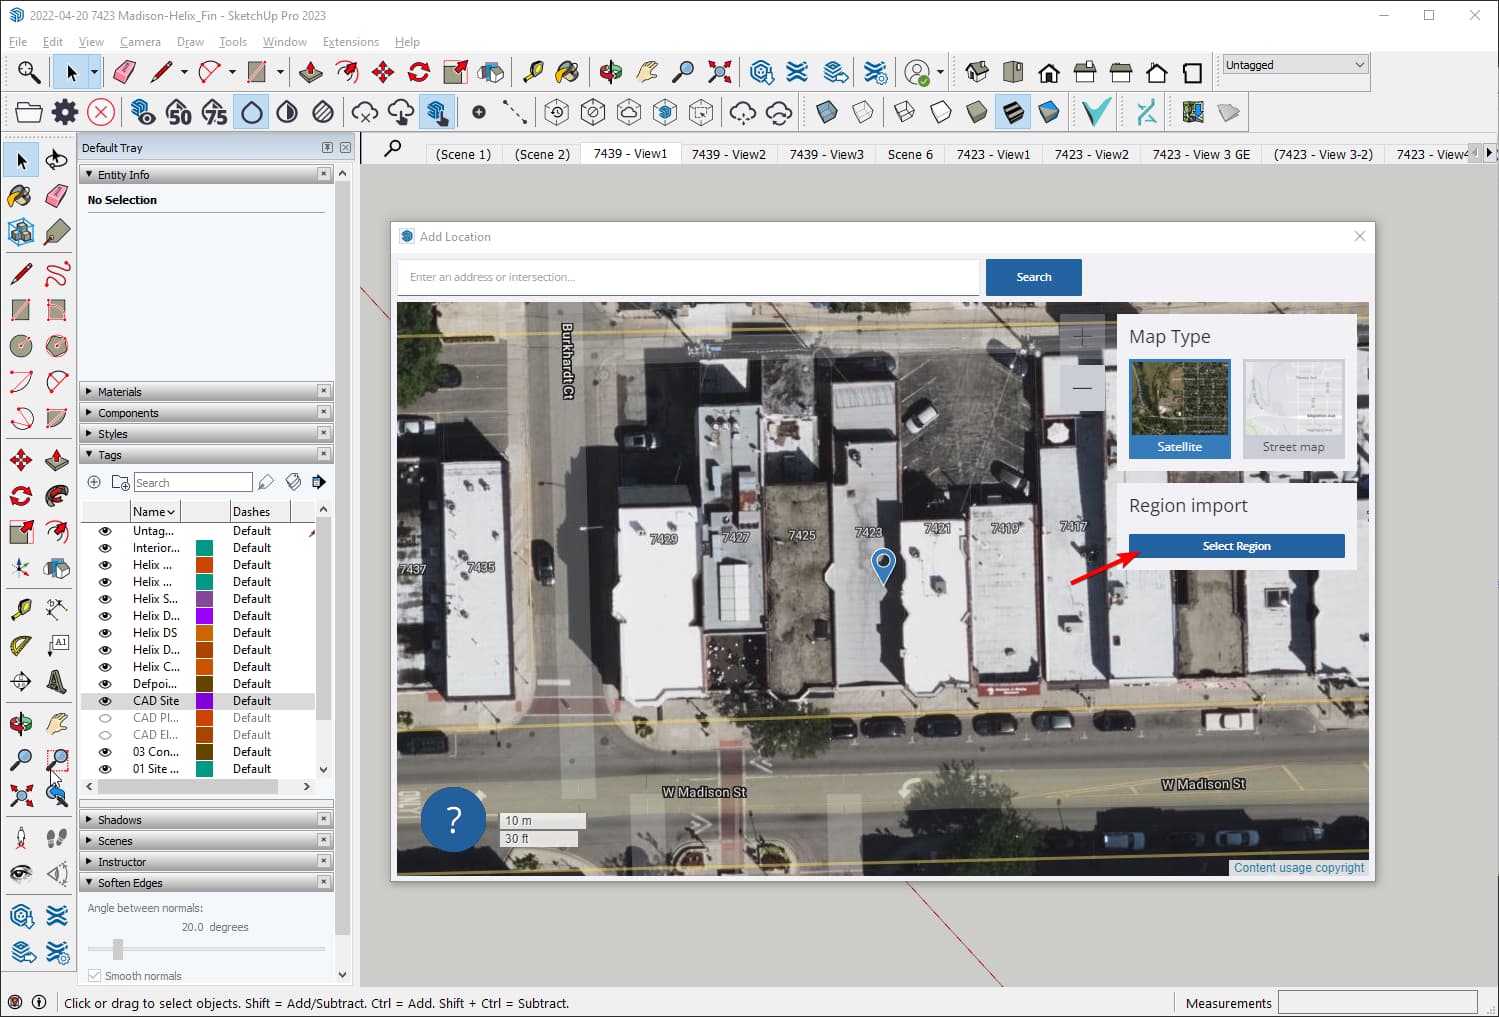
- adjust the region and click Import

- Trace the footprint to create a mass
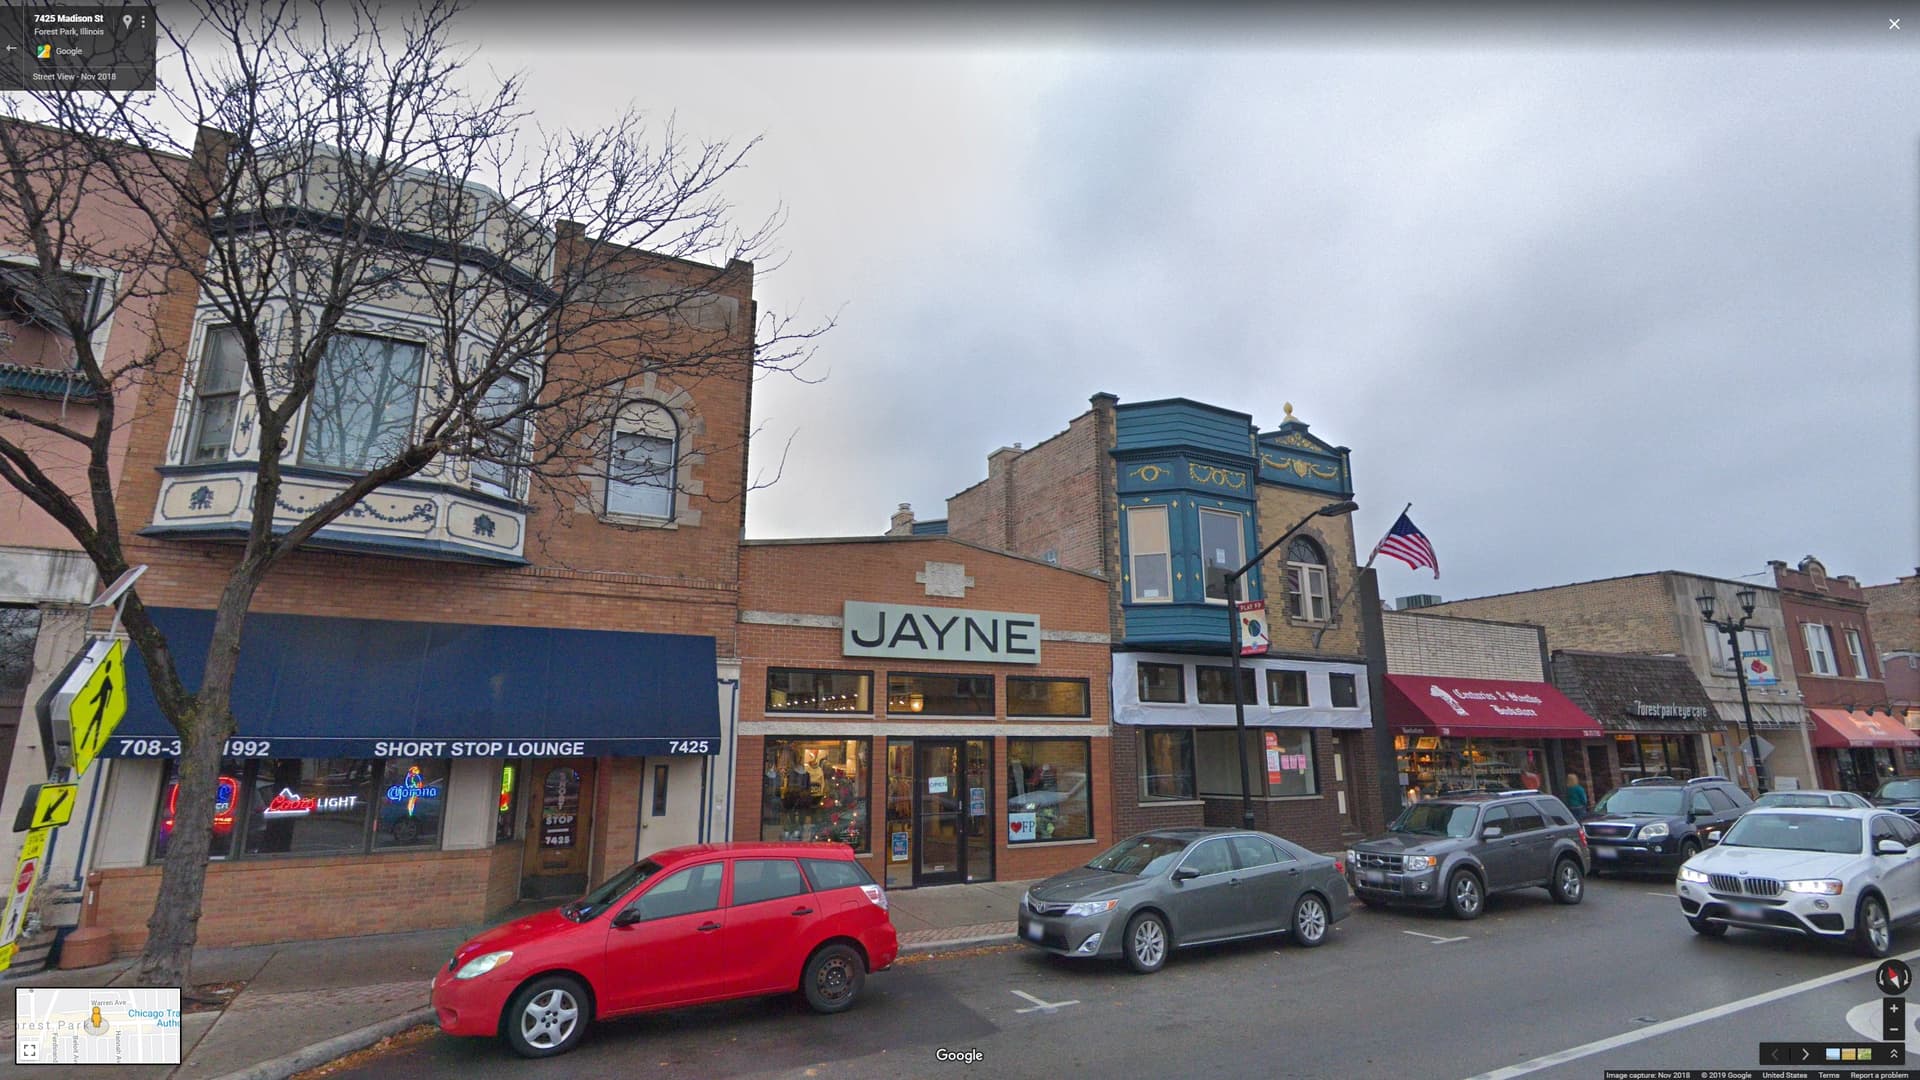
2 | Get the Google Street View Image
- Go to the building address on Google Maps
- Enter the Street View
- Take a screenshot of this view
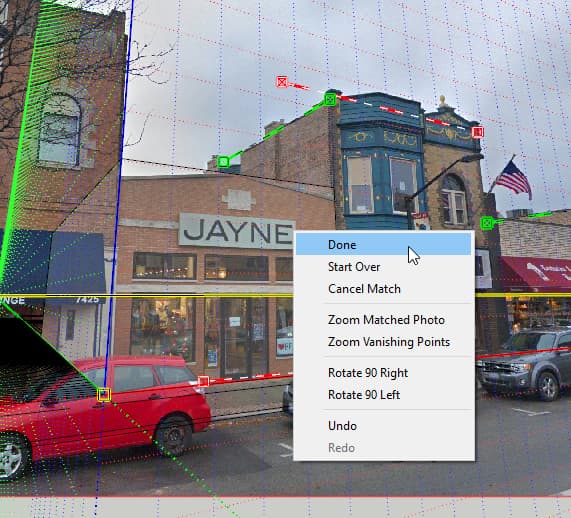
3 | Use SketchUp’s Match Photo Feature to align the massing to the image
- make sure that the origin if aligned to the mass
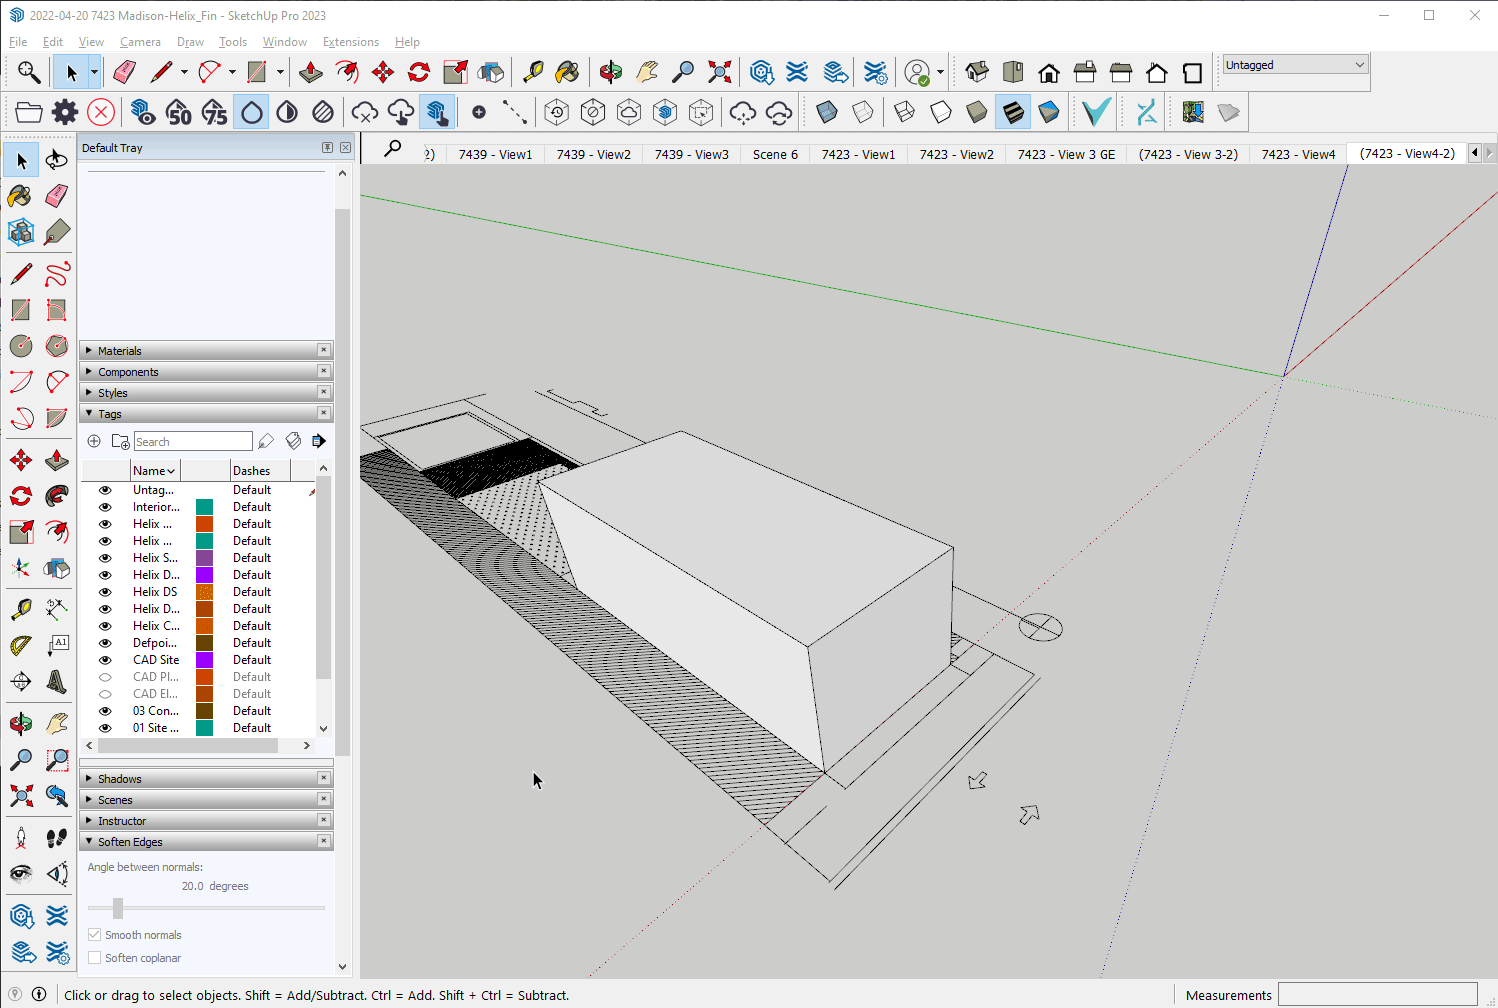
- start the Match New Photo tool, and select the image file
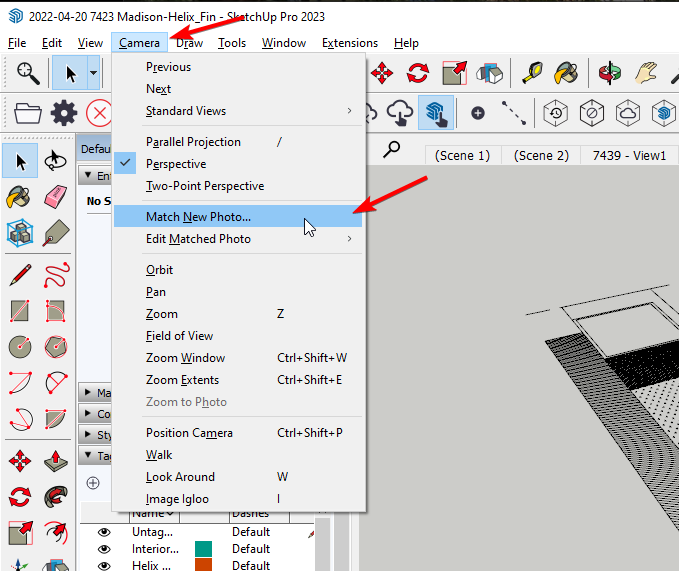
- align the green and red guide lines to the photo

- finish the photo match with Right Click, then Done
4 | Update the Model
- project the photo to the model with Right Click, then Project Photo

- adjust the model per the photo texture
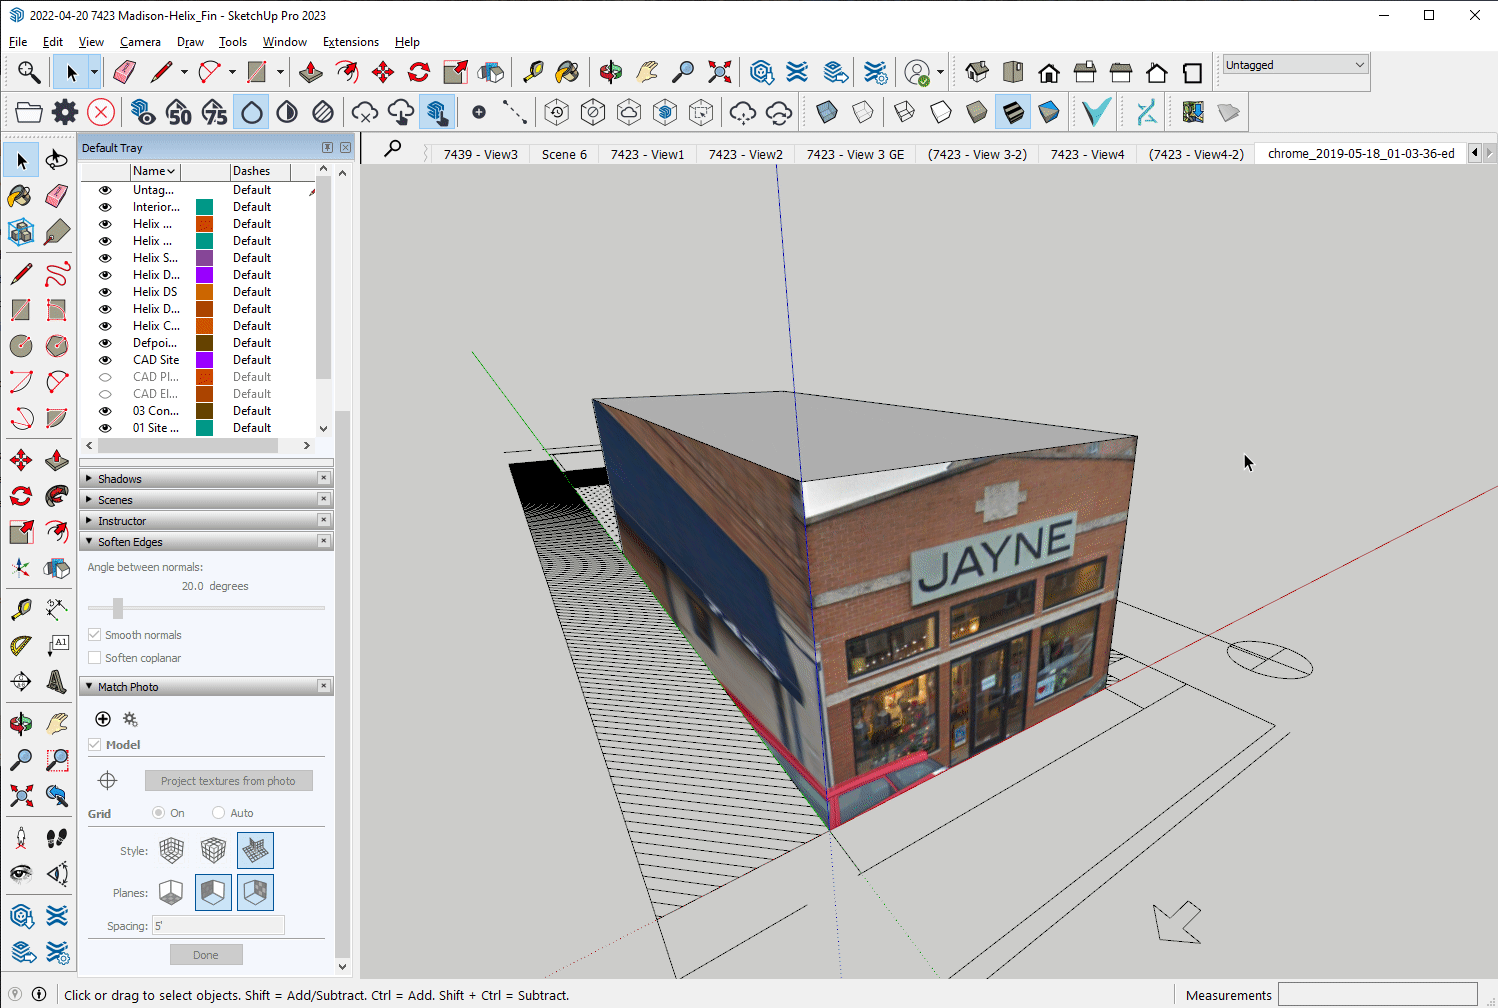
- this process can handle multiple masses

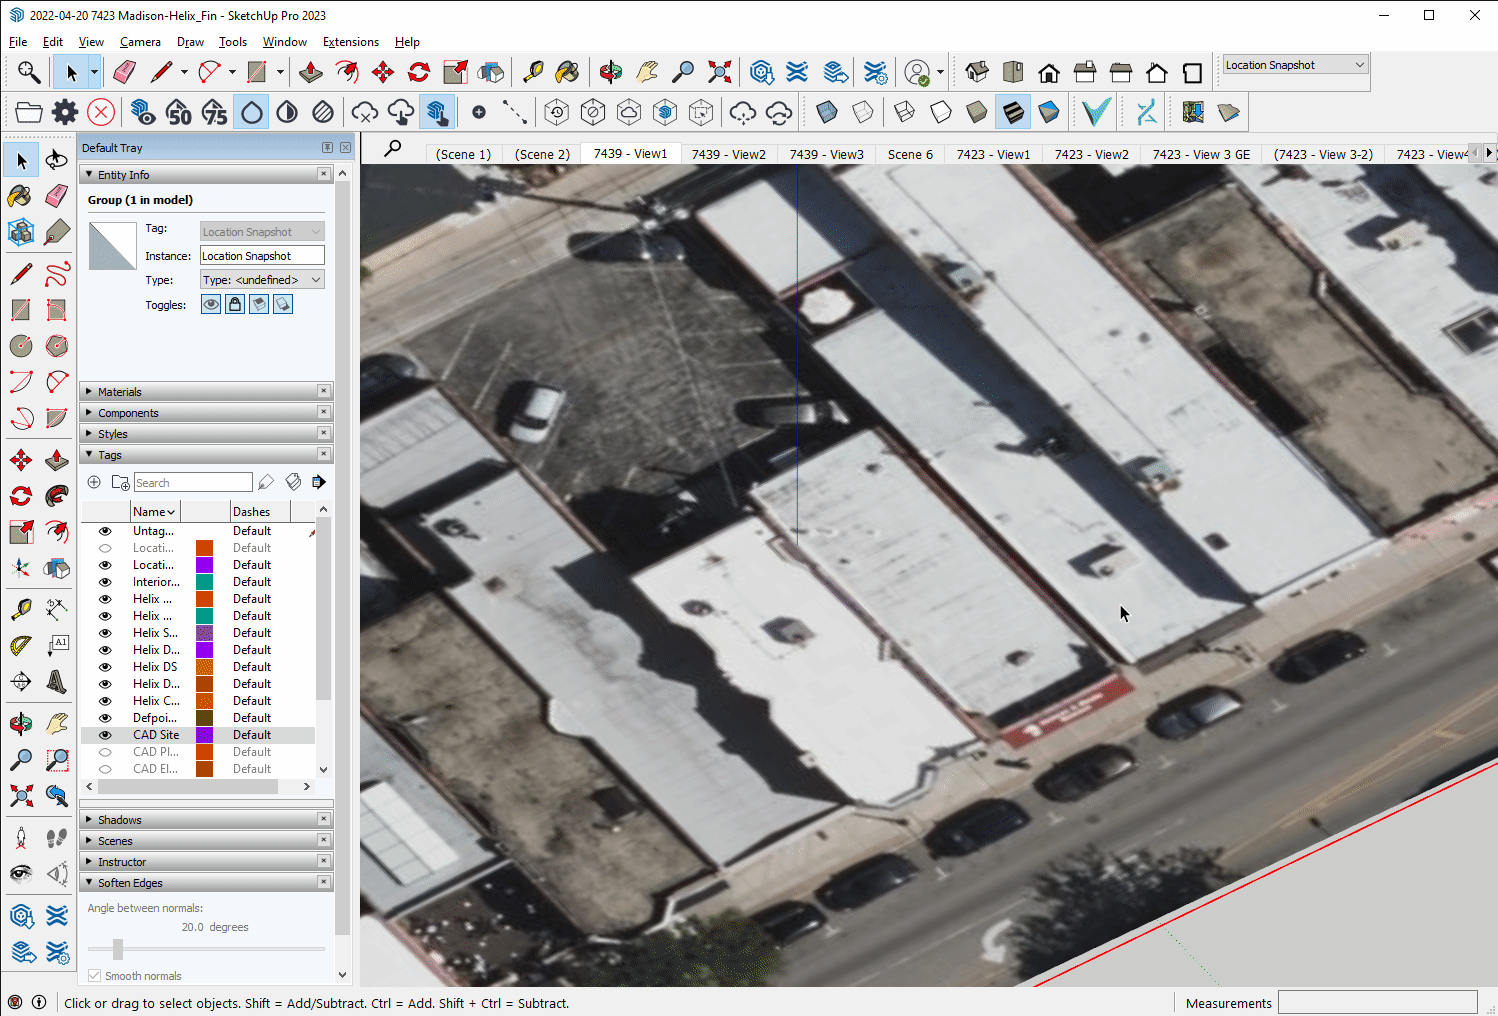
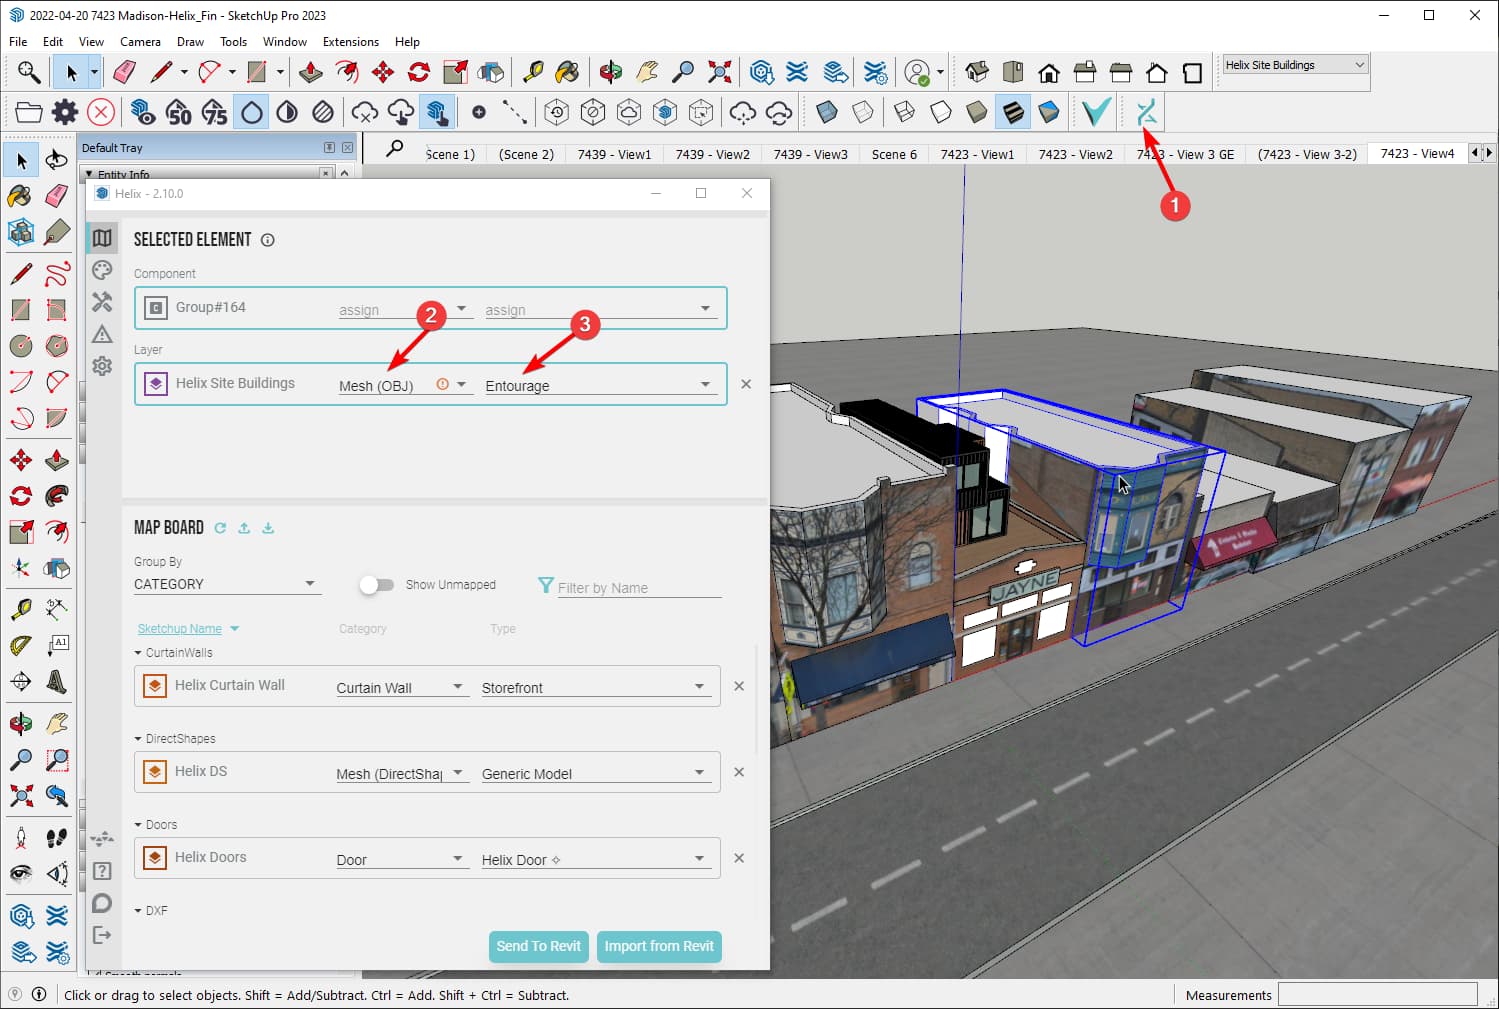
5 | Map the components with Helix
- make a new tag, and call it Helix Site Buildings (you can call it whatever makes sense to you)
- place the building components (or groups) on this new tag
- open the Helix UI and select one of these buildings
- set the mapping to be Mesh (OBJ) and Entourage category
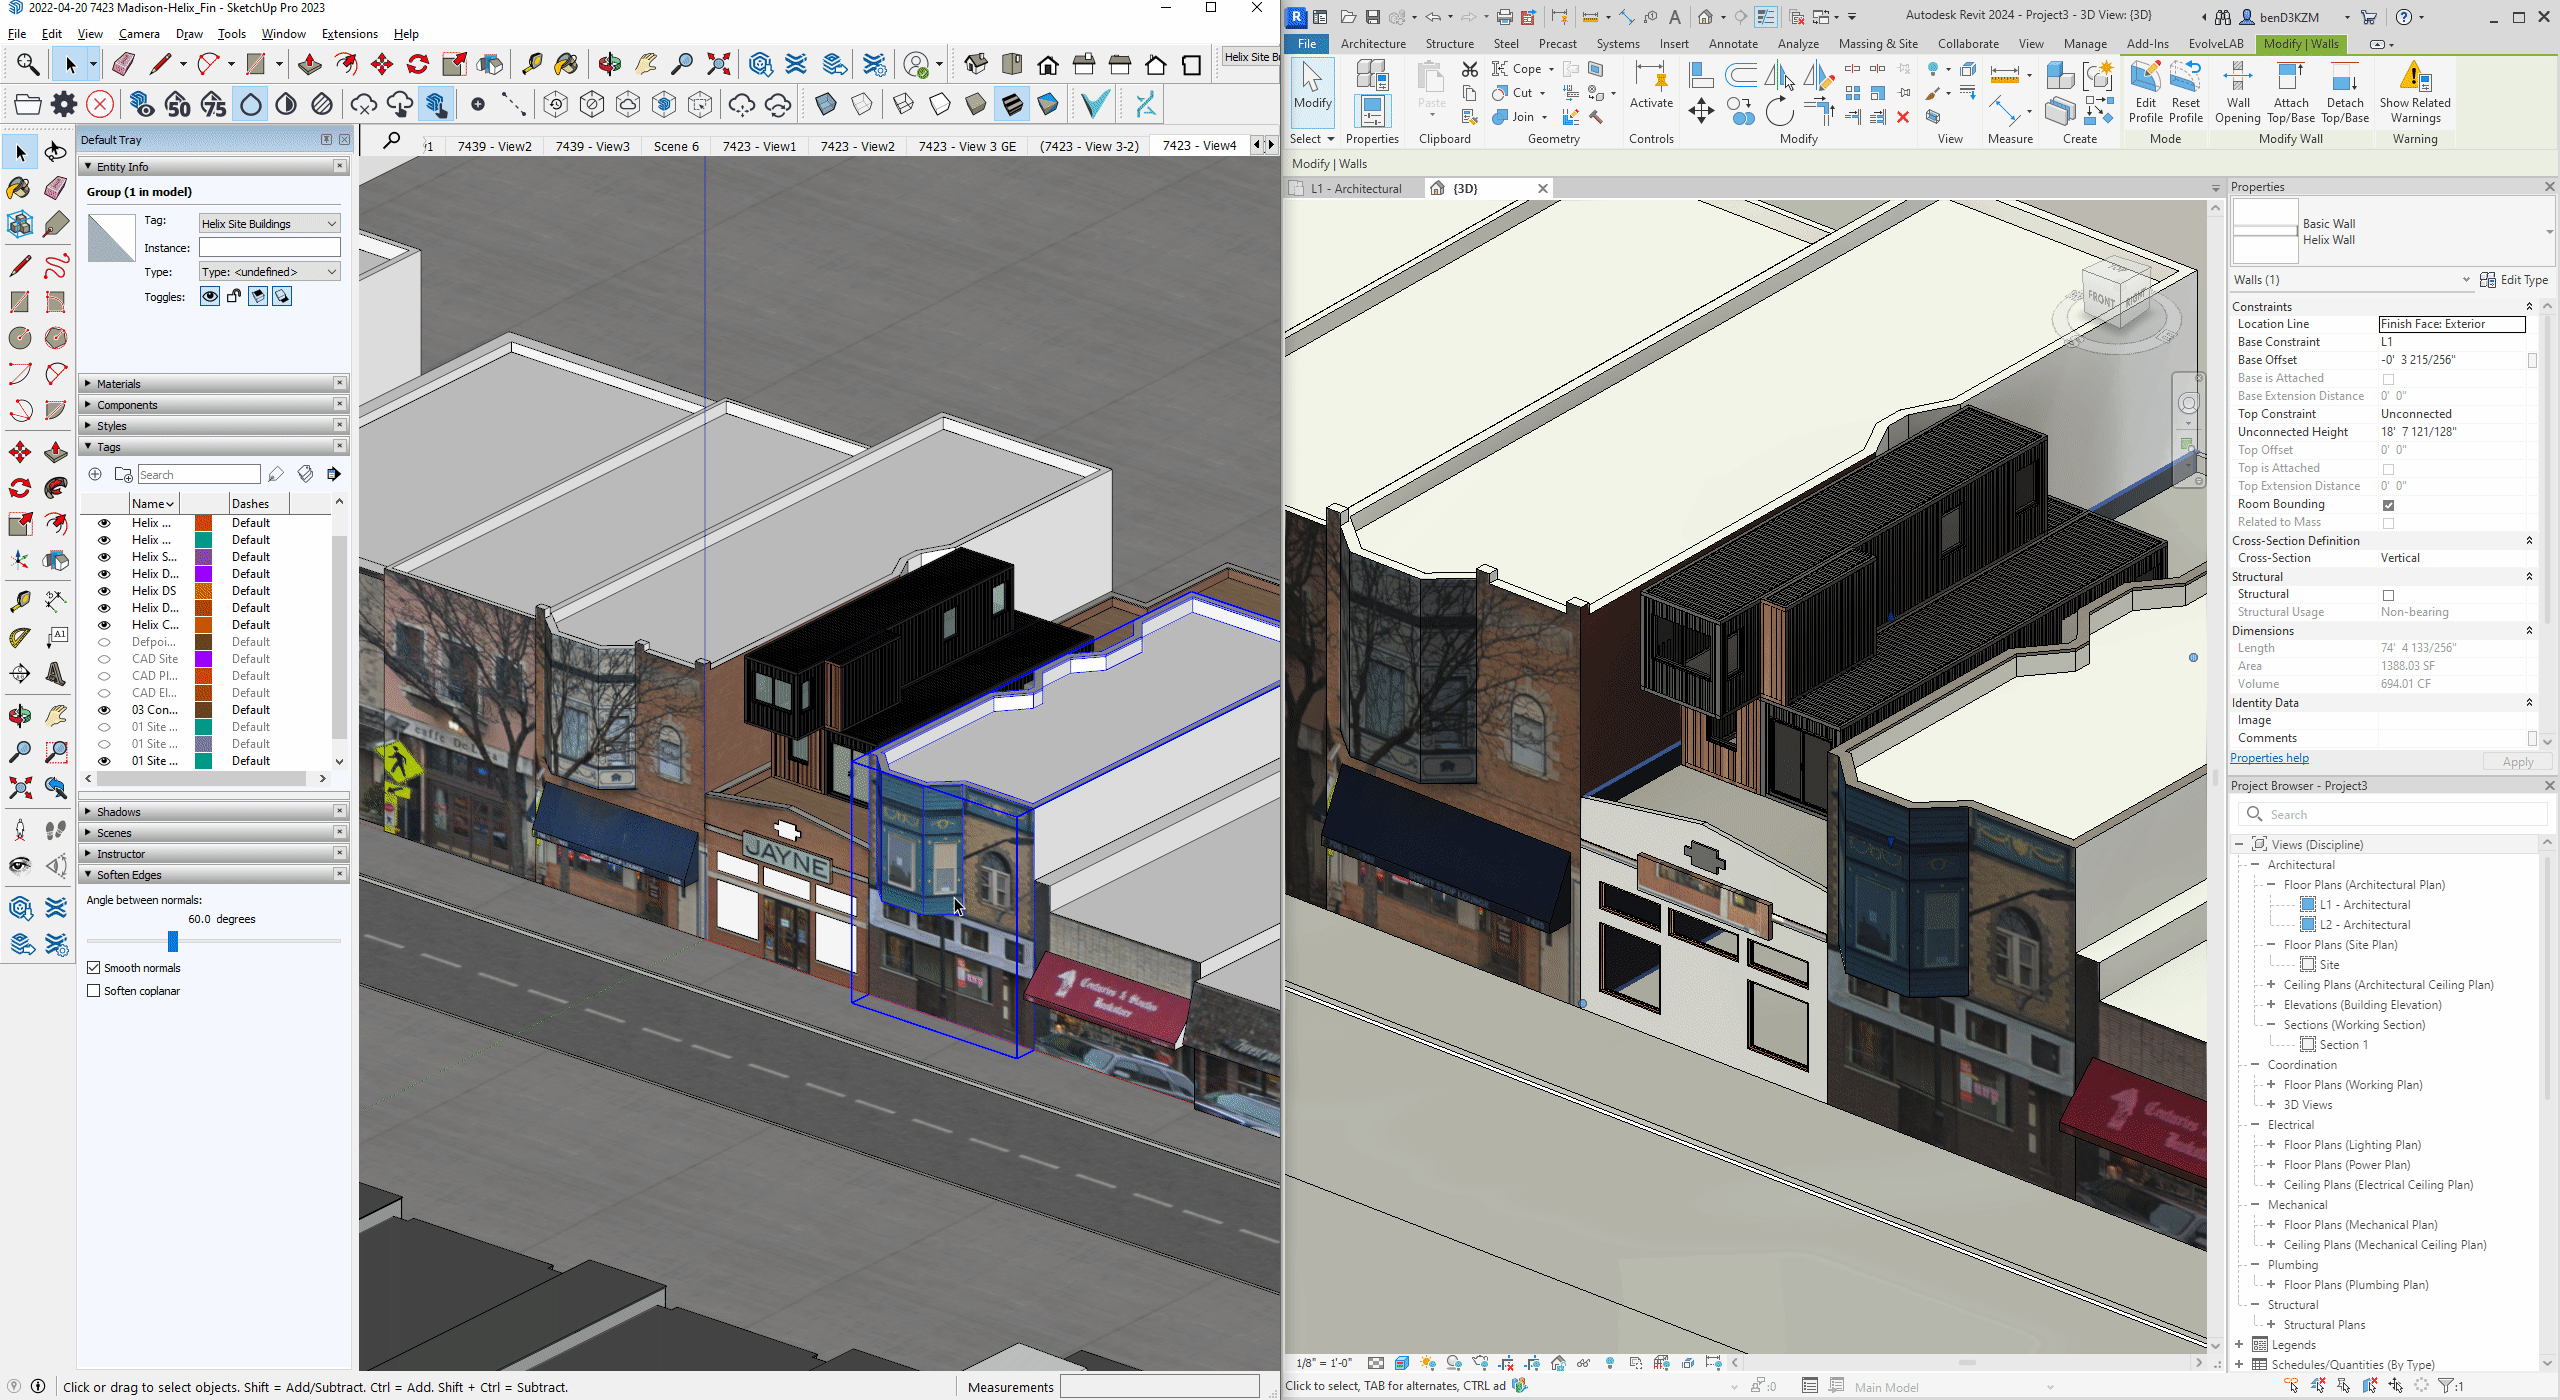
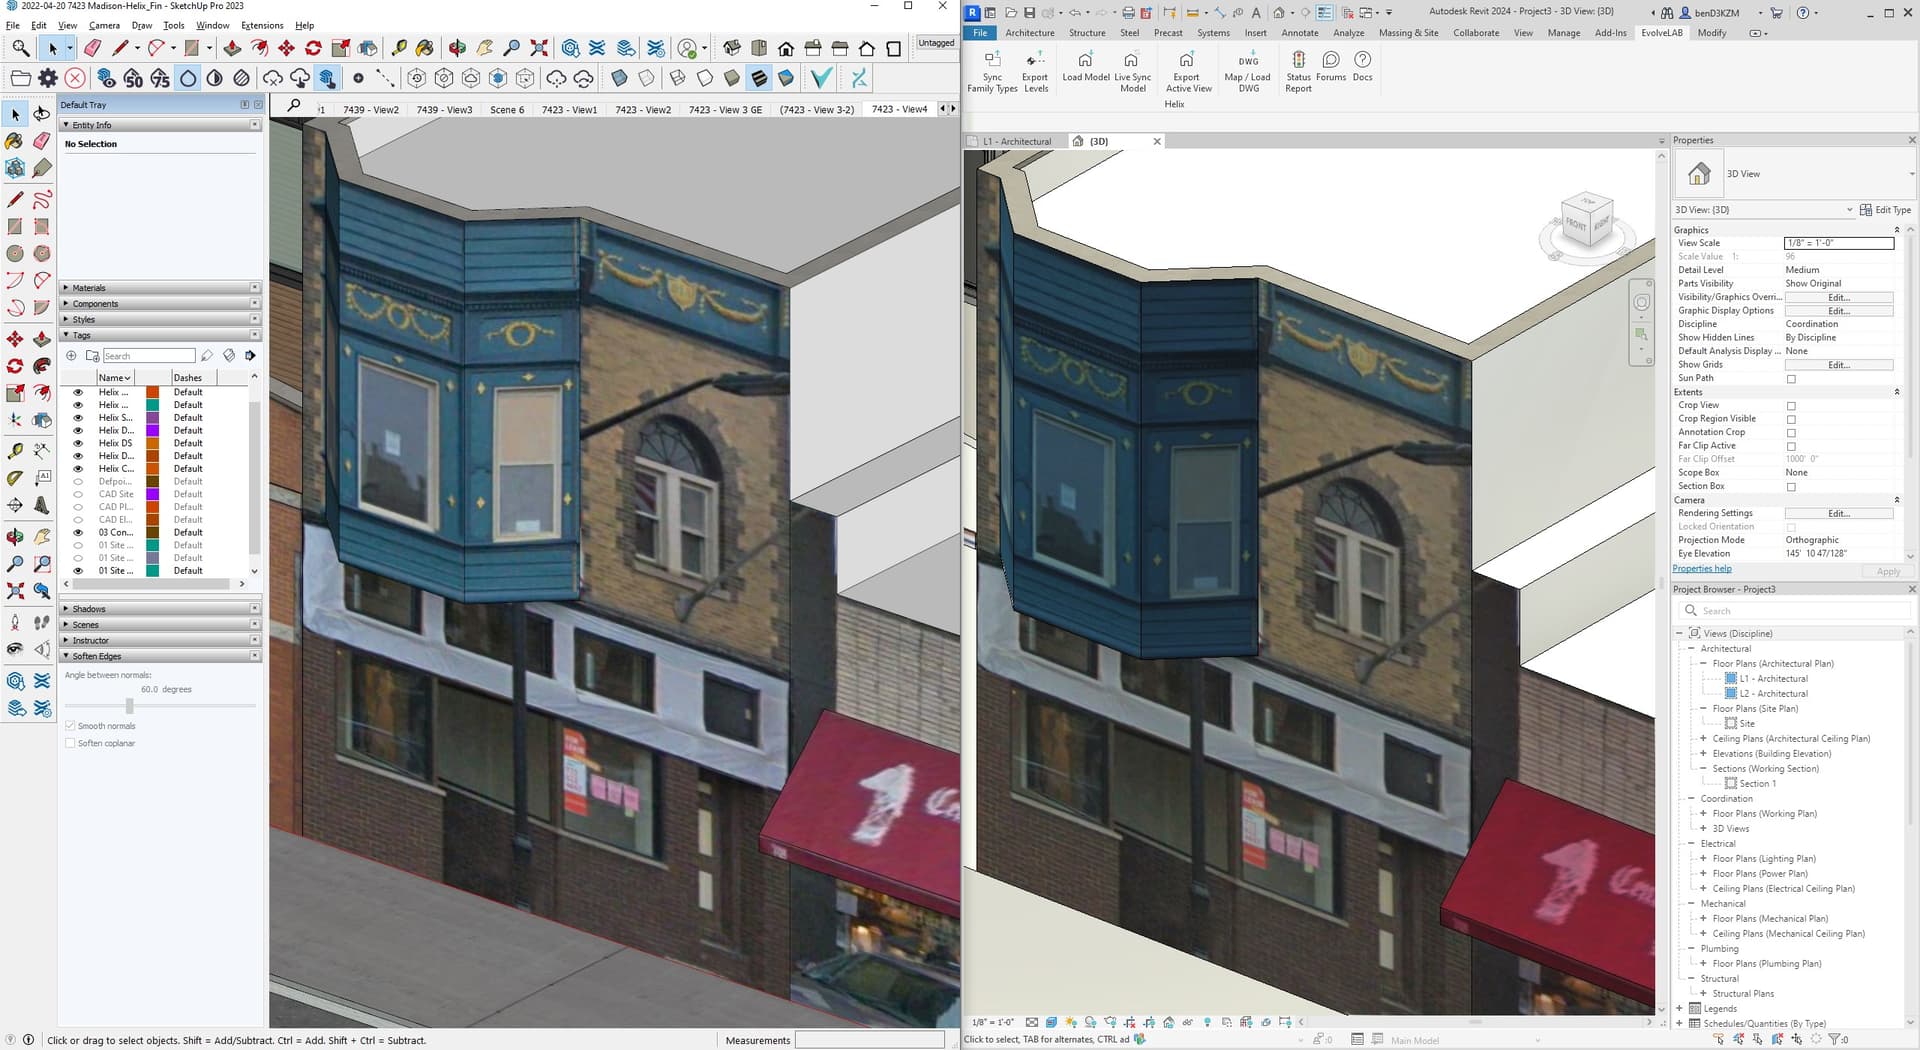
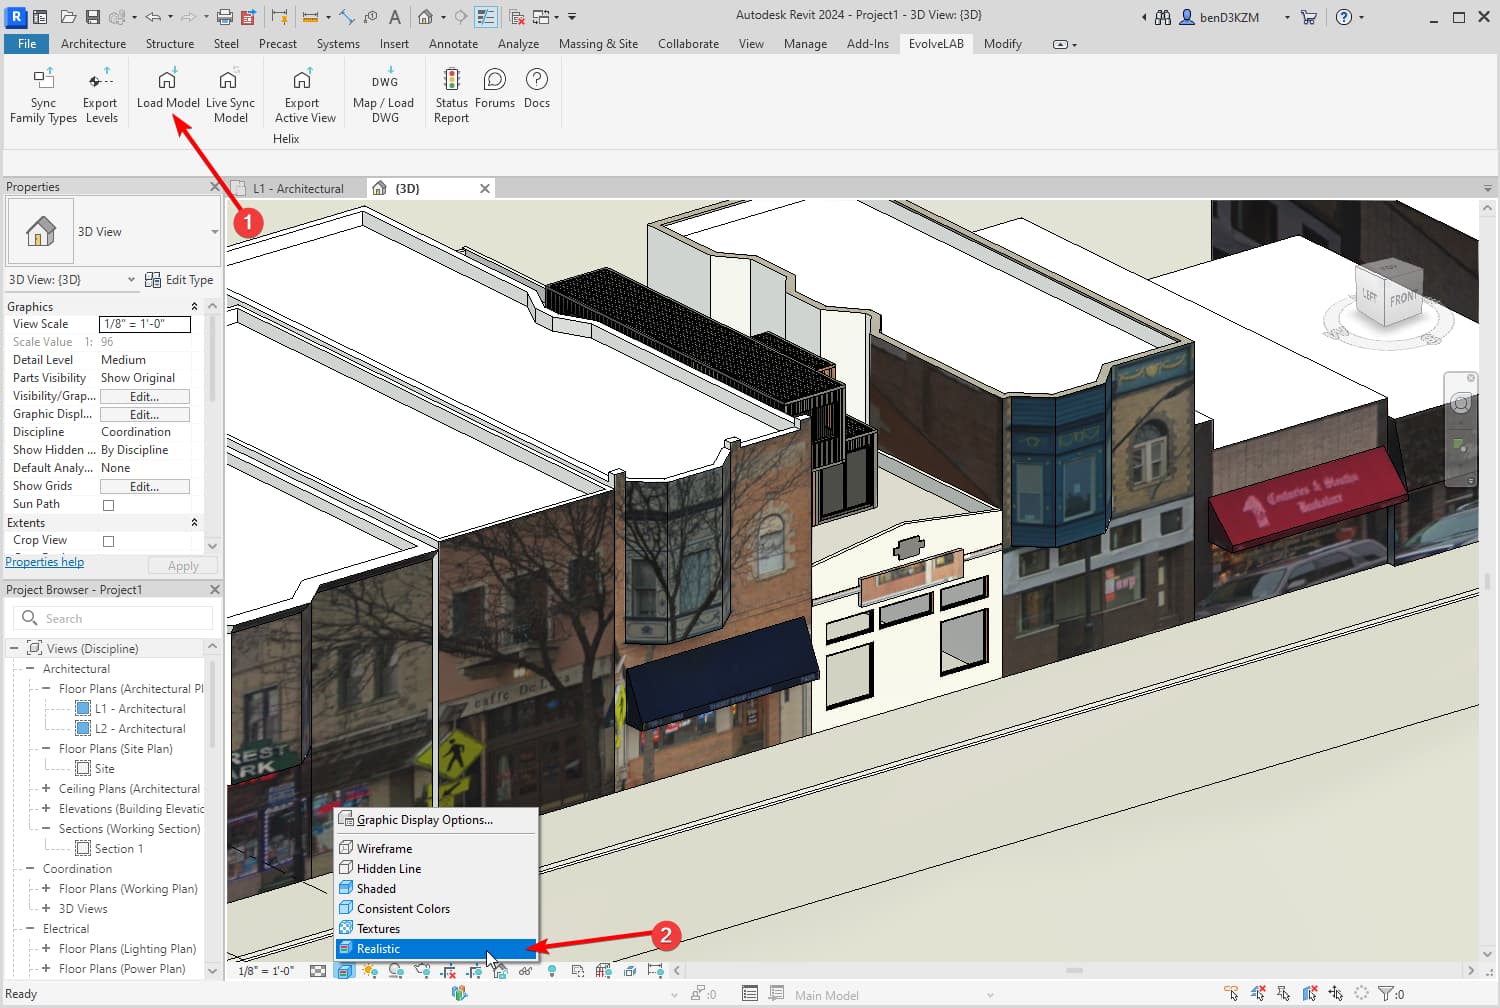
6 | Send to Revit
- click the Send to Revit button
- click the Load Model button in Revit under the EvolveLAB Tab
- NOTE: to see the textured, turn on the Realistic Mode
Notes
- These objects are brought over as families in Revit.
- The families are instanced, so that if you placed this object multiple times in SketchUp, you will have multiple instances in Revit.
- In the gif below, this technique is used in junction with the Skp → Rvt as native Revit Objects. Here’s more on the BIM workflow: Convert SketchUp Model to Native Revit BIM