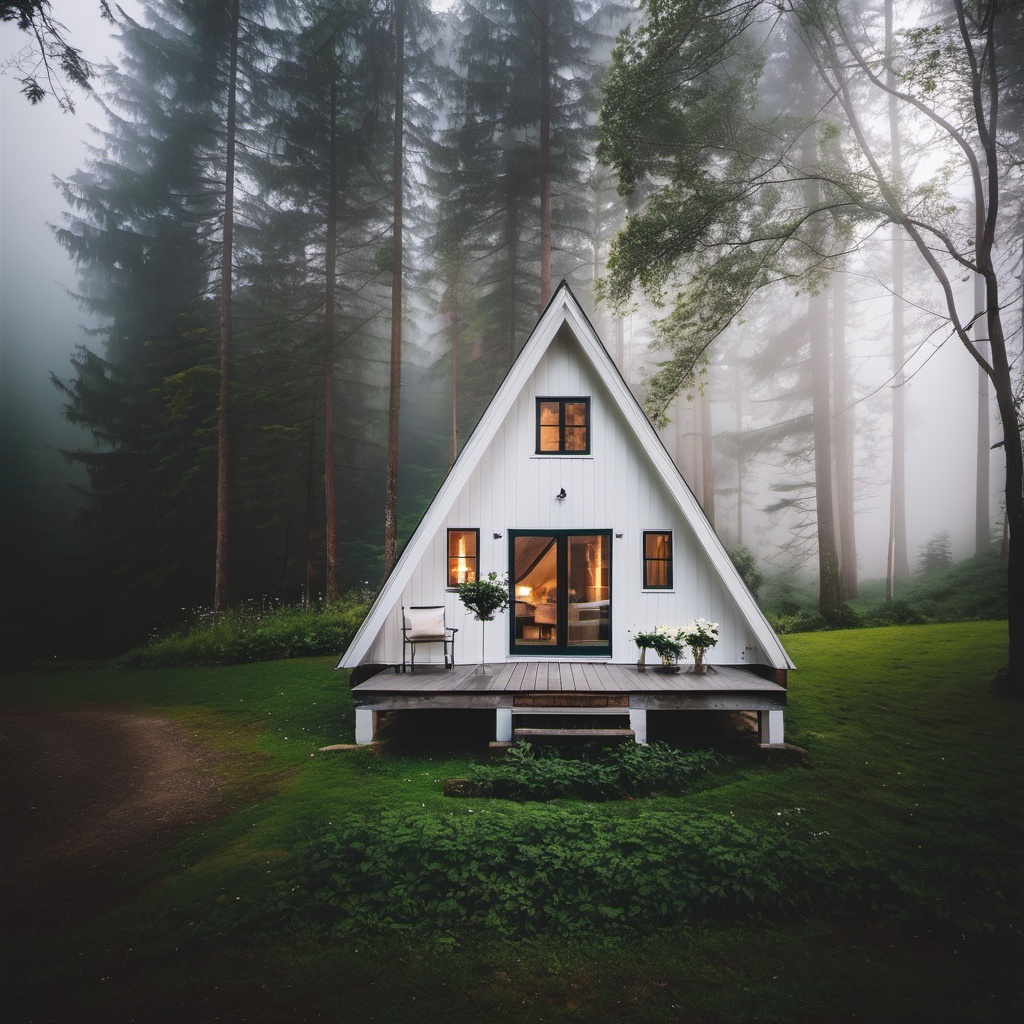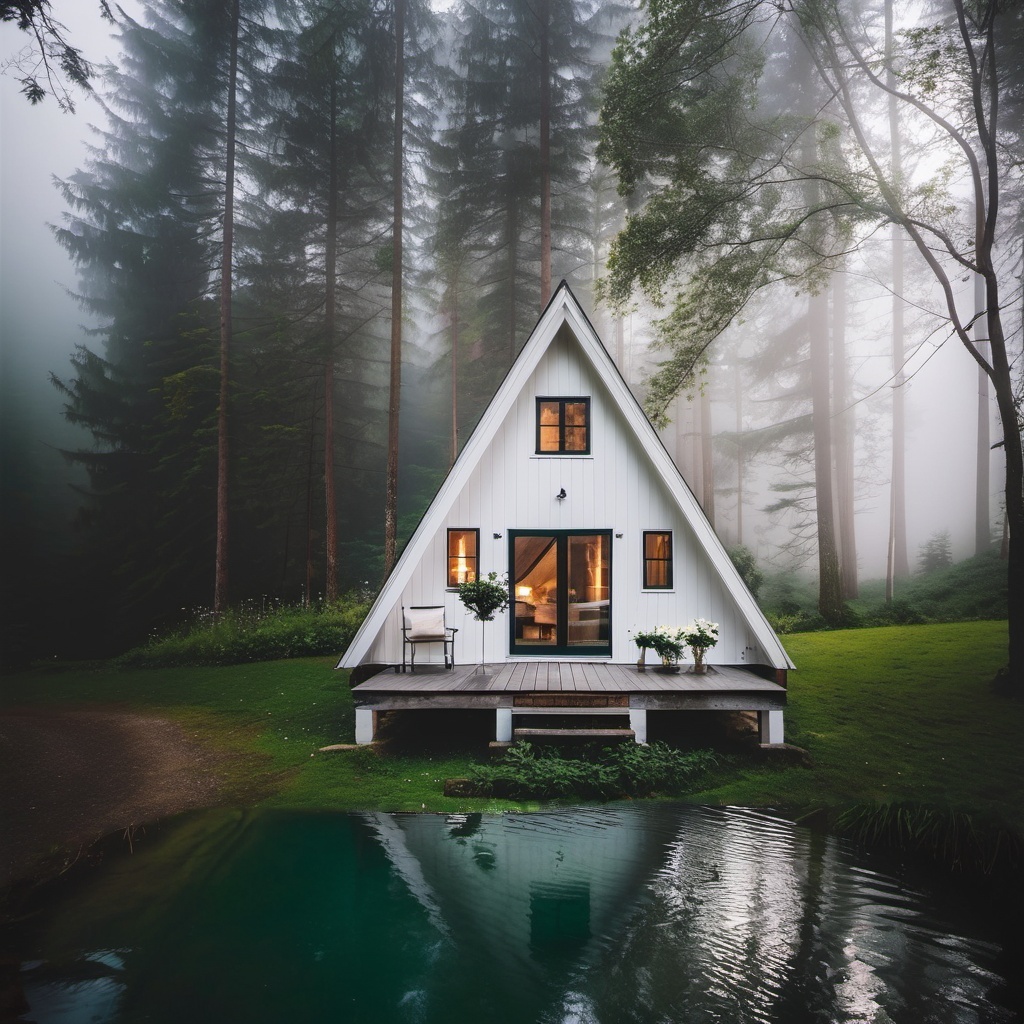
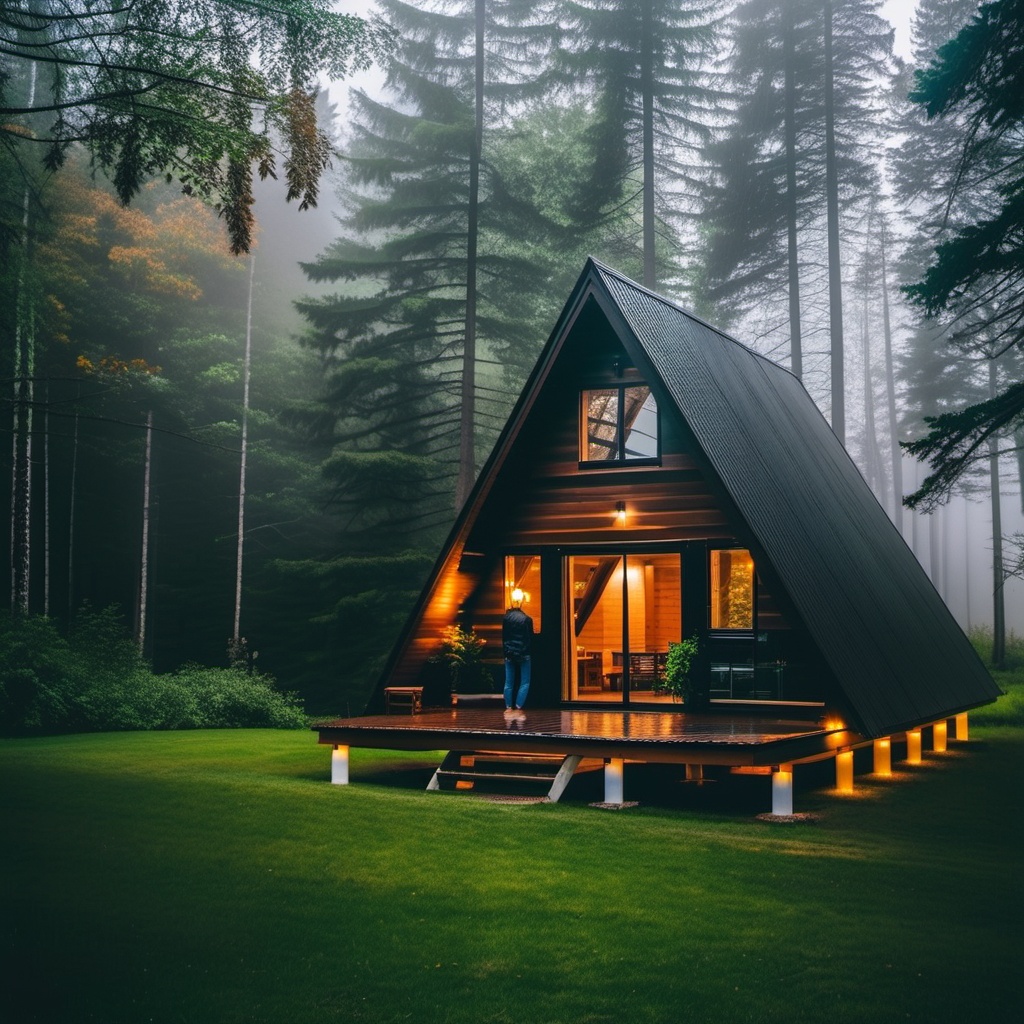
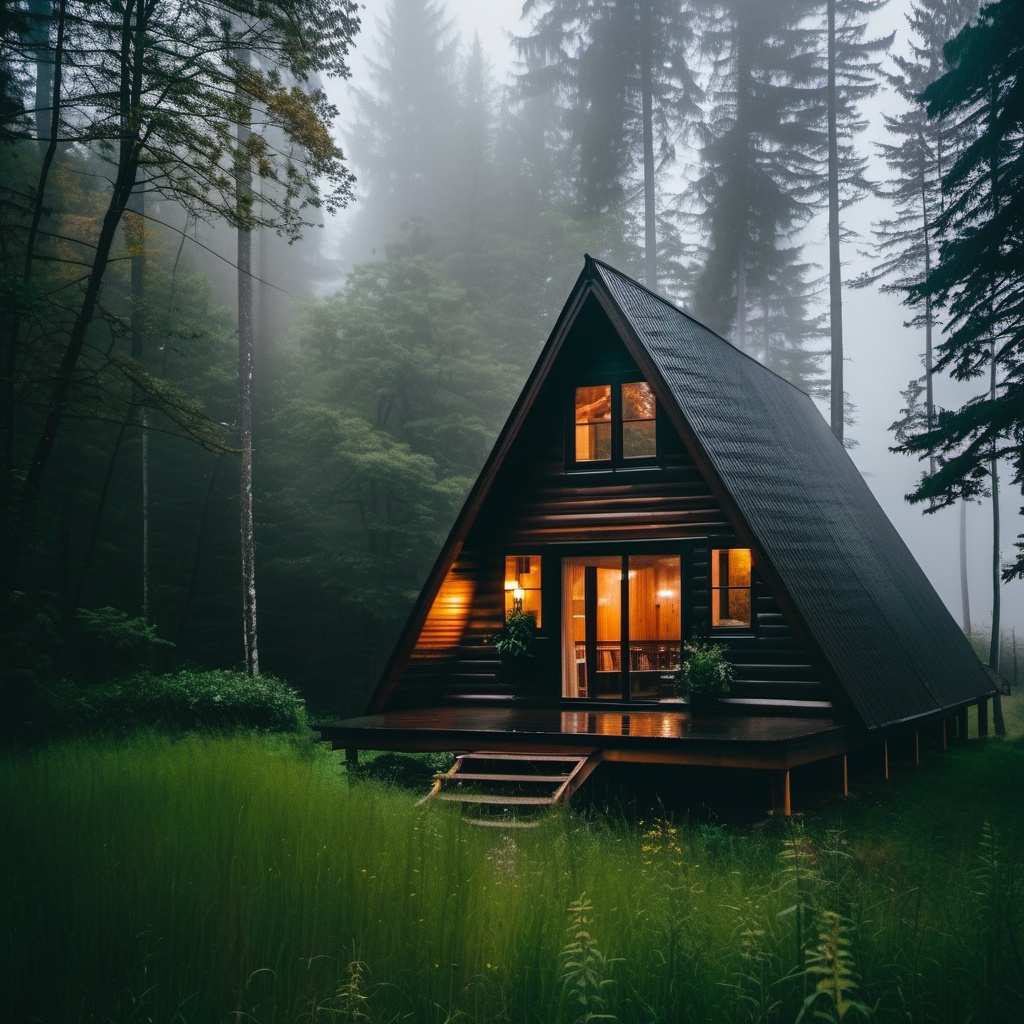
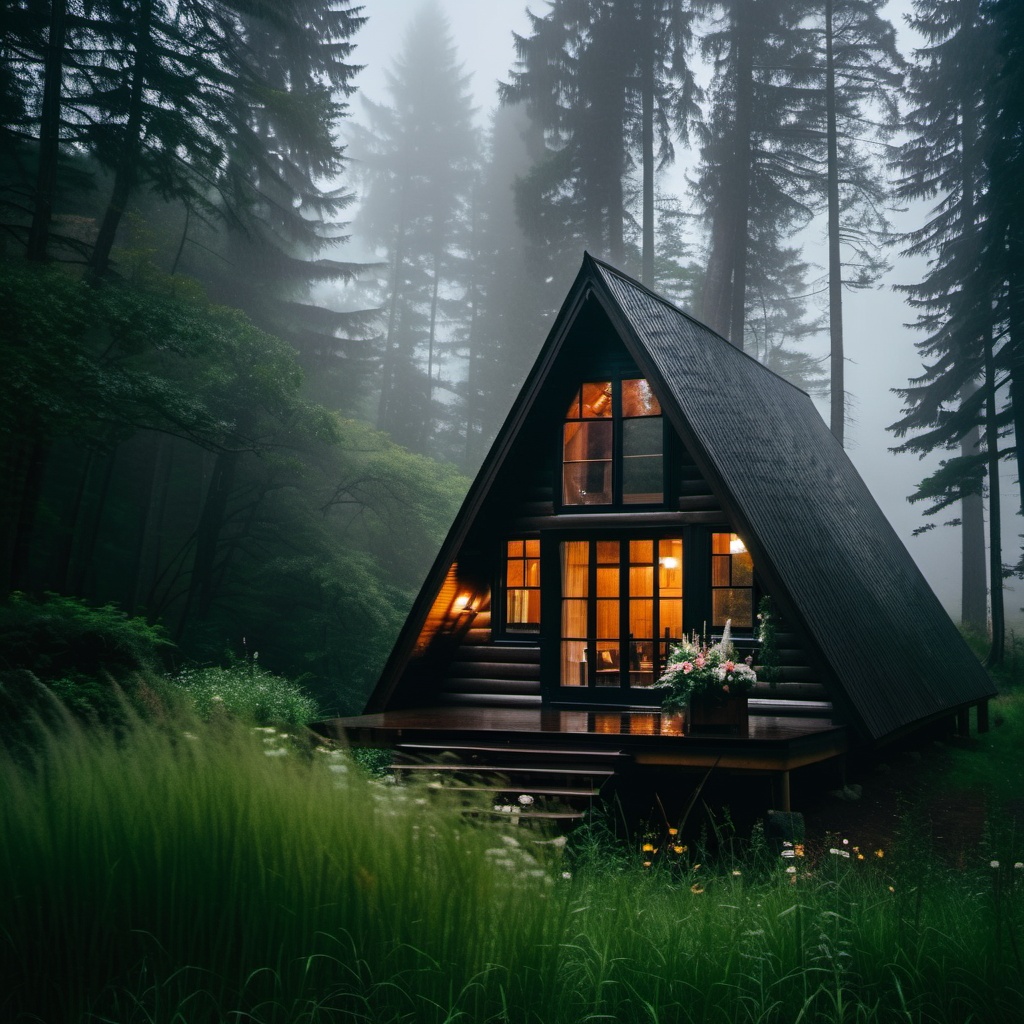
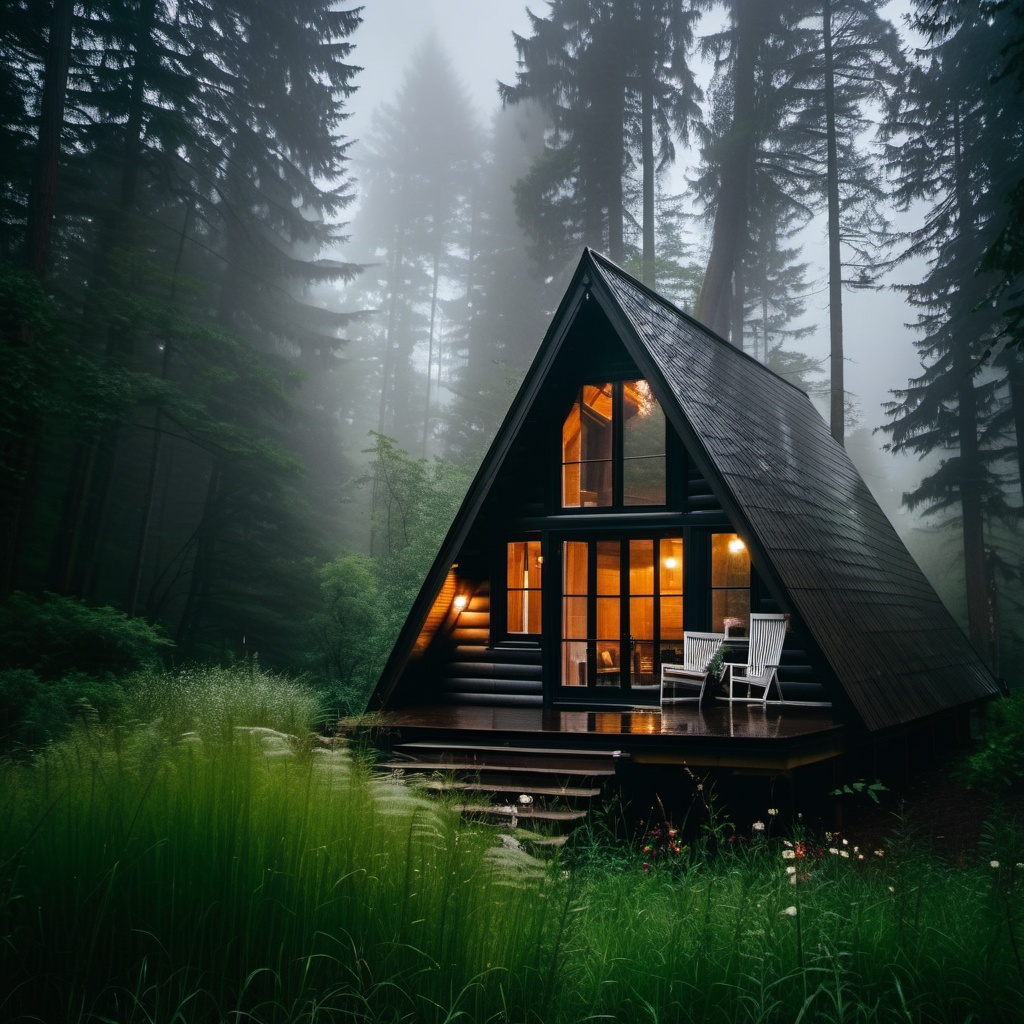
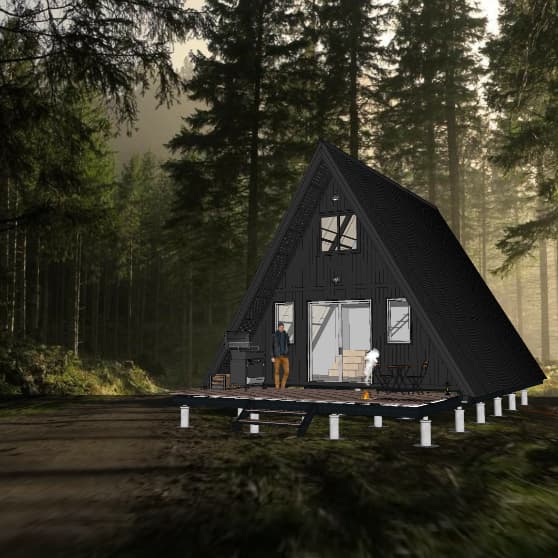
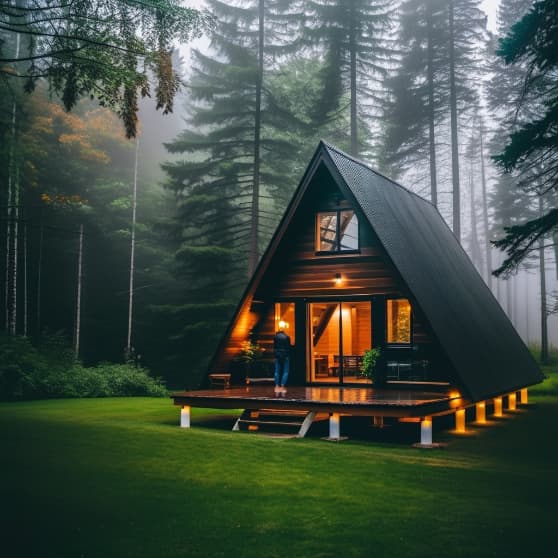
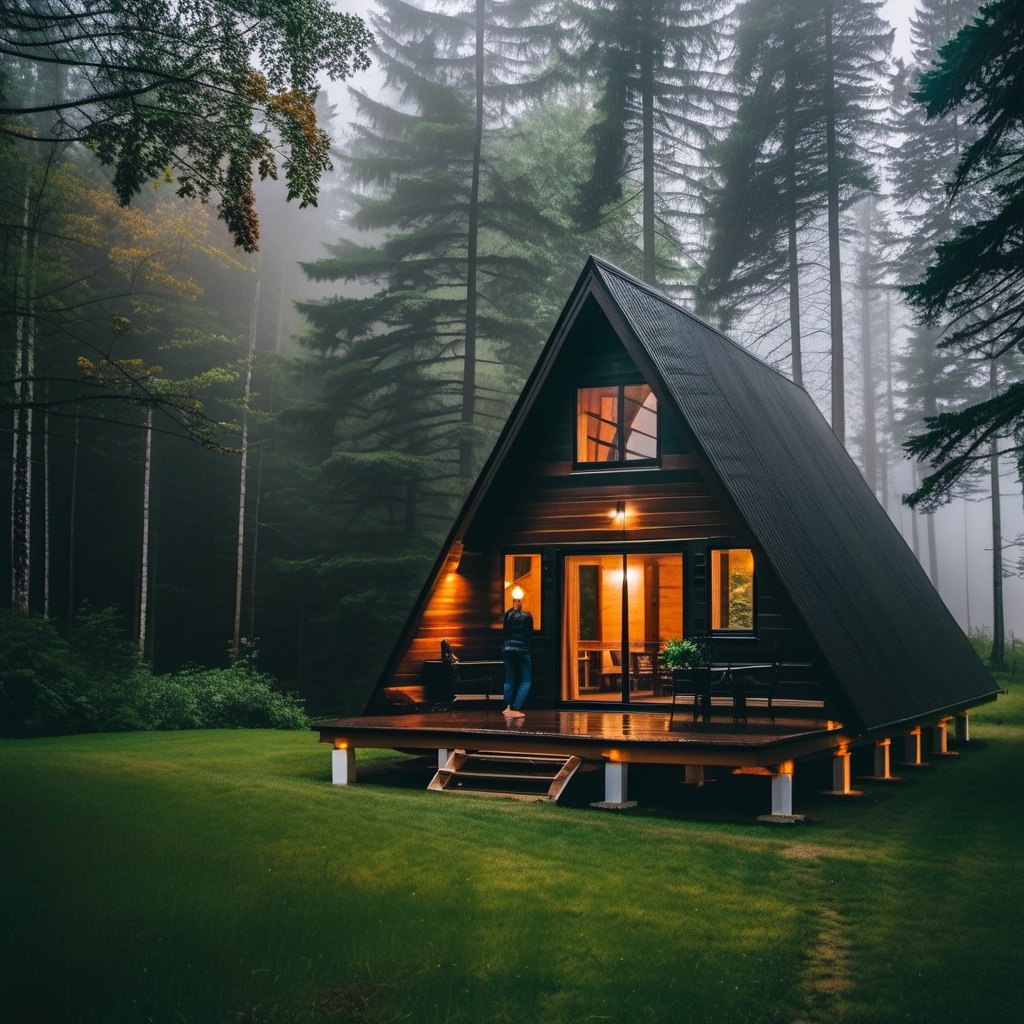
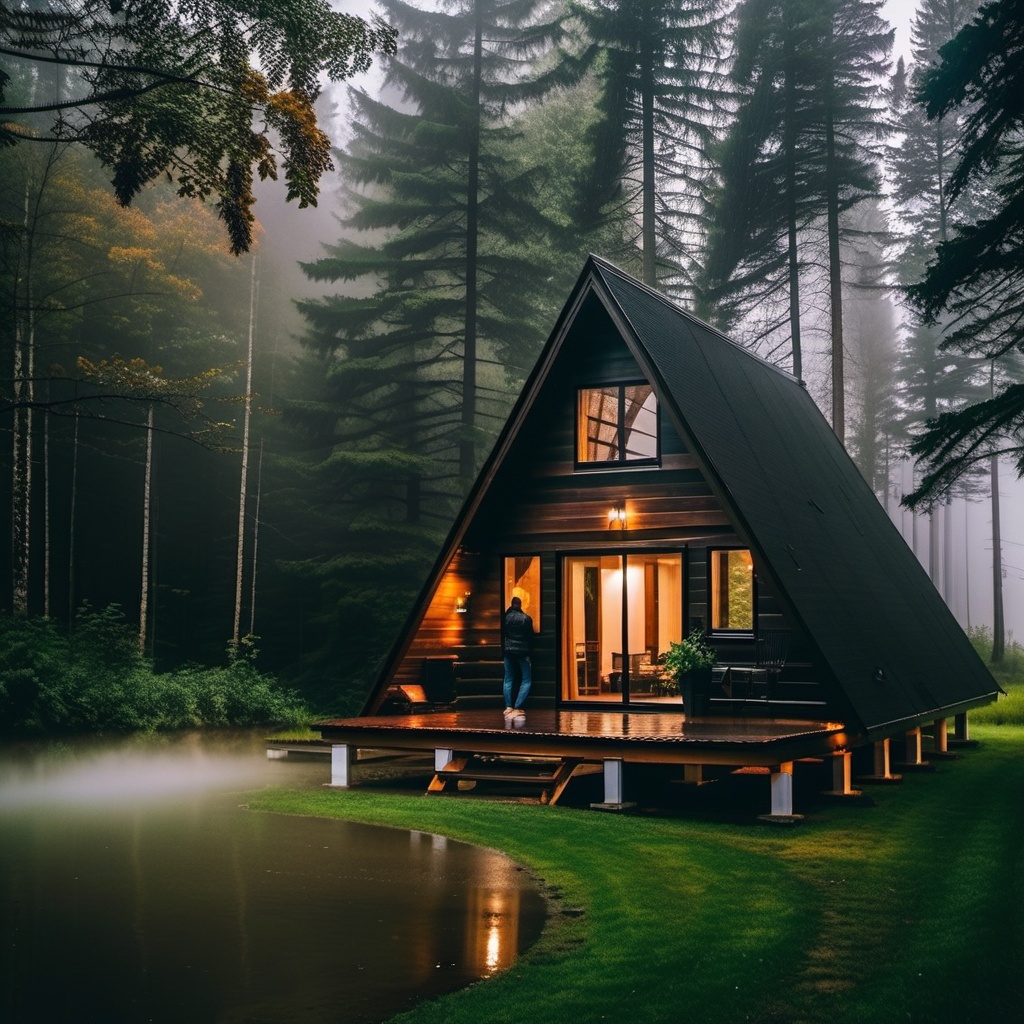
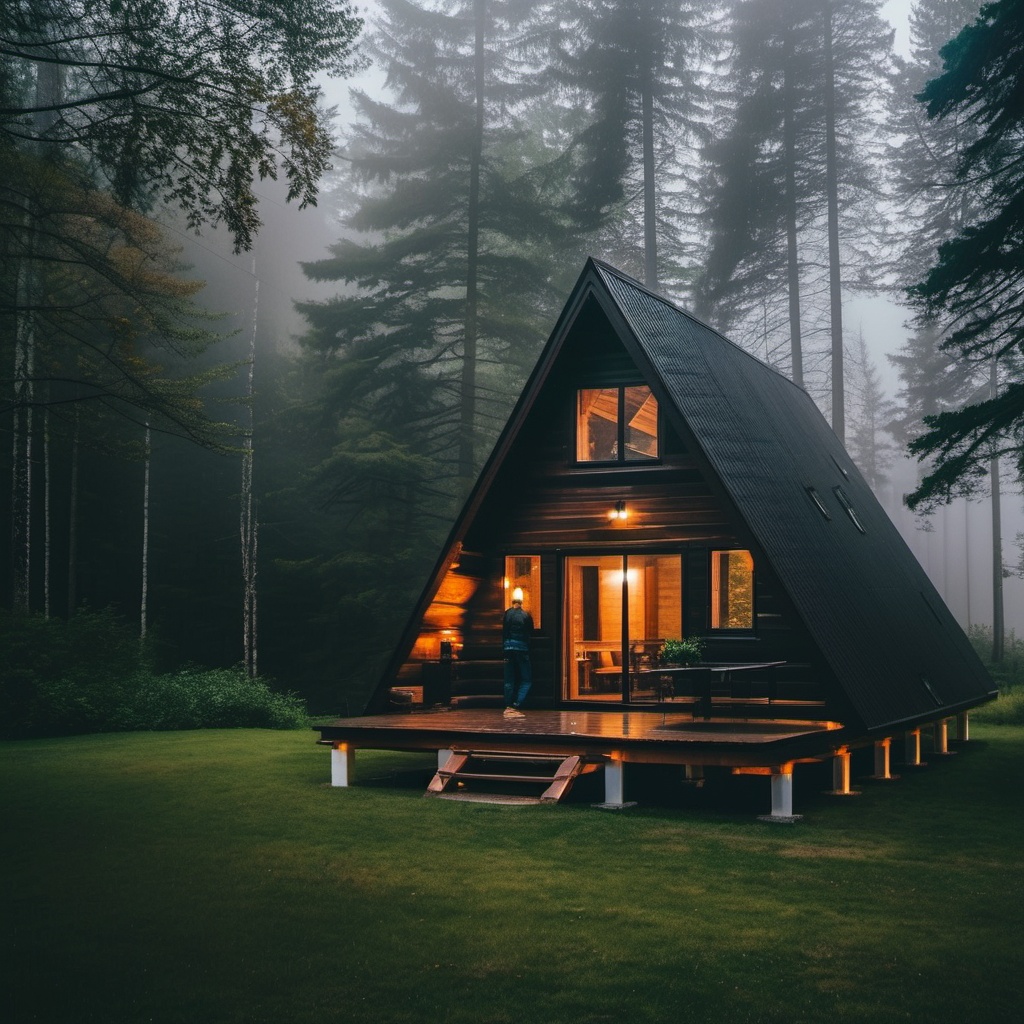
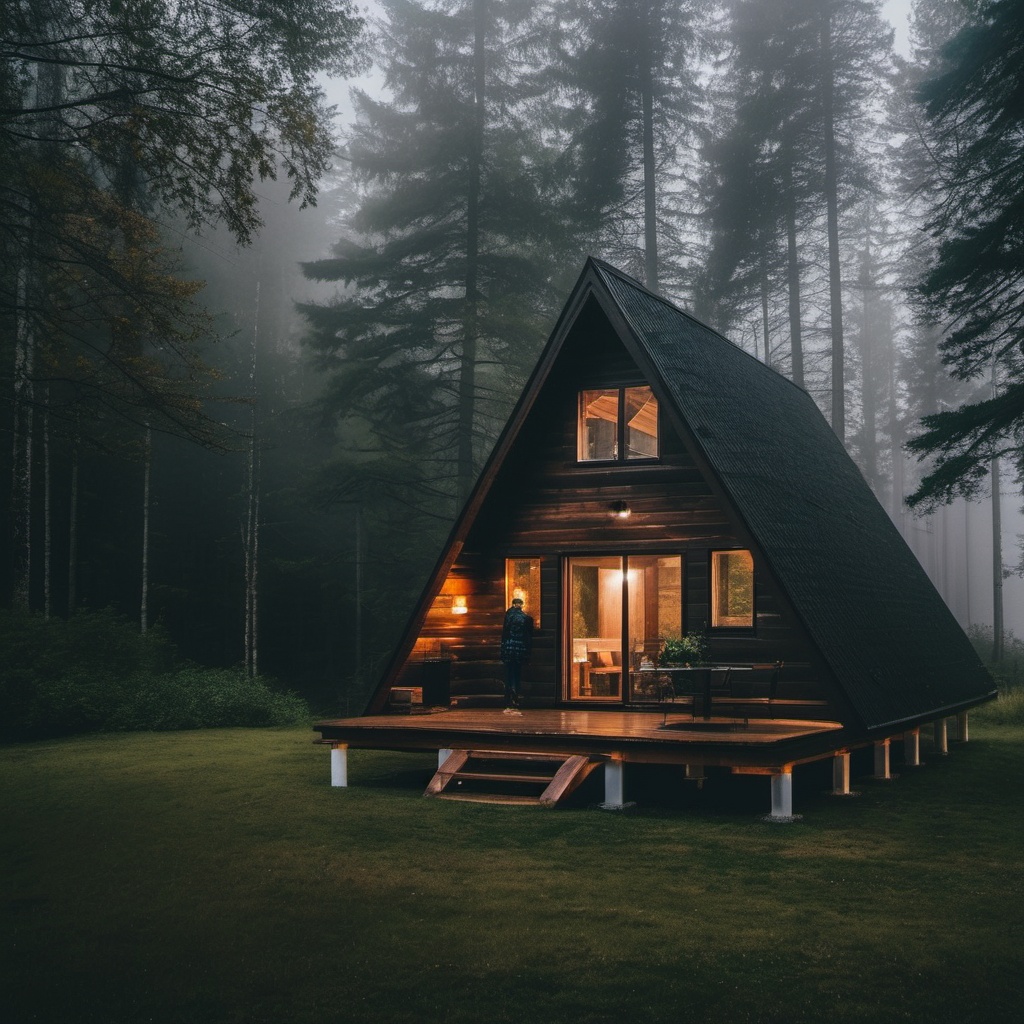
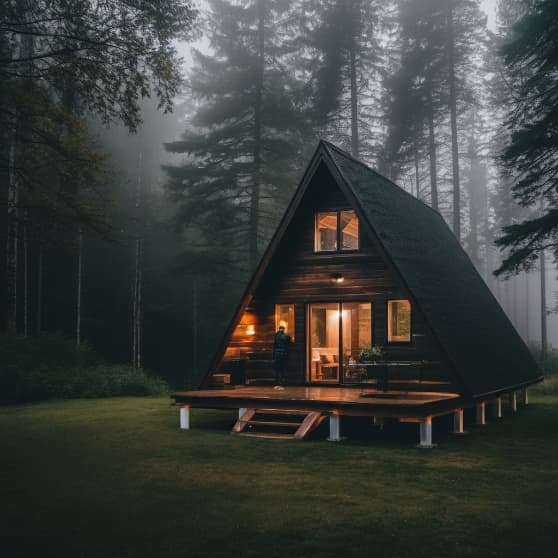
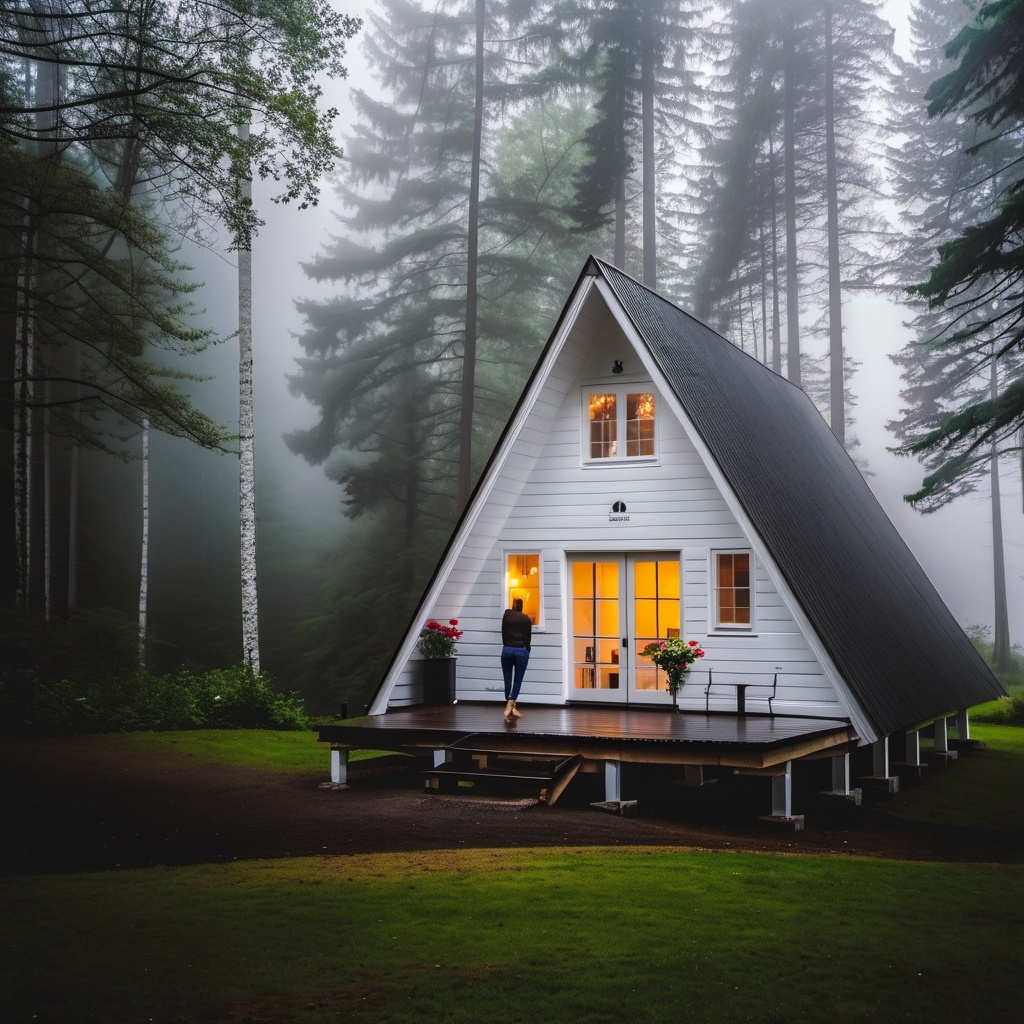
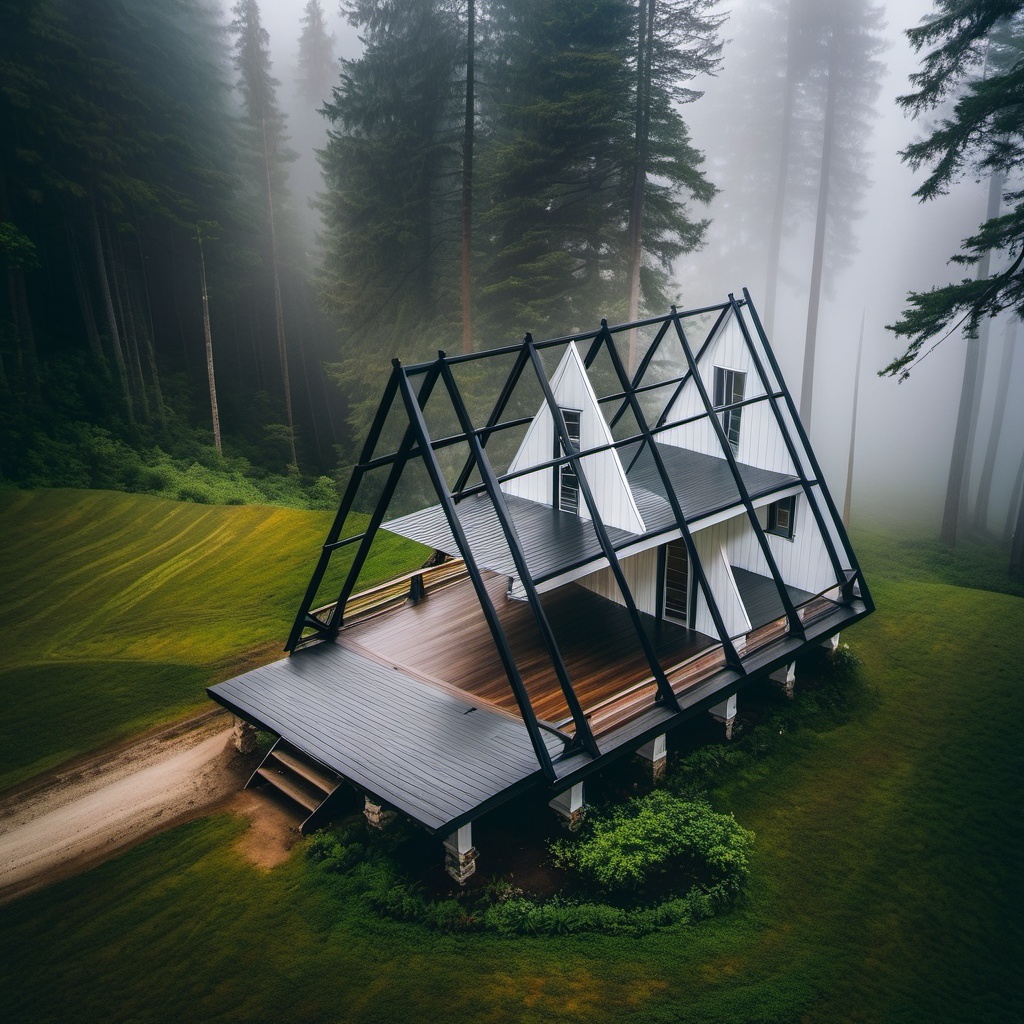
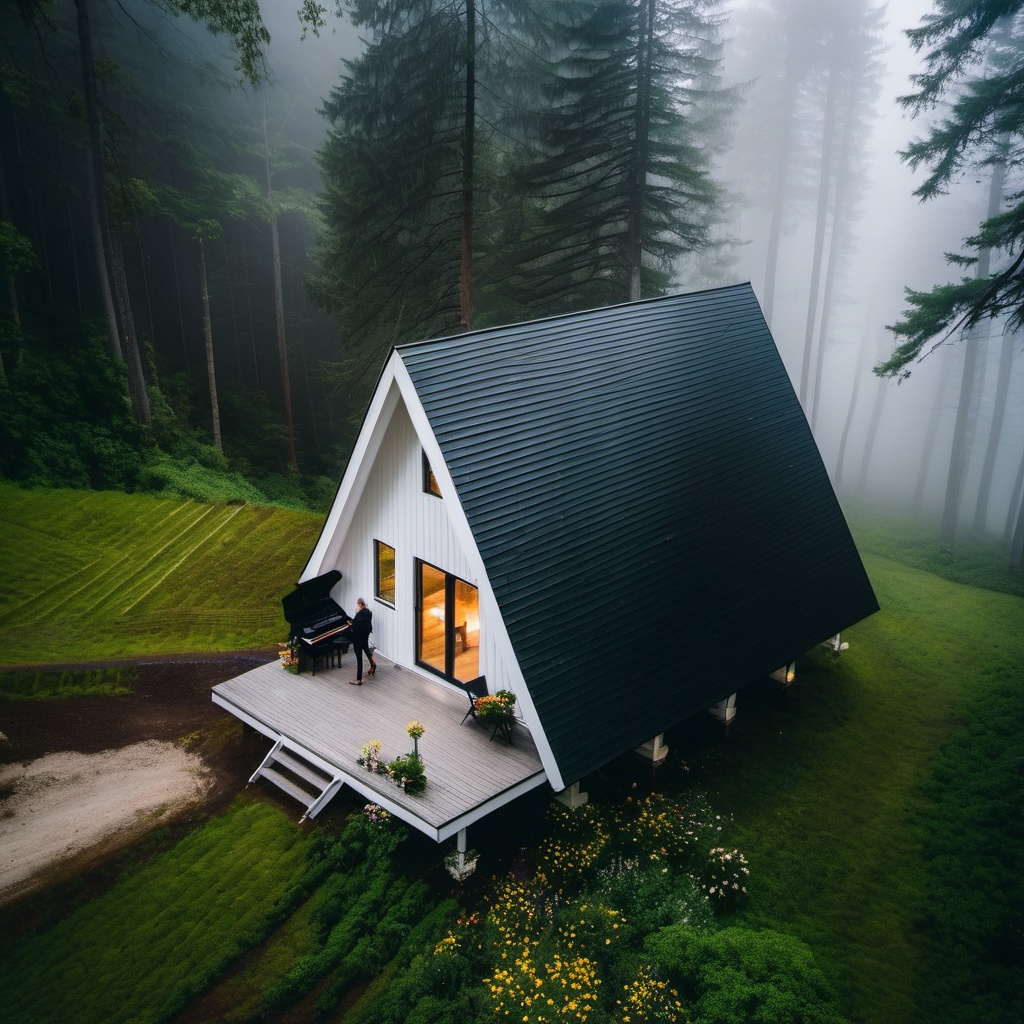
Renderings based on this SketchUp warehouse model: A+FRAME+CABIN+POOH+R.skp
In this post, we’ll explore some of the better use cases for locking the Render Seed, and hopefully clear up some of the ambiguity around how it works. In essence, when locking the render seed if ALL other inputs are the same the outputs should also be the same (with unnoticeable differences due to the hardware). This means that if you have the same image, the same settings and the same seed, the rendering should be identical.
With is very powerful as we can have deterministic outputs, instead of always generating a random output. However, the way it works might not be obvious, so we will explore some of the better use cases for this feature:
- Make incremental changes to the settings
- Prompt Engineering
- Minor model changes (retaining camera position)
How it works
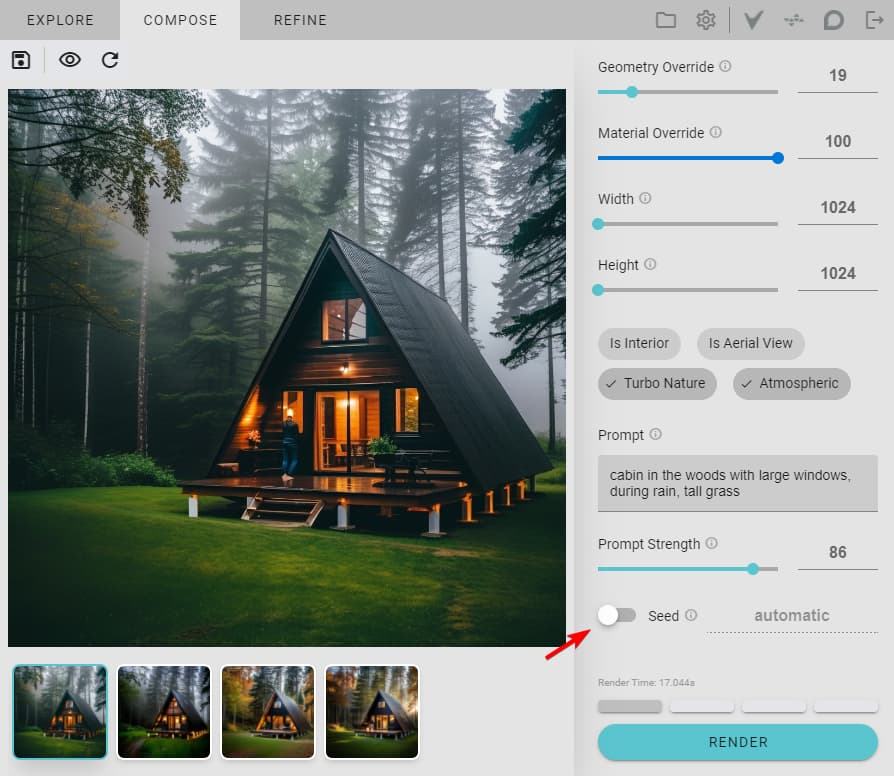
When rendering all renders will automatically receive a random seed. This random seed is automatically assigned at render time. However, you can optionally specify your own seed by typing it in, or by copy/pasting the seed from another render.
You can enable the ability to manually specify the seed with the toggle icon:
Now, we will enable the render seed, and re-render the first image. In the gif below, we go through a few of the renders. You can see that the last render has the same seed as the first, and these renders are near identical (with insignificant differences).
Incremental Settings Updates
With the seed locked - we will explore how changes in the settings in isolation affects the render output:
- Geometry Override
- Material Override
- Prompt Strength
Geometry Override Walkthrough
The settings in the images below are the same except for the Geometry Override slider. The values used: 0, 46, 69, 100
Here’s the comparison to the original:
As the Geometry Override increases, the stair geometry, window size, grass, and tree arrangement deviates further from the geometry.

Material Override Walkthrough
The settings in the images below are the same except for the Material Override slider. The values used: 100, 68, 30, 0
Here’s the original to the low Material Override comparison:

As the Material Override decreases, the materials are closer to the model materials. Notice how the wood plan pattern shift from a horizontal orientation to a vertical orientation to follow the model geometry closer.
Prompt Strength Walkthrough
The settings in the images below are the same except for the Prompt Strength slider. The values used: 100, 59, 33, 0

Here’s the original to the low Prompt Strength comparison:
As the Prompt Strength value decreases, the image has less contrast, and less emphasis on trying to make the image more like the prompt, and stays closer to the base app image.
Prompt Engineering
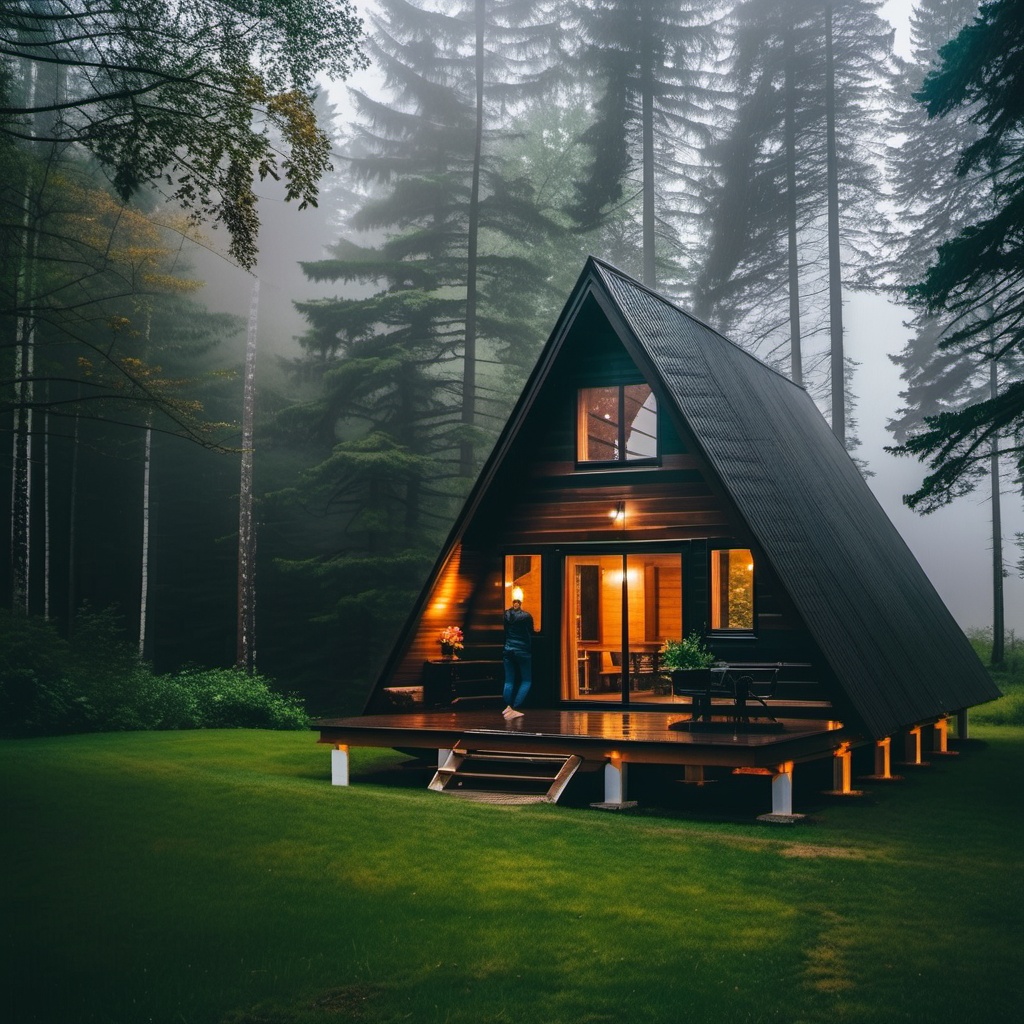
The settings in the images below are the same except for the Prompt. Here are the prompts used:
- cabin in the woods with large windows, during rain, tall grass
- cabin in plastic pink
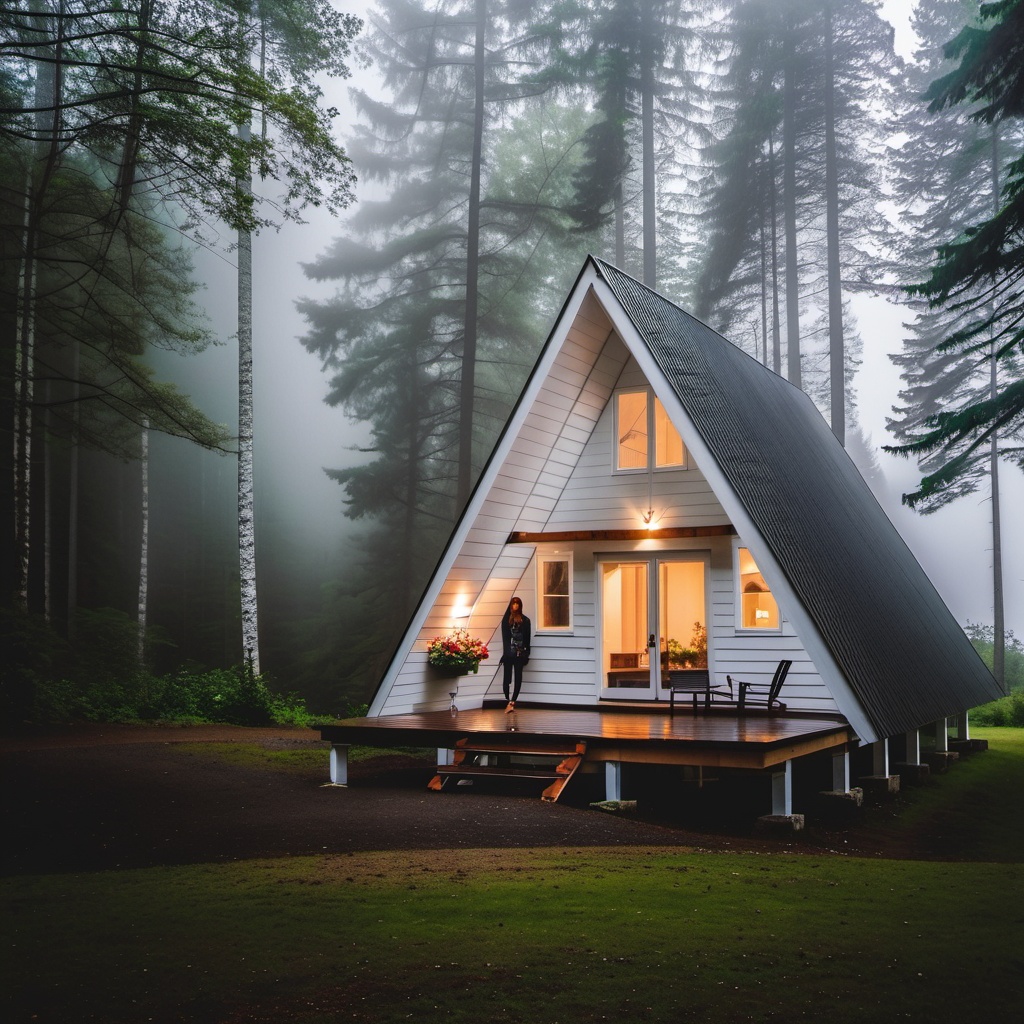
- glass cabin
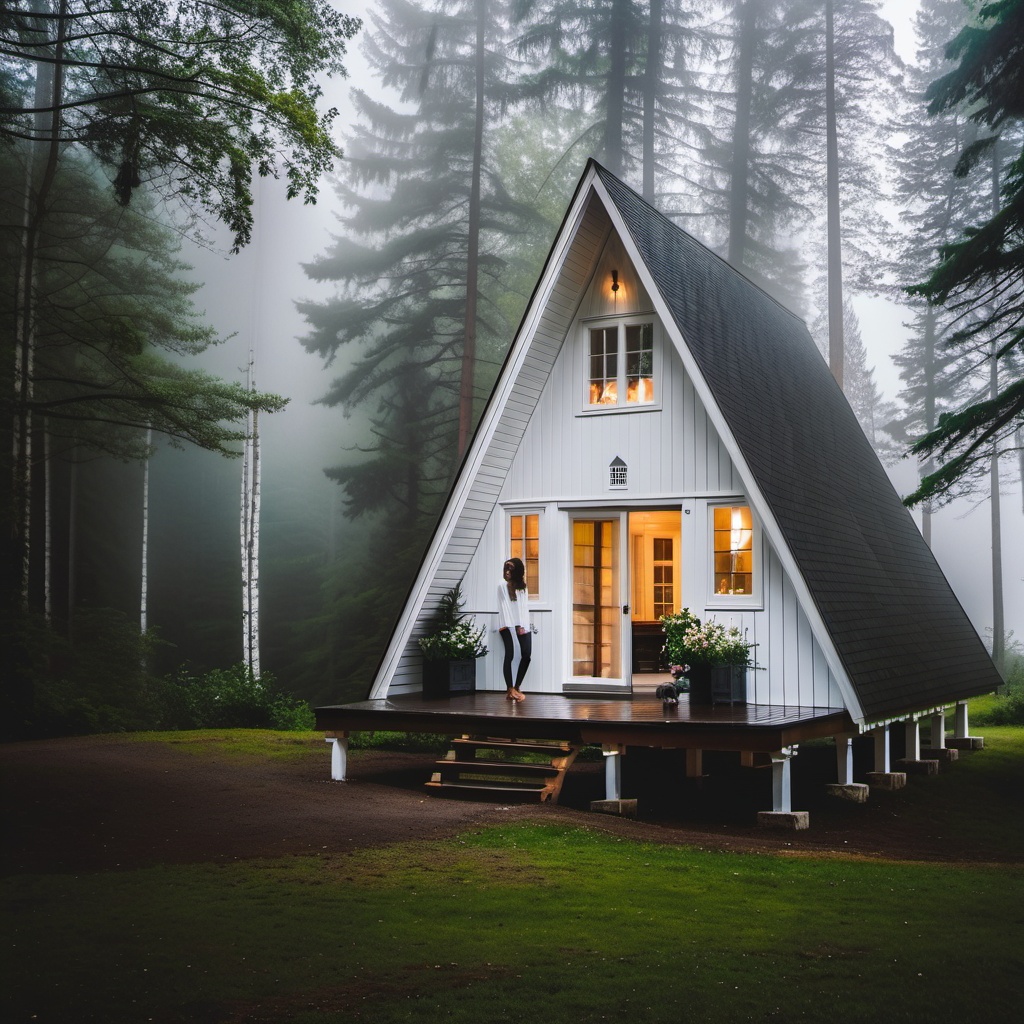
- white cabin
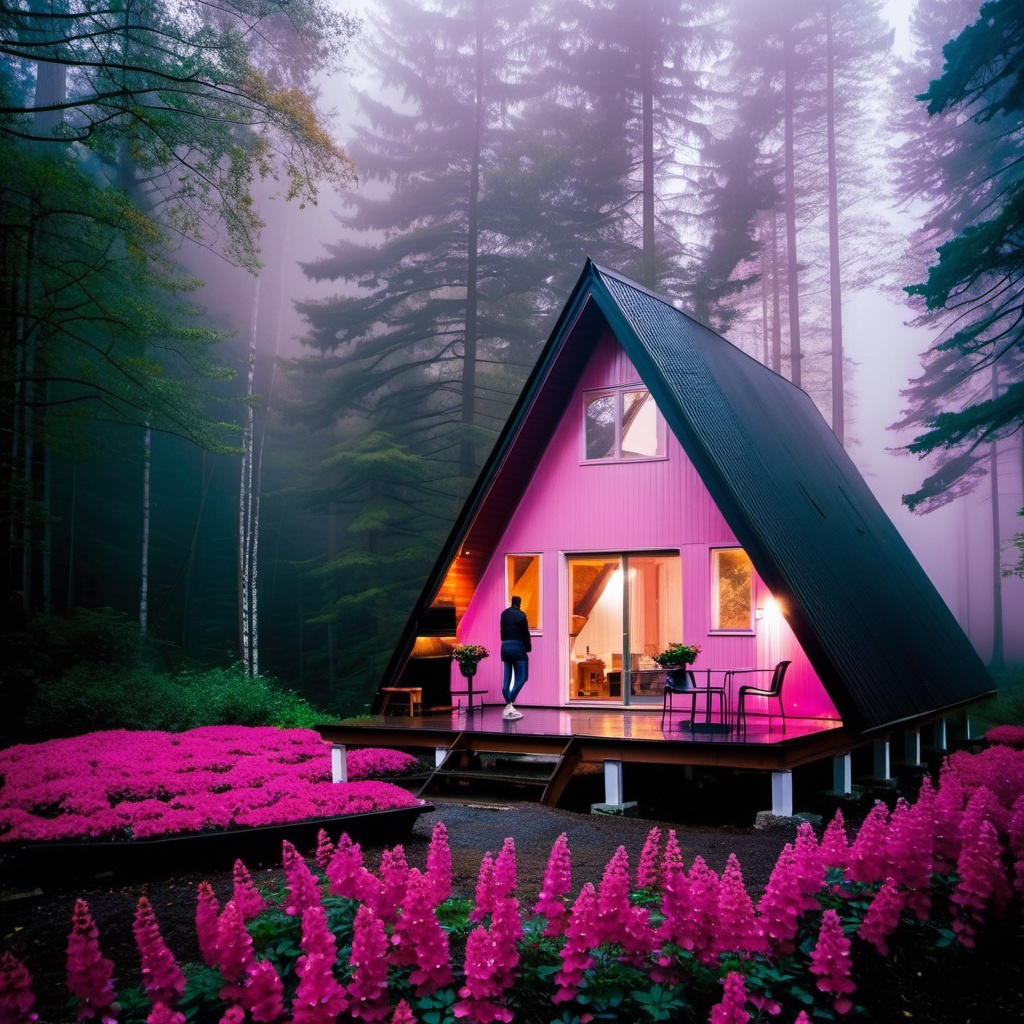
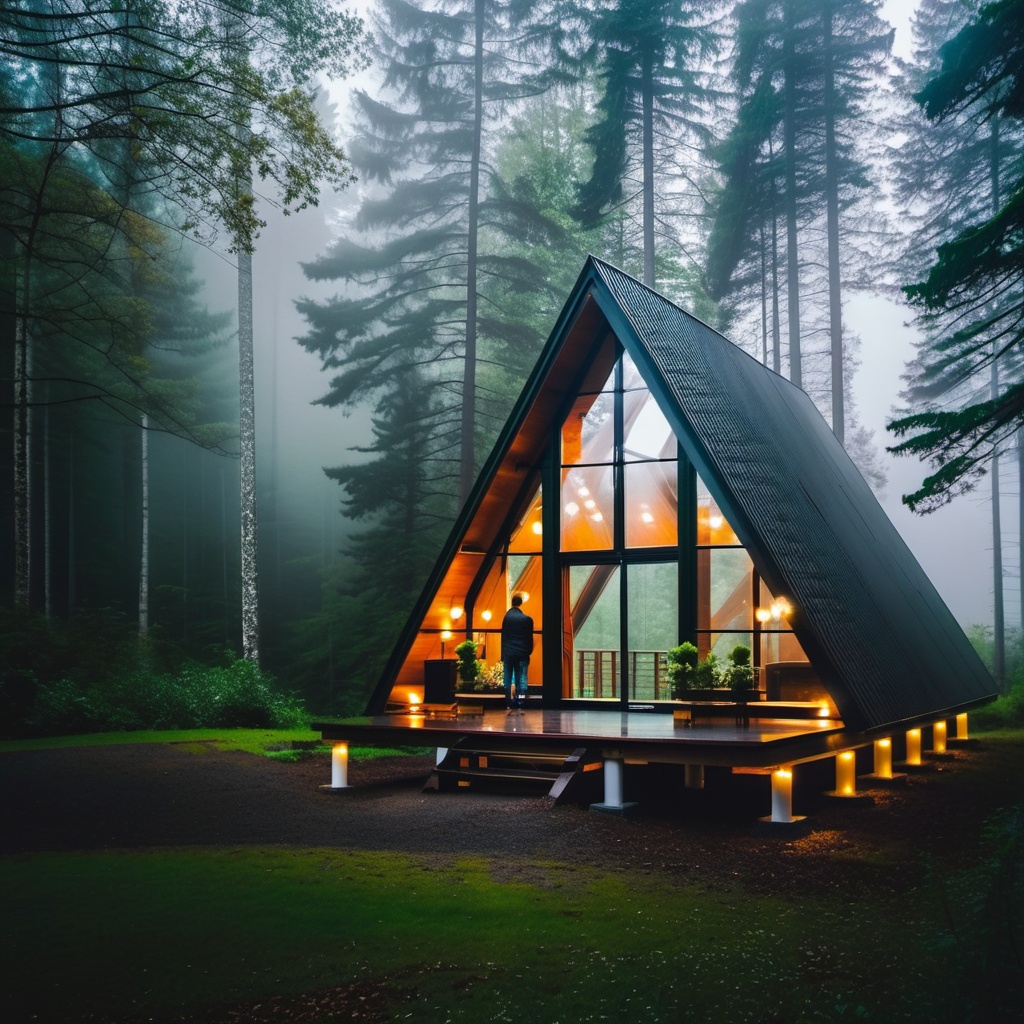

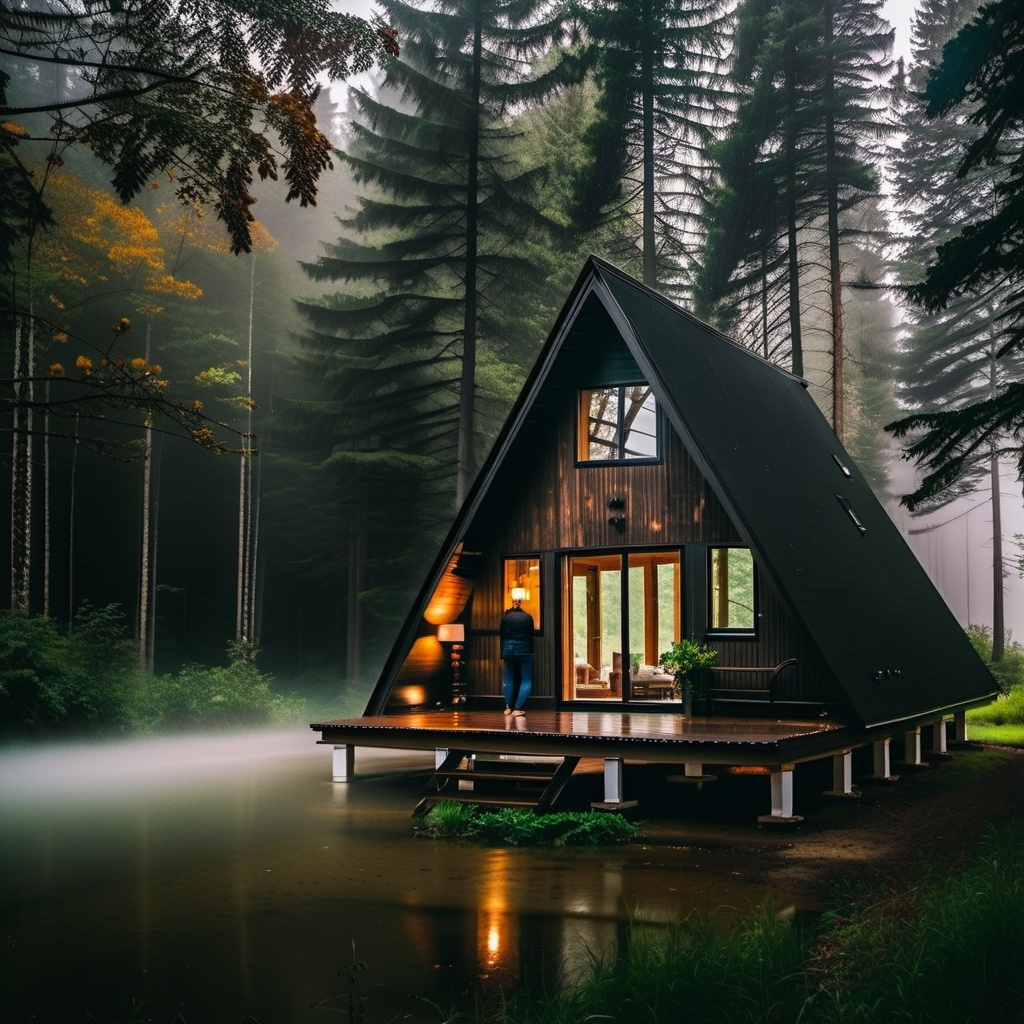
As the prompt changes, the areas that are detected by the prompt changes, while other areas stay the same. For example, the tree geometry and branch structure is consistent, as the prompt change was focused on the building description, not the entourage.
Model Changes
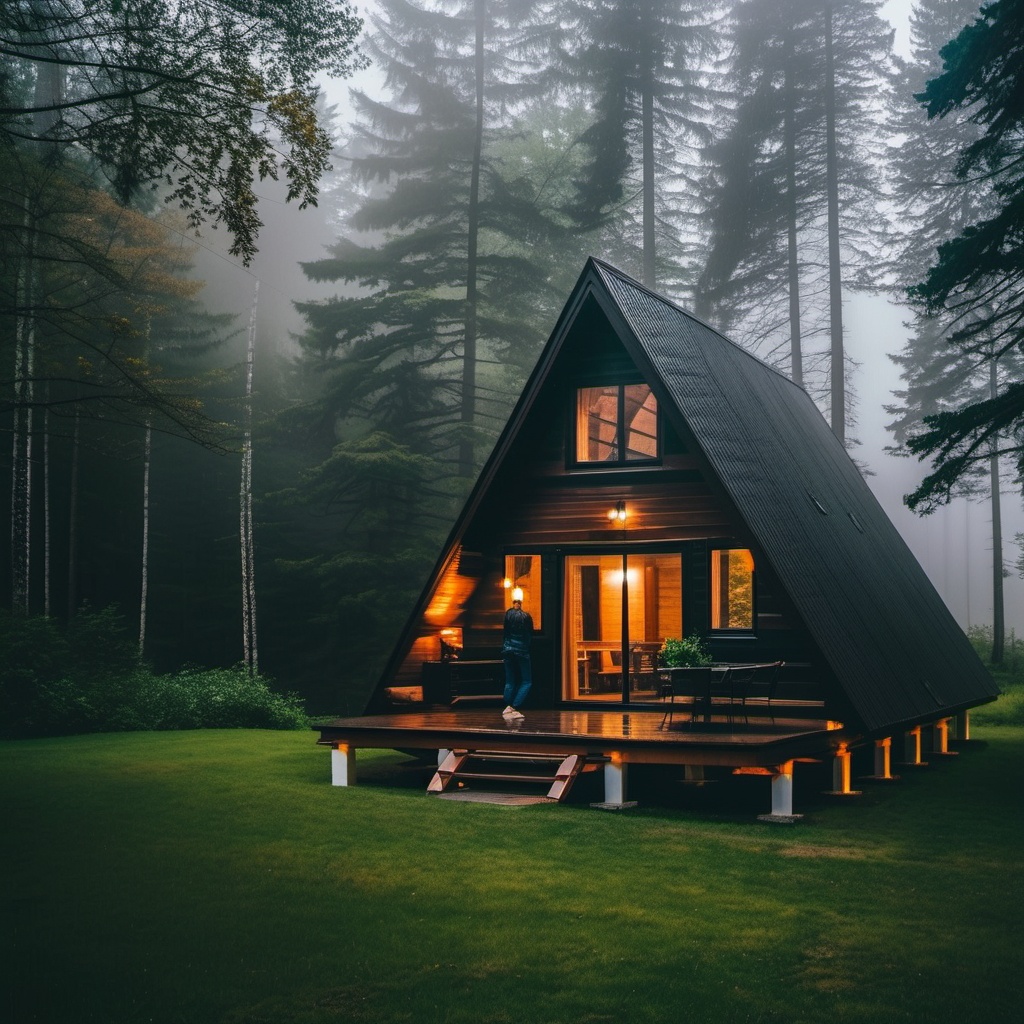
With the seed locked and with the same camera position, you can model changes, and re-render. The overall aesthetic is preserved.
Stretching the building
The example below stretches the building in the vertical dimension.
Moving a wall
Example below pushes the front wall back a bit:

Moving a wall
Construction Sequencing
This model has some scenes neatly setup with how the building is constructed. We can render each step using the same seed, and only changing the geometry visibility.
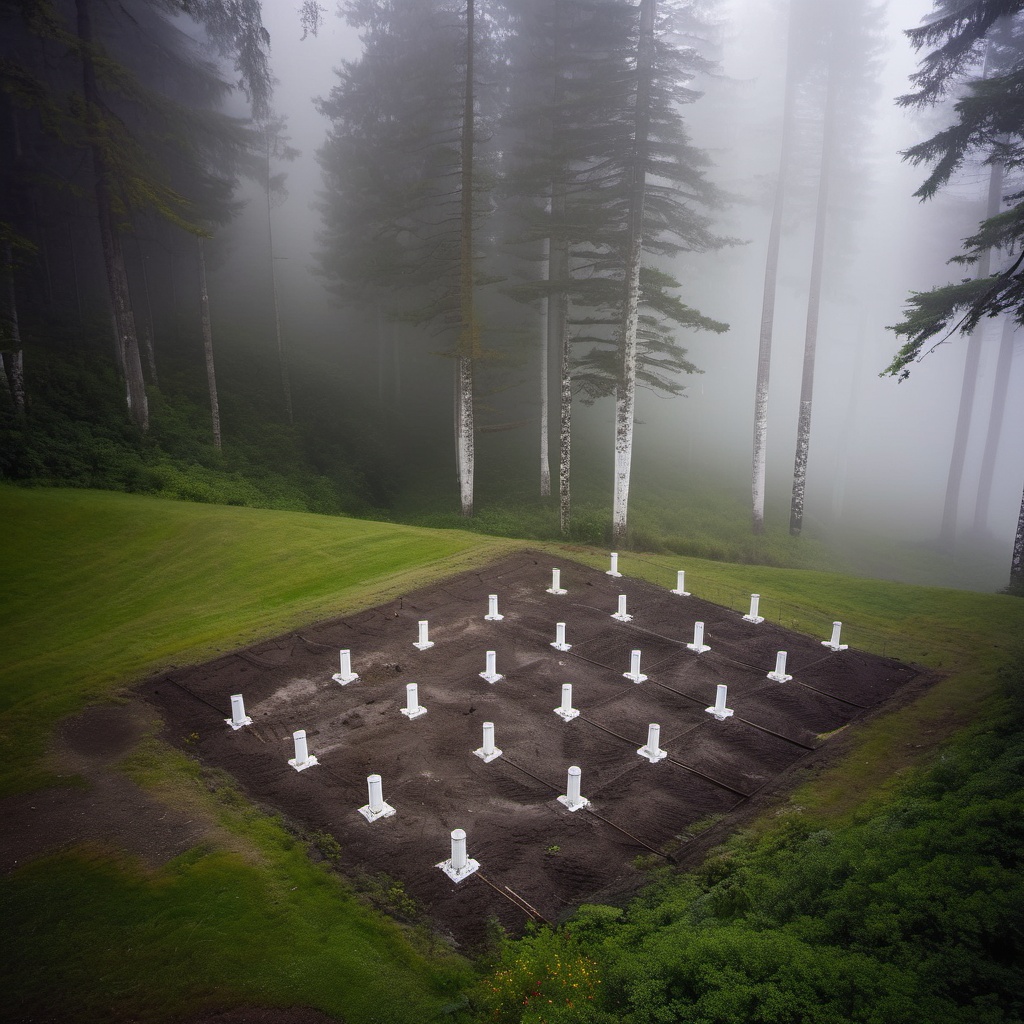
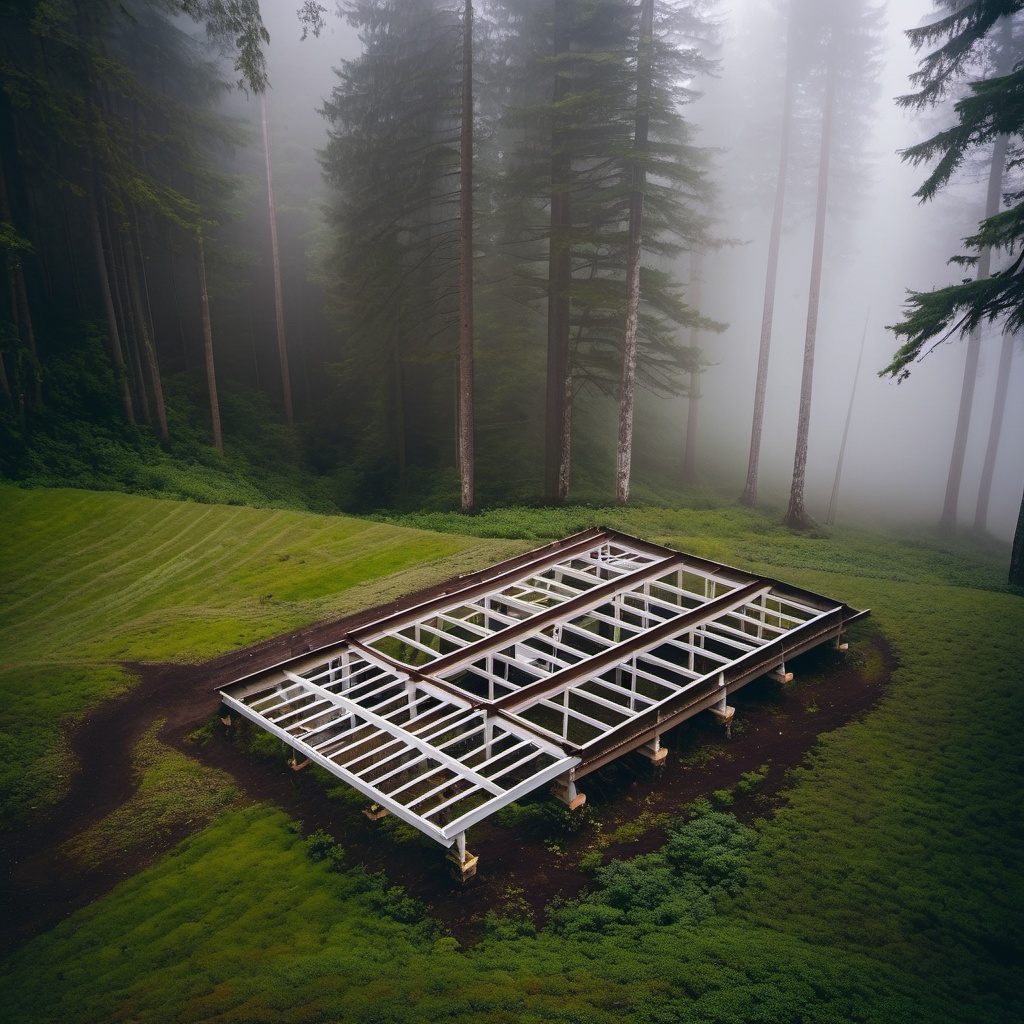
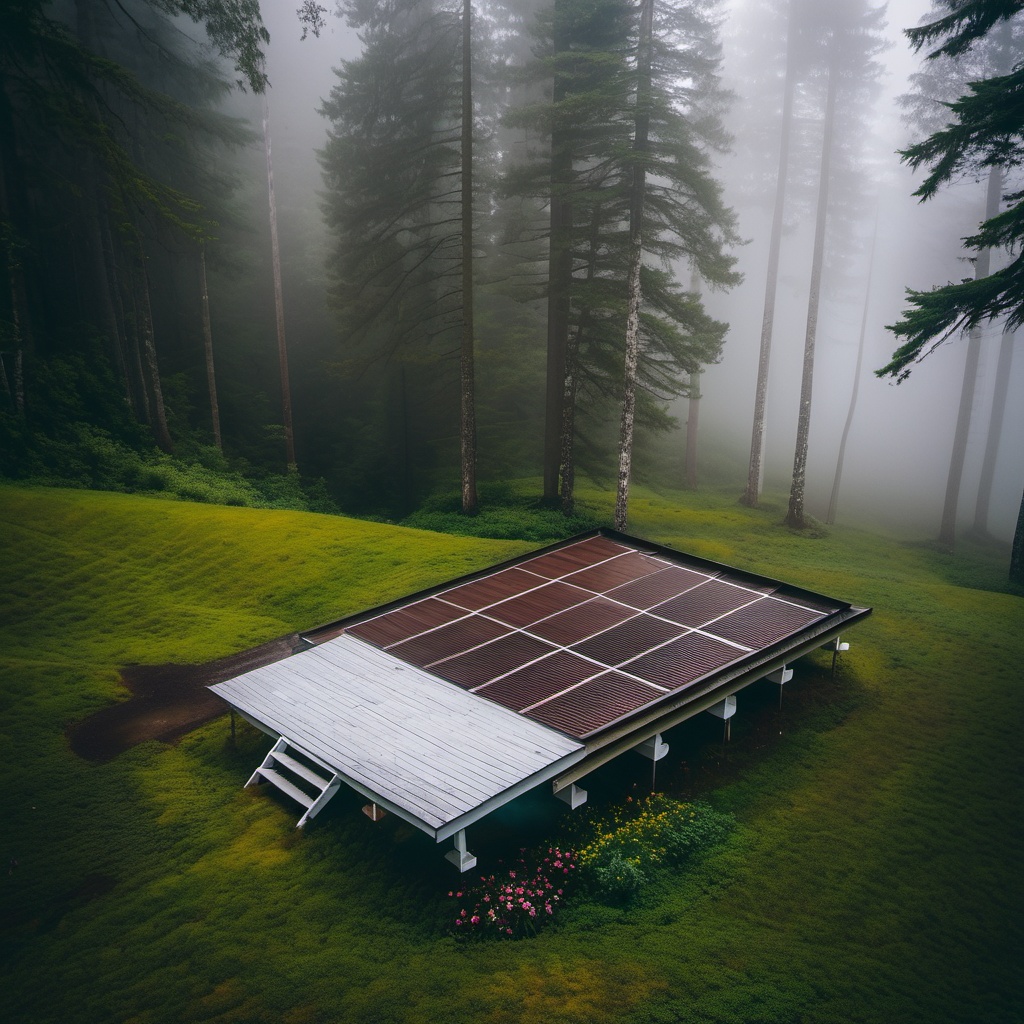
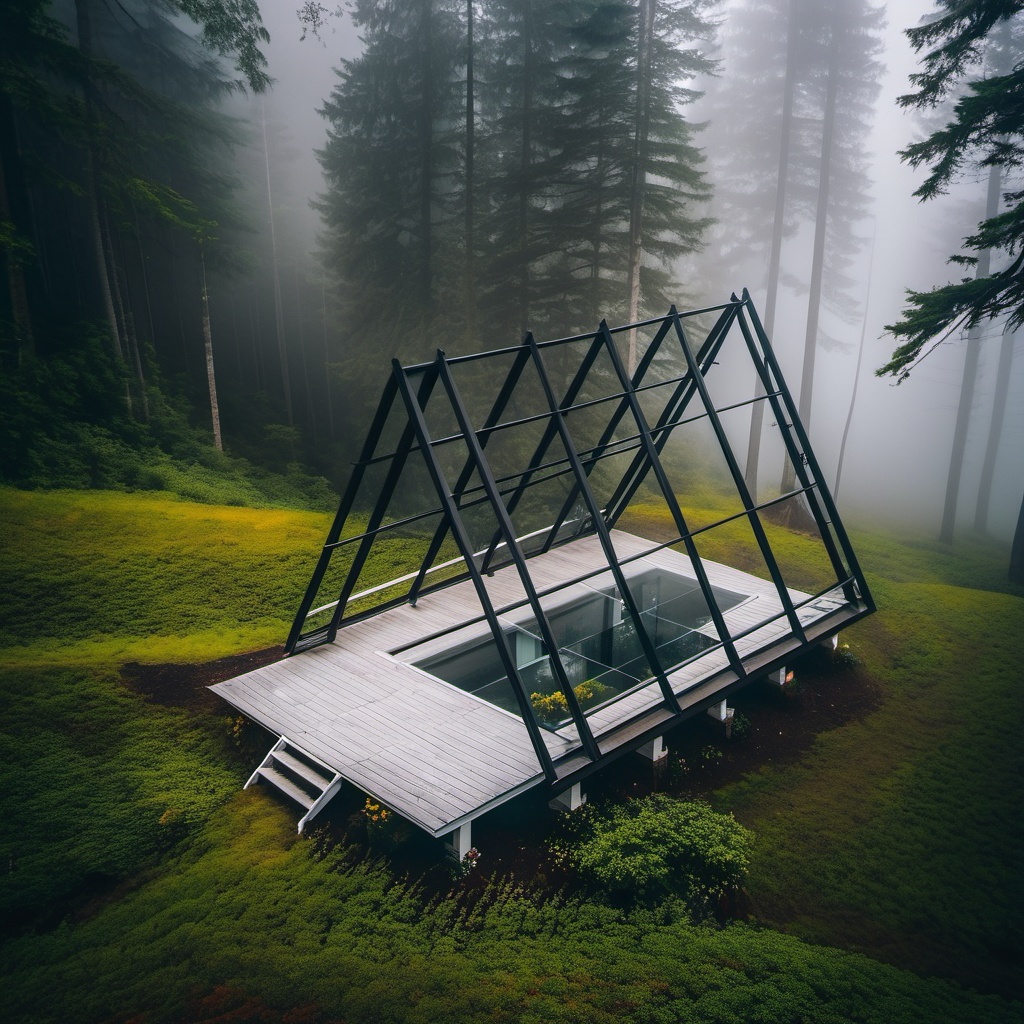
NOTE: some of the prompts were changed to better represent what is shown in the scene
Keeping Aesthetic while Changing the Camera Angle
This functionality is limited at the moment, and we’re working on improving this. However, we have a separate post, where we explore what is currently possible: Generating Consistent Renders with Veras from Different Angles
Combine with Render Selection
A bonus workflow is to combine the render seed with the render selection.