Layout and Zones
The settings available allow you to customize how and where you would like to place the views on the sheets. To understand how the settings work it is important to understand two terms:
-
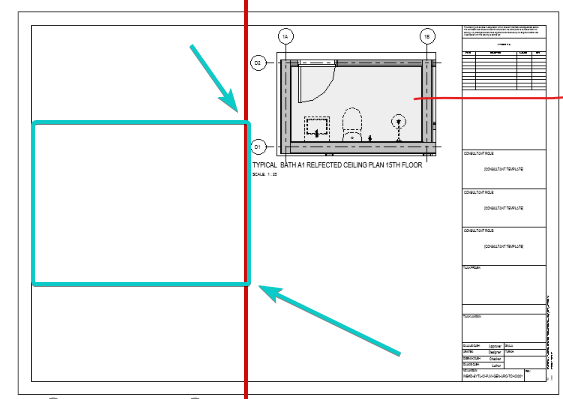
Layout: A layout is a representation of your usable area in your titleblock
-
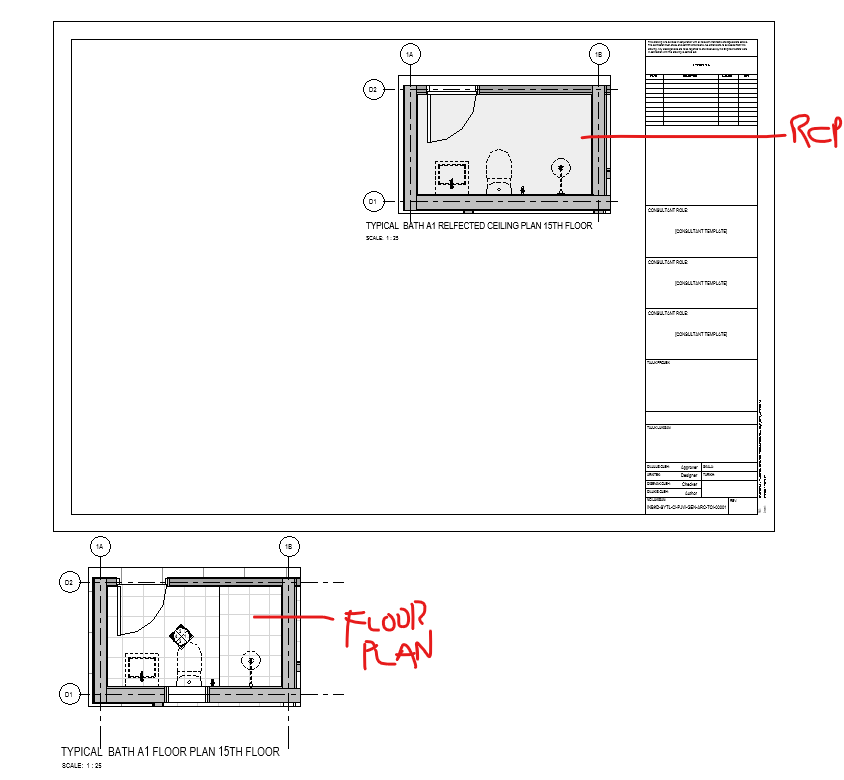
Zone: A zone is a section within the layout that allows you to choose what kind of views go in there (floor plan views, elevation views, legends, schedules etc)

Settings
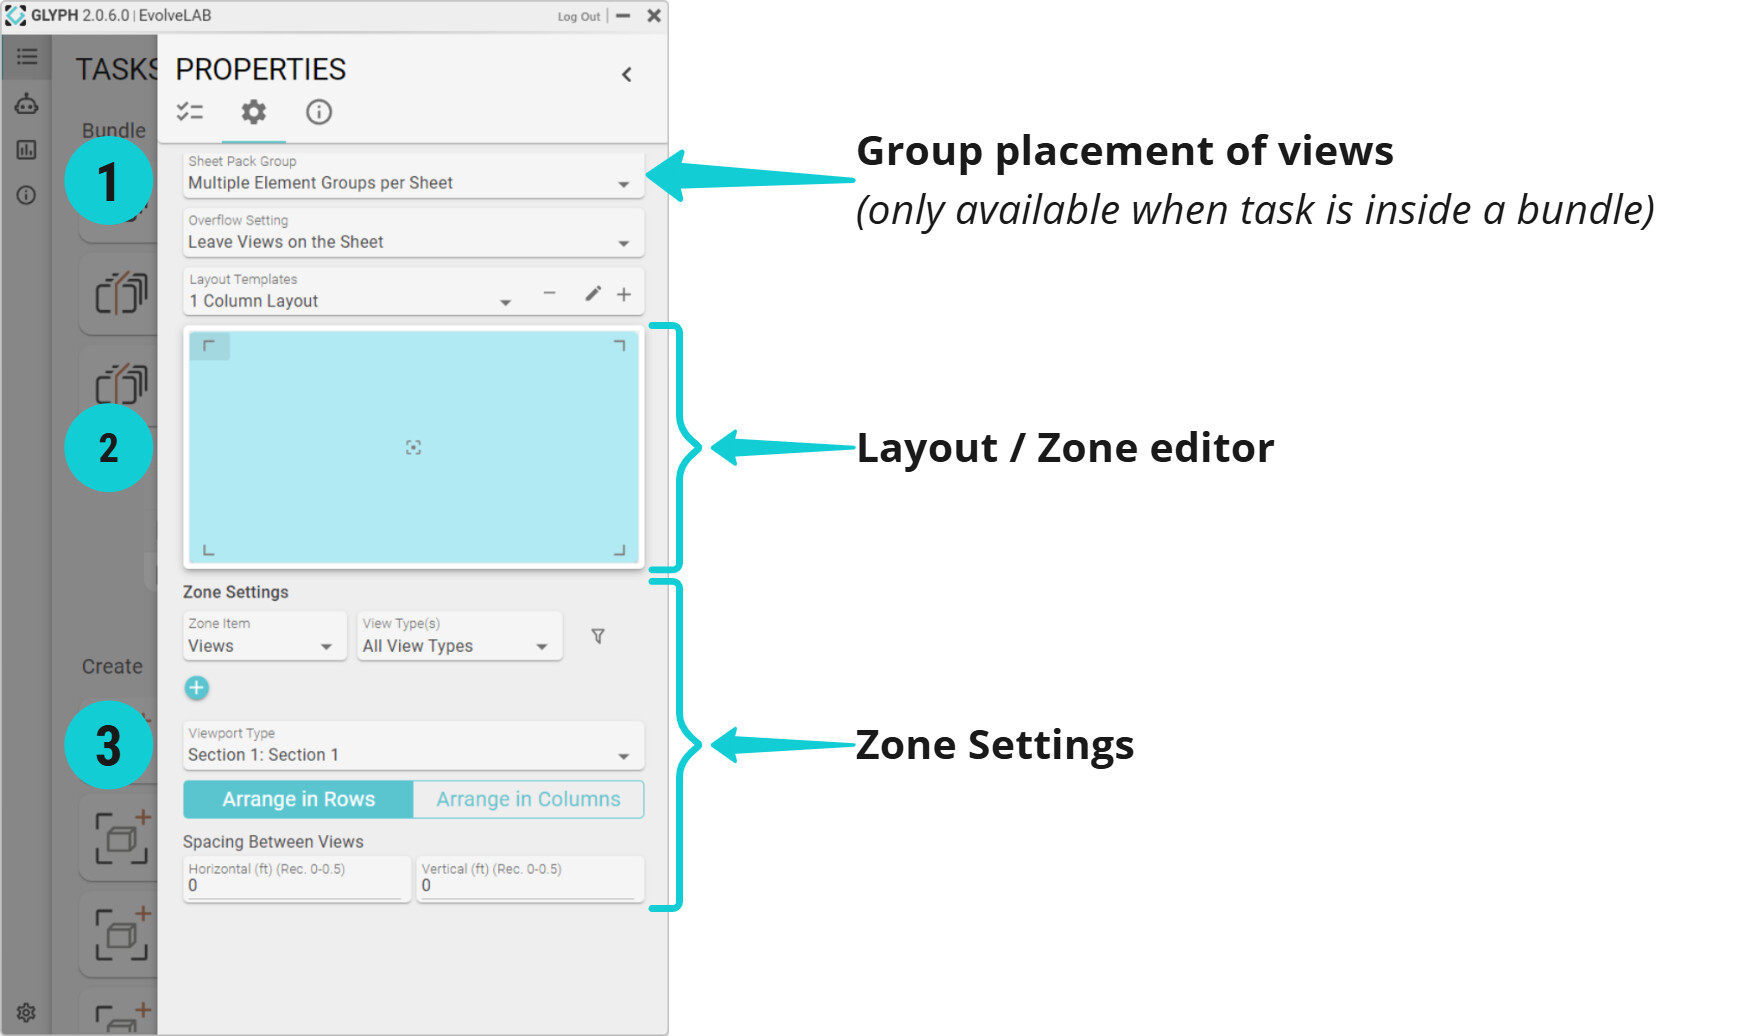
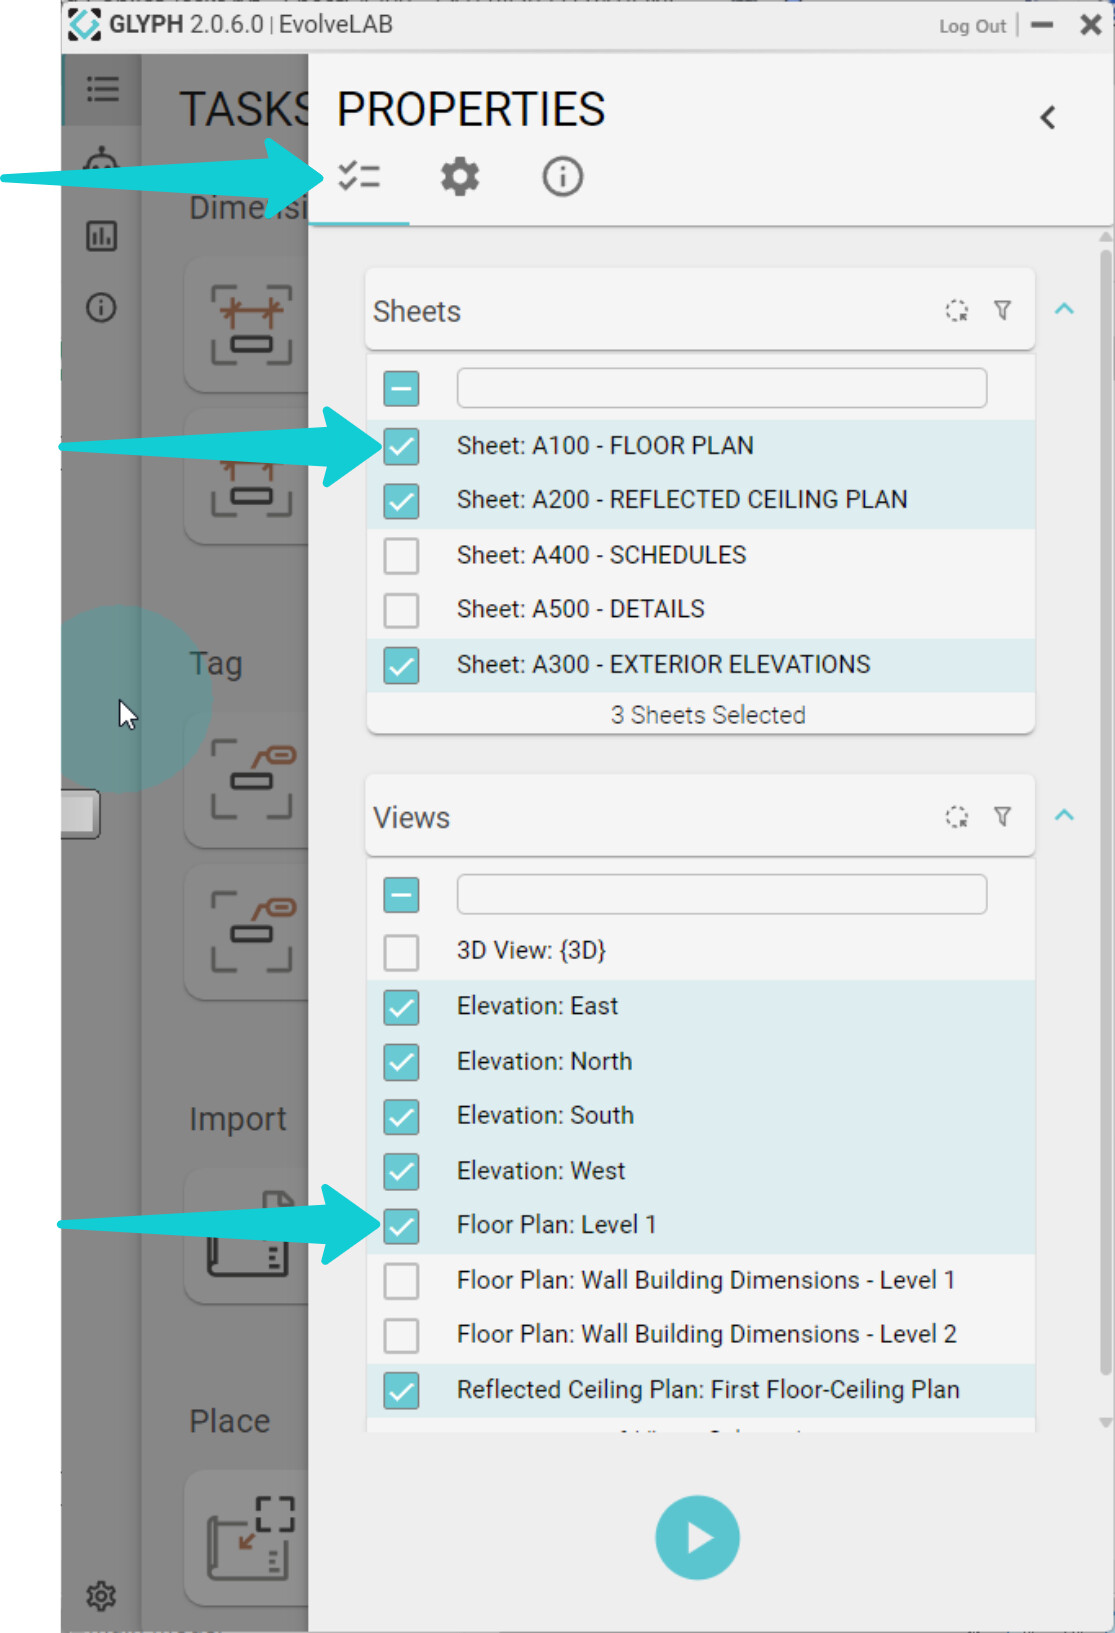
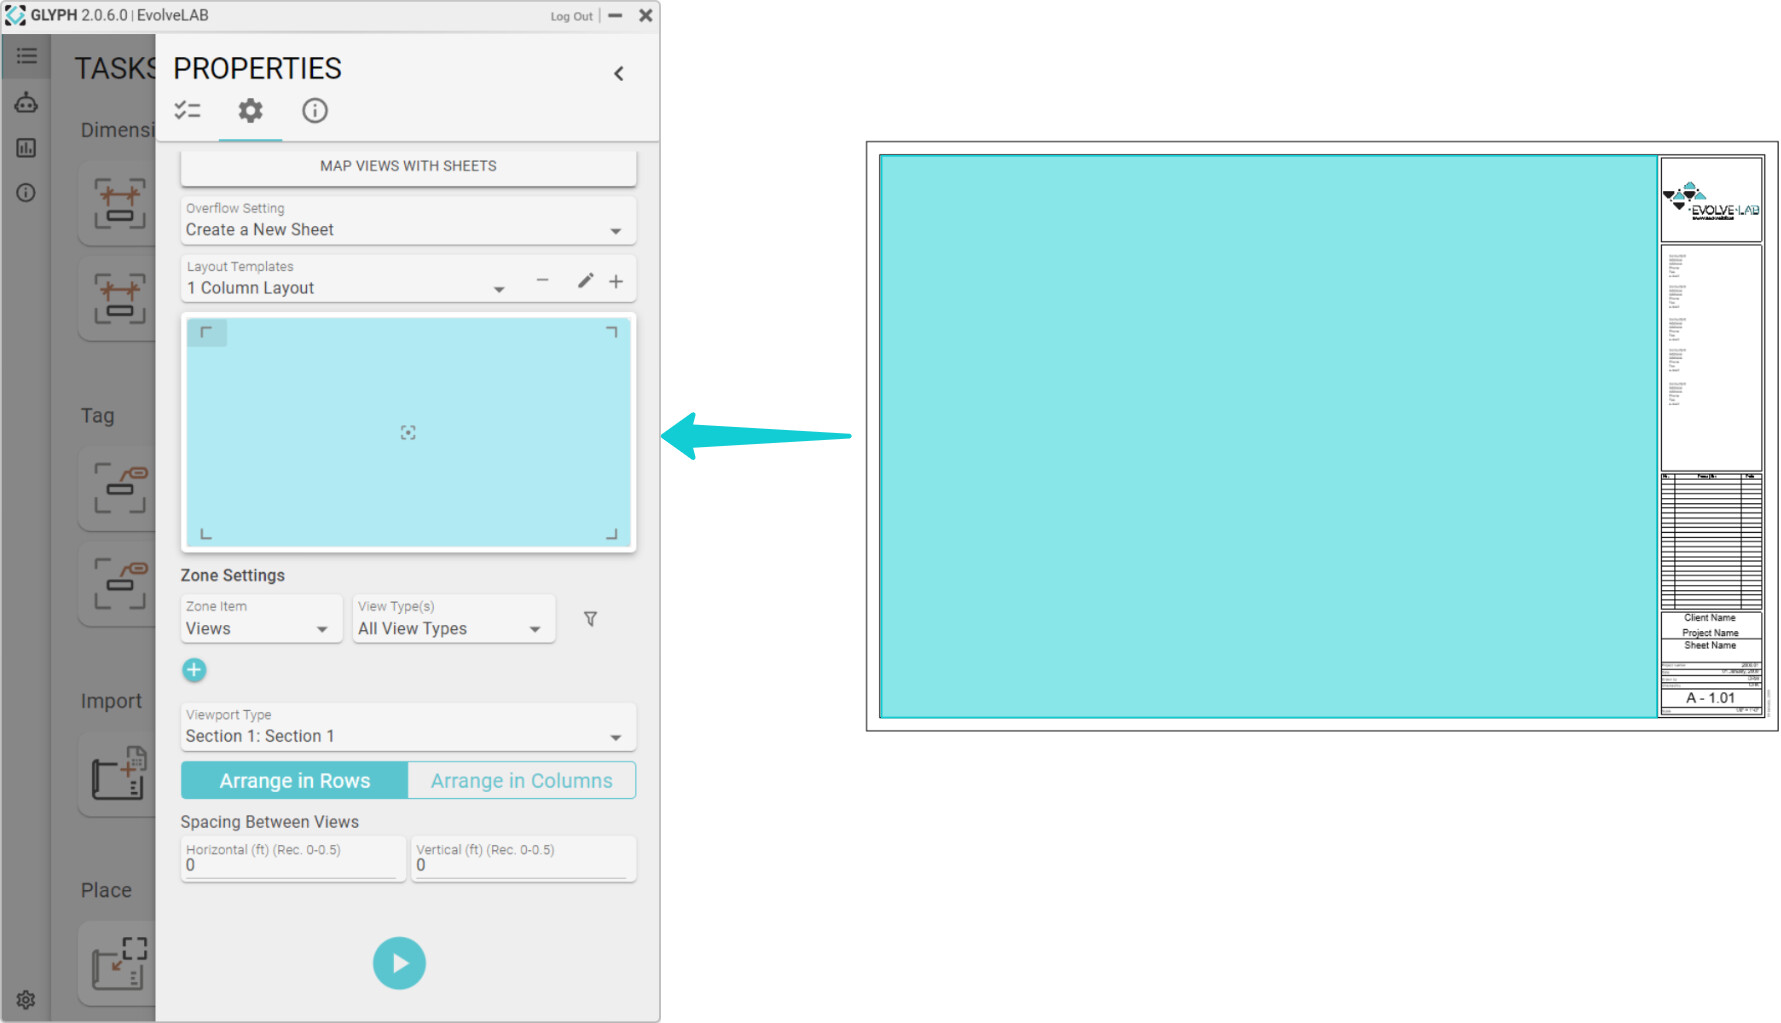
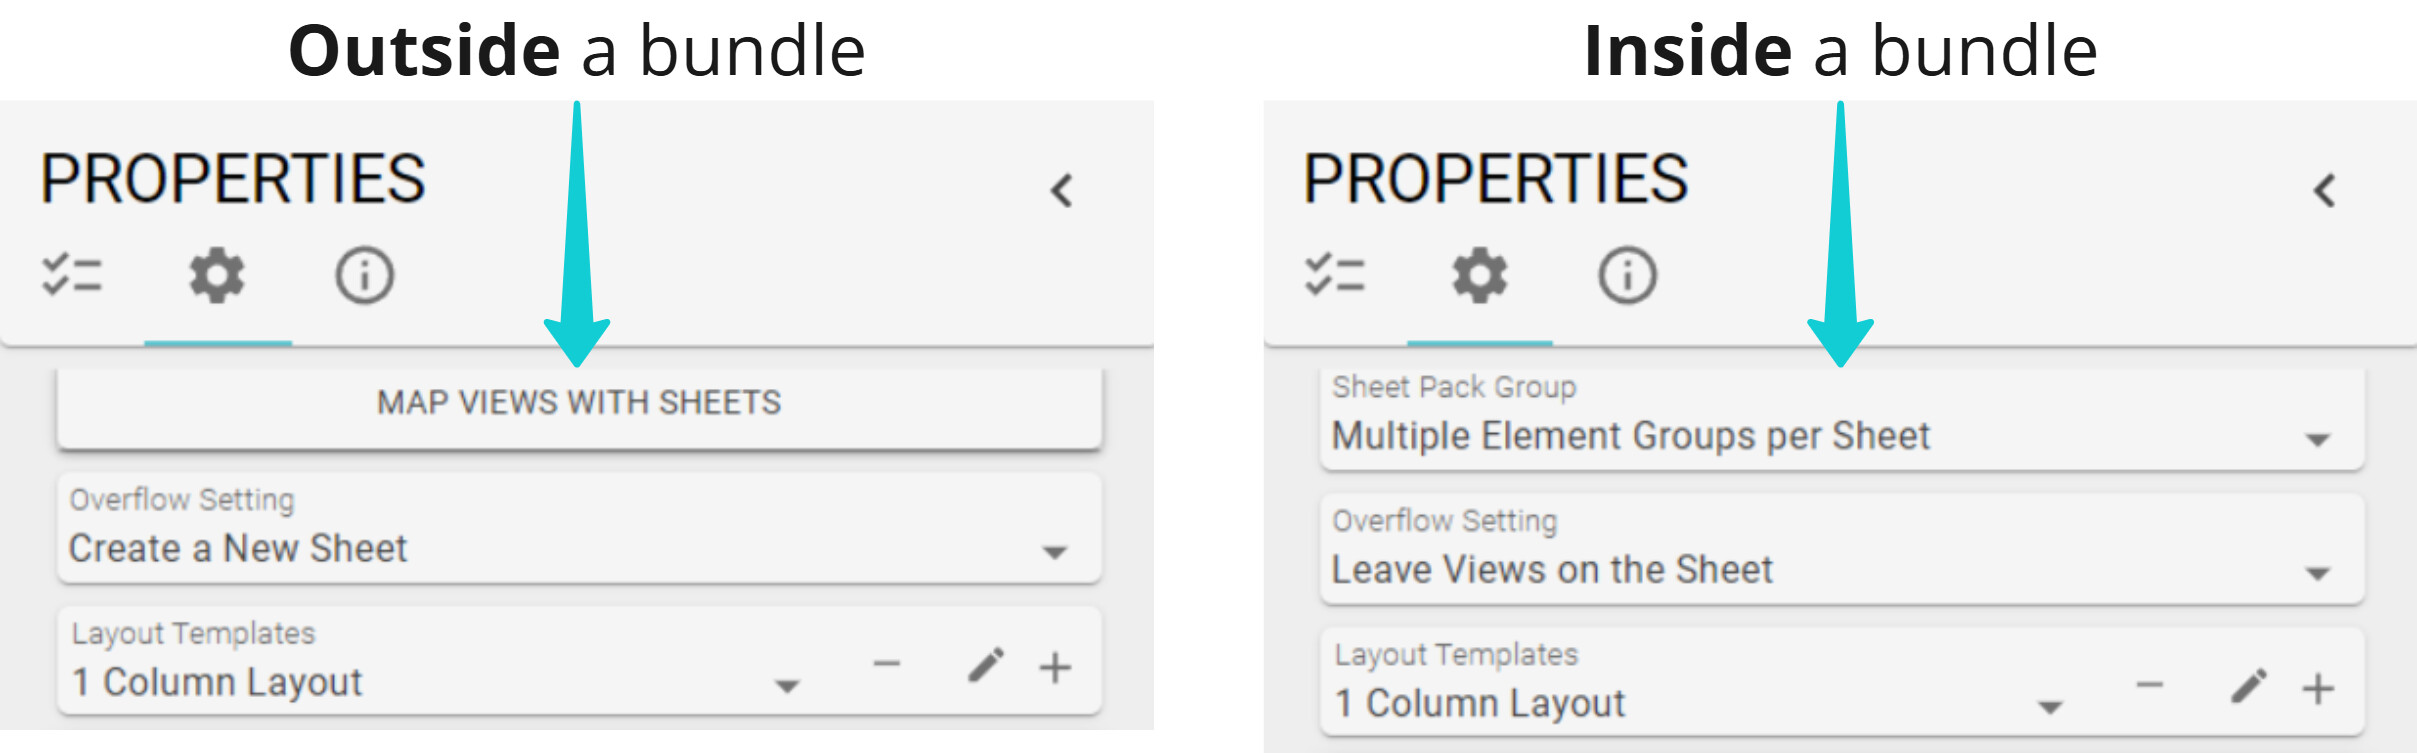
1 - Group views with sheets: Map where the new/existing views go. The setting will change based on whether the task is inside or outside of a bundle.
-
Outside a bundle:
- Feature added in Glyph v0.1.6.0. See post below:
Map views with sheets when task is outside a bundle
- Feature added in Glyph v0.1.6.0. See post below:
-
Inside a bundle:
- Packing Group Views: This setting allows you to choose how many “group element views” you would like to place on the sheet.
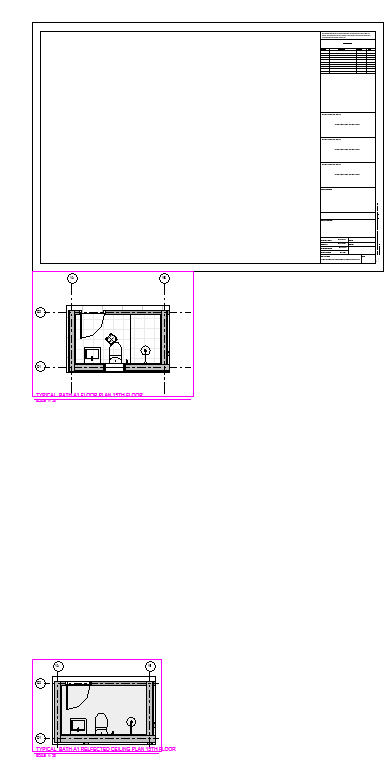
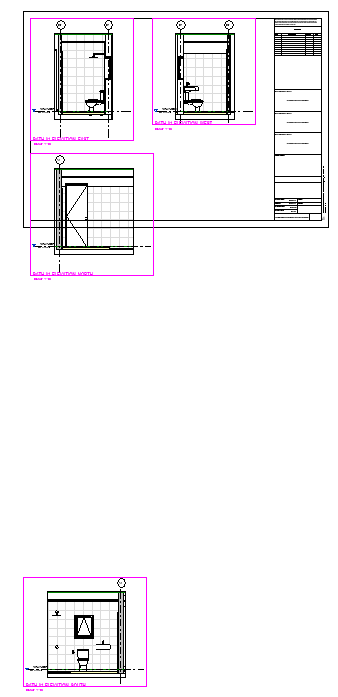
- What is a group element? Let’s say we combine a “create views by room” task and a “place views on sheets” task into a bundle. Then select 2 rooms and create enlarged floor plans and elevations of those two rooms. One group element will be the room plus the enlarged floor plan and all the elevations from that room. So for this scenario, since we selected two rooms there will be two groups of views.
- How does this setting work? There are two options: One element group per sheet or multiple element groups per sheet
- One element group per sheet: Using the scenario above, the task will only place one group (floor plan (1) and elevations (4)) per sheet selected
- Multiple element groups per sheet: Using the scenario above, the task will try to place all the groups into the first sheet selected then continue placing the groups with the other sheets (if views don’t fit)
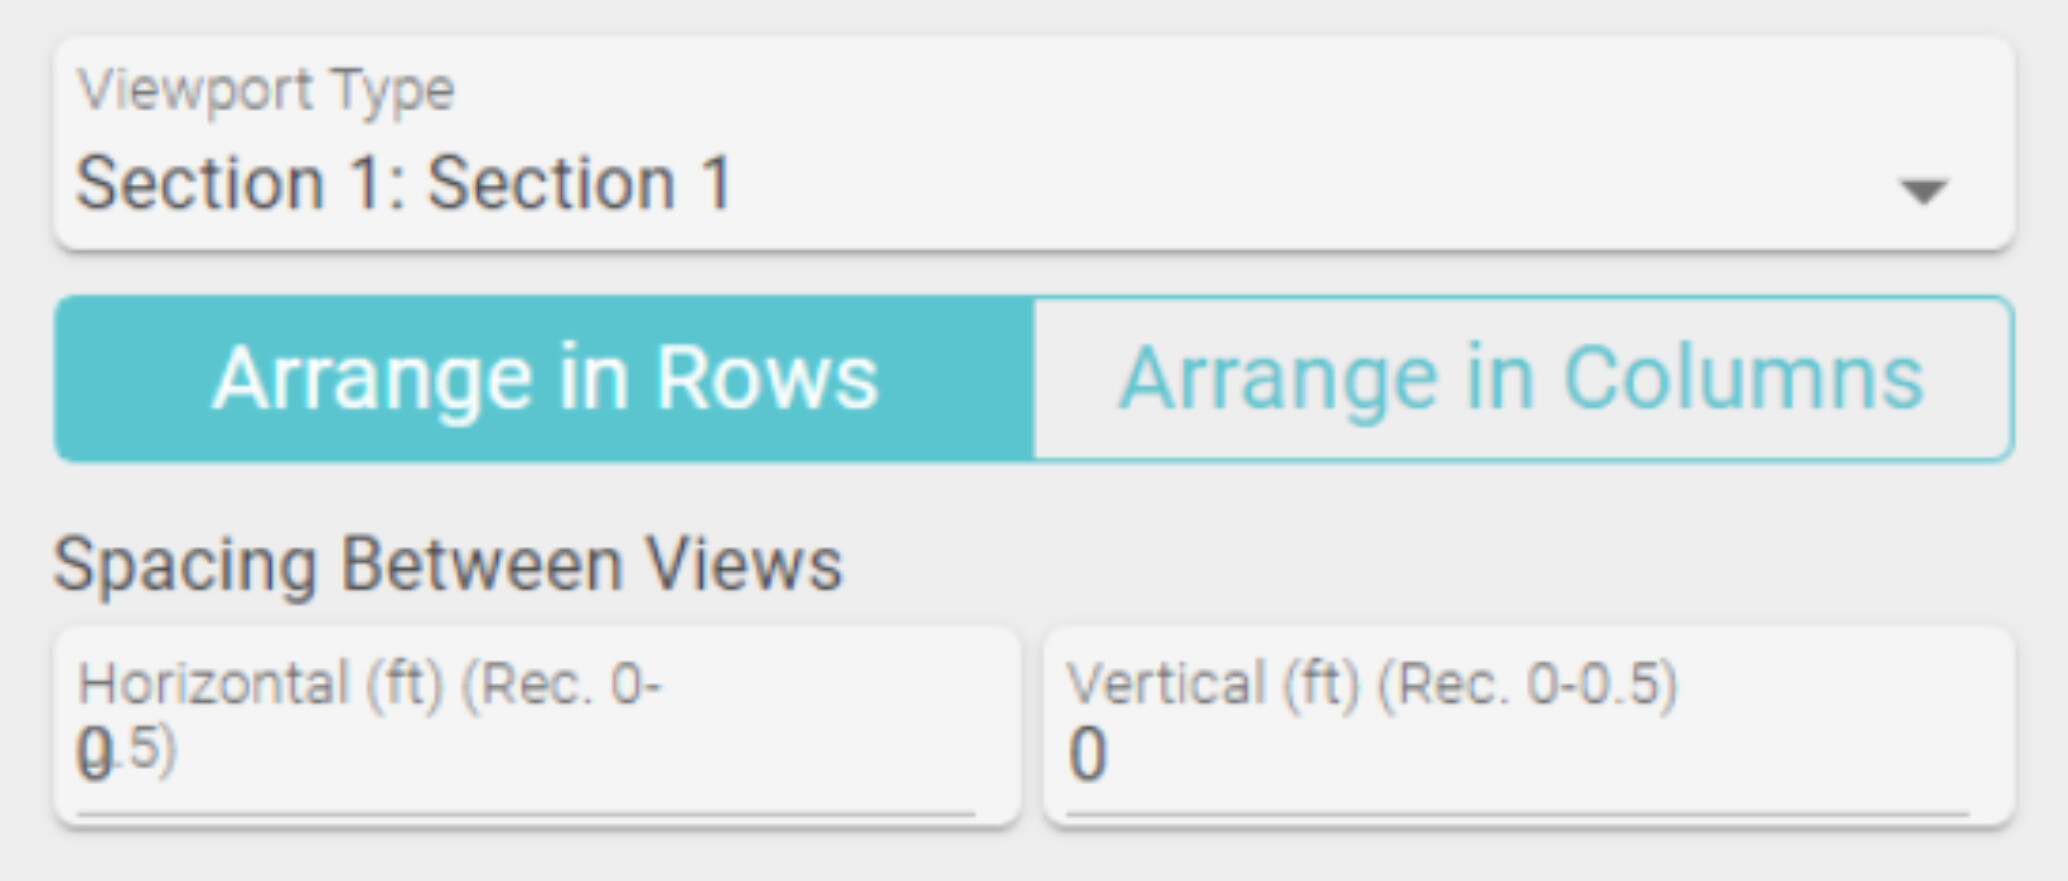
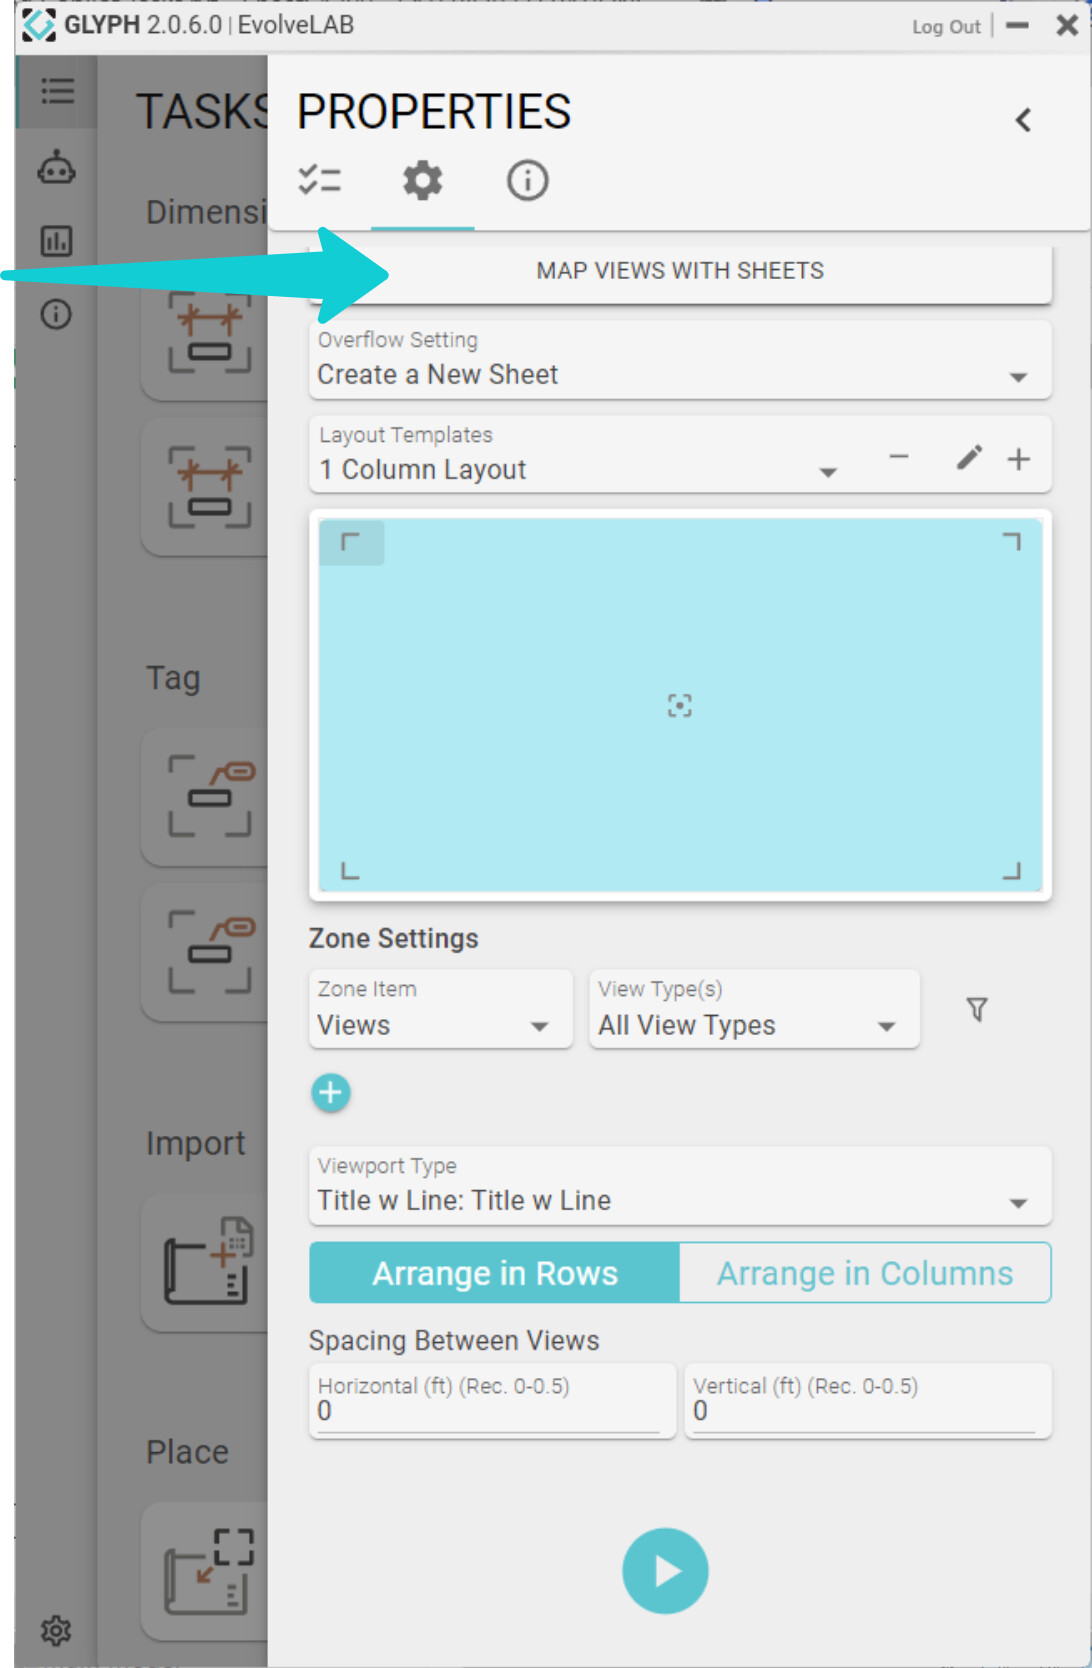
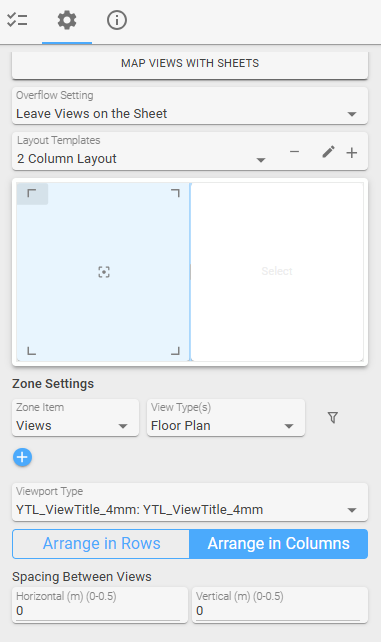
2 - Viewport Type: Chooses which viewport type to use
- Note: This setting will most likely move to the zone settings, that way users can pick different viewport types for different zones
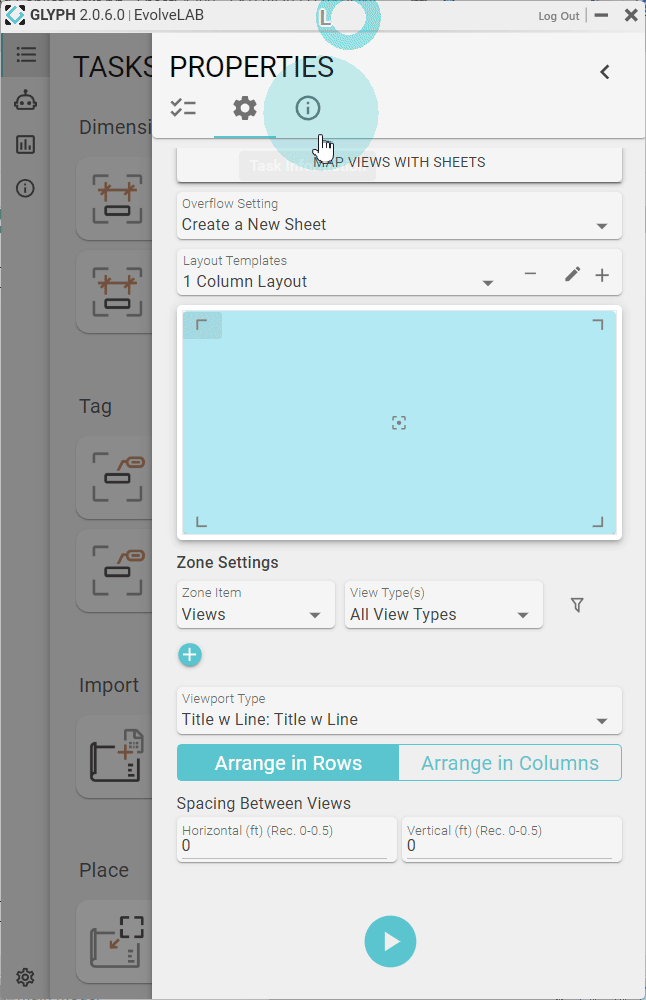
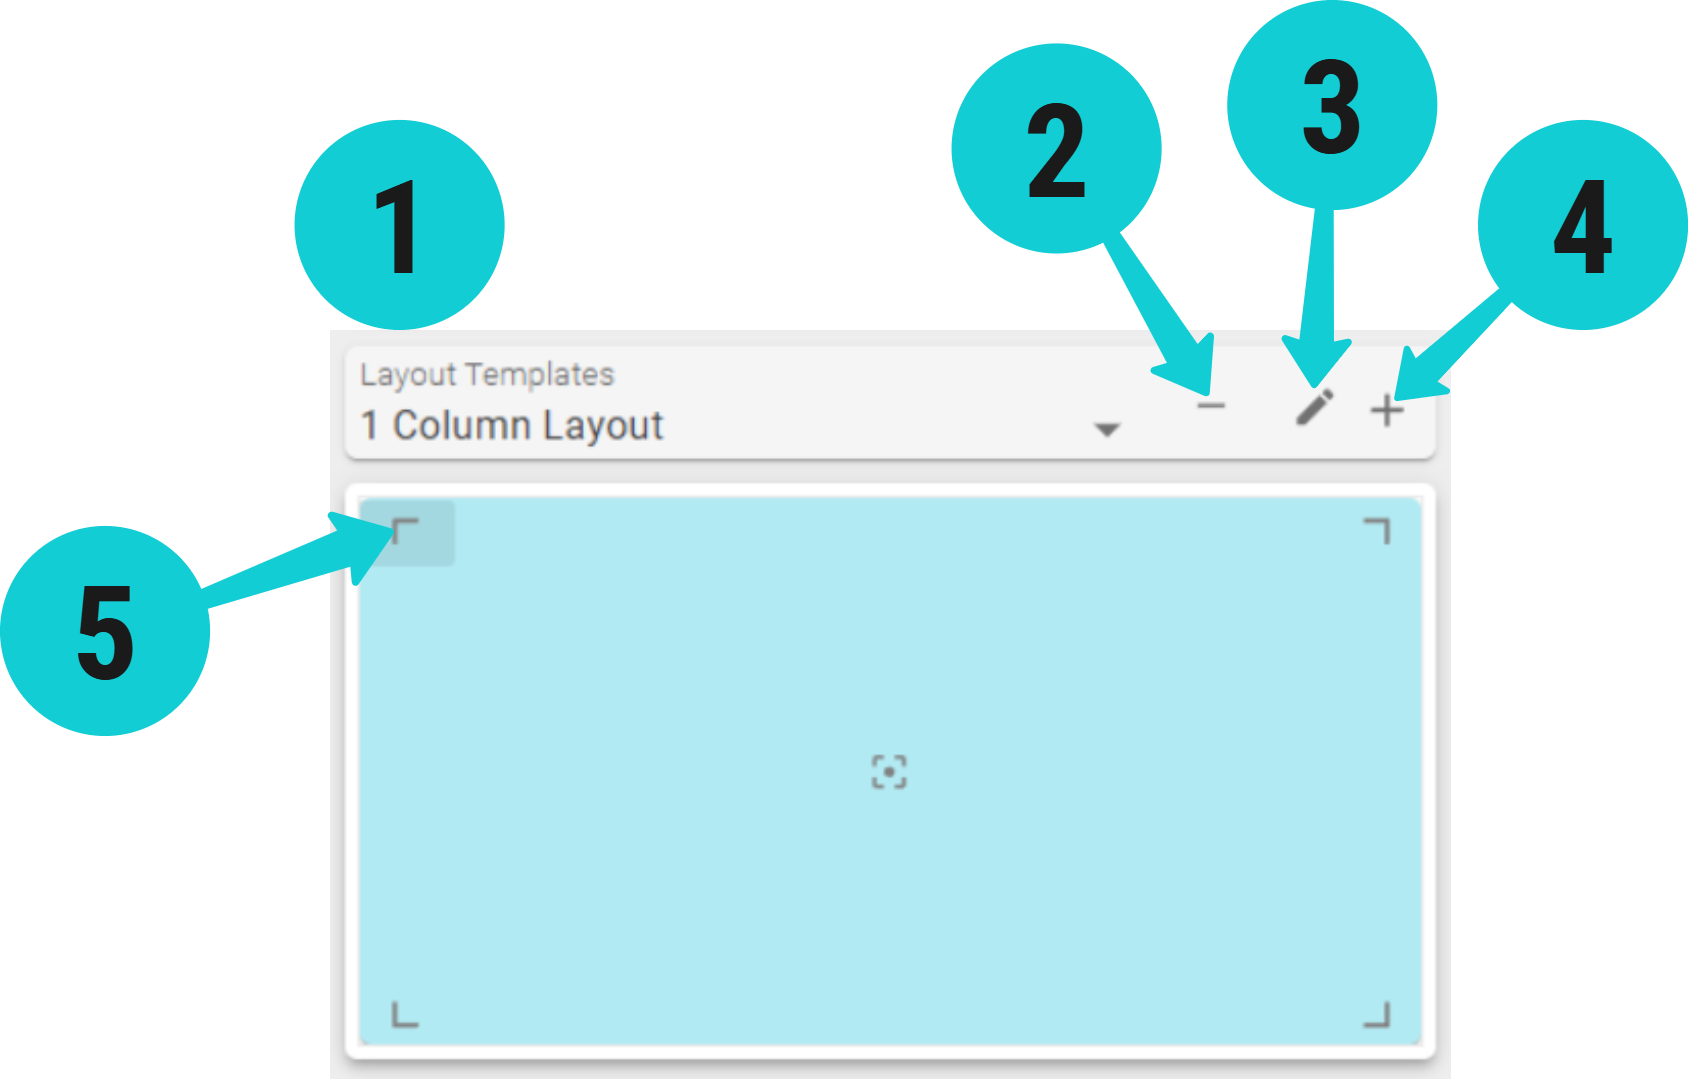
3 - Layout/Zone Editor: Choose, delete or create new layouts as well as add new zones to the layout
-
Settings and Buttons:
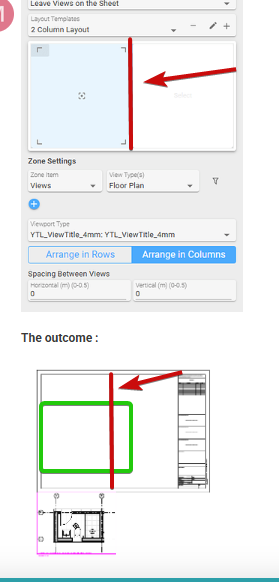
1. Layout Template: Selects the layout to use for sheet packing
2. Delete button: deletes selected layout from the list of layout templates
3. Edit button: opens the “sheet pack editor” window to edit the number of zones
4. Add button: creates a new layout and opens the “sheet pack editor” window
5. Anchor point: choose where the view/viewport will anchor to (top left, top right, bottom right, bottom left, and center) -
Sheet Pack Editor: Allows you to customize the length/width and the number of zones within the layout.
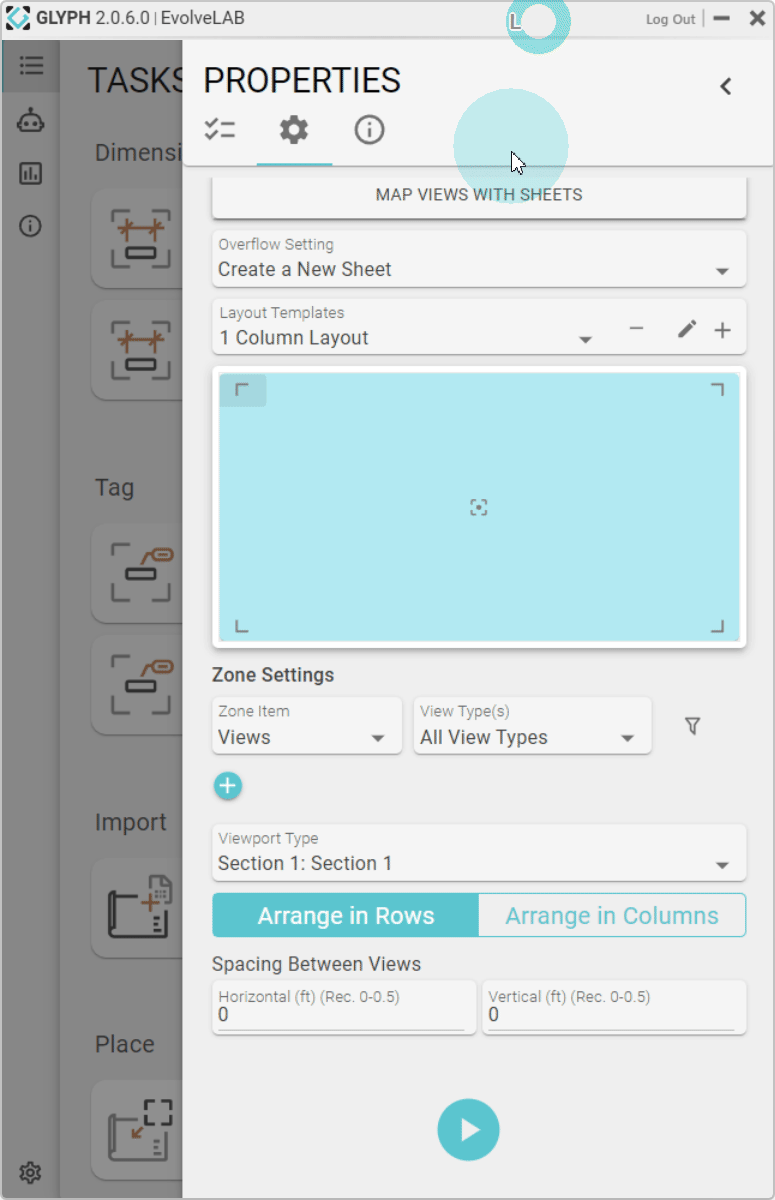
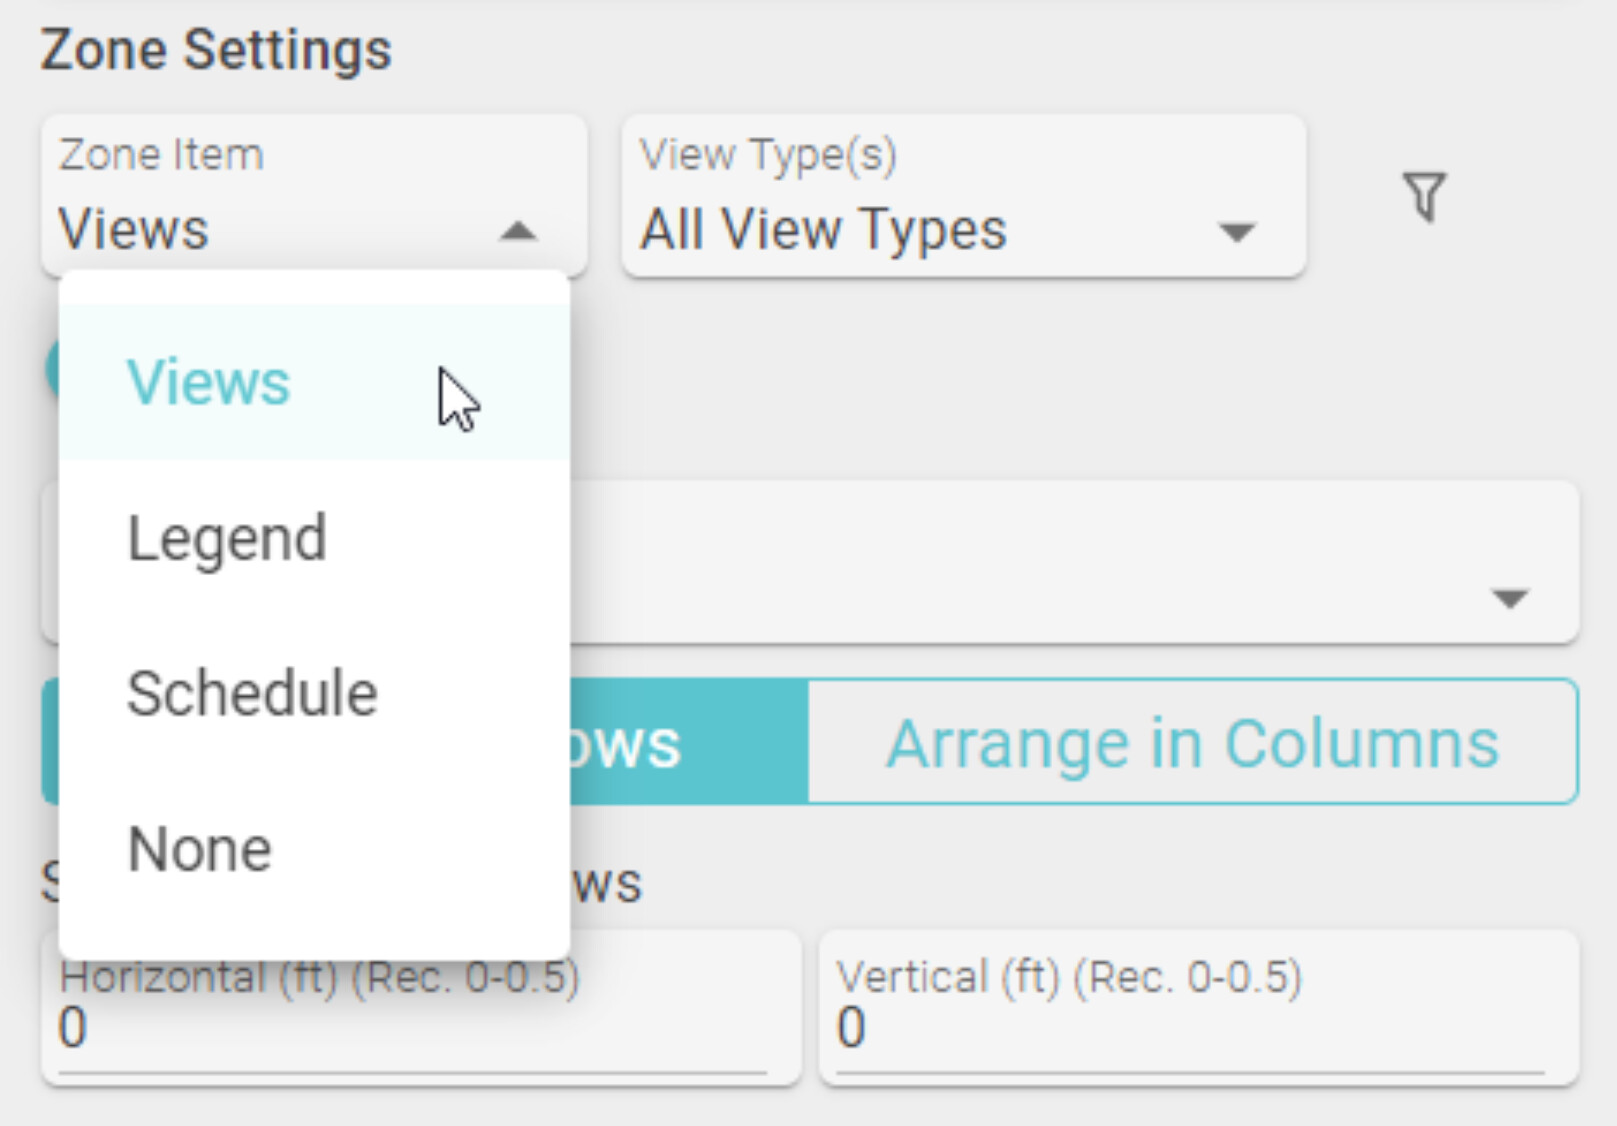
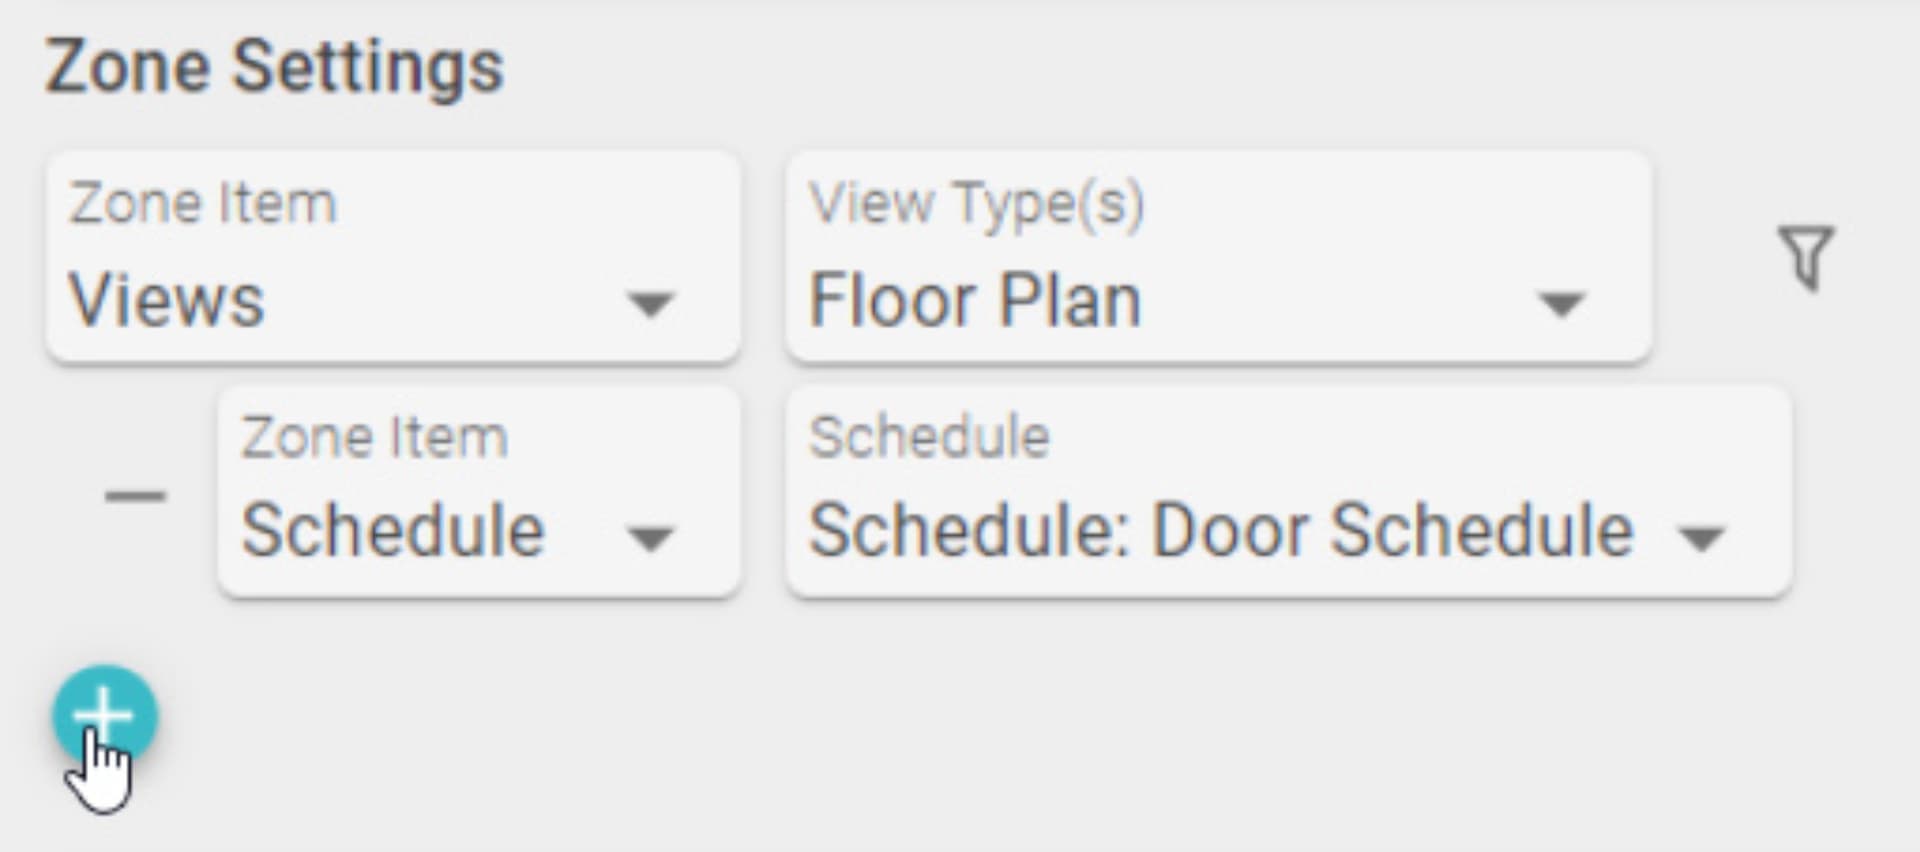
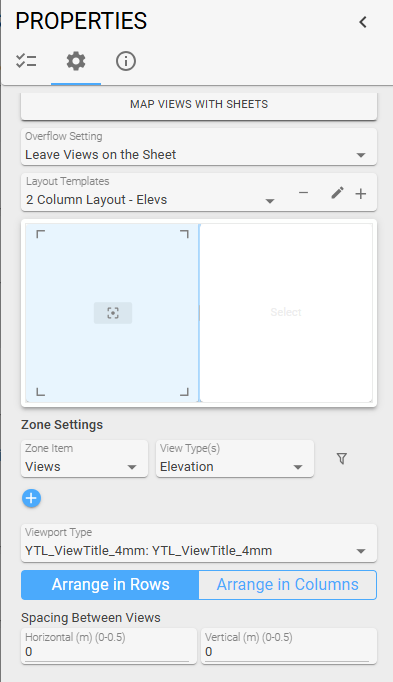
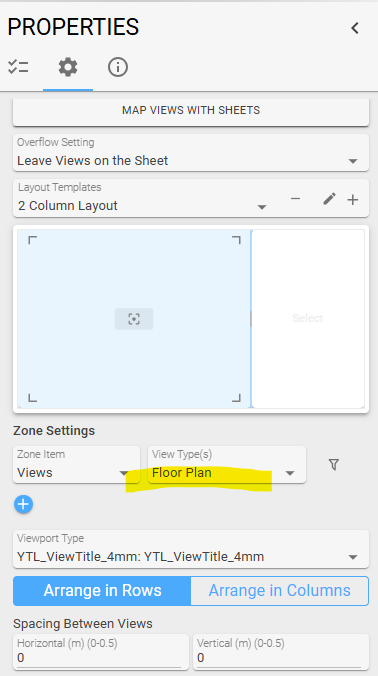
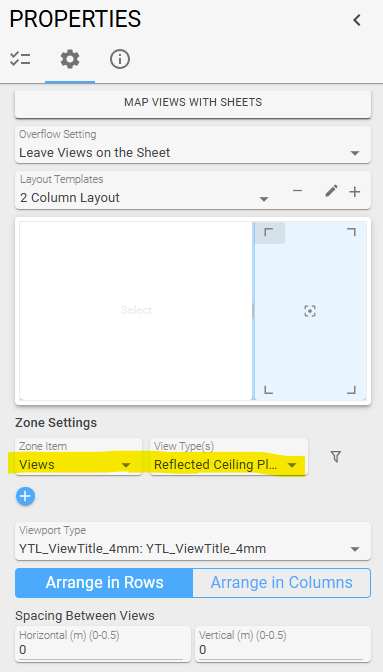
4 - Zone Settings: These settings are individual to each zone. Settings will change once you click a different zone.
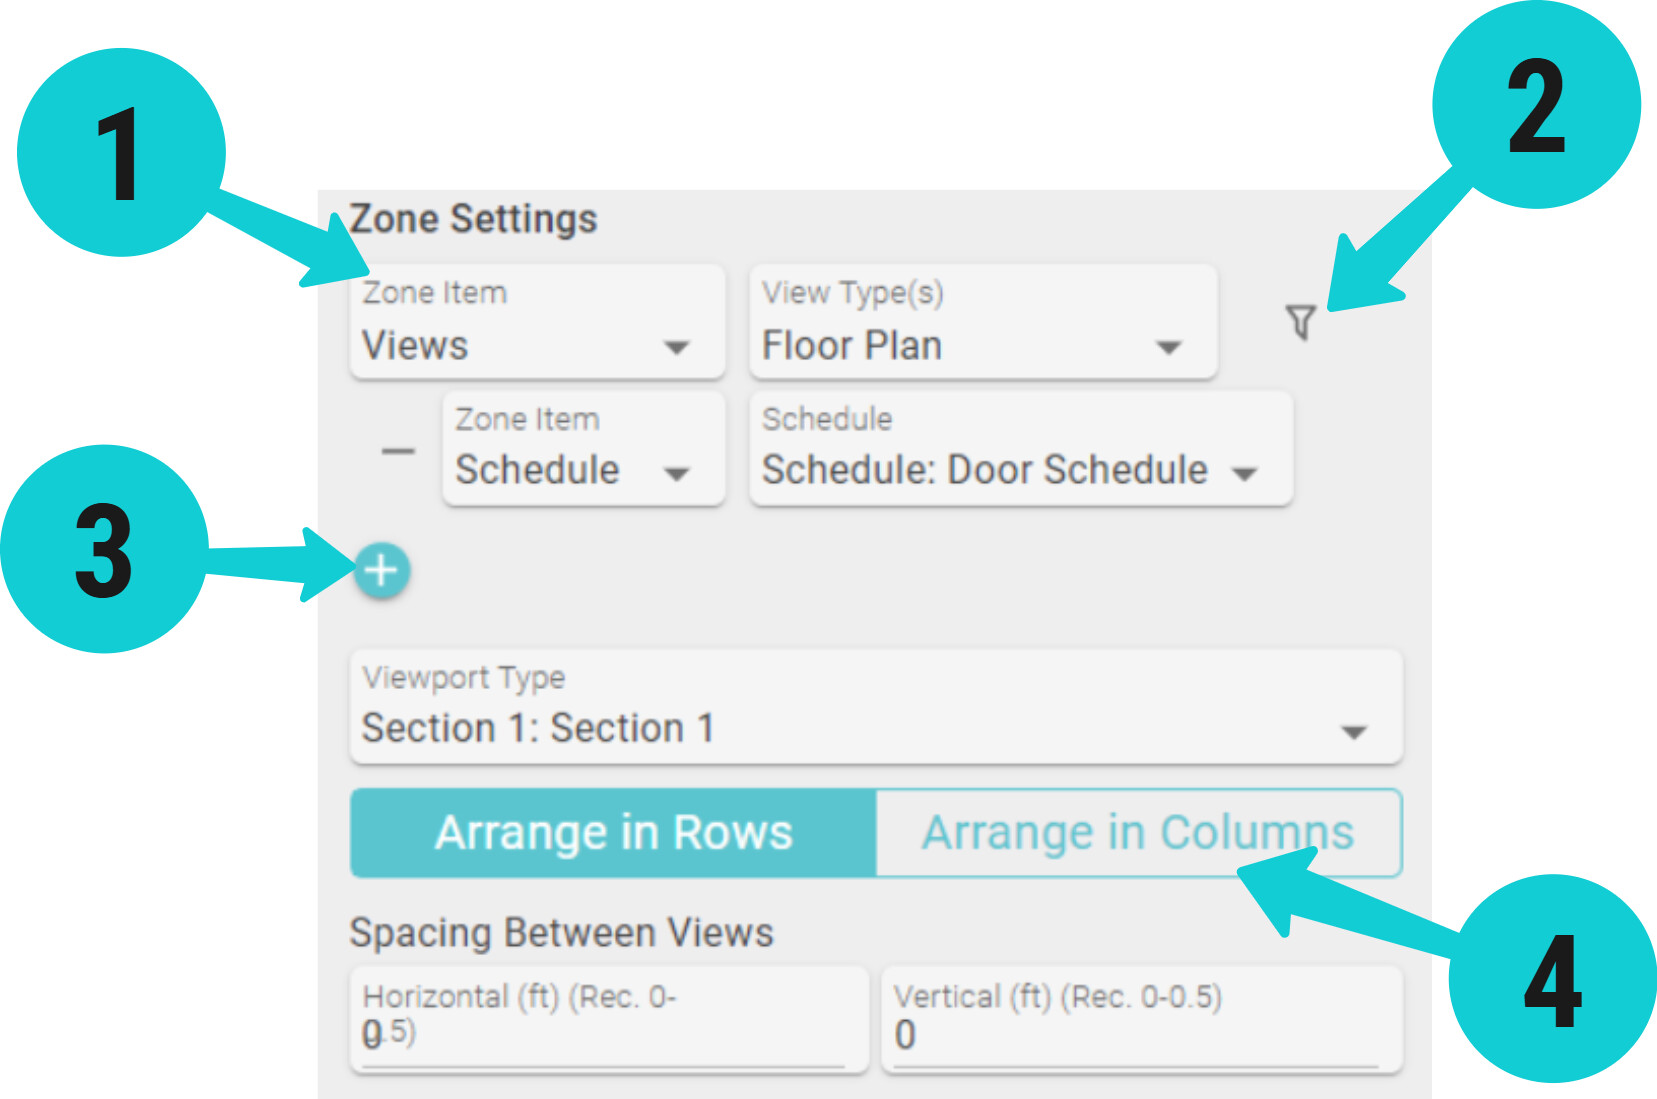
- Settings and Buttons:
1. Type of Zone Pack Item:
A combination of settings that allows you to determine what type of views go in each zone
2. Filter button: Additional view filtering
3. Add zone pack item button: Adds more “zone pack items”. Example: within the same zone you would like to place a floor plan and a schedule
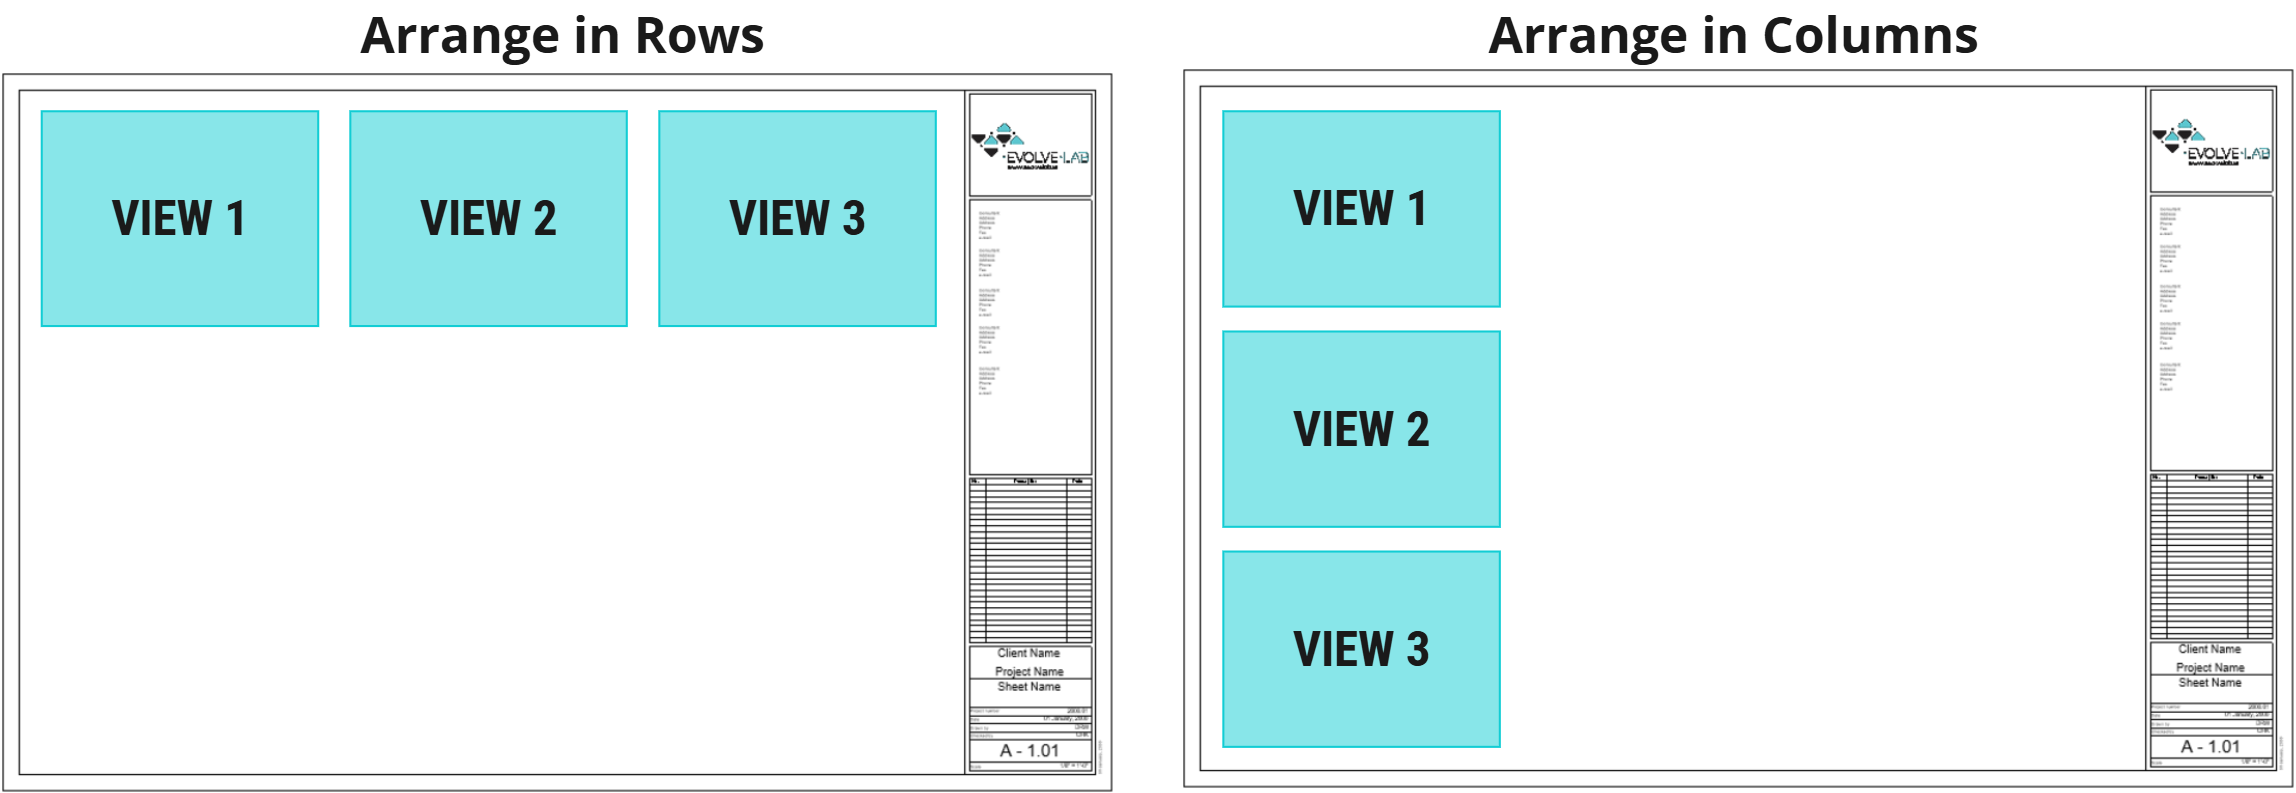
4. Arrange in rows (left)/columns (right): chooses the orientation that determines how the views will get placed on the sheets