How this Task Work
Important: This task selects elements based on your chosen settings, then creates a wall outside the usable area of your Revit model to place those elements within it. Following this, it generates an elevation and a plan view according to the specified settings.
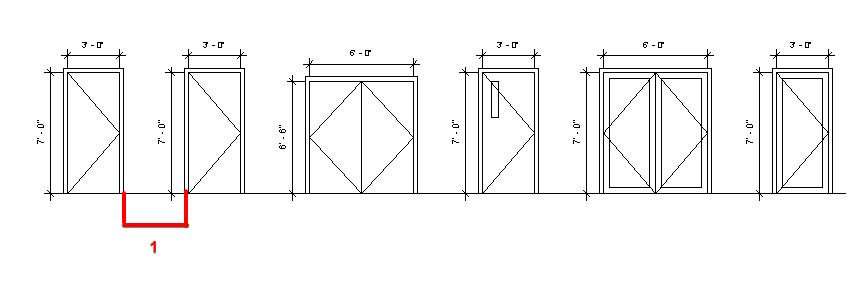
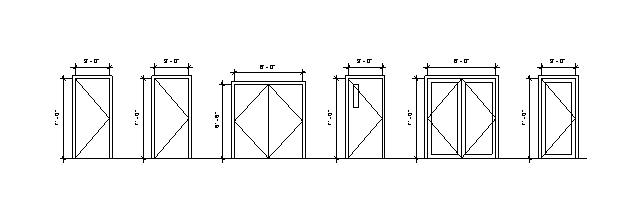
- Categories Available: Doors and Windows
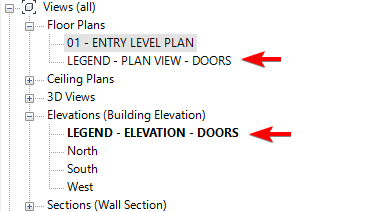
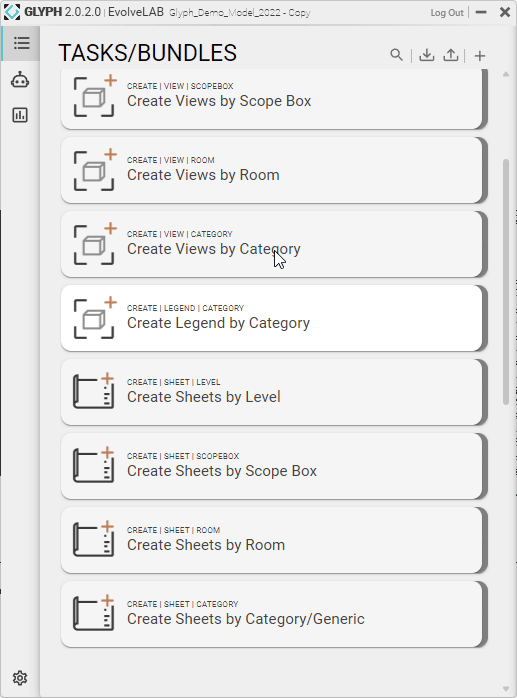
1 | Click Create Legends By Category
2 | Select Category/Elements
*

- Category: Choose the category.
- Manual Element Selection
- Filter Elements: Automatically selects elements based on a predefined filter.
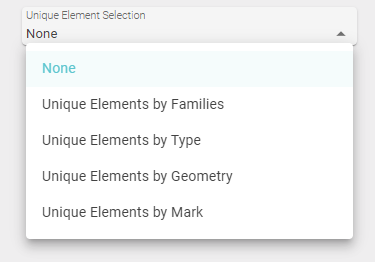
- Unique Element Selection: Automatically selects unique elements based on specific criteria, such as geometry, mark, or type.
3 | Change Settings
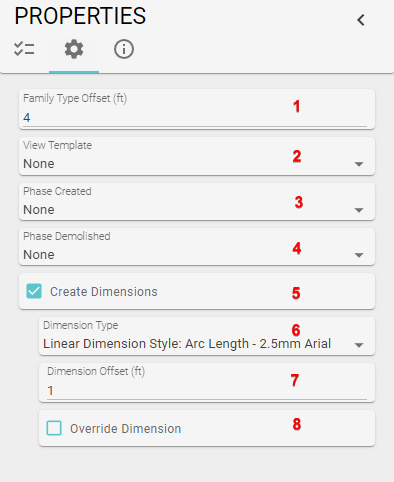
- Family Type Offset
- View Template: Select a view template to be applied after creating the view.
- Phase Created: Important: Glyph generates new instances of doors and windows, so it’s essential to set this correctly to prevent the newly created doors/windows from appearing in the door/window schedule.
- Phase Demolished: Important: As with “Phase Created,” adjust this setting to ensure new instances of doors/windows don’t show up in the schedule.
- Create Dimensions: Choose whether to create dimensions for the elements.
- Dimension Type: Select the type of dimension to be applied.
- Dimension Offset: Set the offset distance between the dimension and the created element.
- Override Dimension: Allows overriding the dimension value with custom text. Example: “EQ.”