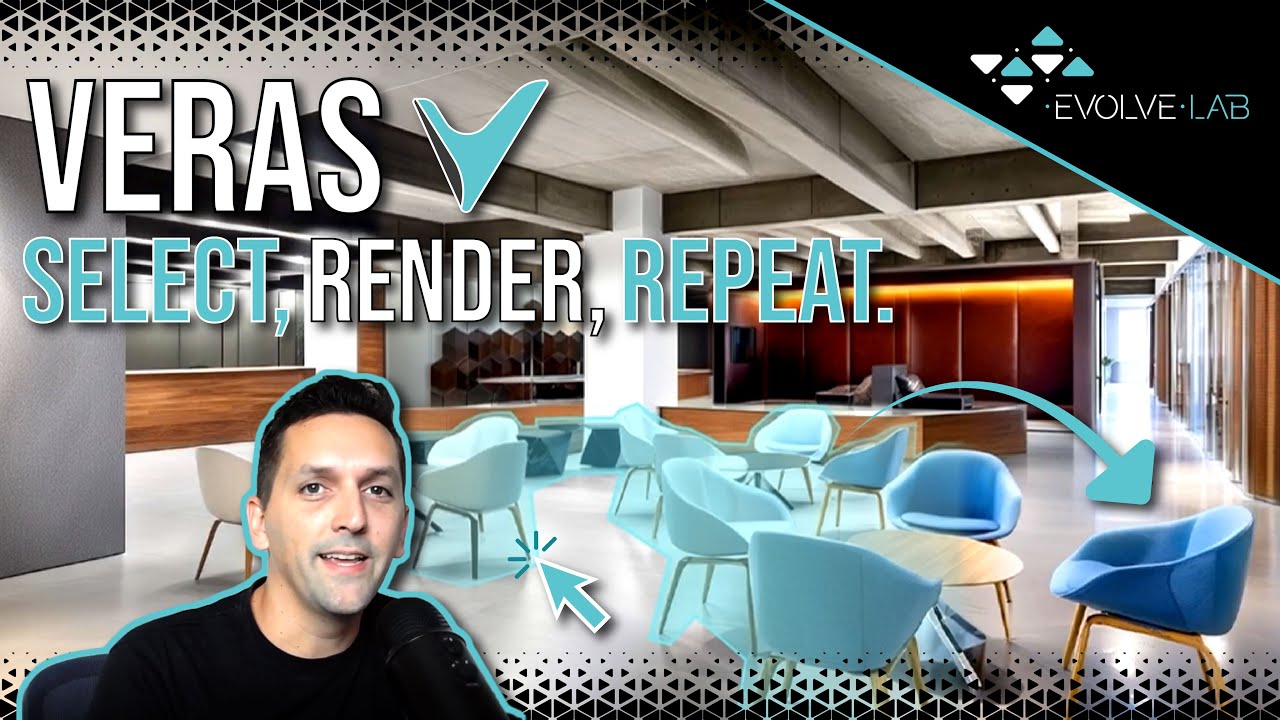
This workflow shows how to use Veras’ Render Selection Tool with simple prompts to create precise image edits. Start by generating an initial render (e.g., “modern office space”), then mask specific areas and apply targeted prompts. Blend the changes and reuse a Seed Number for consistent updates, achieving a seamless, high-quality output.
Workflow steps in the blog post below:
And here’s a fun summary in the words of Grug, our simple minded developer (AI generated):
Grug say: Use Render Selection Tool, make art simple.
- Open Veras—grab view.
- Start with few words: “modern office space.” Set numbers: Geometry 0, Material 100, Prompt Strength 60, sharp engine.
- Switch to edit tab. Click, draw straight lines. Mistake? Use undo. Hold click for curves. Close loop when near start.
- Mask out ceiling. Tell tool “concrete ceiling.” See change.
- Use Blend tool to mix new part with old.
- Mask left wall. Tell tool “bamboo casework, colorful accent wall.” Look good.
- Bonus: To change chairs, use Seed magic. Copy seed number and almost same words (“modern office space, blue chairs, bamboo legs”) to keep art match first scene.
Grug conclude: Render Selection Tool let you change parts of picture easy, keep prompts simple, and blend art together smooth. Enjoy making art, follow steps, and get great result!


