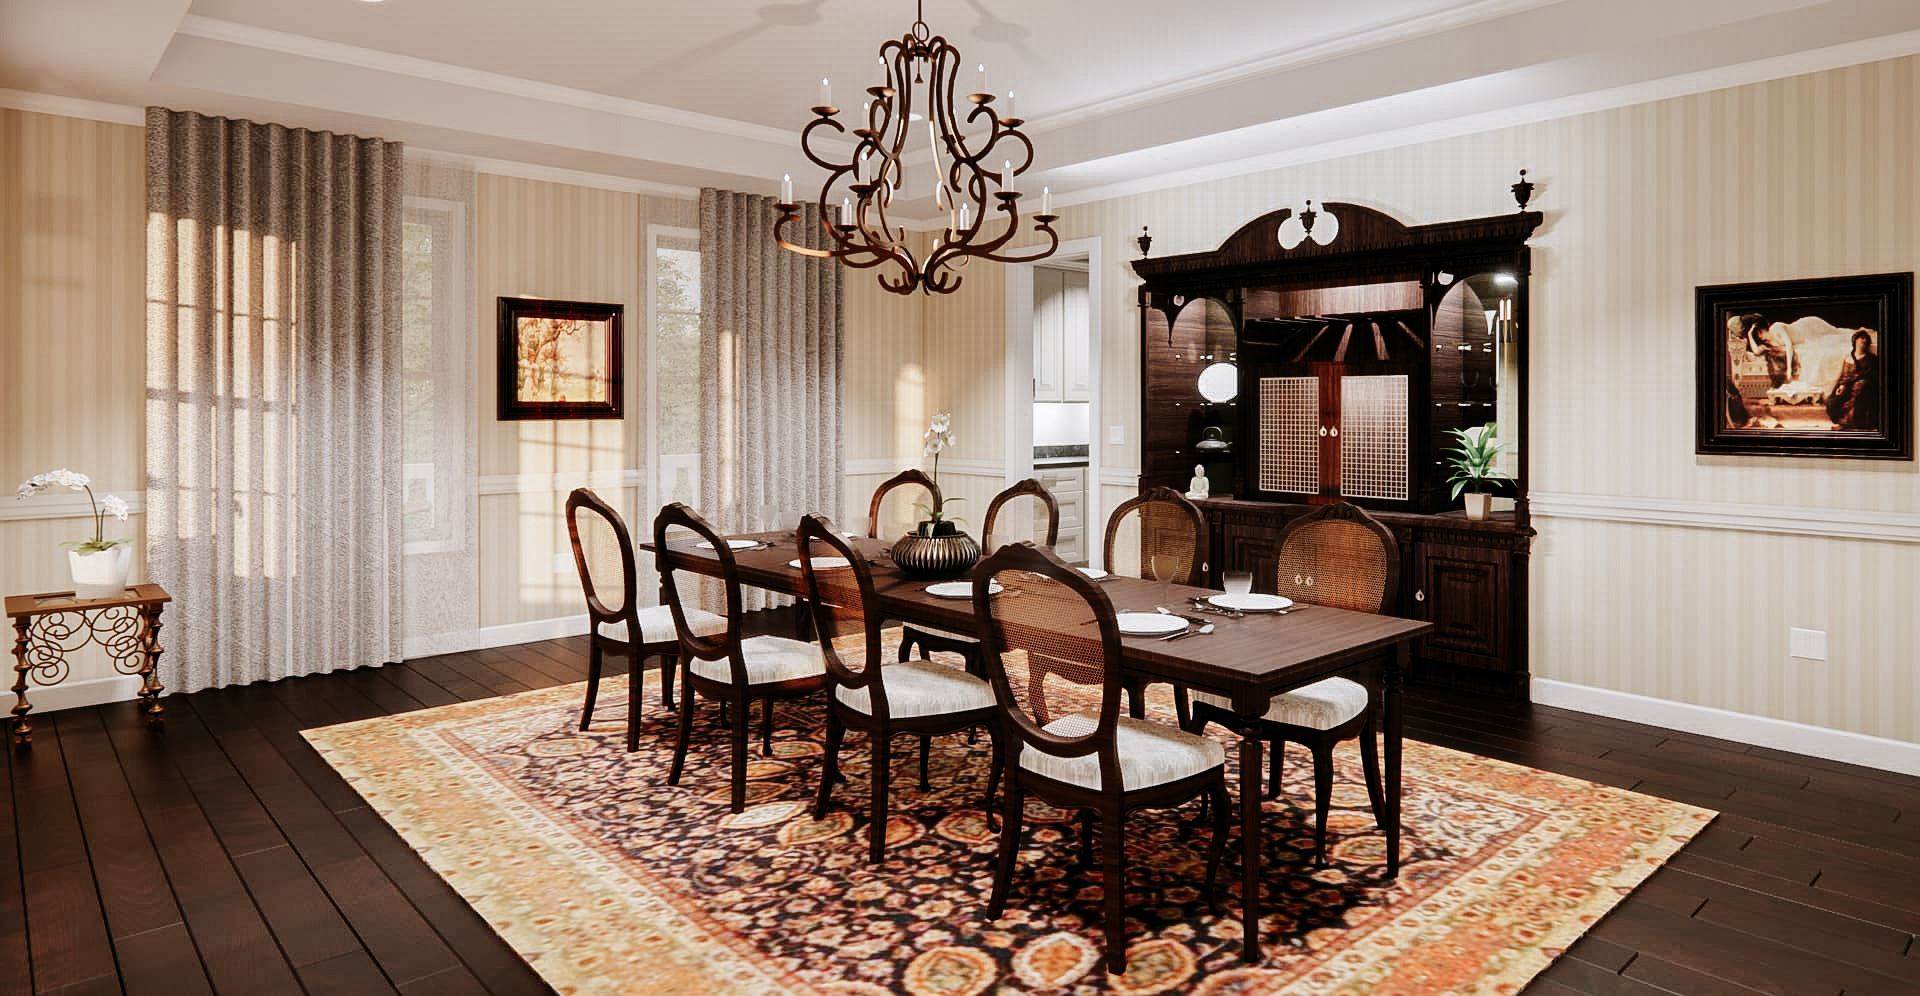
Image Credit: Julian Munoz @julian.karate
Workflow Advantages
- Certain products and objects are very difficult to be modeled in Revit and sometimes impossible without external plugins or tools
- There have been multiple instances when I was asked to bring certain products into Revit so that they can be rendered in Enscape from Revit. Many times I would spend time to parametrically model these products if they did not include rfa’s from the manufacturer
- This workflow allows a quick way to bring in mesh based elements that would otherwise not be shown in Revit due to time restrictions for modeling and the unnecessity of these geometrically complex models to be parametric. There are many components that have either use a low poly estimation in Revit or a placeholder element. This no longer needs to be the case with Helix’s DXF importer from SketchUp to Revit.
1 | Bring the 3D Warehouse Component into the SketchUp Model
- Search SketchUp’s 3D Warehouse for the “Cadeira Classic by Square Móveis” model (or use link: Cadeira Classic by Square Móveis | 3D Warehouse)
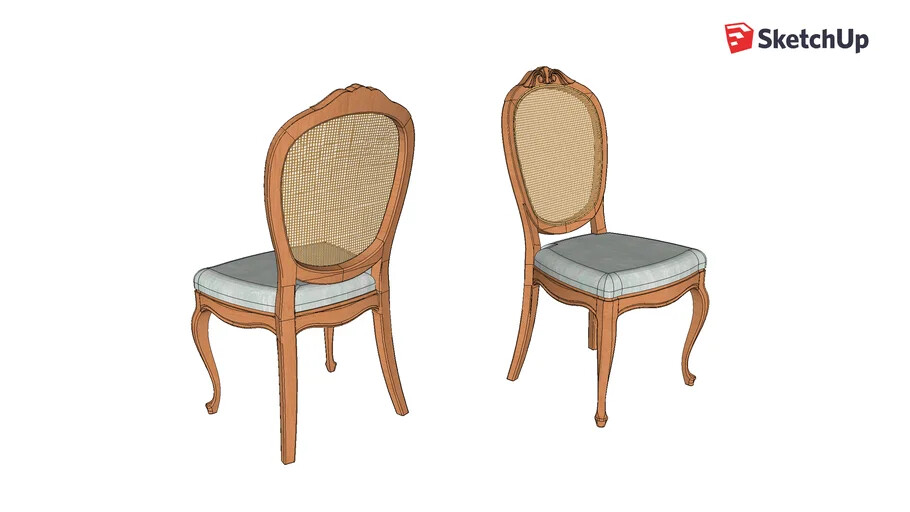
- Load the model into SketchUp
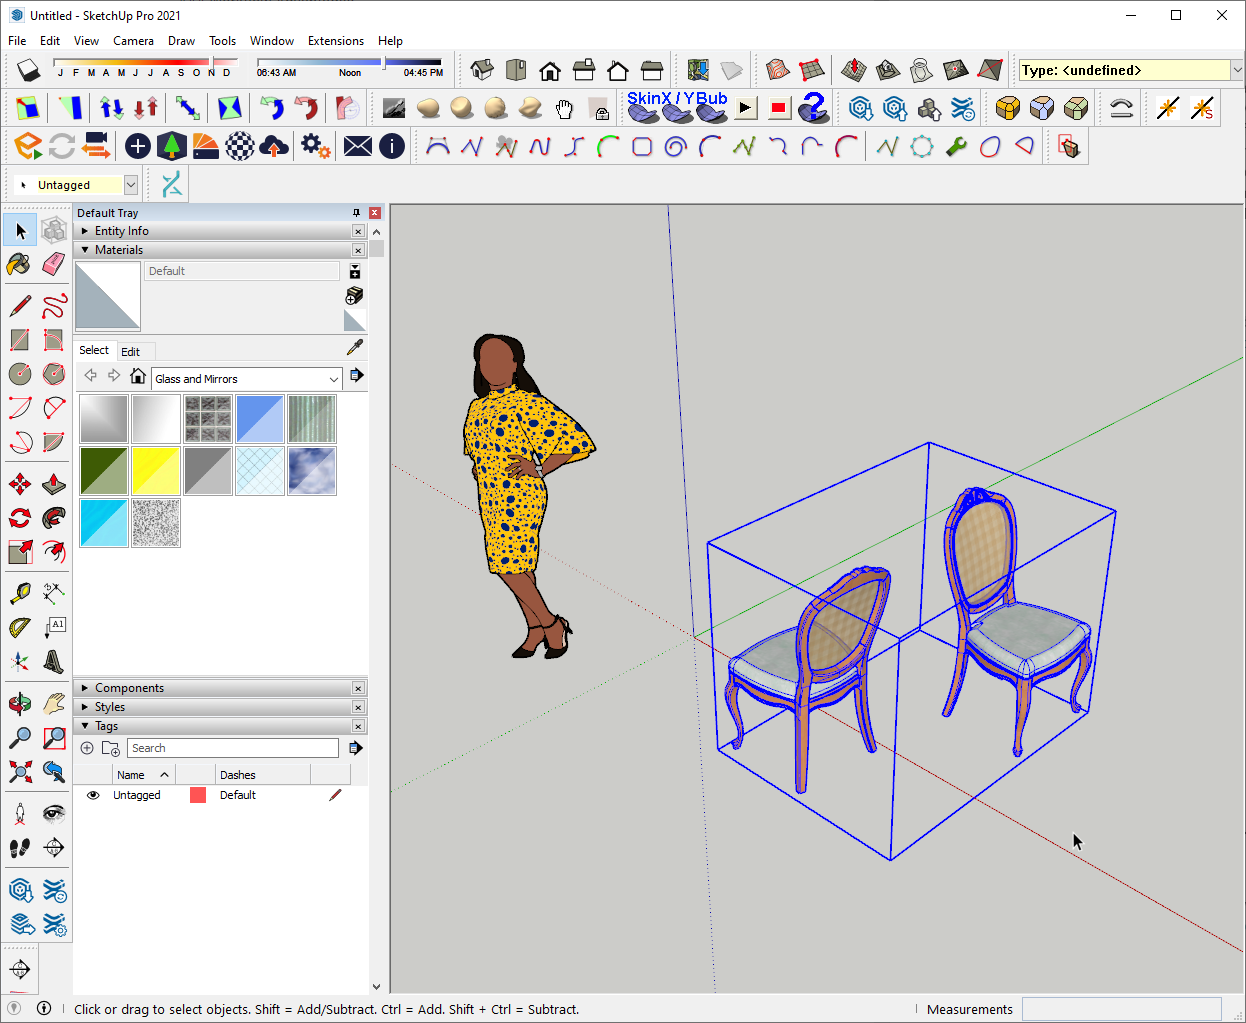
2 | Smooth the Triangles (Optional)
The cushion portion of this chair has some visible edges. If these are not softened in SketchUp, they will show up in Revit. To soften follow these steps:
- go inside the group and select the geometry by triple clicking (or can select with a crossing rectangle)
- in the Default Tray check the Smooth normals and the Soften coplanar ON, and increase the Angle between normals slider to a desirable position (you can visualize the effect in SketchUp)
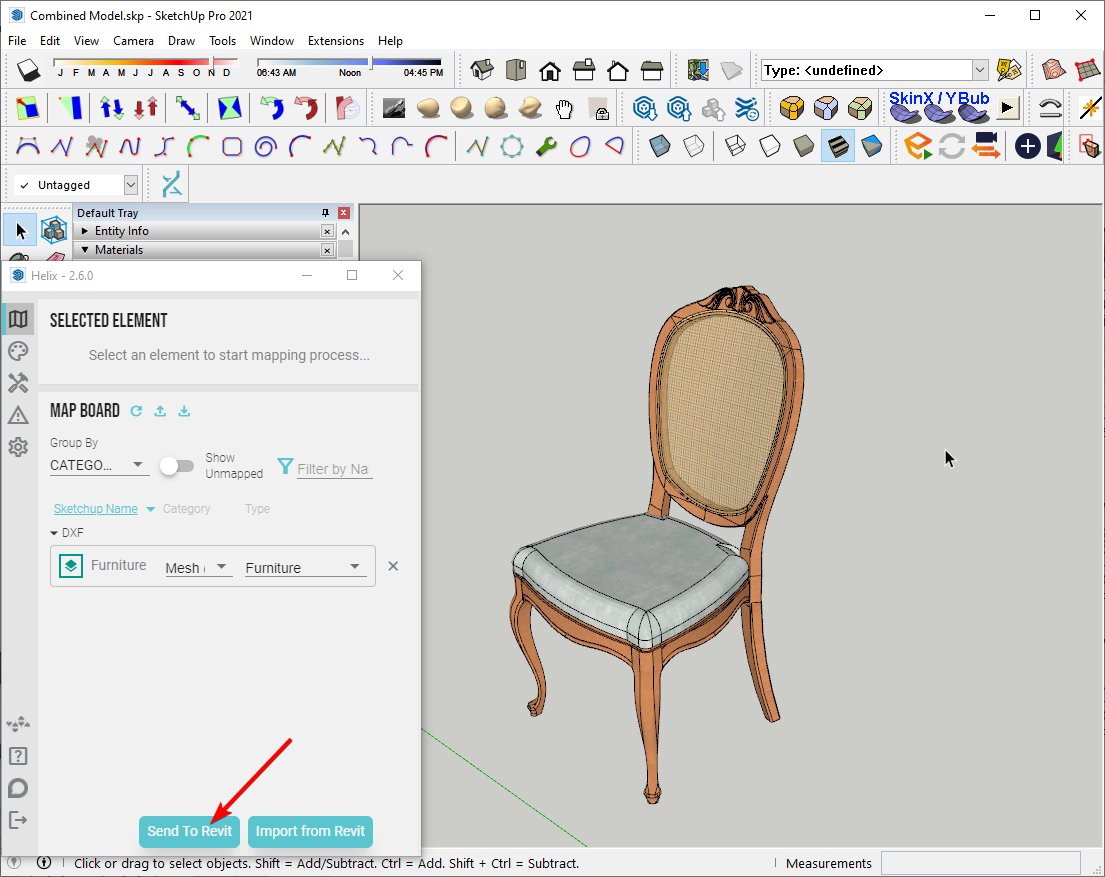
3 | Map the Component in Helix for SketchUp
- Create a tag called Furniture
Using a tag based method allows us to batch map the components by placing them on that tag - Place the chair onto the newly created tag and map the tag as a Mesh (DXF) + Furniture category in Helix
TIP
If the texture UV mapping is important, the component can be mapped as a Mesh (OBJ). However, the OBJ has some limitations:
- only available for Revit 2023+ and SketchUp 2022+
- softened edges with OBJ are not always as consistent and respected as DXF mapping
- it can be significantly slower to export compared to DXF
4 | Import SketchUp Component Into Revit
-
Click the Send To Revit button in the Helix window
-
Click the Load Model button In Revit under the EvolveLAB Ribbon Tab
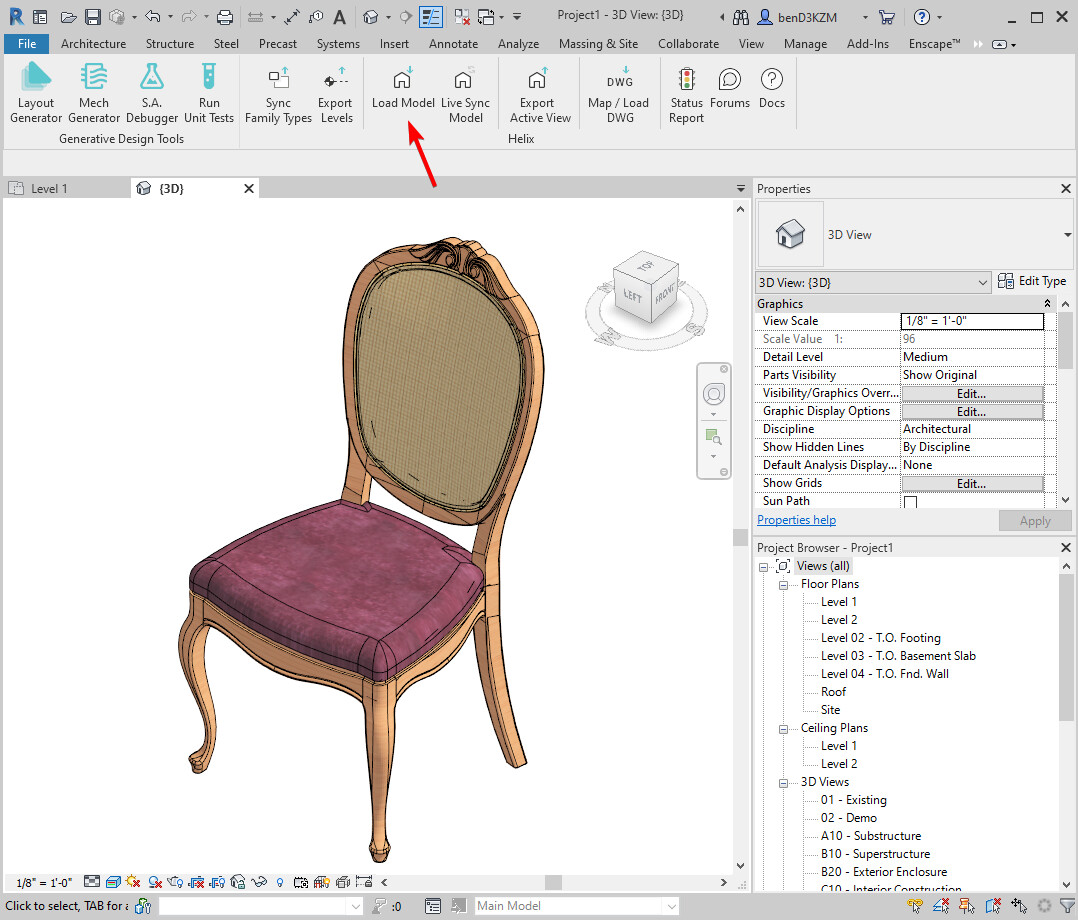
NOTE: the texture in SketchUp was colorized, which is why it’s a different color in Revit. We updated Helix to keep the colorized texture instead of the original texture.
NOTE 2: the clip maps do not get automatically set in the converted Revit material. We will update this in a future release.
5 | Change Revit Materials of the Import (Optional)
- The chair will be imported in Revit with SketchUp materials and textures converted as Revit materials
- You can further change these material in Revit
- Click the Object Styles button under the Manage Ribbon Tab, and under the Settings panel
- Go to the Imported Objects tab
- Set the Material under the Material column by clicking the “…” button that appears when selecting the currently assigned material
6 | Render the Scene
- Render the scene in Enscape (or other rendering solution)
- NOTE: Enscape does a good job at smoothing the mesh normals that appear faceted in Revit
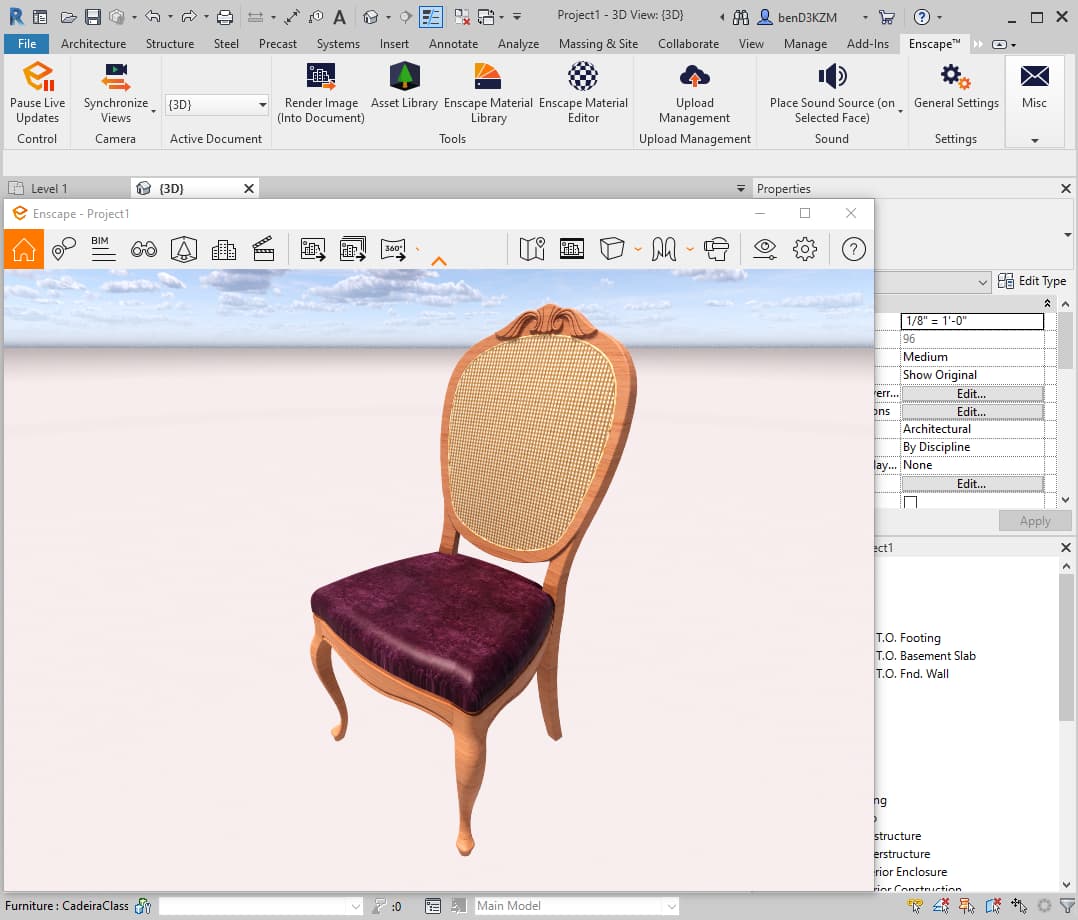
Image Credit: Julian Munoz @julian.karate
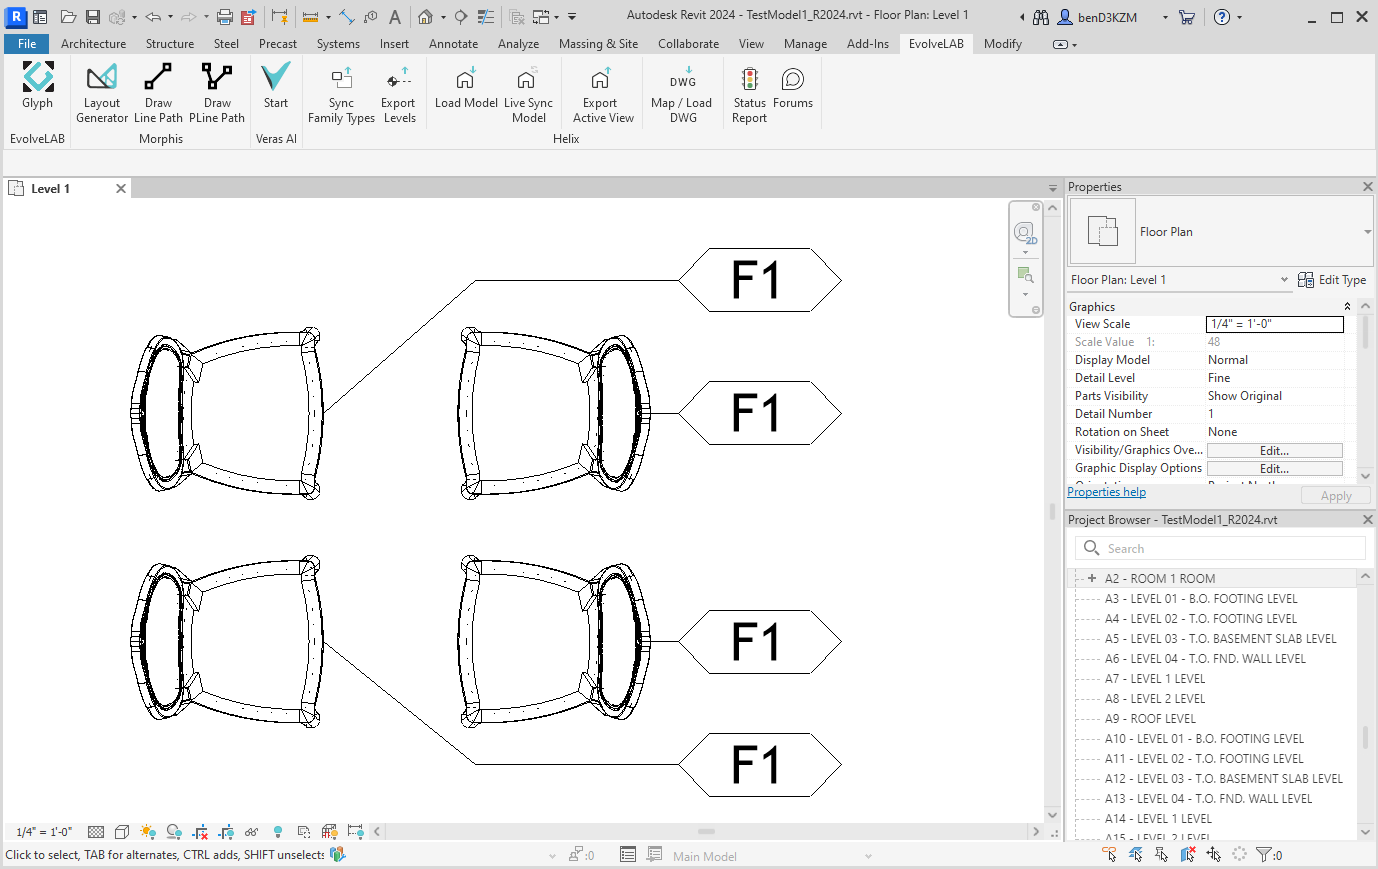
7 | Documentation (Optional)
Since the DXF object is wrapped in a Revit family, the family can be tagged and scheduled like any other family.
- go to a floor plan view and tag the families
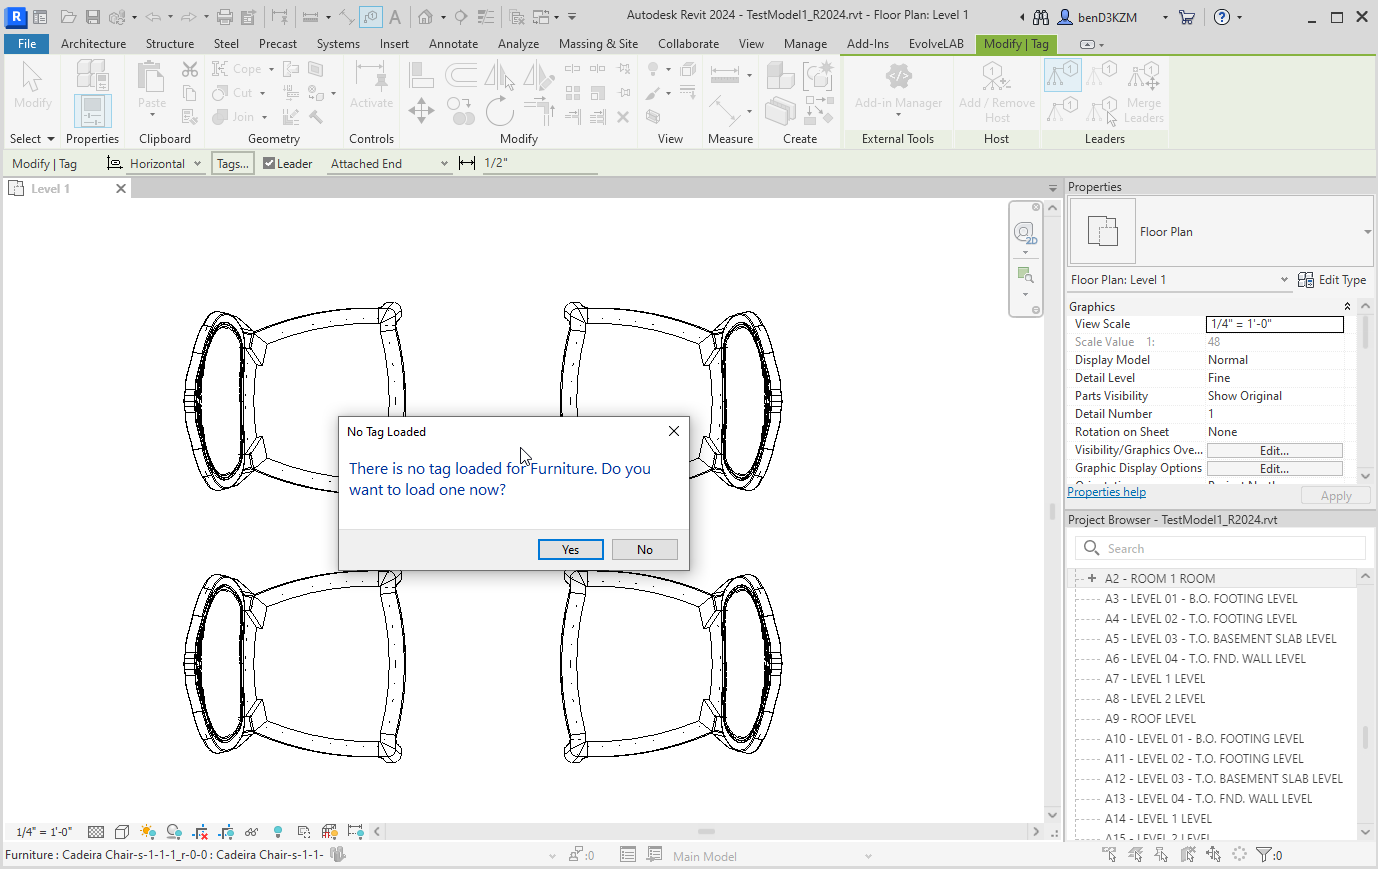
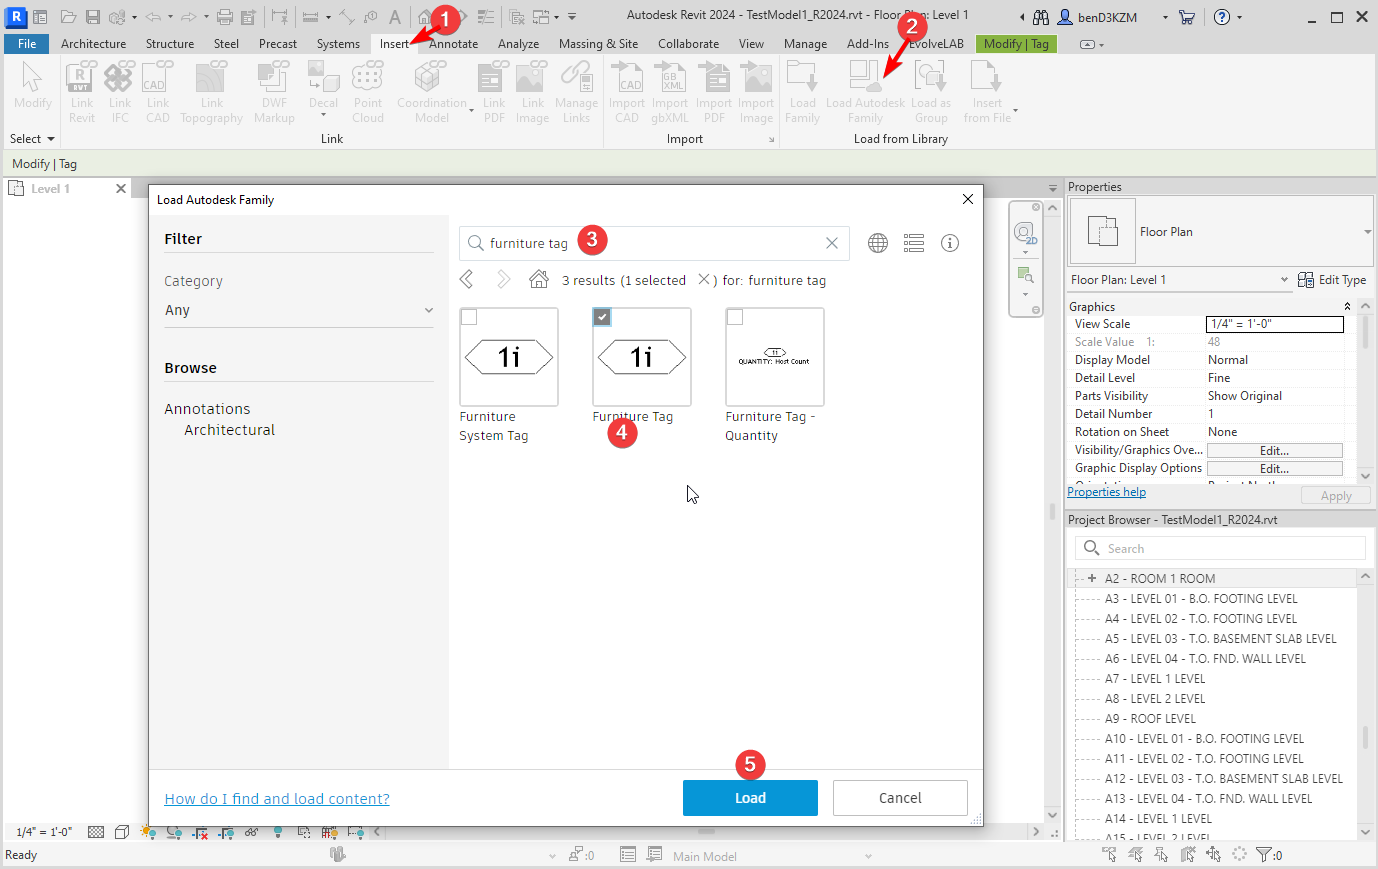
NOTE
If you don’t have a furniture tag, then load one from Autodesk:
NOTE
The DXF or DirectShape object cannot be tagged with material tags, even though the surfaces of these objects receive Revit materials.
Revit Performance
One obvious concern that BIM managers would have with this process is whether this would bloat the model in size and/or slow down the model performance. Check out this post that shows the drastic performance increase we get with the way Helix generates meshes in comparison to the way Revit natively does it: Convert SketchUp 3D Warehouse Component to Revit - #2 by Ben
Ideas & Feedback
Let us know how we can improve this workflow.
Are the ideas below important to you for this workflow?
- supporting clip maps
- setting for colorize textures
- creating a new Revit material editor for these components
- other ideas that could be useful to this workflow