My Nursery Closet: Veras + IKEA + 3D Printing
tldr: Expecting our first baby soon, so I used IKEA’s online tools to model and populate our nursery closet with shelving, Veras to rendering and fine-tune it, and a few 3D printed parts to get it built.
IKEA
A very kreativ 3D modeling tool
So, with less than a month to go until our first child arrives, we found that we were drowning in piles of gifted & donated clothes, diapers, toys, and more.
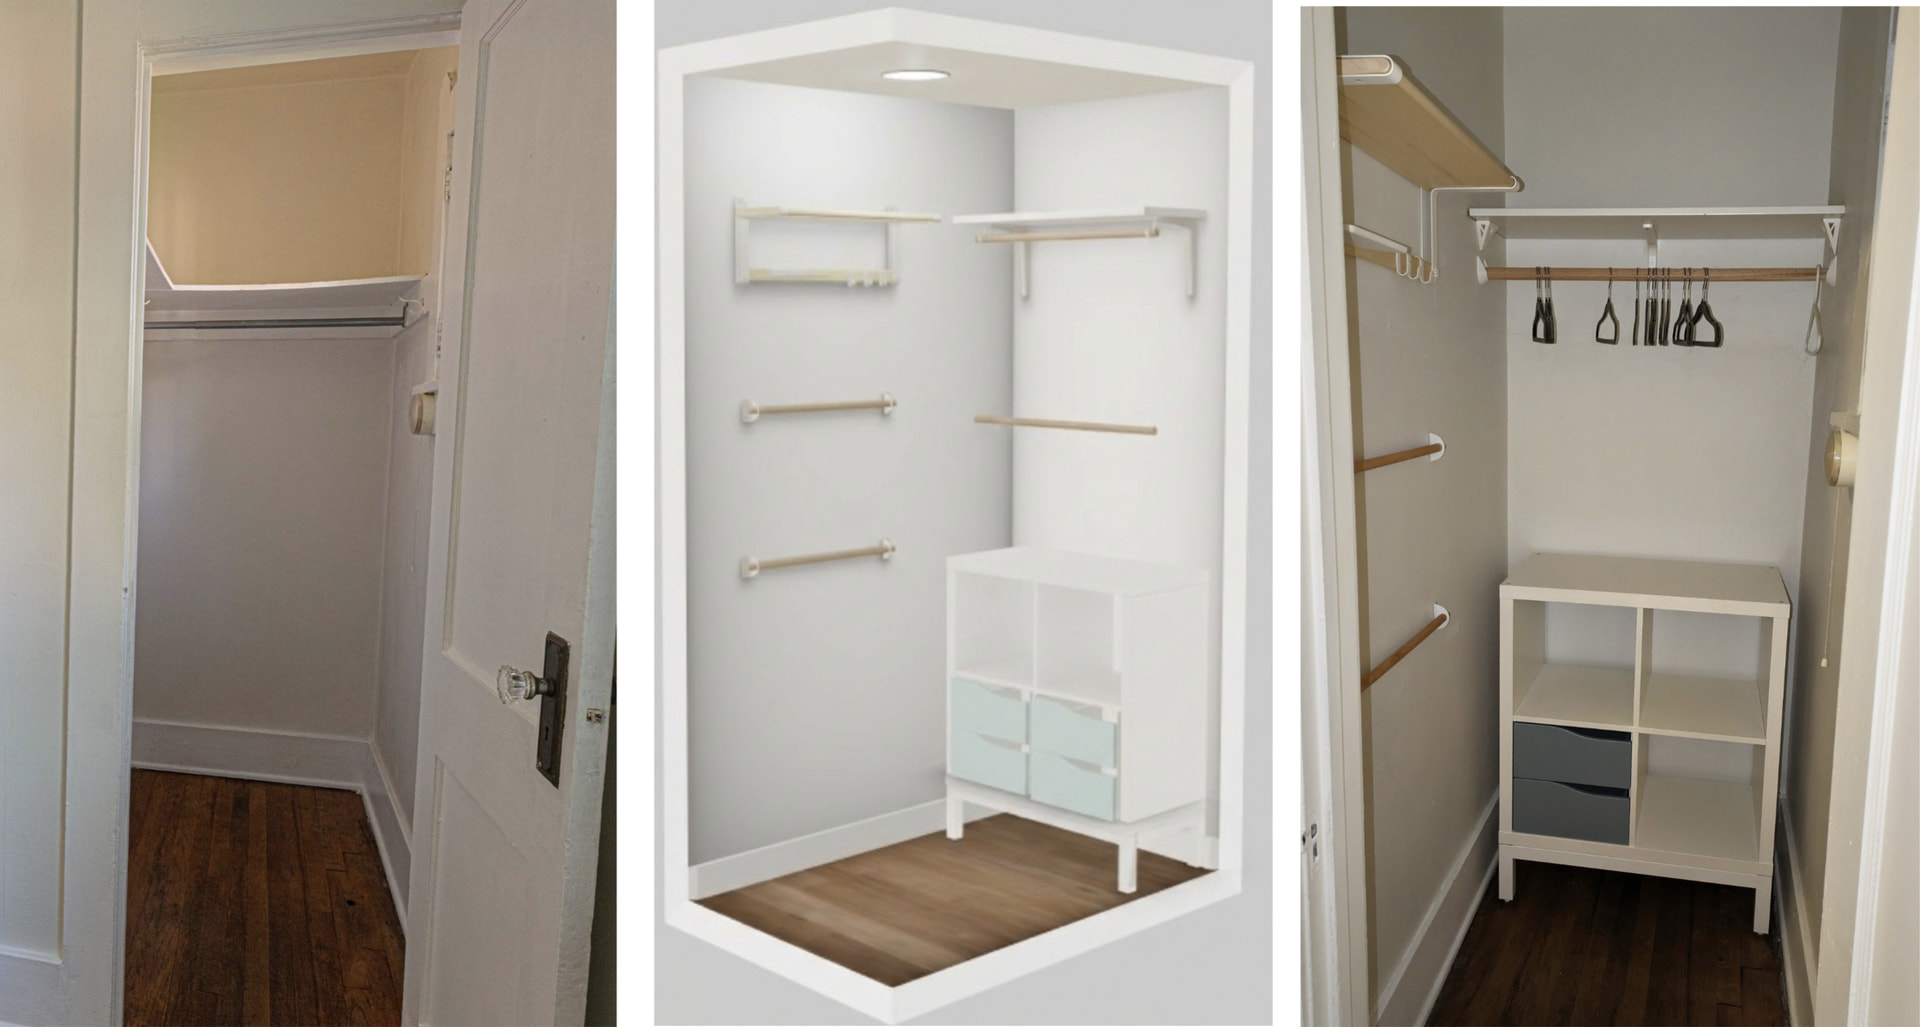
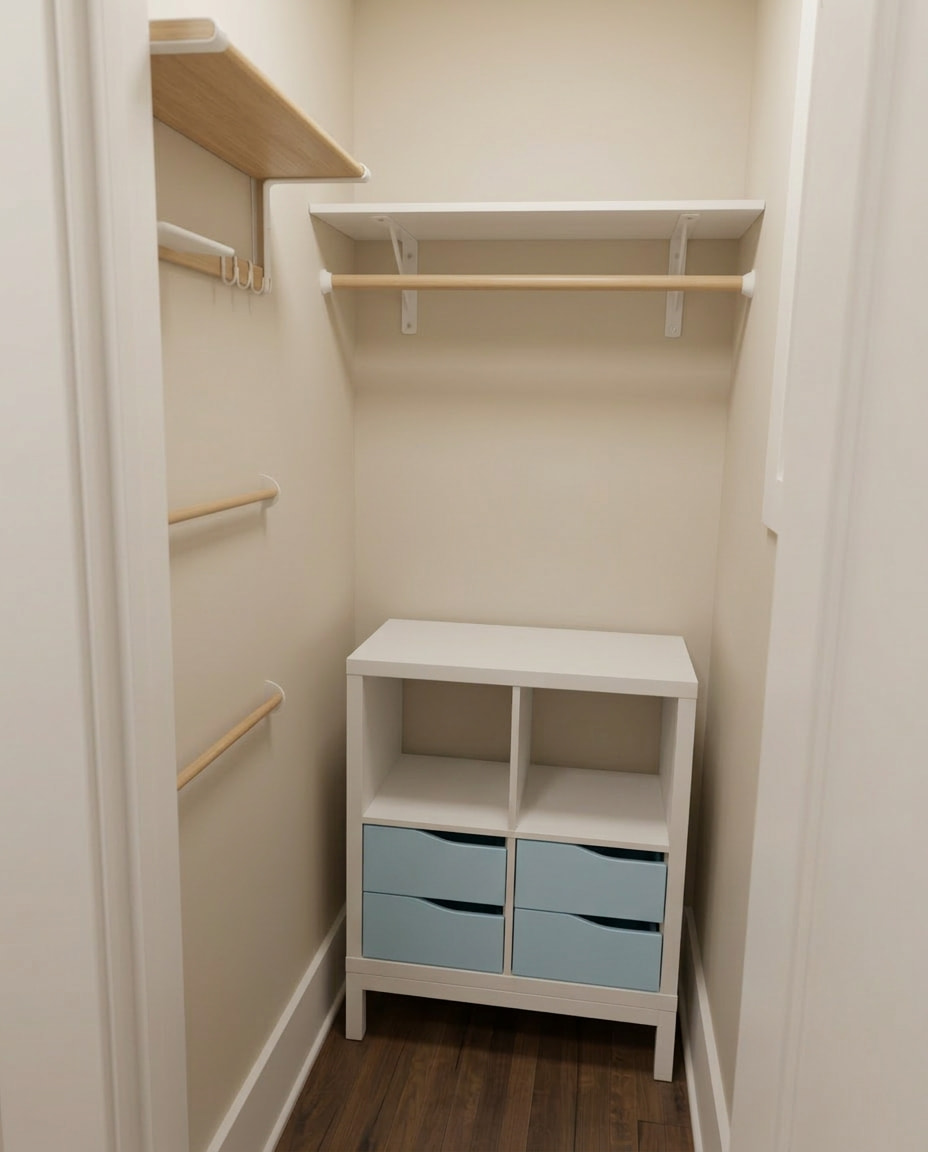
Our home’s second bedroom, which we are gonna use as the nursery, has a small closet (~ 3’ x 4’) that had only one jenky plywood shelf and bent metal clothes hanger bar, courtesy of the previous owner.
Being a fan of, and lucky enough to live not too far from, an IKEA, I tried out their online room designer tool to make the initial layout:
It’s pretty easy to use, albeit a tad coarse. You can search for an add many (but not any) IKEA product into the room you’ve modeled. However, only simple room shapes are available (rectangle, “L” shape, etc).
And, in true IKEA fashion, when you are all done, you can print out an IKEA shopping list with the click of a button! Time to go shopping.
Veras
seeing what it could actually look like
Firstly, I wanted to see what my IKEA design would look like if it had actually stuff in it - so, I asked Veras to do just that. Actually, I had Veras add the two clothes hanger rods on the right side, since IKEA didn’t have those.
Secondly, the IKEA tool has its limits though. You can’t see what the shelves would look like full of your stuff, you can’t match your exact paint color or lighting of your space, nor can you add any non-IKEA elements.
I wanted to see the design in my actual space, so I brought a photo of my closet into Veras and used the new reference image feature to attach my IKEA layout screenshot as basically a visual extension of my prompt.
Veras applied the shelving layout almost exactly to my existing photo, while also allowing me to add in extras, like the clothing hanger rod and 3d-printed brackets.
Once I did that, I took it a step further and asked what it could look like if it was full of baby supplies!
3D Print
nothing ever goes exactly to plan when you try to actually build it
In the end, I had to make a few changes.
-
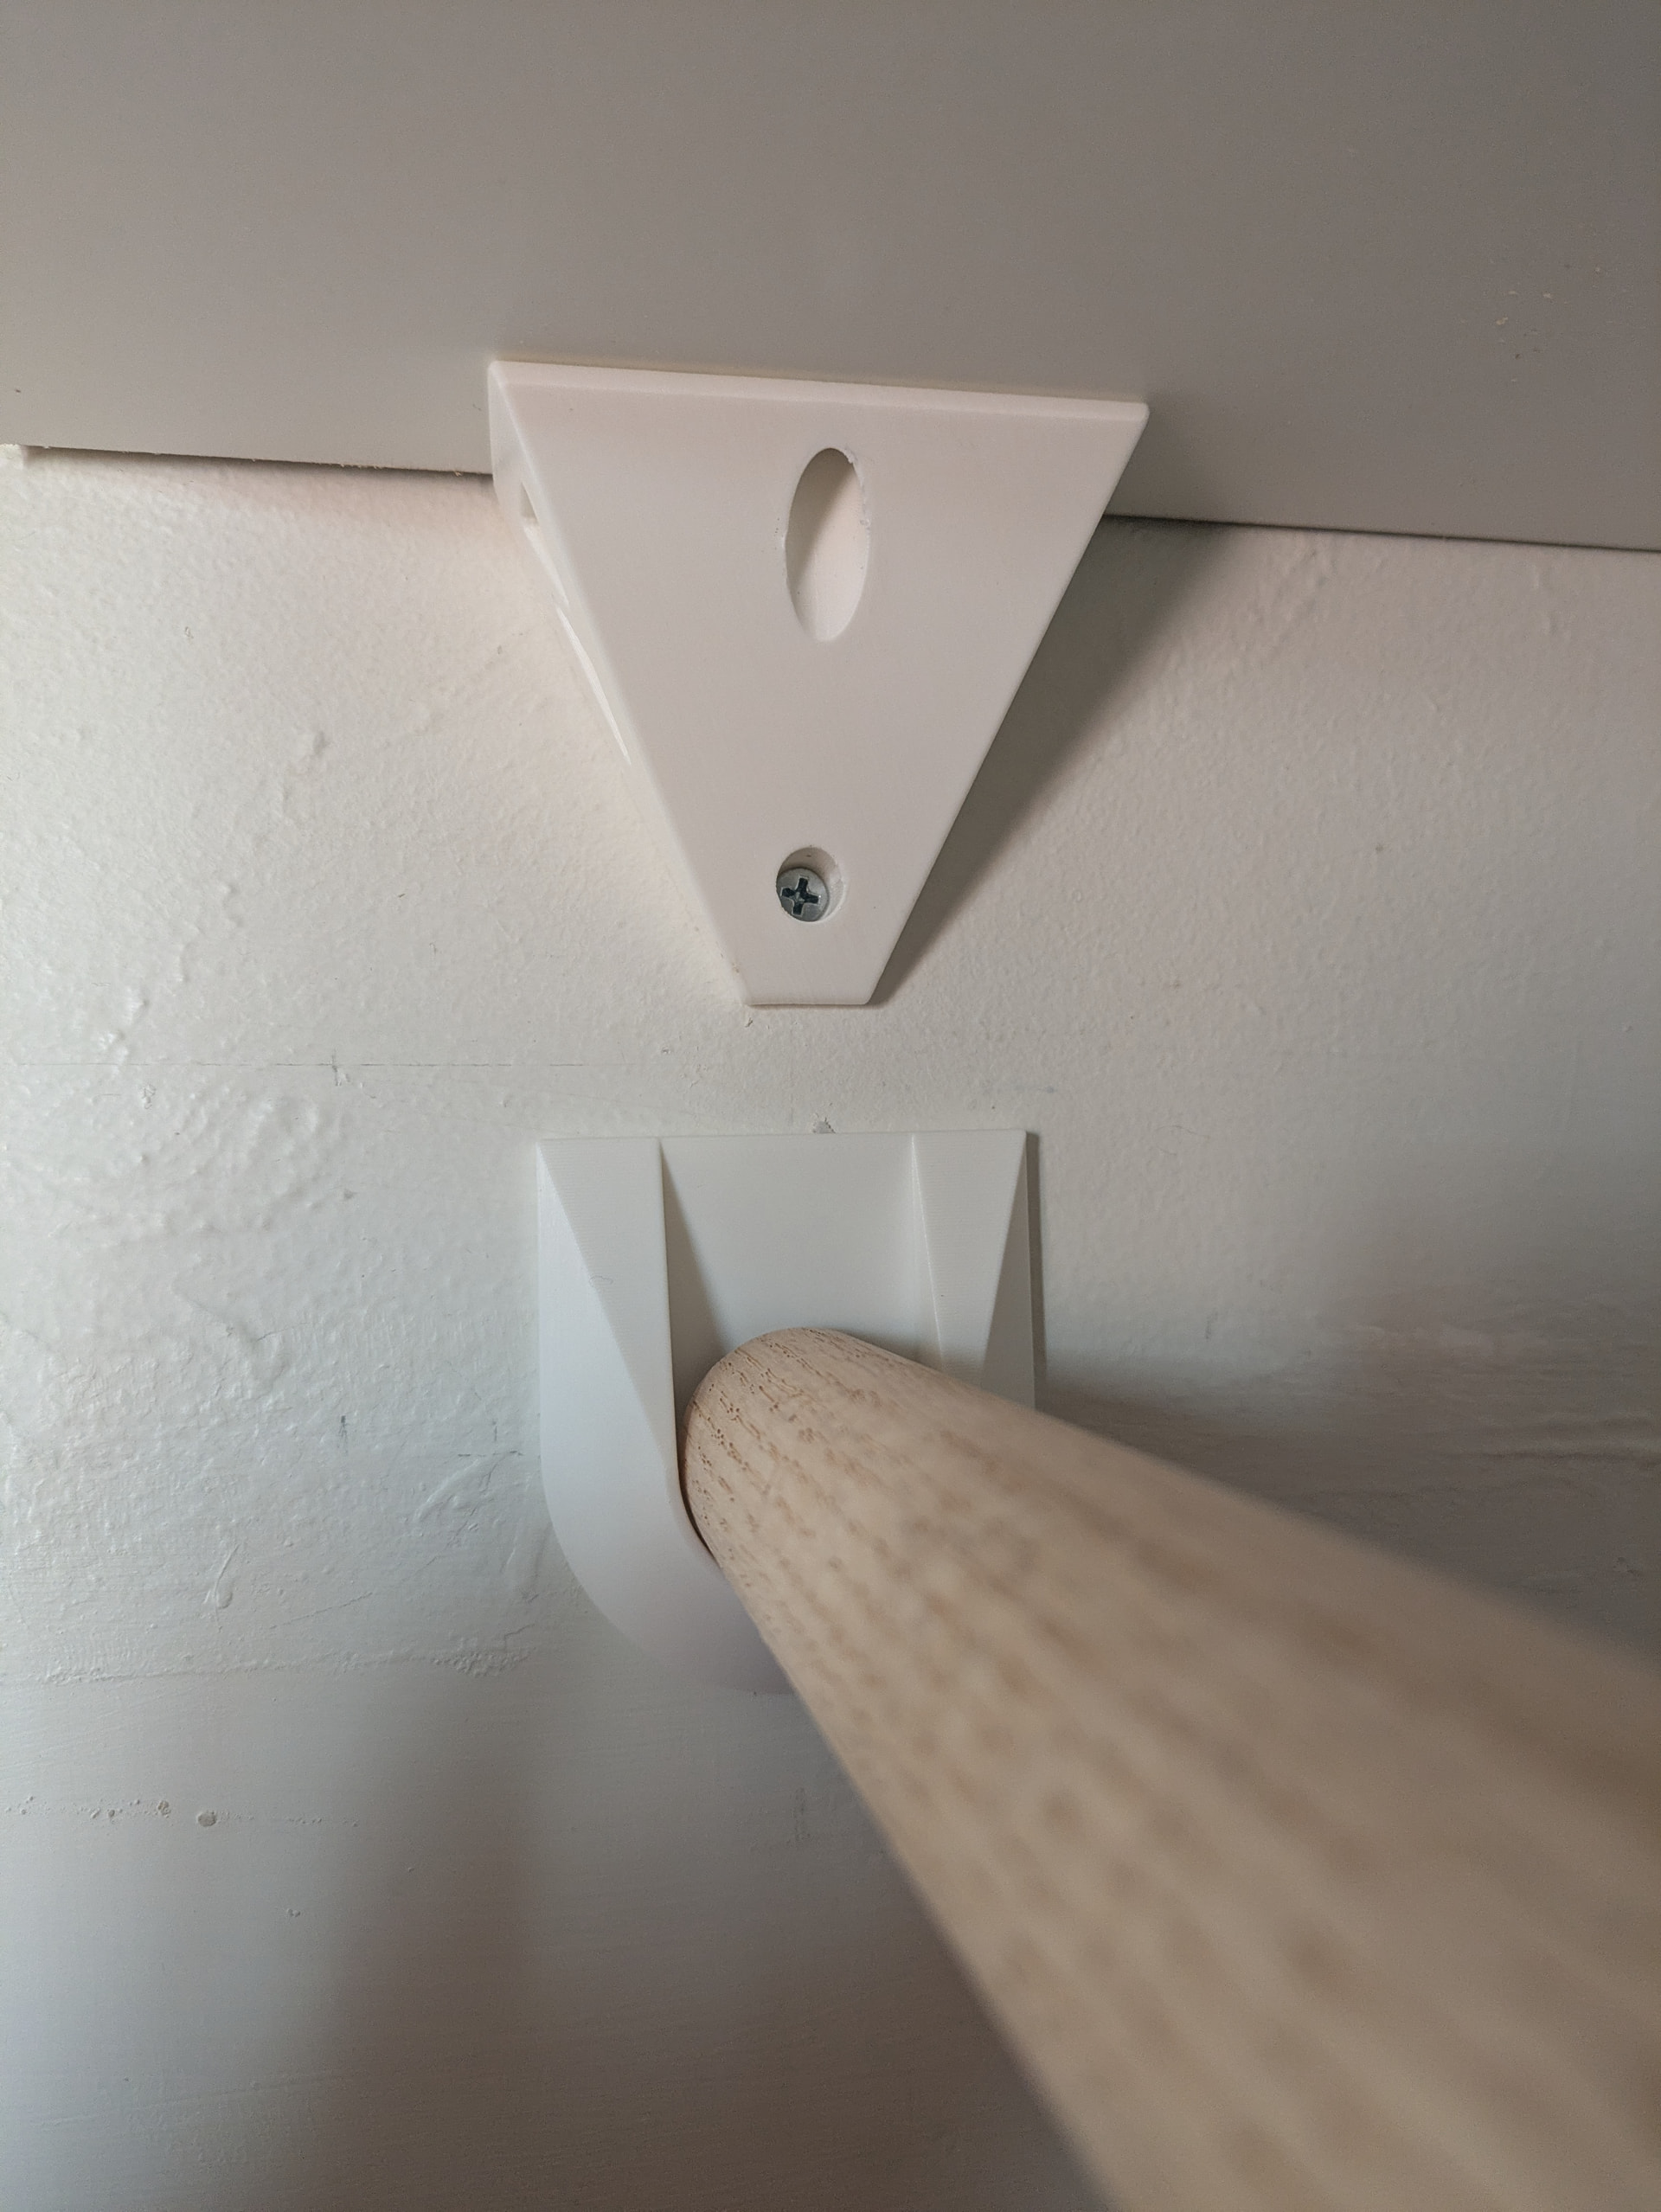
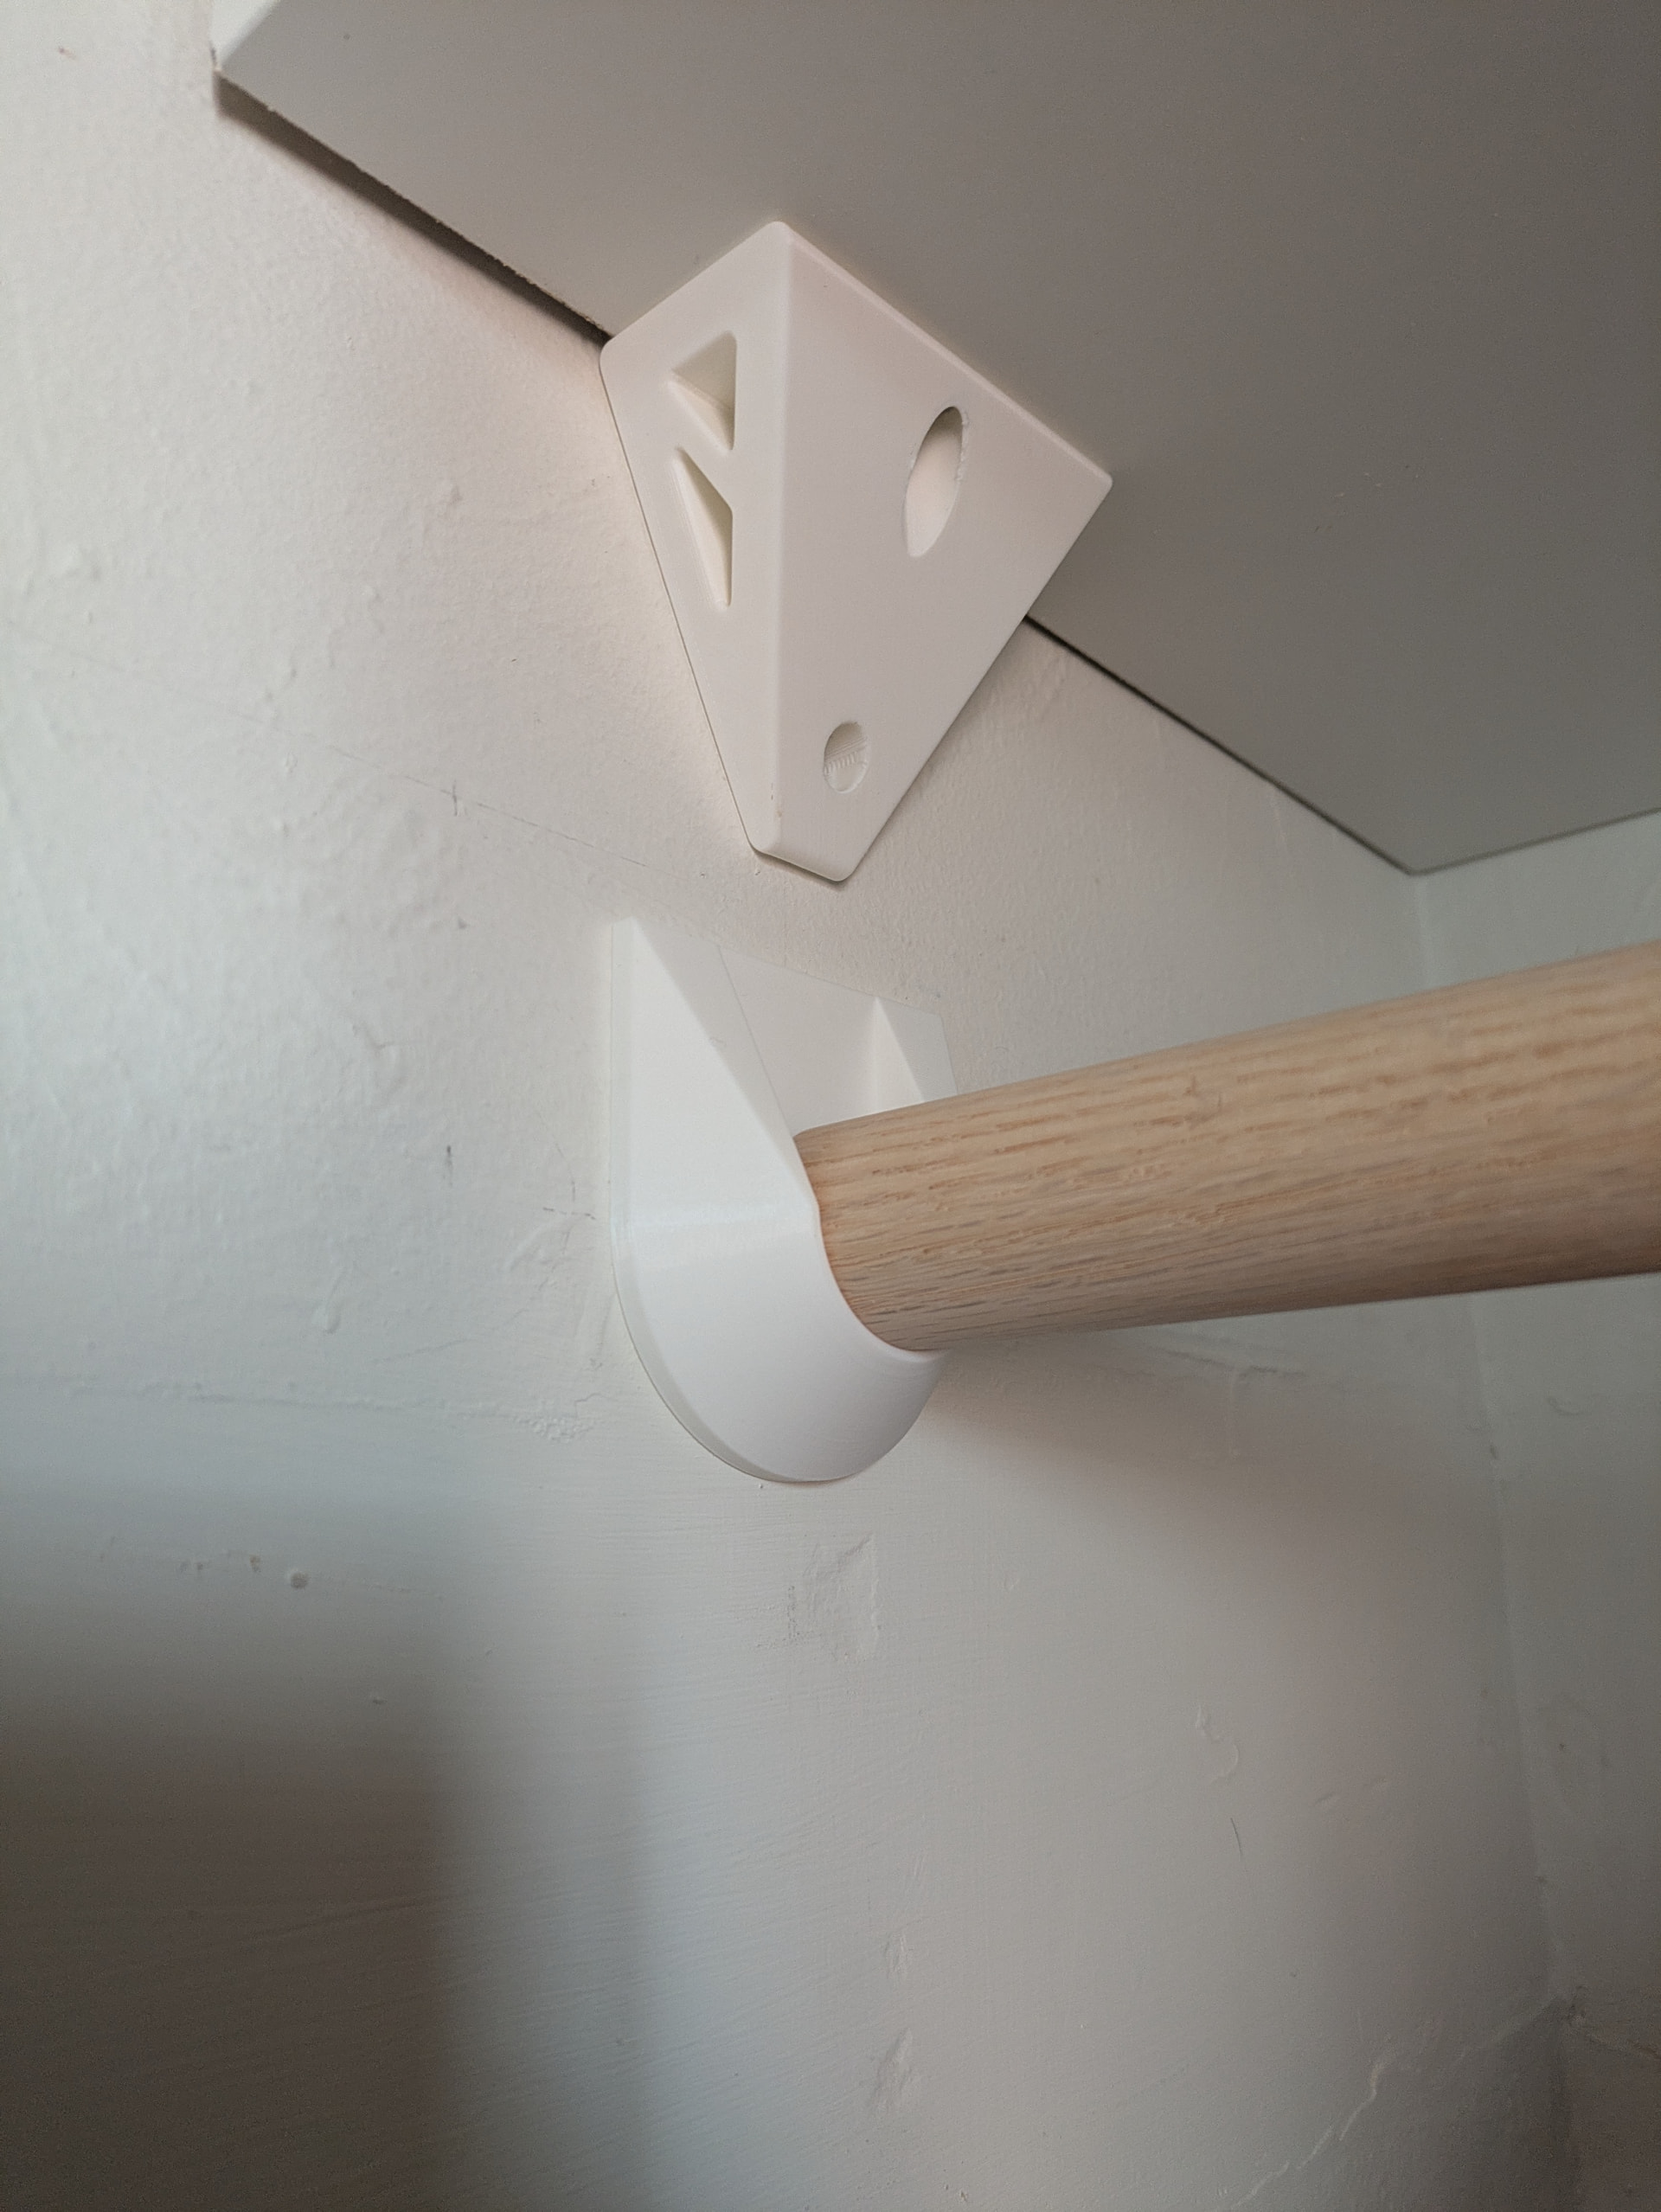
The back wall had only one stud (dead center), so instead of two L-brackets I used one there and designed and 3d-printed two custom side supports — each with different screw hole sizes, since the left wall is plaster-and-lathe and the right is plaster-on-masonry.
-
Same story for the closet rod hanger: IKEA only sells those as part of a full wardrobe system, and the Home Depot options weren’t great, so I designed and printed two of those - again customized for the type of wall construction they had to attach to.
Here’s a close up of some of the 3D printed parts:
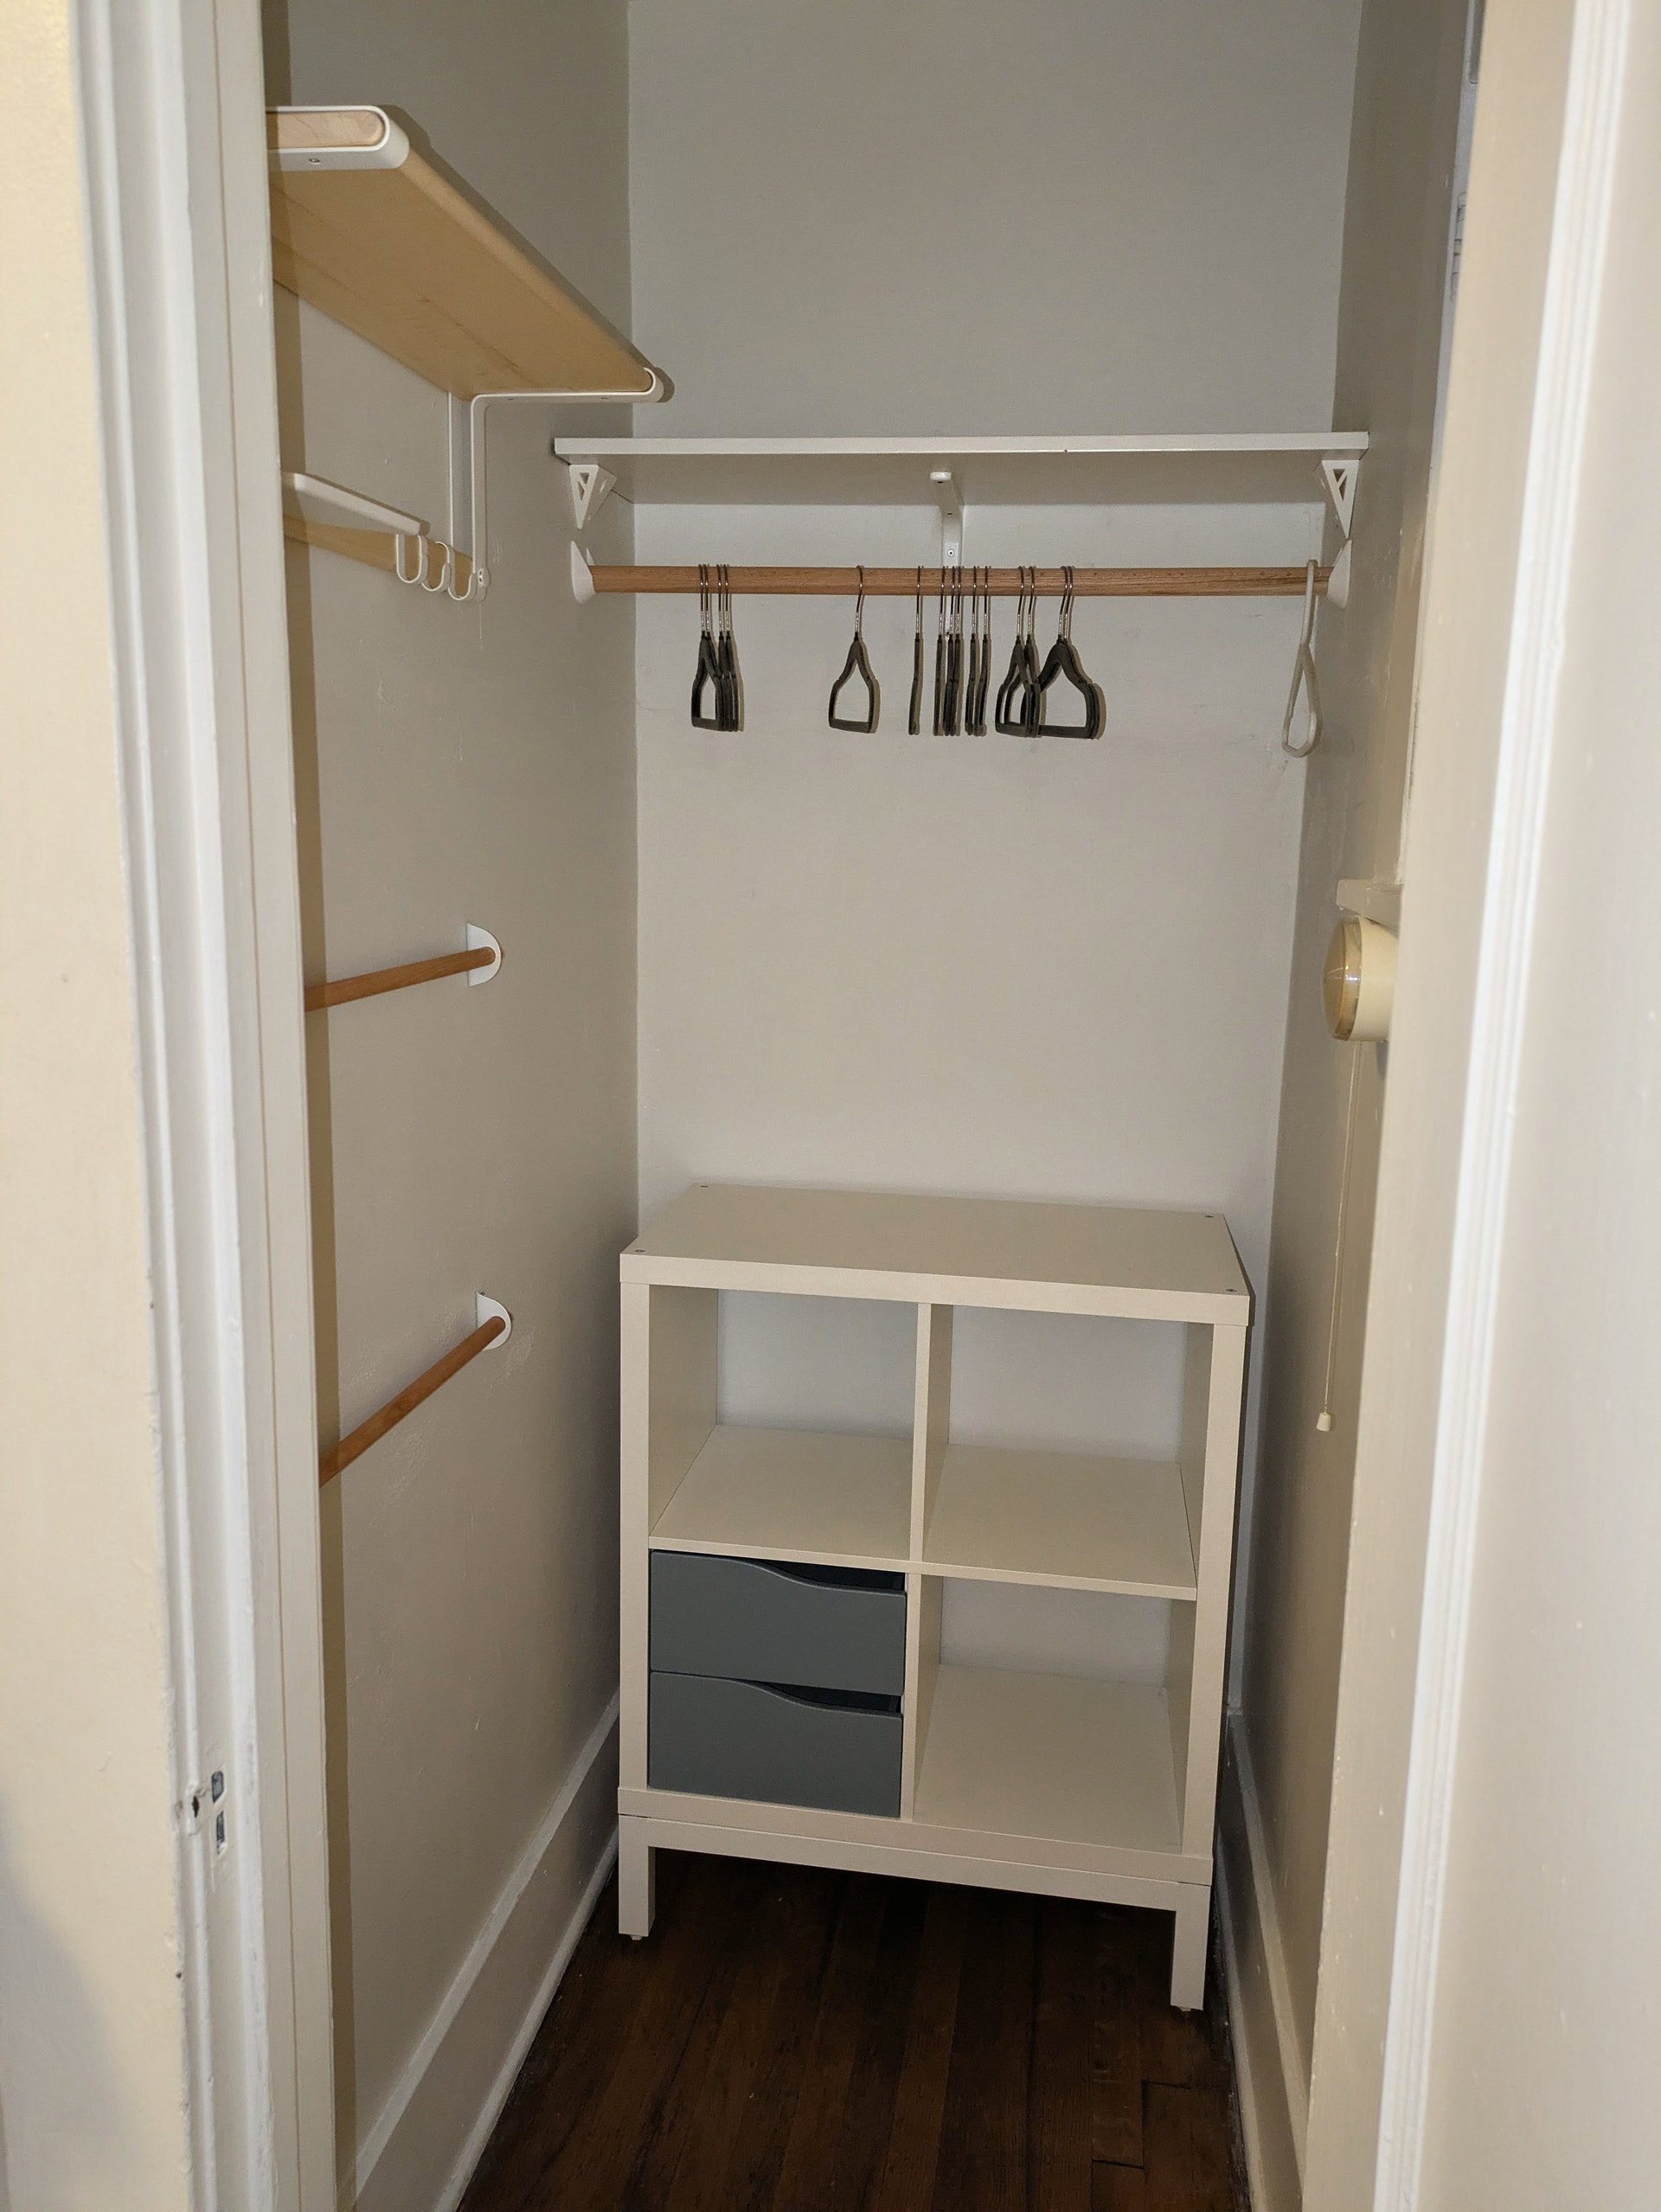
Done!
And, the whole thing, as I’m writing this, is sitting and waiting to be filled with all our baby supplies! Maybe I’ll post a follow-up photo once we fill it up with stuff, if I can do it neatly.