In this workflow I’ll demonstrate how to leverage the new First and Last Frame feature in Video.
If you would like to use the same model, I started with this SketchUp 3D Warehouse model. It’s one both @Ben and I have used in Videos or posts before so I think its kind of neat to call back to it and see how far the tech has come. A-FRAME-CABIN-Design-by-Pooh
1. Generate the Starting Frame
I generate a few results with the Enhance in Forest preset. All users have access to this Veras Image Preset. This will be my first Starting Frame.

One thing to note is Video is limited to 1280x720 so 1K is perfectly fine for Resolution.
Clicking through results I’m thinking the smokey grille will lead to a pretty interesting video so I’m partial to that.
2. Generate our End Frame
Next I started working on what I imagined my final frame would be, a fall foliage shot. I switched to the Edit tab, and configured my Source Image to be the Rendered Image. I used a simple prompt of:
Transform this into a beautiful fall day. Lots of foliage and colorful leaves on the ground
Followed by a simple prompt to move the people into different positions so they don’t end up statues in the video.
move the same people into different positions
3. Configure the first video
I start by changing the Source Image to Rendered Image then I press the + button to do the same and define the Last Frame. I generated 2 videos of each to see what I like more.
Here I use a simple prompt to describe the transition between each Rendered Image.
camera holds steady as the season transitions from summer to fall.

This felt like the best result.
4. Daisy chain results.
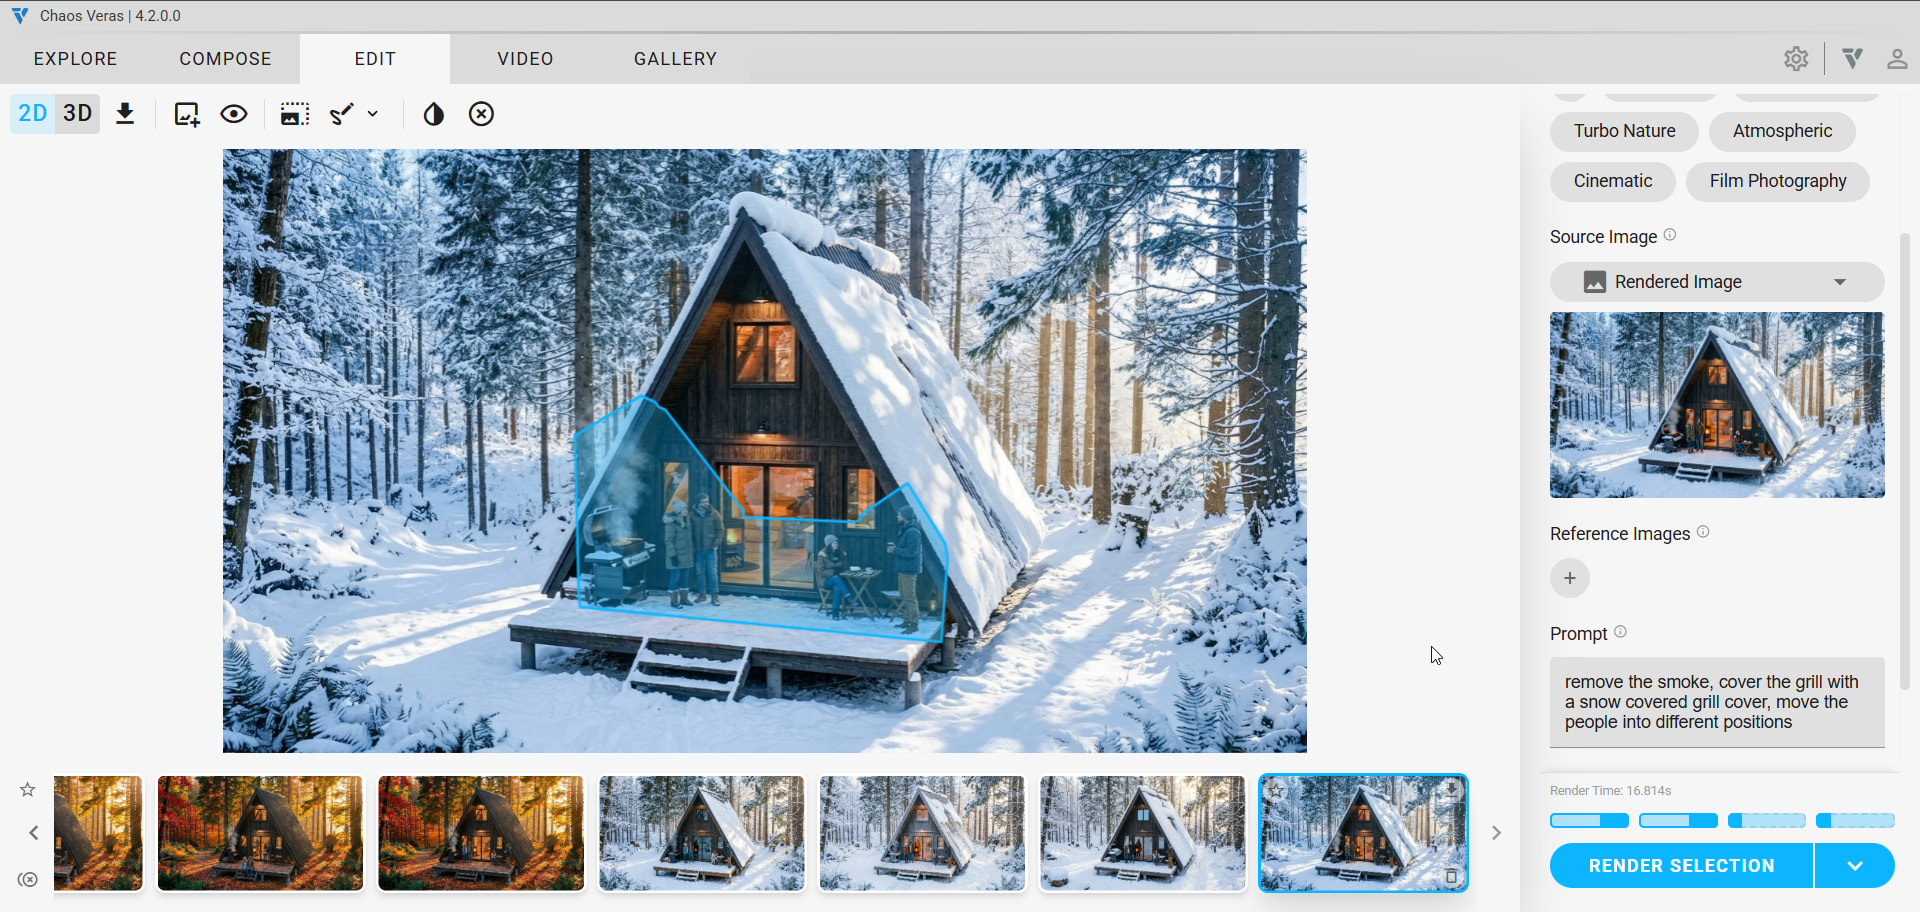
Now I jump back into Edit to get a winter shot. Using this prompt
Transform this into a beautiful winter day. Lots of snow on the ground
Again I followed up with a quick edit prompt and selection
remove the smoke, cover the grill with a snow covered grill cover, move the people into different positions
5. Next video First Frame is the previous video Last Frame.
I’m looking to chain all these together to make a longer video. So I use the Last Frame from the previous video for my Start, and the new edited winter Image as my Last Frame. Using a very similar prompt:
camera holds steady as the season transitions from fall to winter.
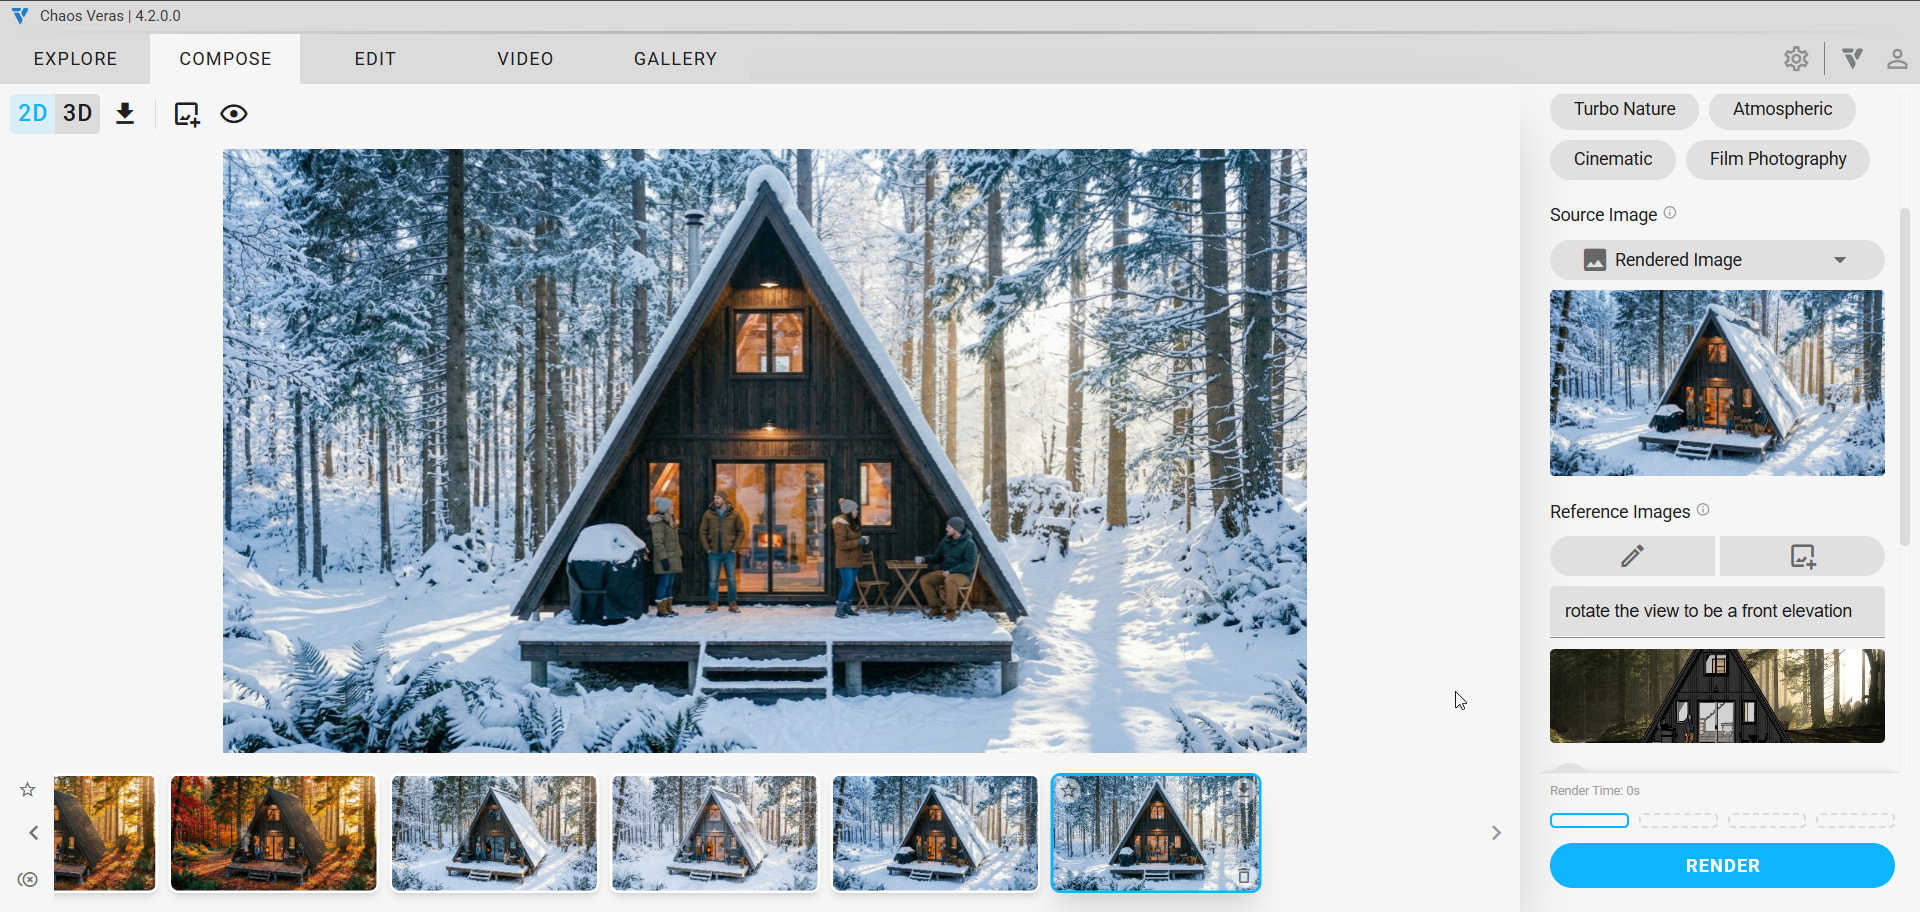
6. Generate some new views using Nano Banana
One massive advantage that Nano Banana offers is generation of new views. We can quickly generate new consistent rendered views with a prompt and a reference image.
Here is the video result:
7. Chain that workflow even more to add some more cuts.
8. Glue it all together in a basic video editor
With a Free Canva account edited all the clips together I created above.