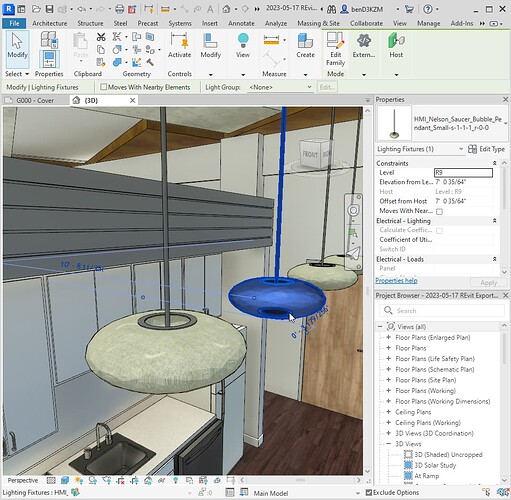
1 | Export Revit model
We’ll send the Revit model geometry to SketchUp so we can use it as a background.
- open the Revit model
- create a section box of the area where the light pendant needs to be placed
- make sure that the levels relevant to this part of the building are visible
- these levels will be used for hosting the family
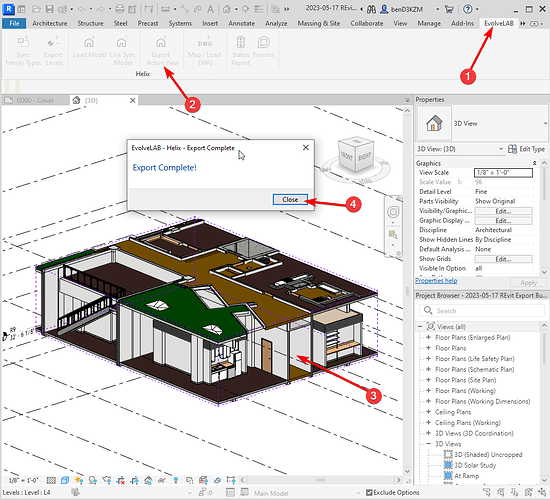
- click the Export Levels button
- click the Export Active View button on the EvolveLAB tab, under the Helix Panel
- you should get a message with Export Successful
2 | Import Revit model into SketchUp
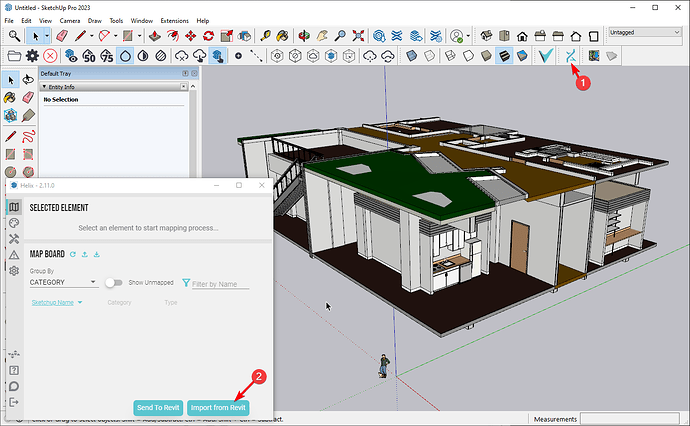
- create a new model in SketchUp
- open the Helix app
- click the Import from Revit button
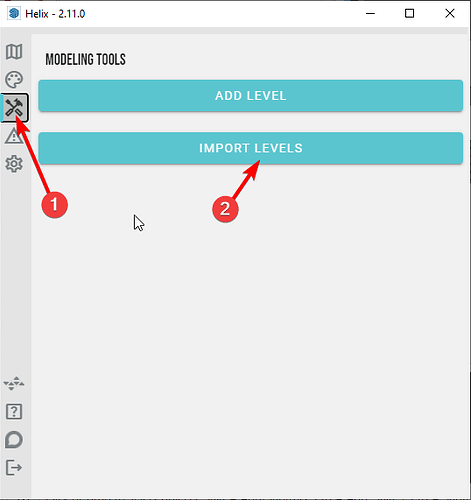
- go to the tools icon tab and click the IMPORT LEVELS button
3 | Load the Light Fixture in SketchUp
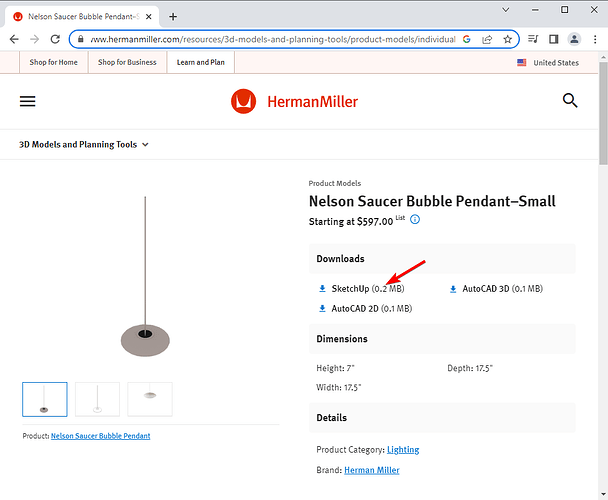
- download the SketchUp component from this link: Nelson Saucer Bubble Pendant–Small - 3D Product Models - Herman Miller
- you can drag and drop the file into your SketchUp model
4 | Cleanup the Light Fixture
The light fixture has visible triangles that will show up in Revit if we don’t make them disappear
- double click into the object until you can select the edges and faces
- triple click to select all the edges
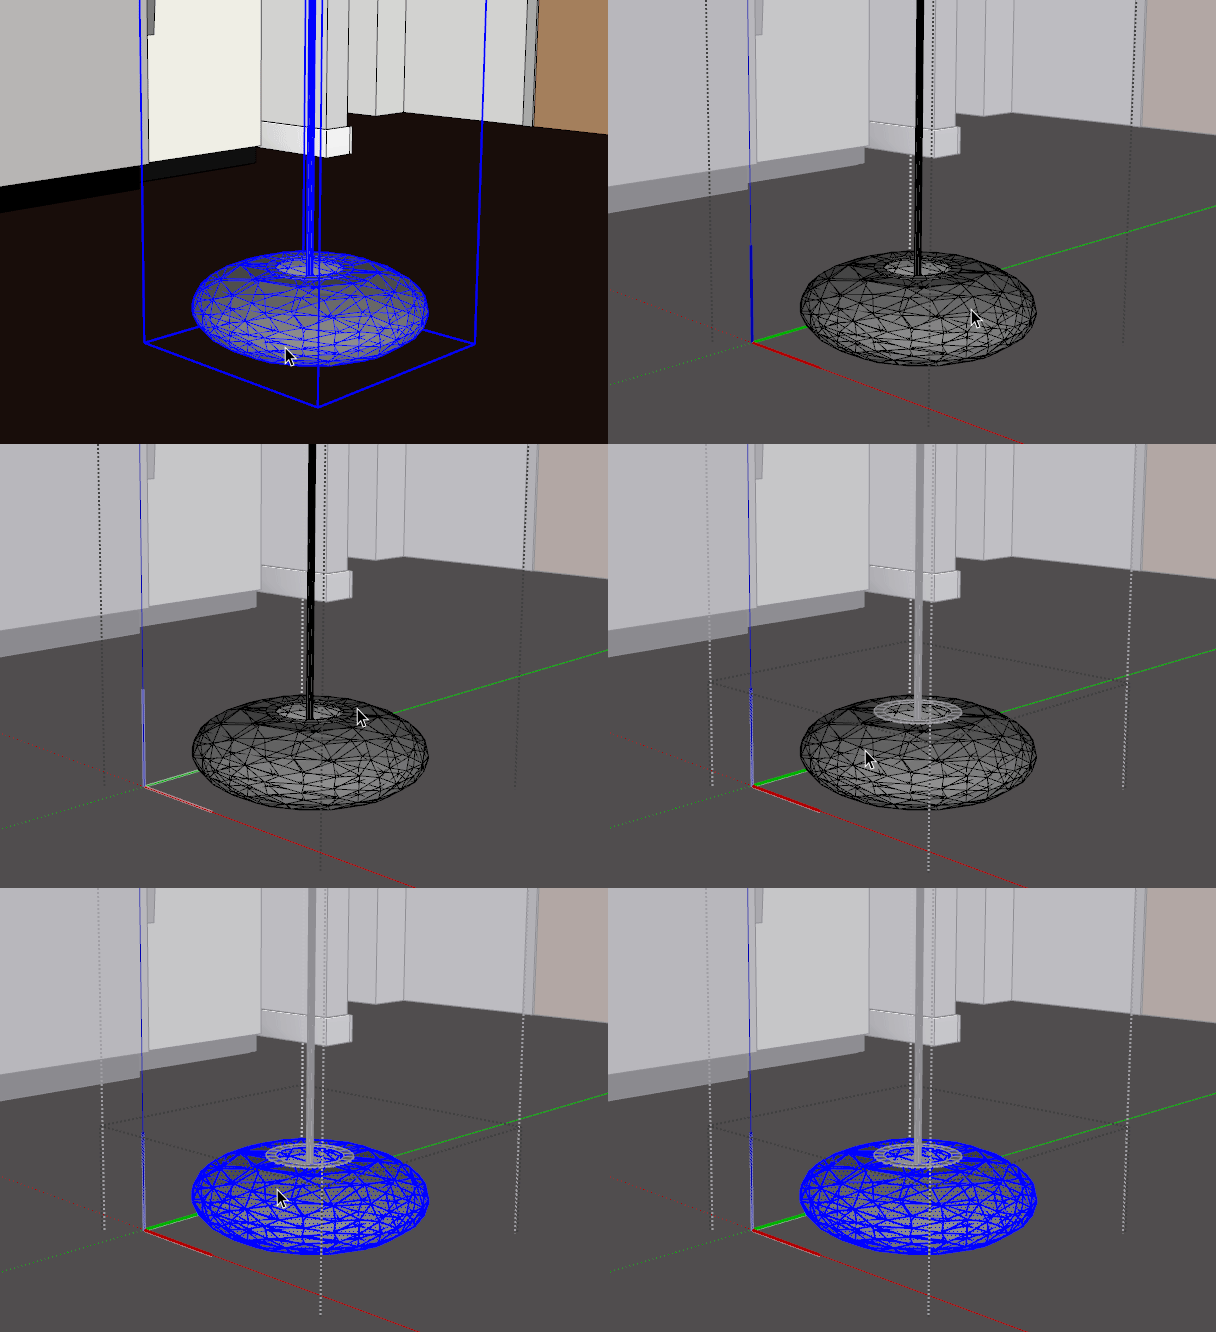
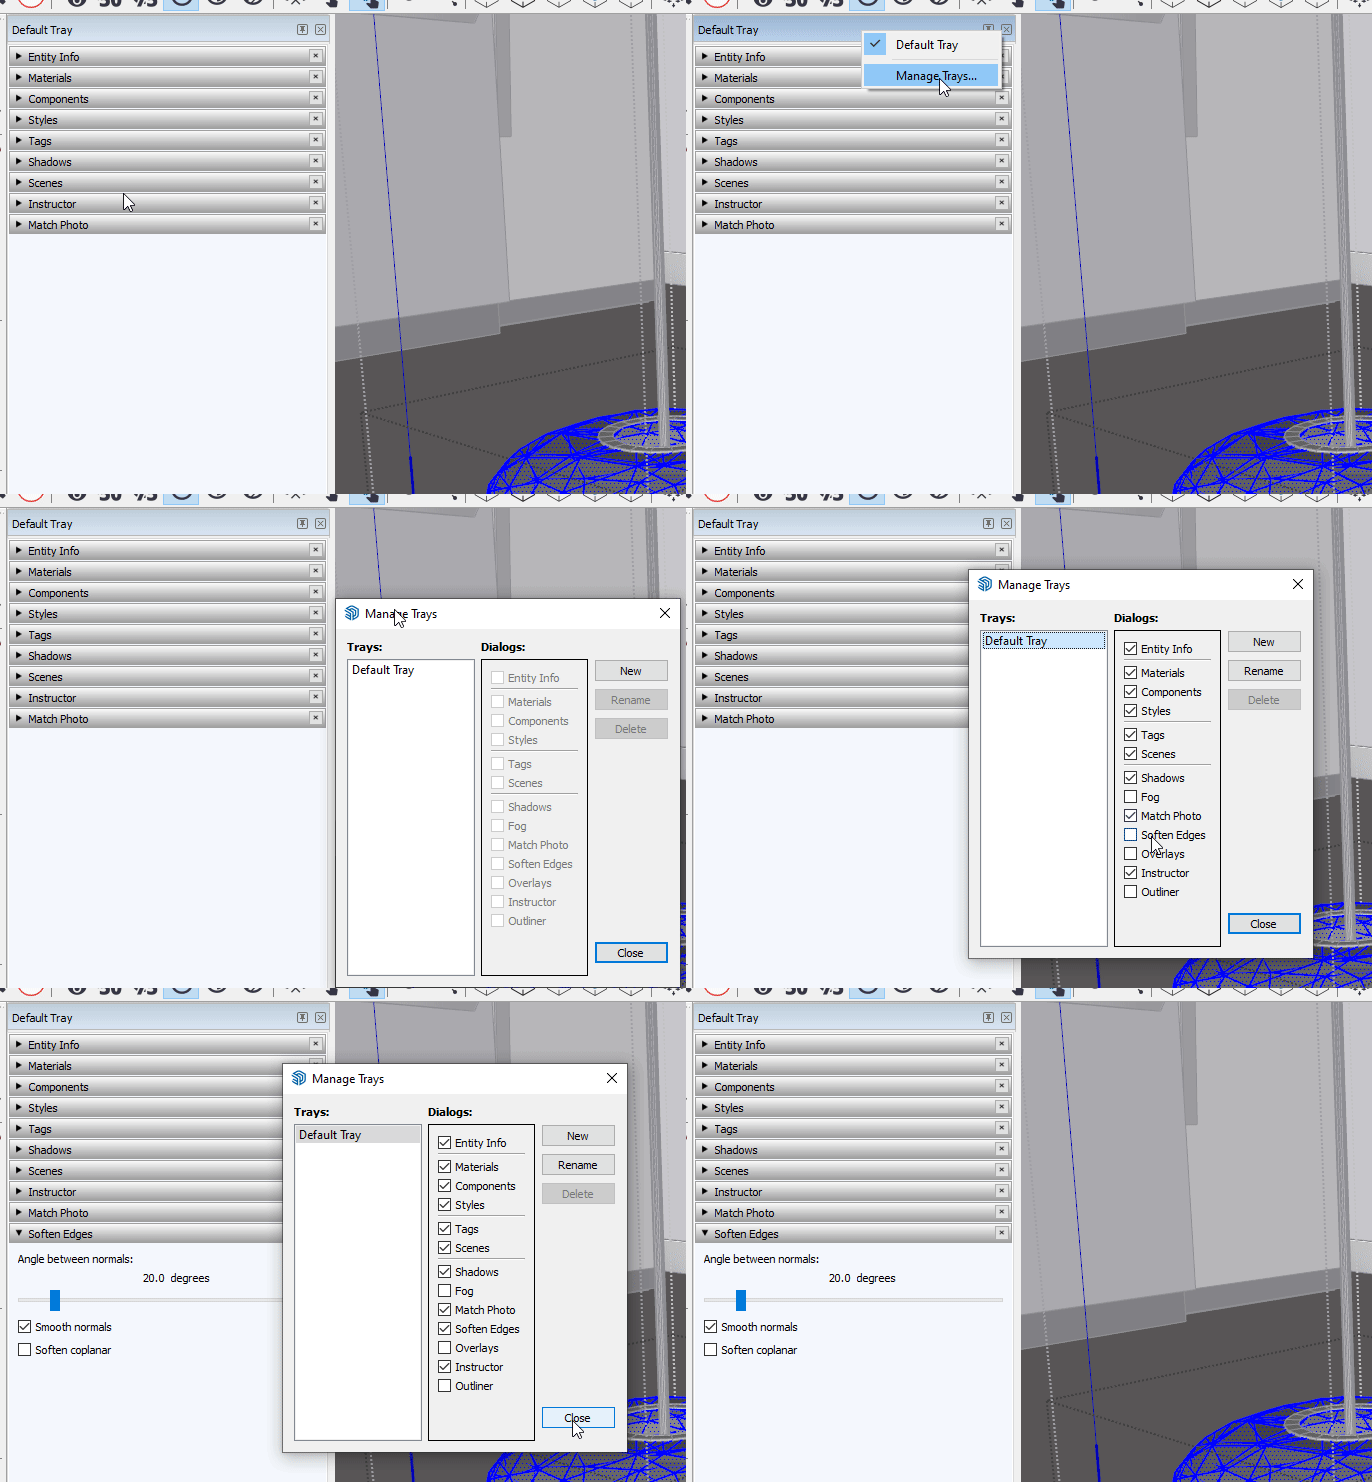
- go to the Soften Edges Dialog in the Tray
- if you don’t see it there you can enable it by Right Click, Manage Trays…, select the Default Tray and check the Soften Edges, then Close
- with the geometry selected set the Angle between normals to 75 degrees, and make sure both Smooth normals and Soften coplanar checkboxes are checked
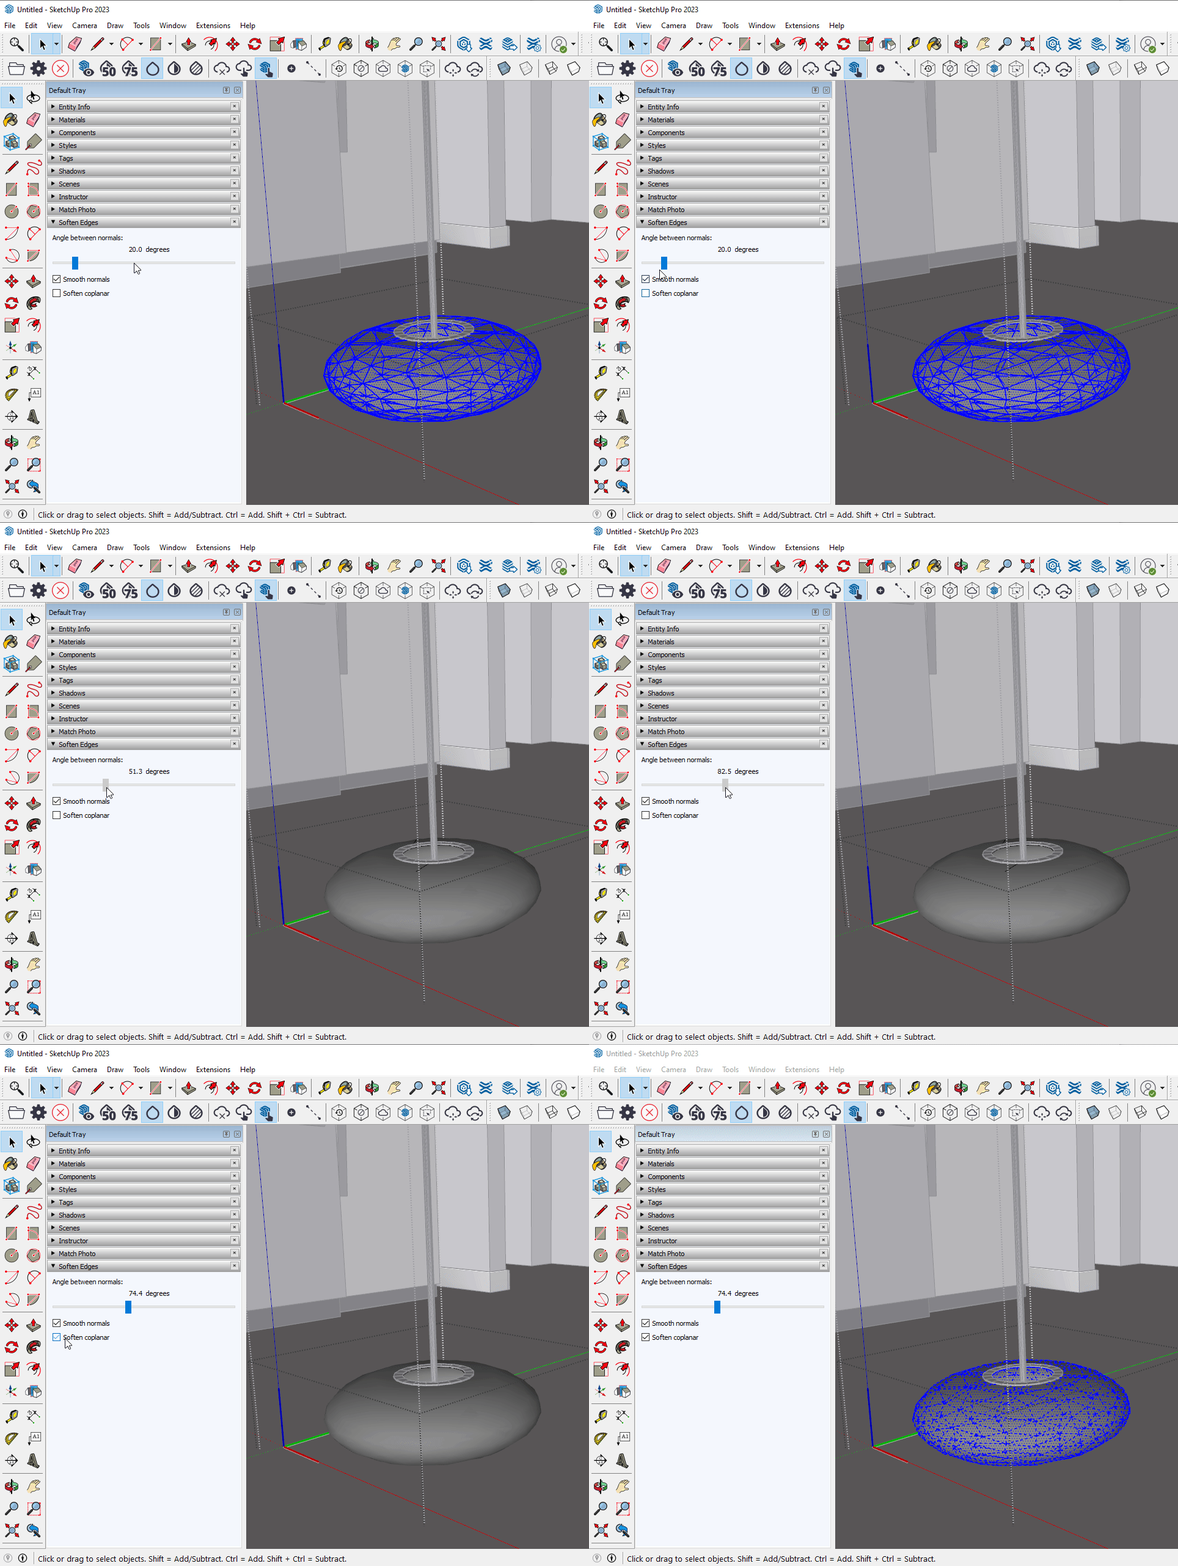
- repeat this process for all the groups in this component
5 | Place the Light Fixture
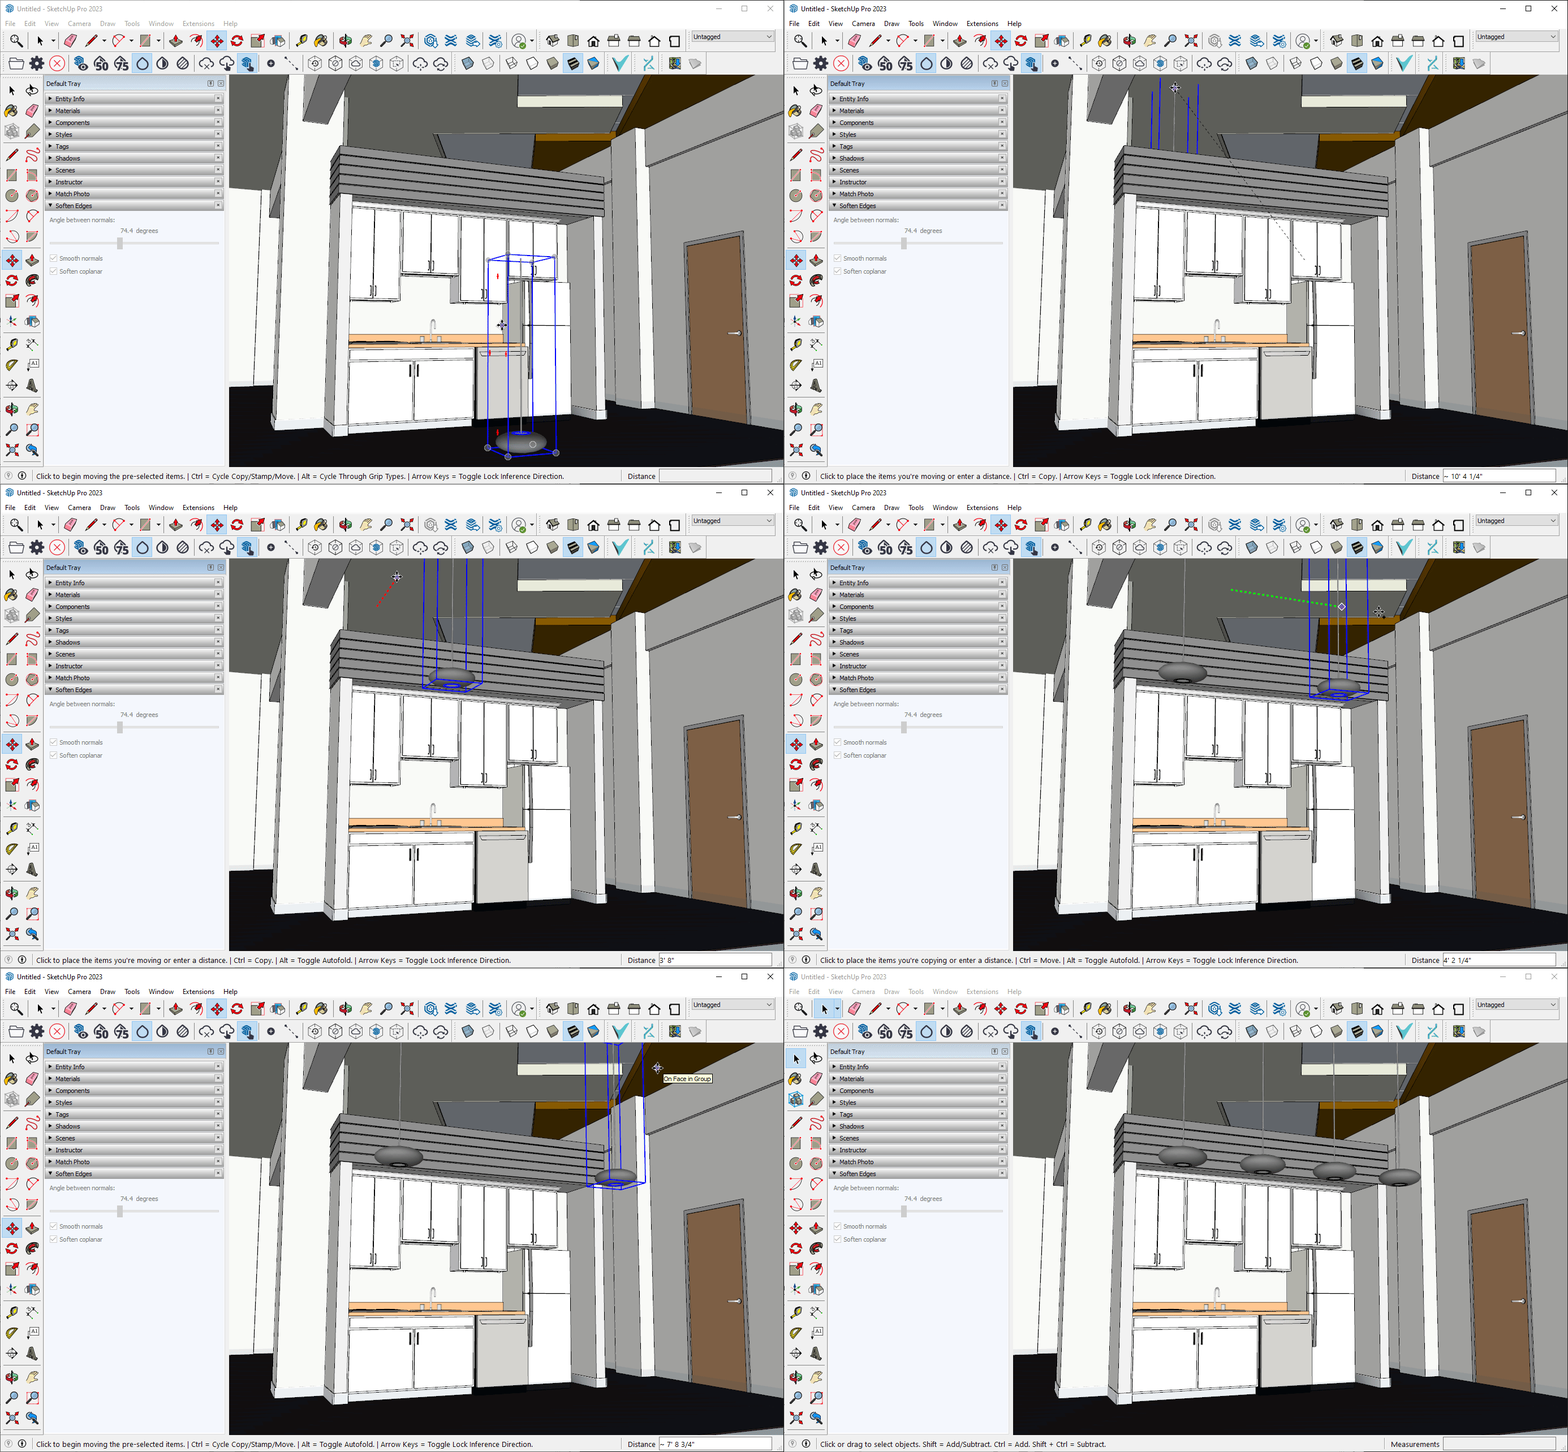
place the light fixture in the project by moving, copying and arraying
6 | Set Materials (Optional)
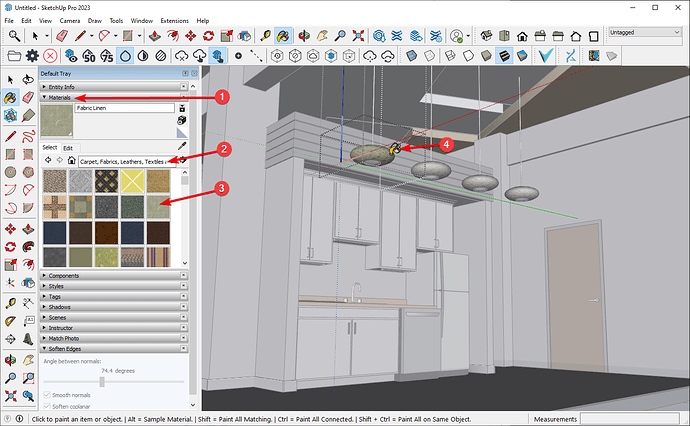
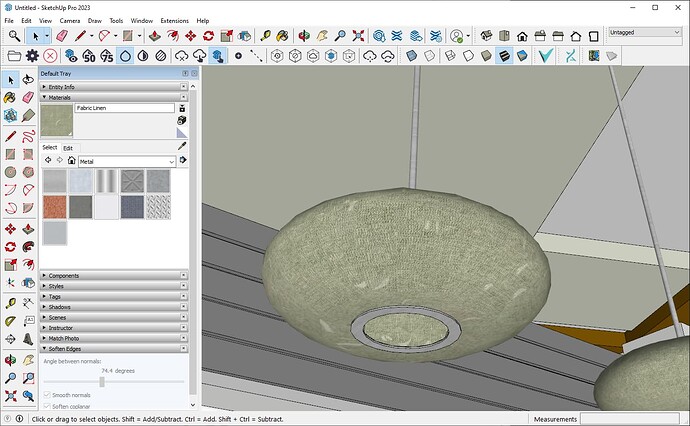
If you want to change the materials independently in Revit for each part of the fixture, the fixture needs to have materials painted to those surfaces. You can skip this if you are ok with having one material for the fixture.
NOTE: usually more defined components have materials already painted, but this component does not.
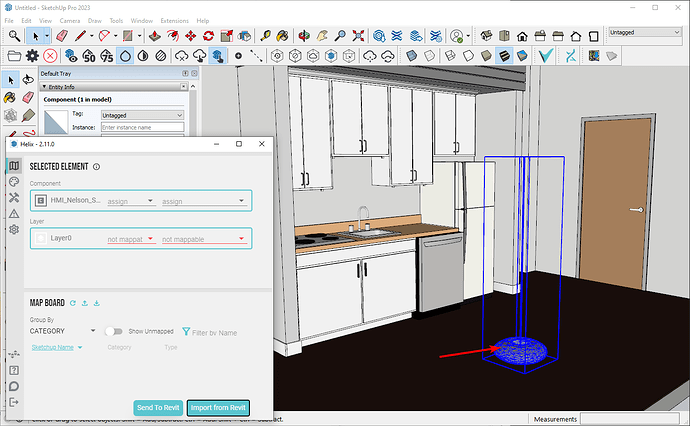
7 | Map the components with Helix
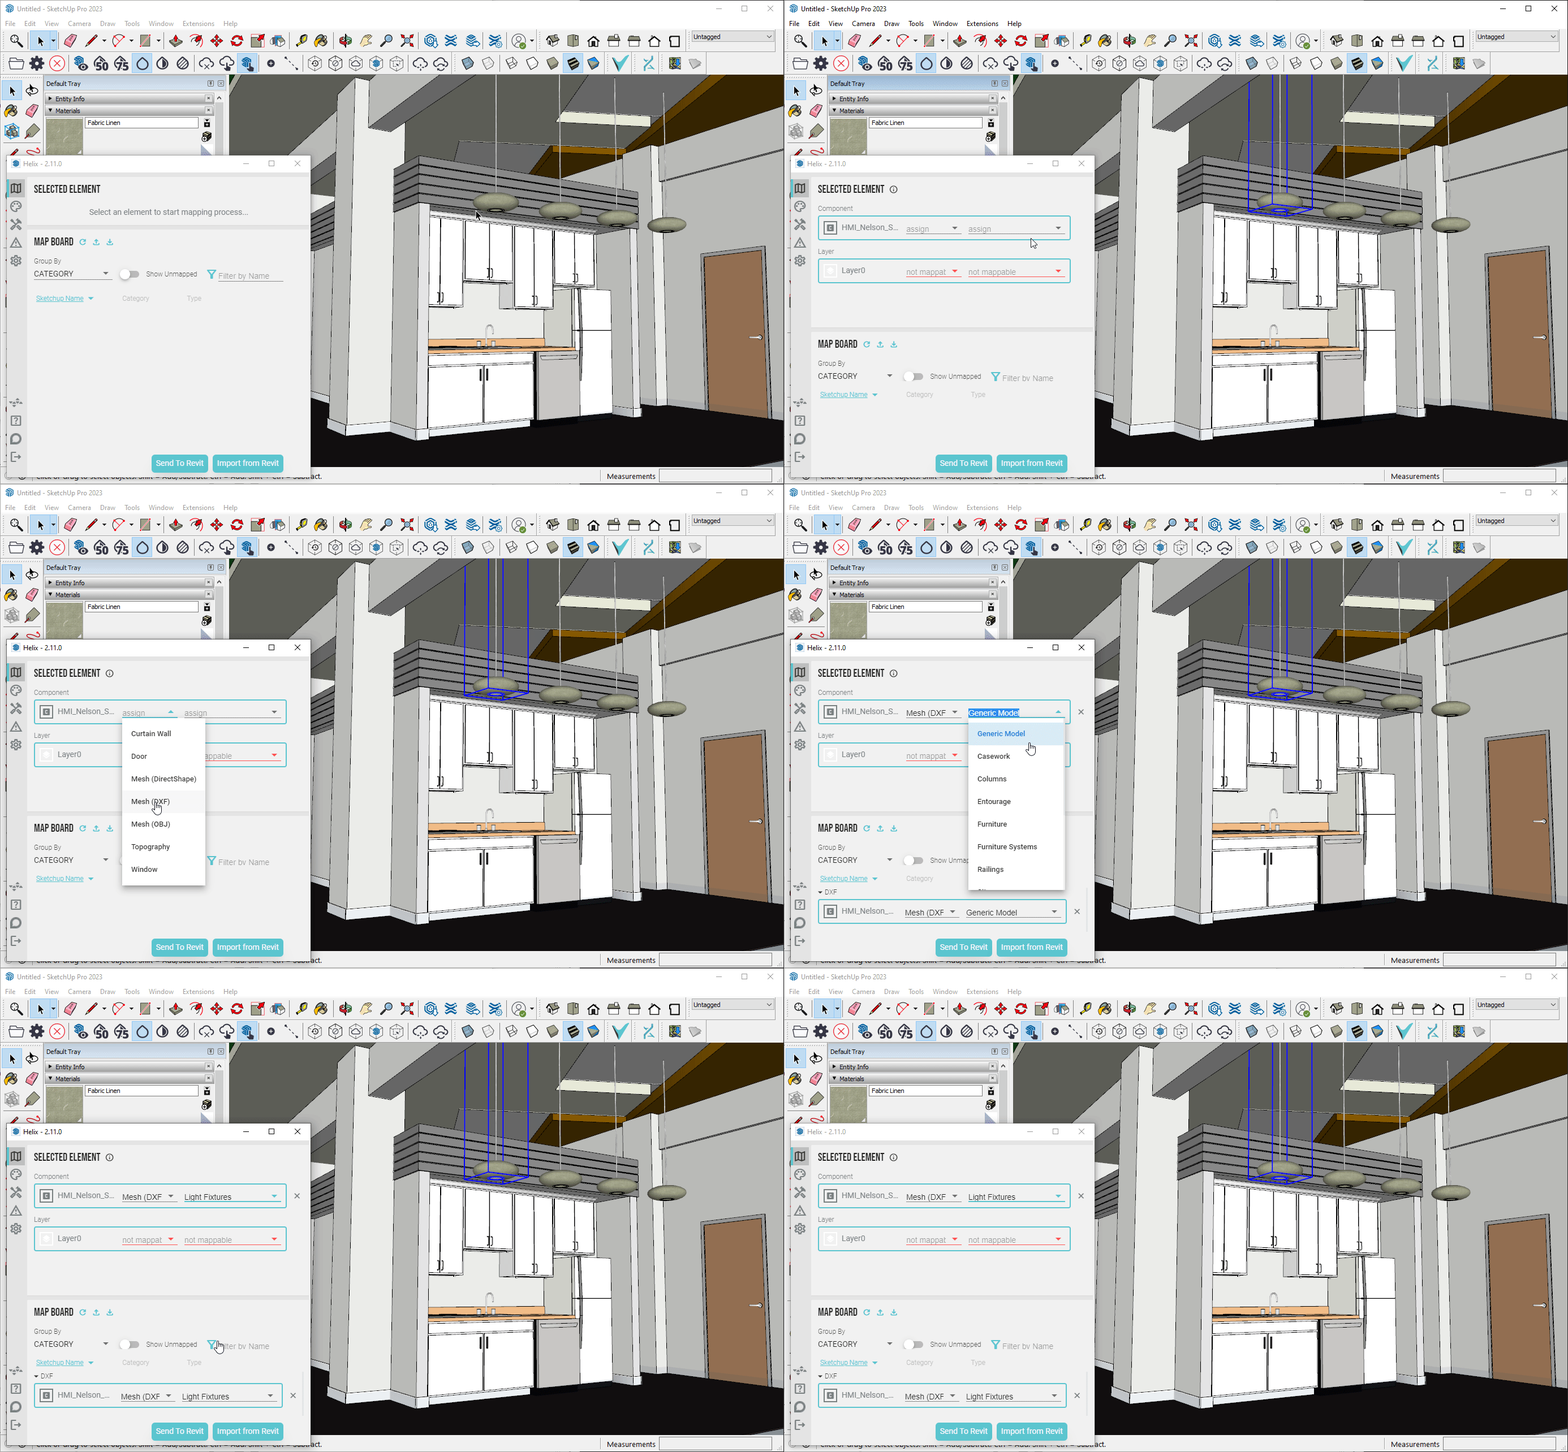
- select the light fixture component
- assign the Mesh (DXF) and the Light Fixtures Category
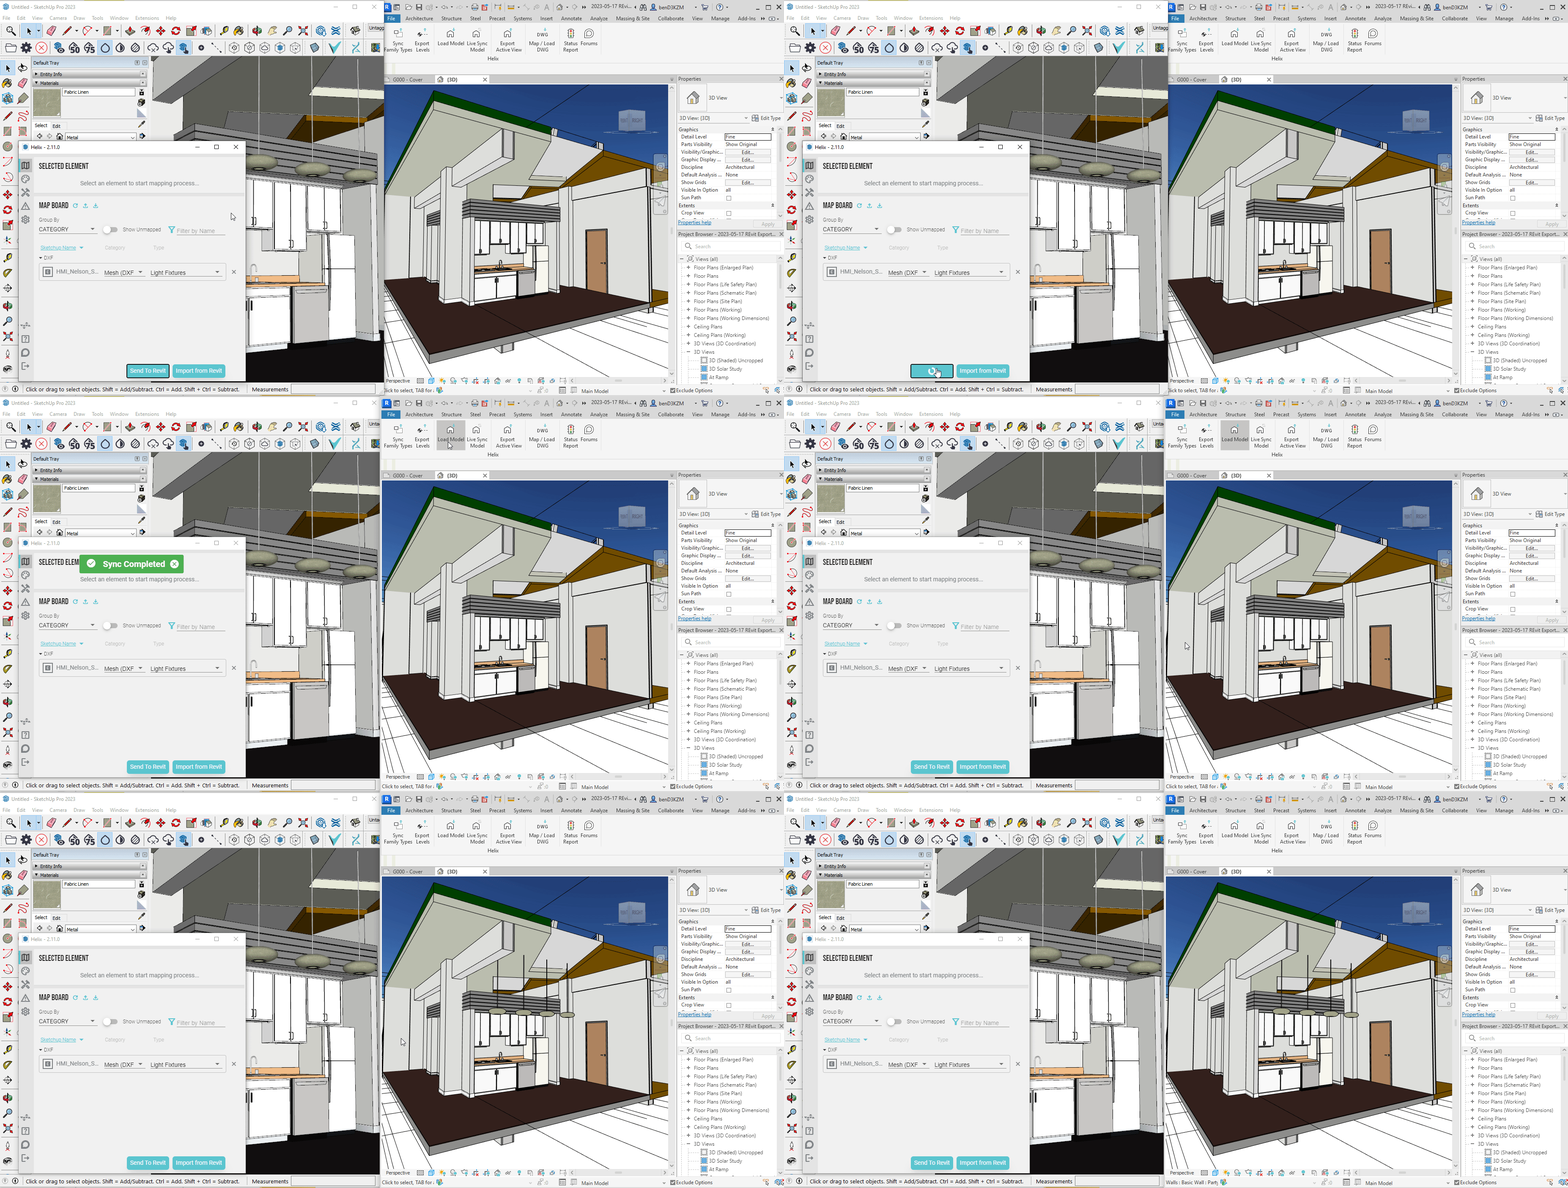
8 | Send to Revit
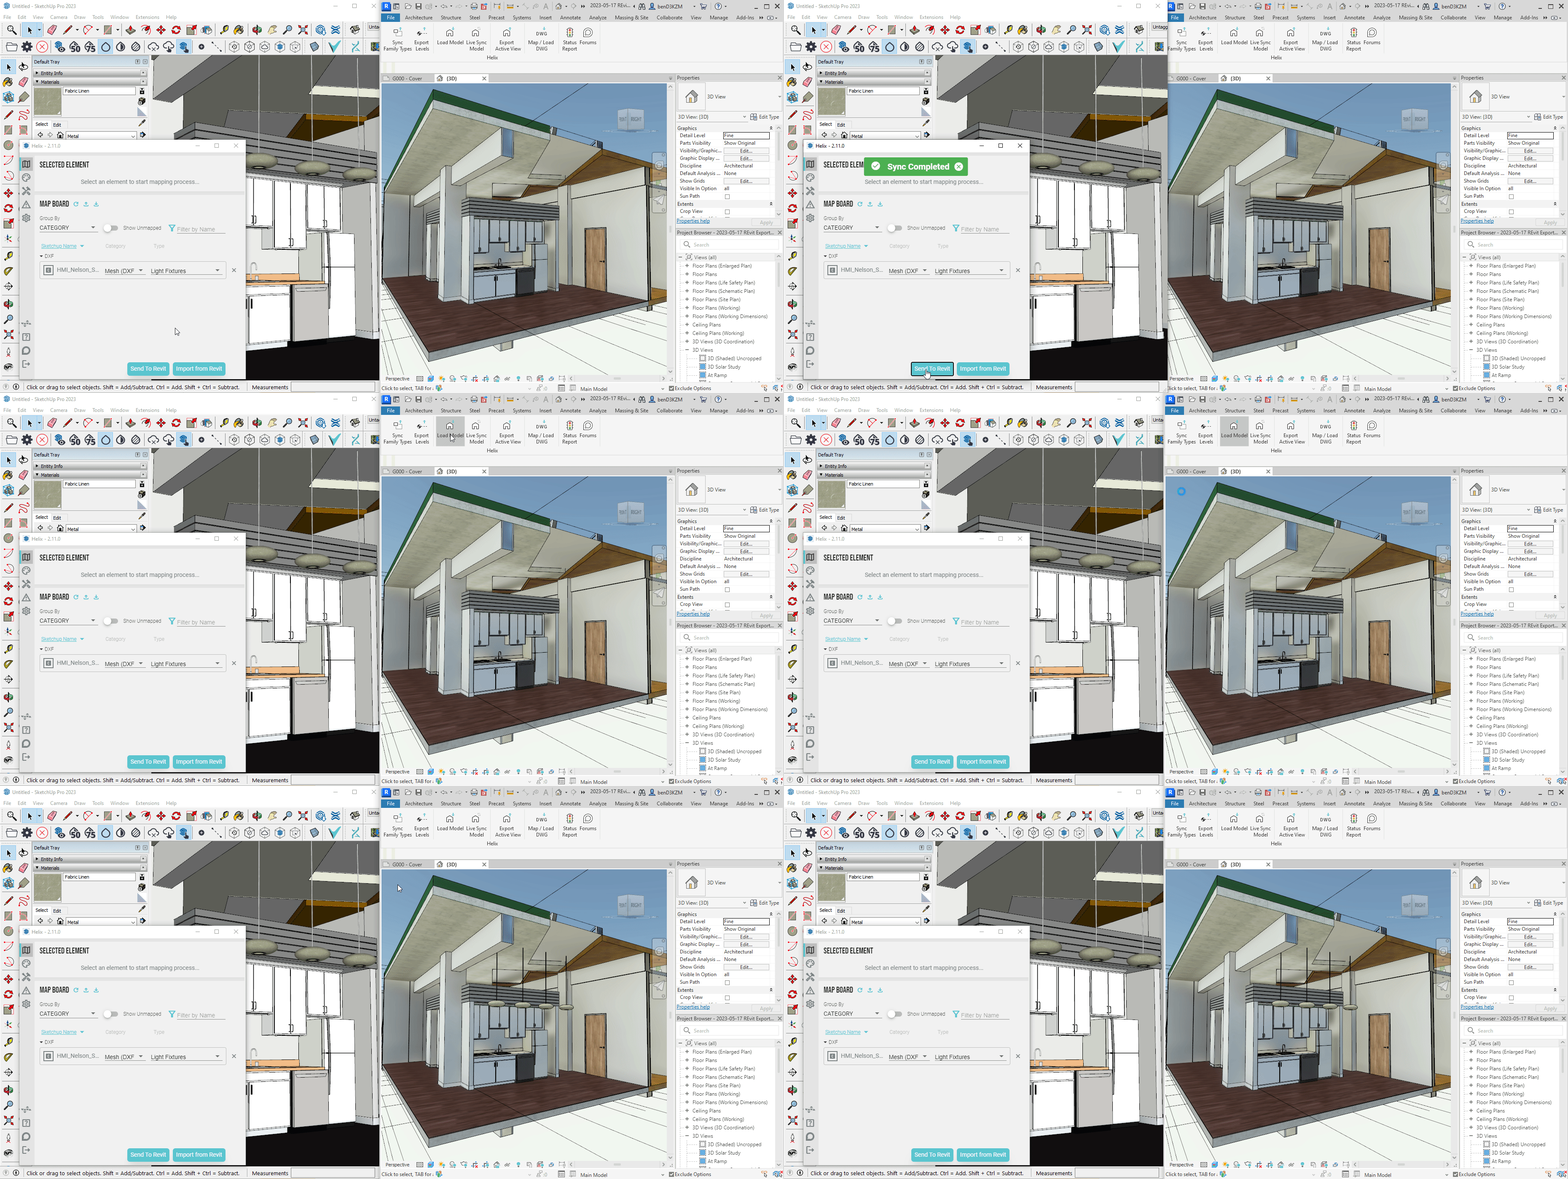
- click the Send to Revit button in the SketchUp Helix UI
- click the Load Model button in Revit under the EvolveLAB Tab
- NOTE: to see the textured, turn on the Realistic Mode
9 | Change the Materials (Optional)
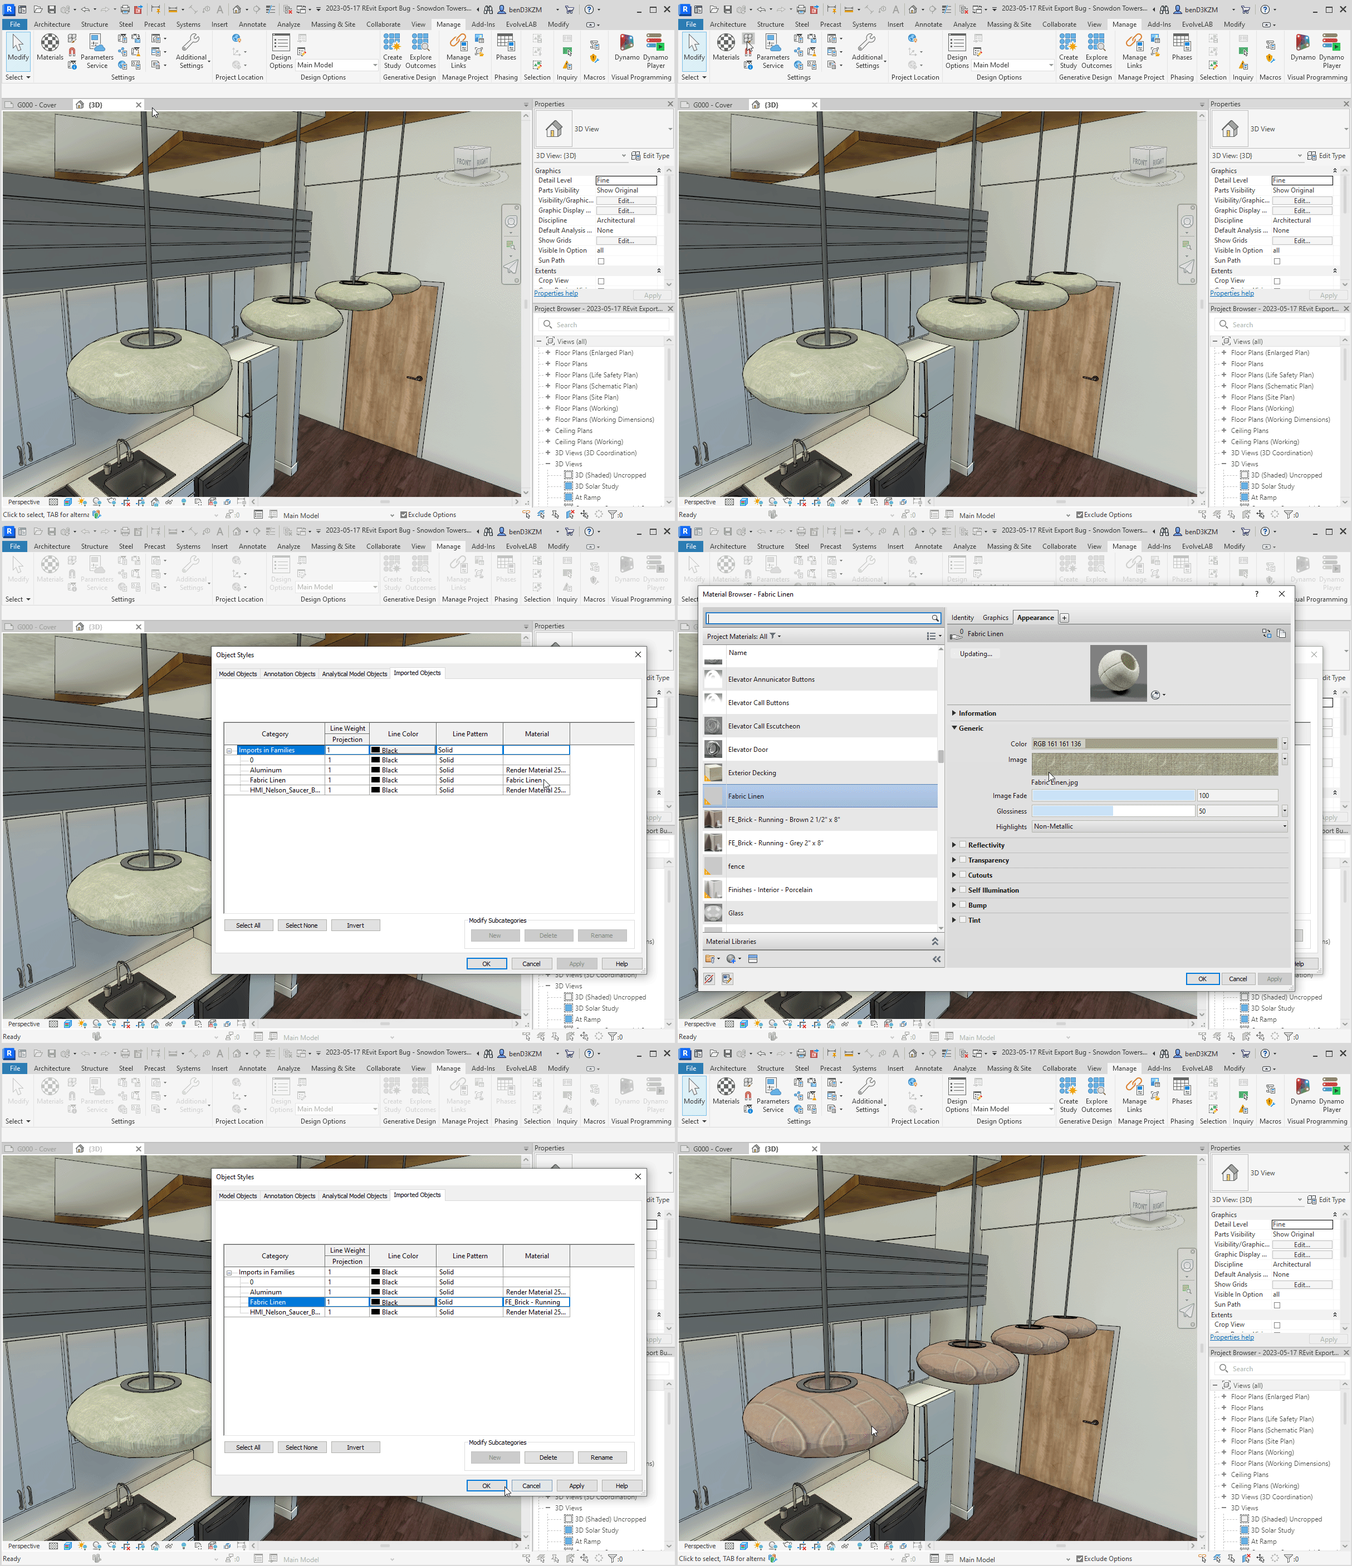
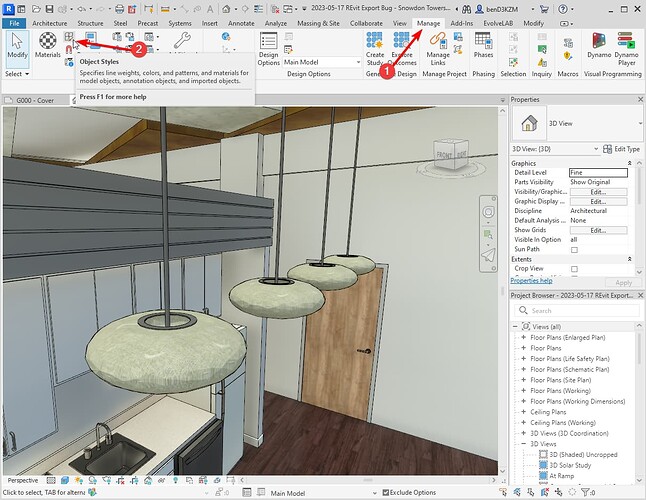
- go to the Object Styles under the Manage tab
- go to the Imported Objects tab
- expand the Imports in Families item
- find the name of the material you want to change
- select the material, and press the tiny square button to change it to another material
- then press OK on all the menus
