@ChInteriors - welcome to the forum!
Resolution
The resolution can be set using the width and height sliders.
If you are using the web app, the aspect ratio is auto set to match the input image, but the resolution is set to the best result (which sets either the width or height to be 1024 for v5 and v6 render engine)
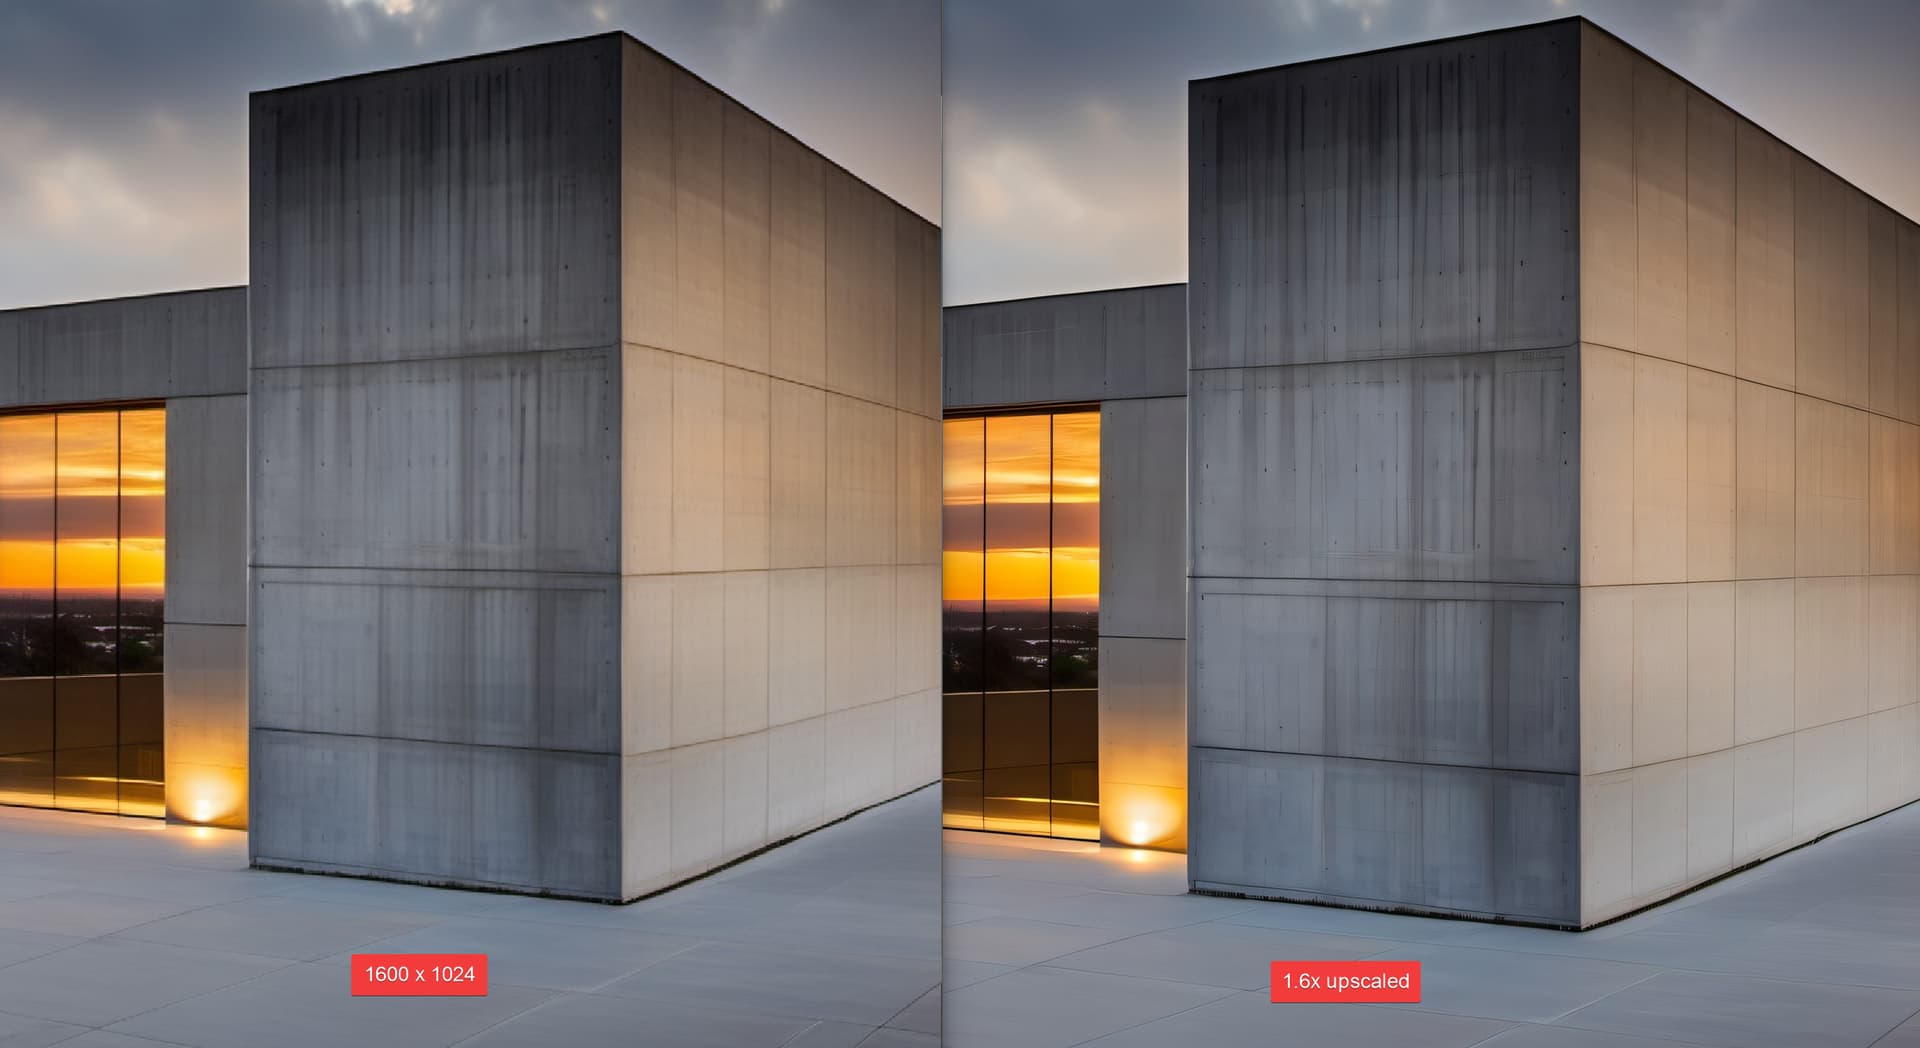
Upscaling
For a higher resolution, you can choose higher values when rendering, or you can upscale a render (which I prefer). Lower resolution renders are faster to generate, and you can experiment with more ideas in less time. If you find an output that you like, you can then upscale that render.
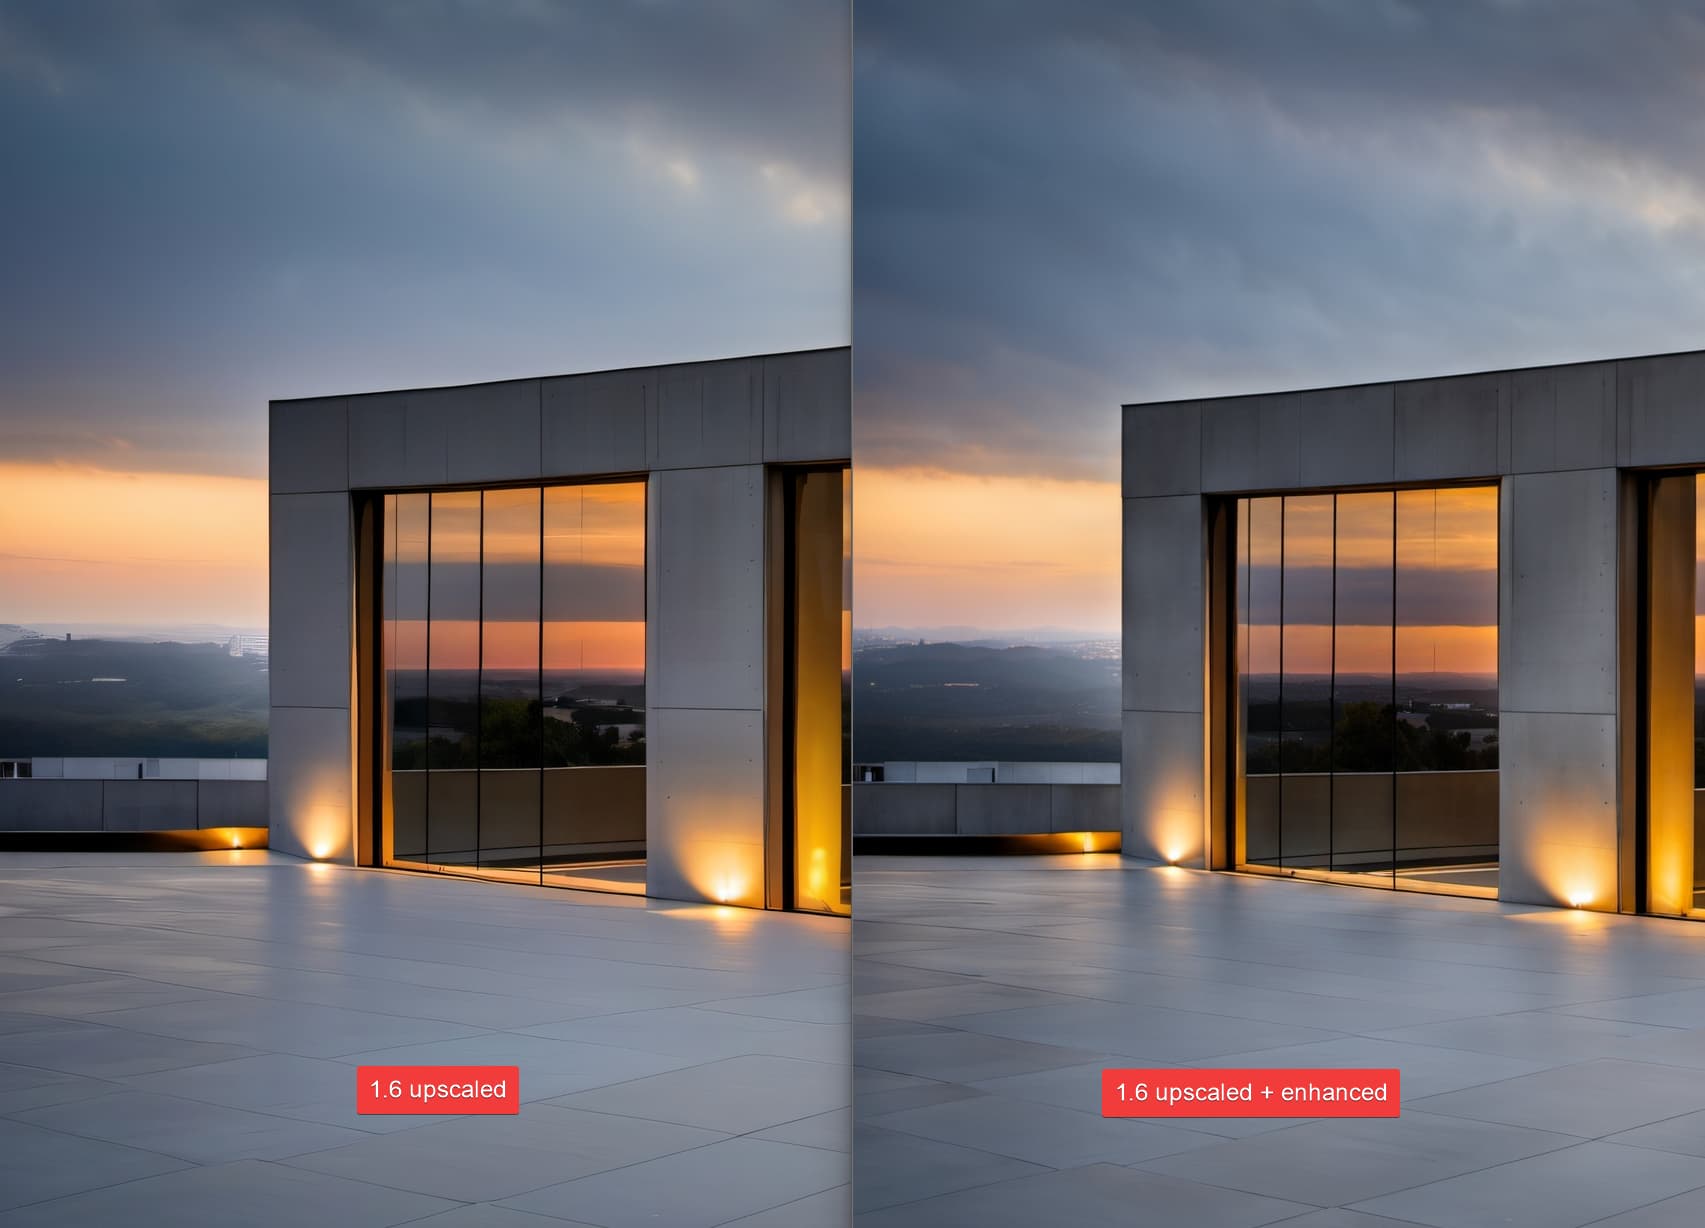
Upscale + Enhance
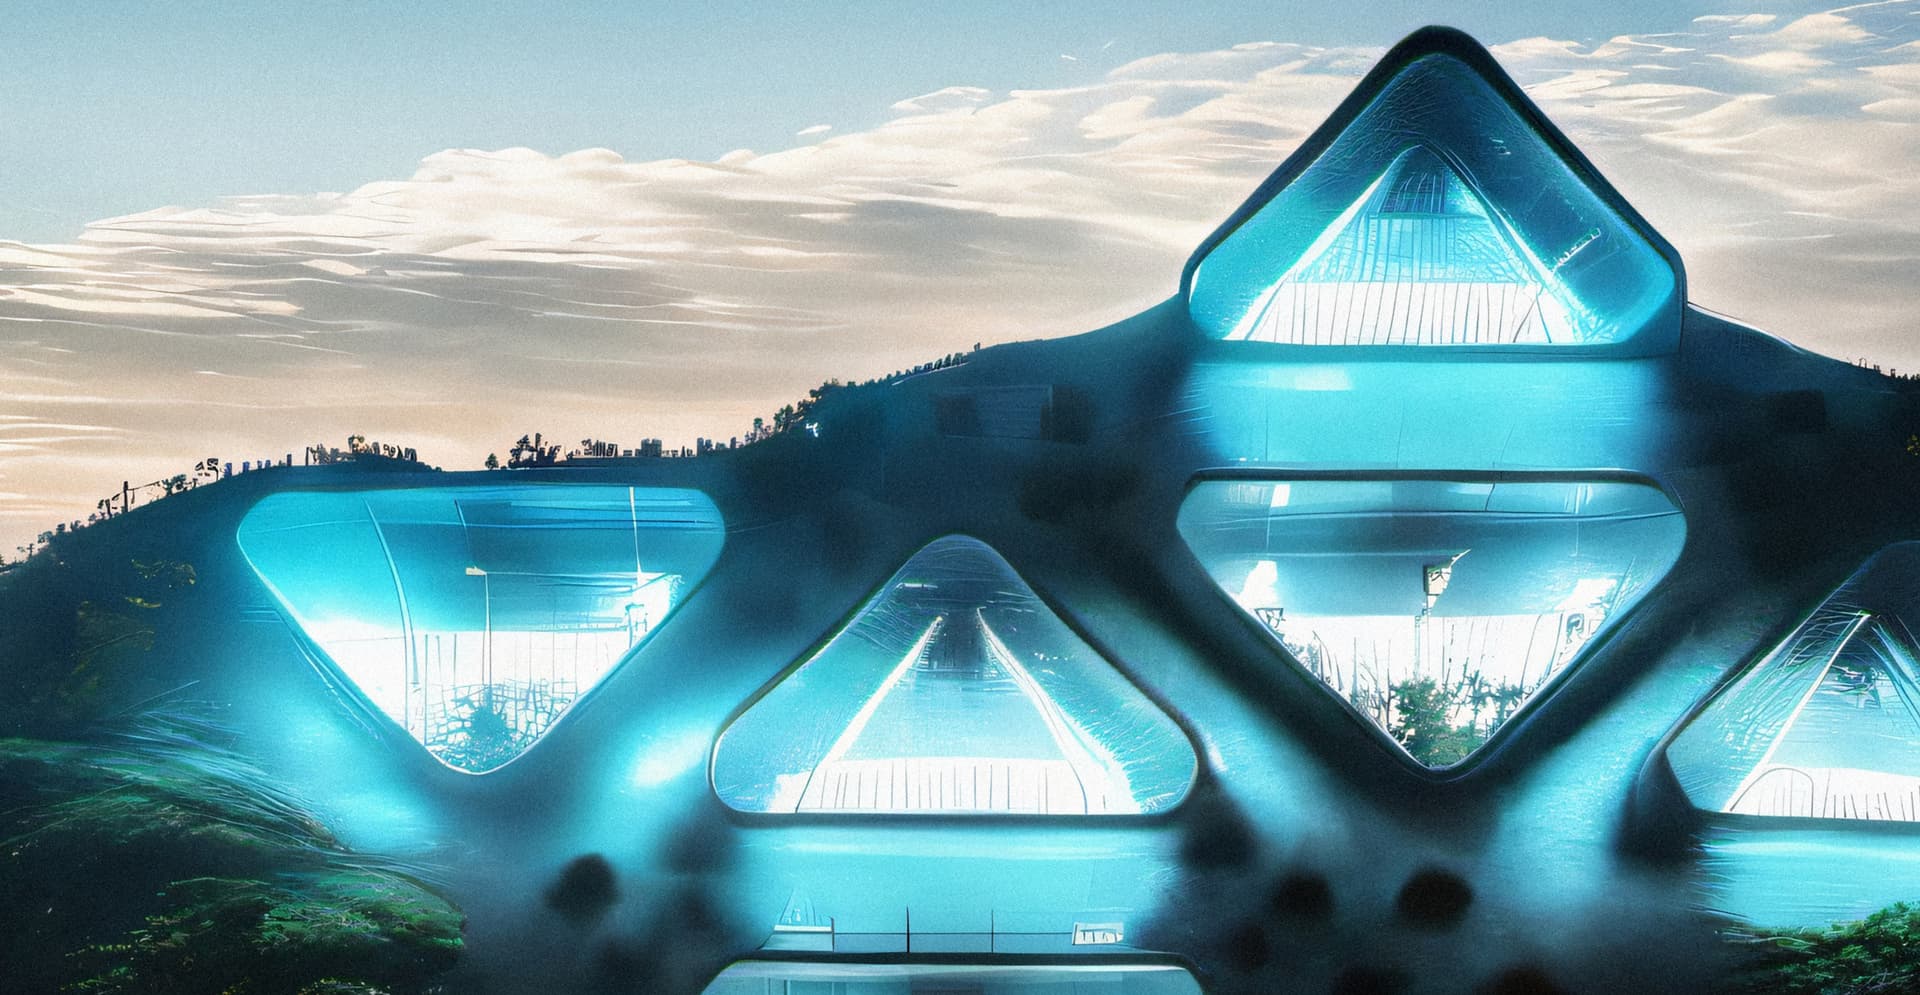
In the image below, the upscale is kept below the warning threshold, so we can further edit the render.
We can use the latest enhance feature on the 1.6x upscaled image to add more details.
This enhance effect is most noticeable in the background foliage, reflection details, and the clouds.
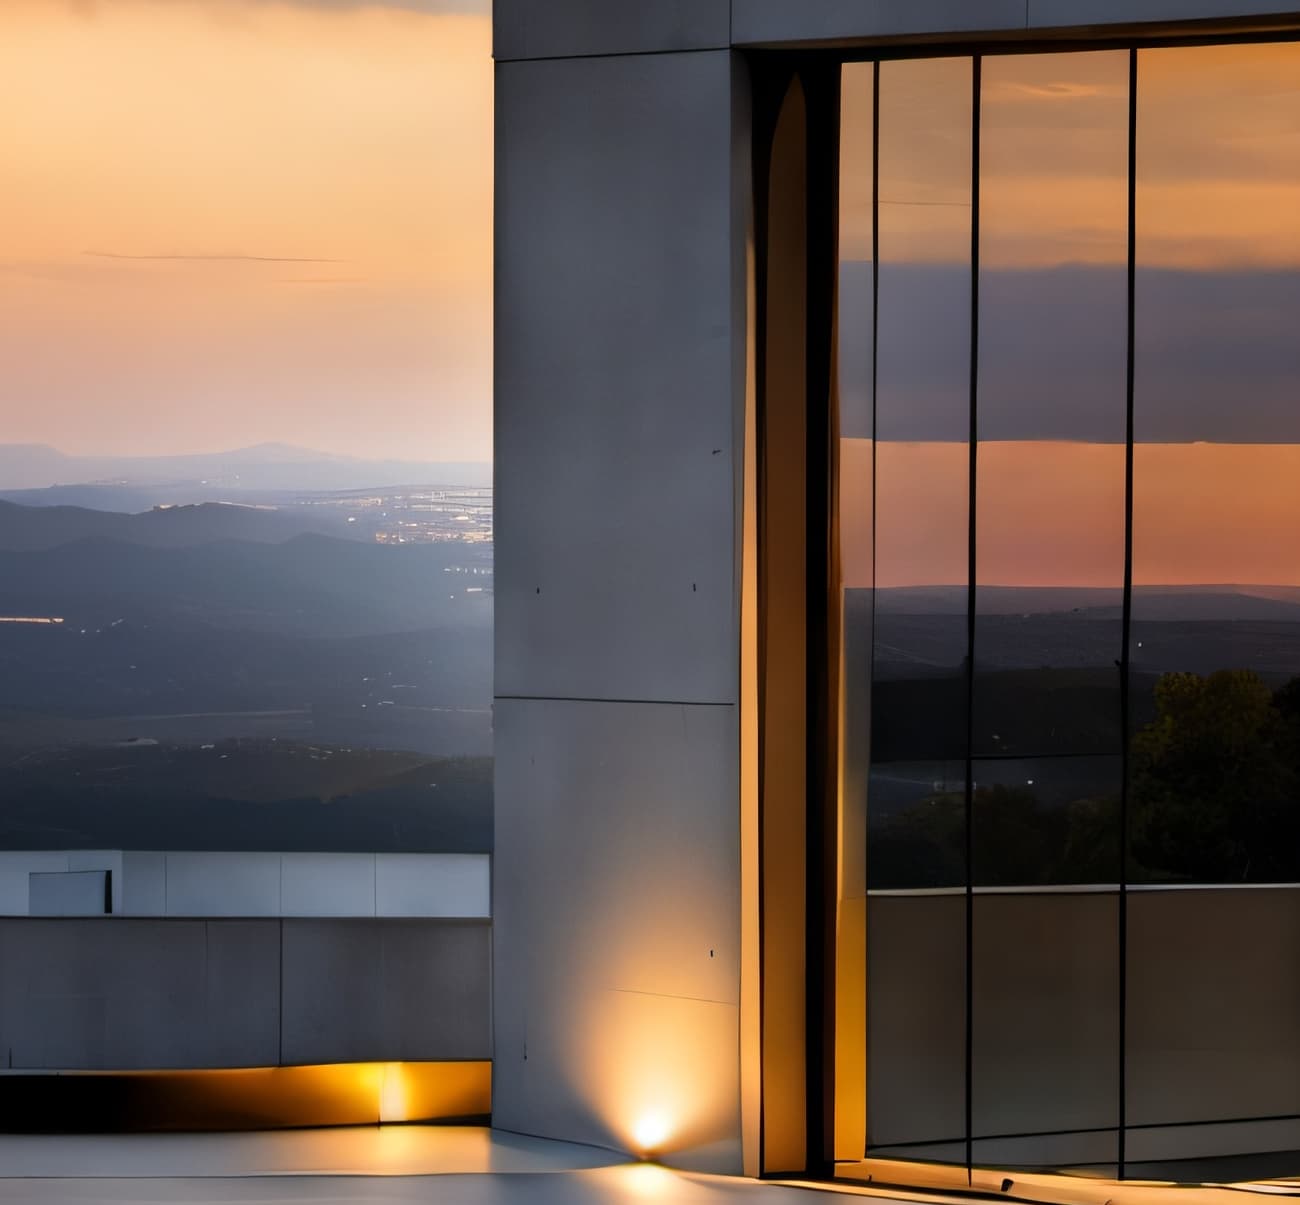
Maximum Upscale
After we enhance the 1.6x upscaled image, we can then take the enhanced version, and upscale that render to the maximum allowed limit. For this aspect ratio, that resolution is 7680 x 4800.
Here’s a 1:1 screen grab of the high max upscaled version:
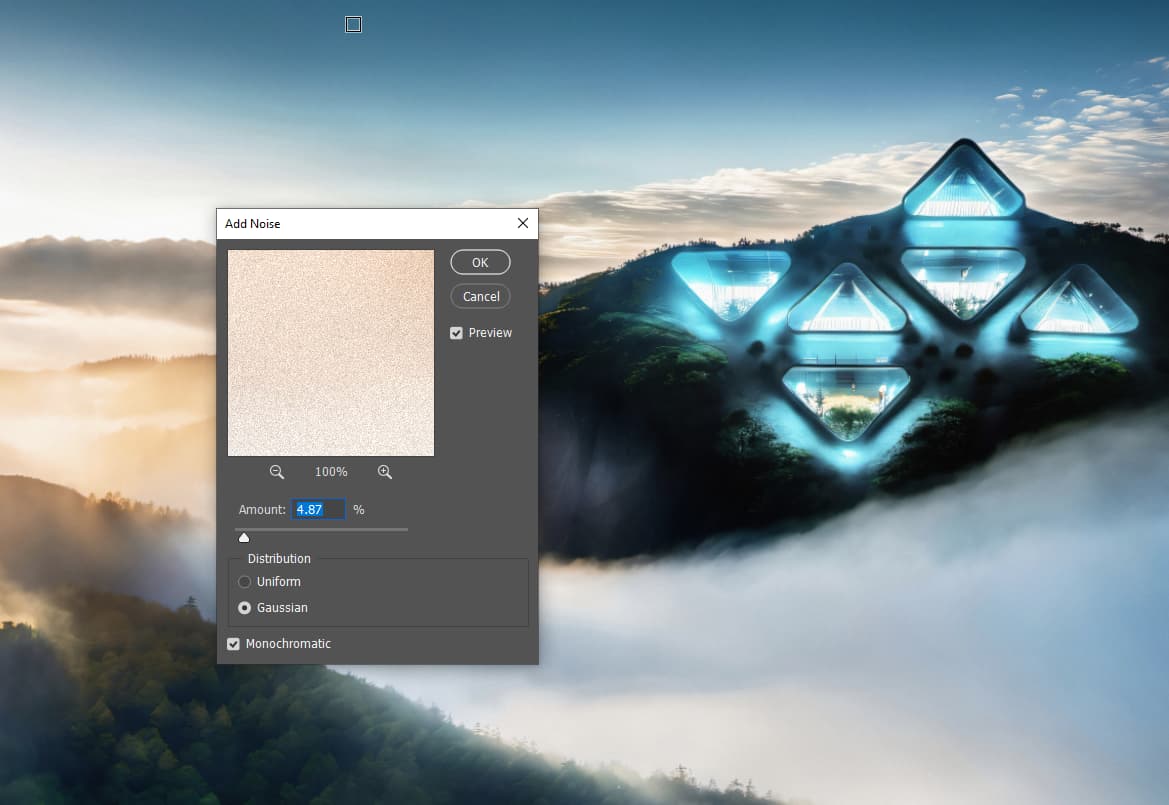
Post Processing: Noise
The rendering can be further post processed for large format use. The most useful post process effect for large formats, is to add a gaussian noise. The noise would give the render an appearance of film grain, and would diminish upscaling artifacts.
For now, to add the noise, you would need an image editor like Photoshop.
If the render will be printed, it’s HIGHLY recommended to add the noise.
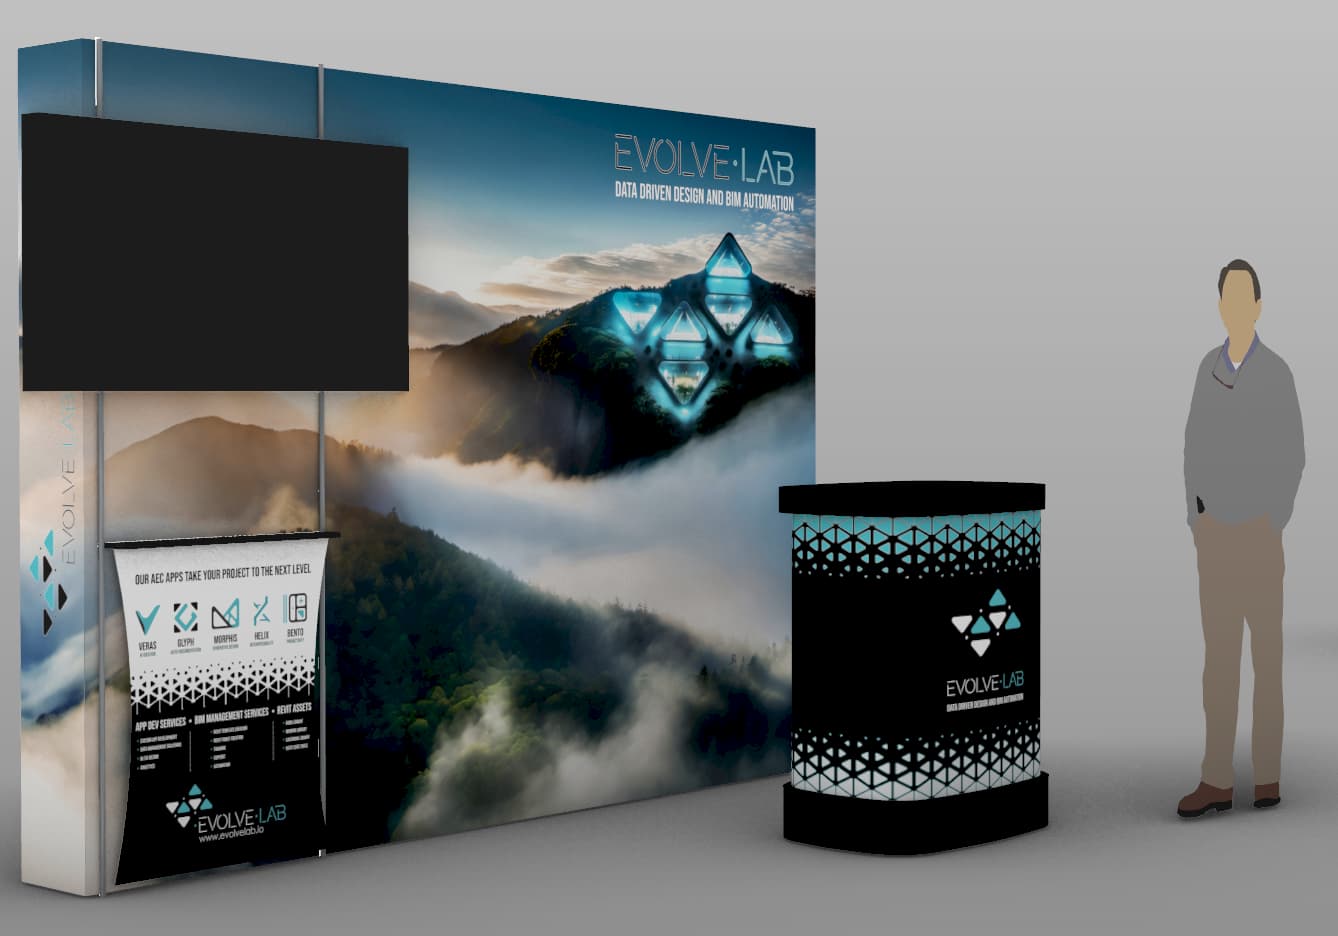
Autodesk University Booth Example
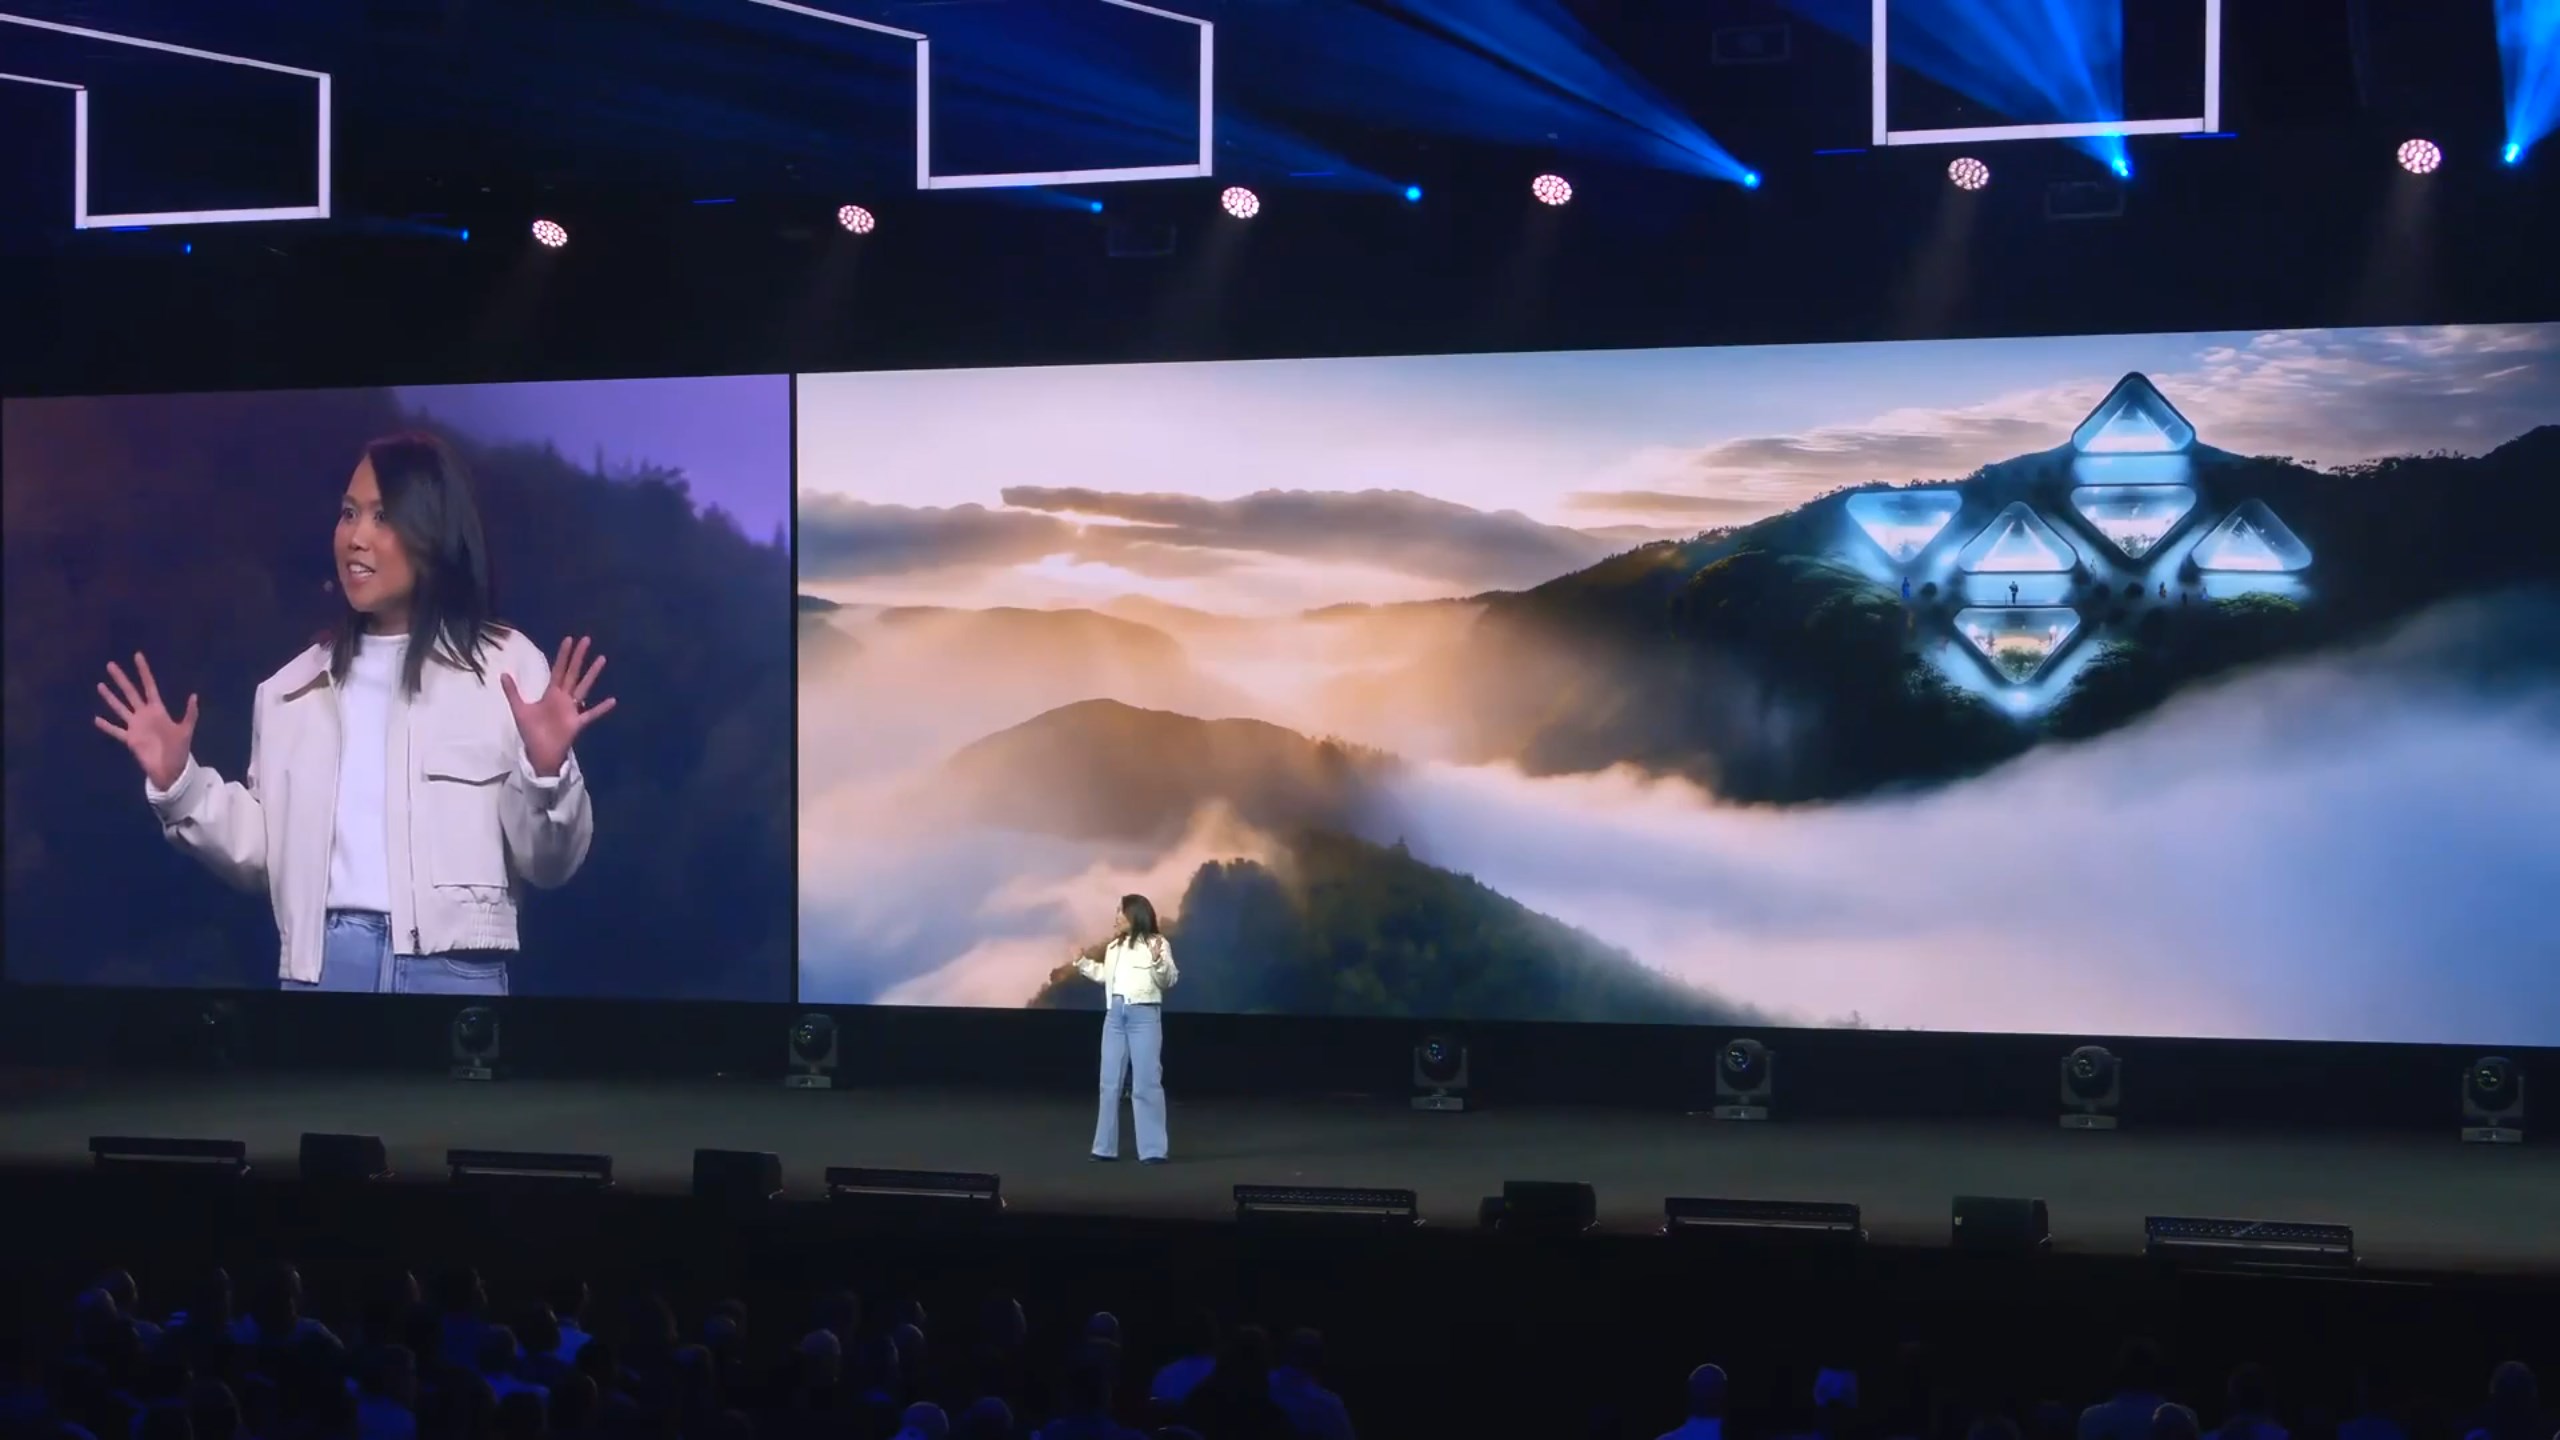
The steps above are almost identical to how we used Veras for designing and printing our Autodesk University graphics (also used for the booth backdrop fabric prints):
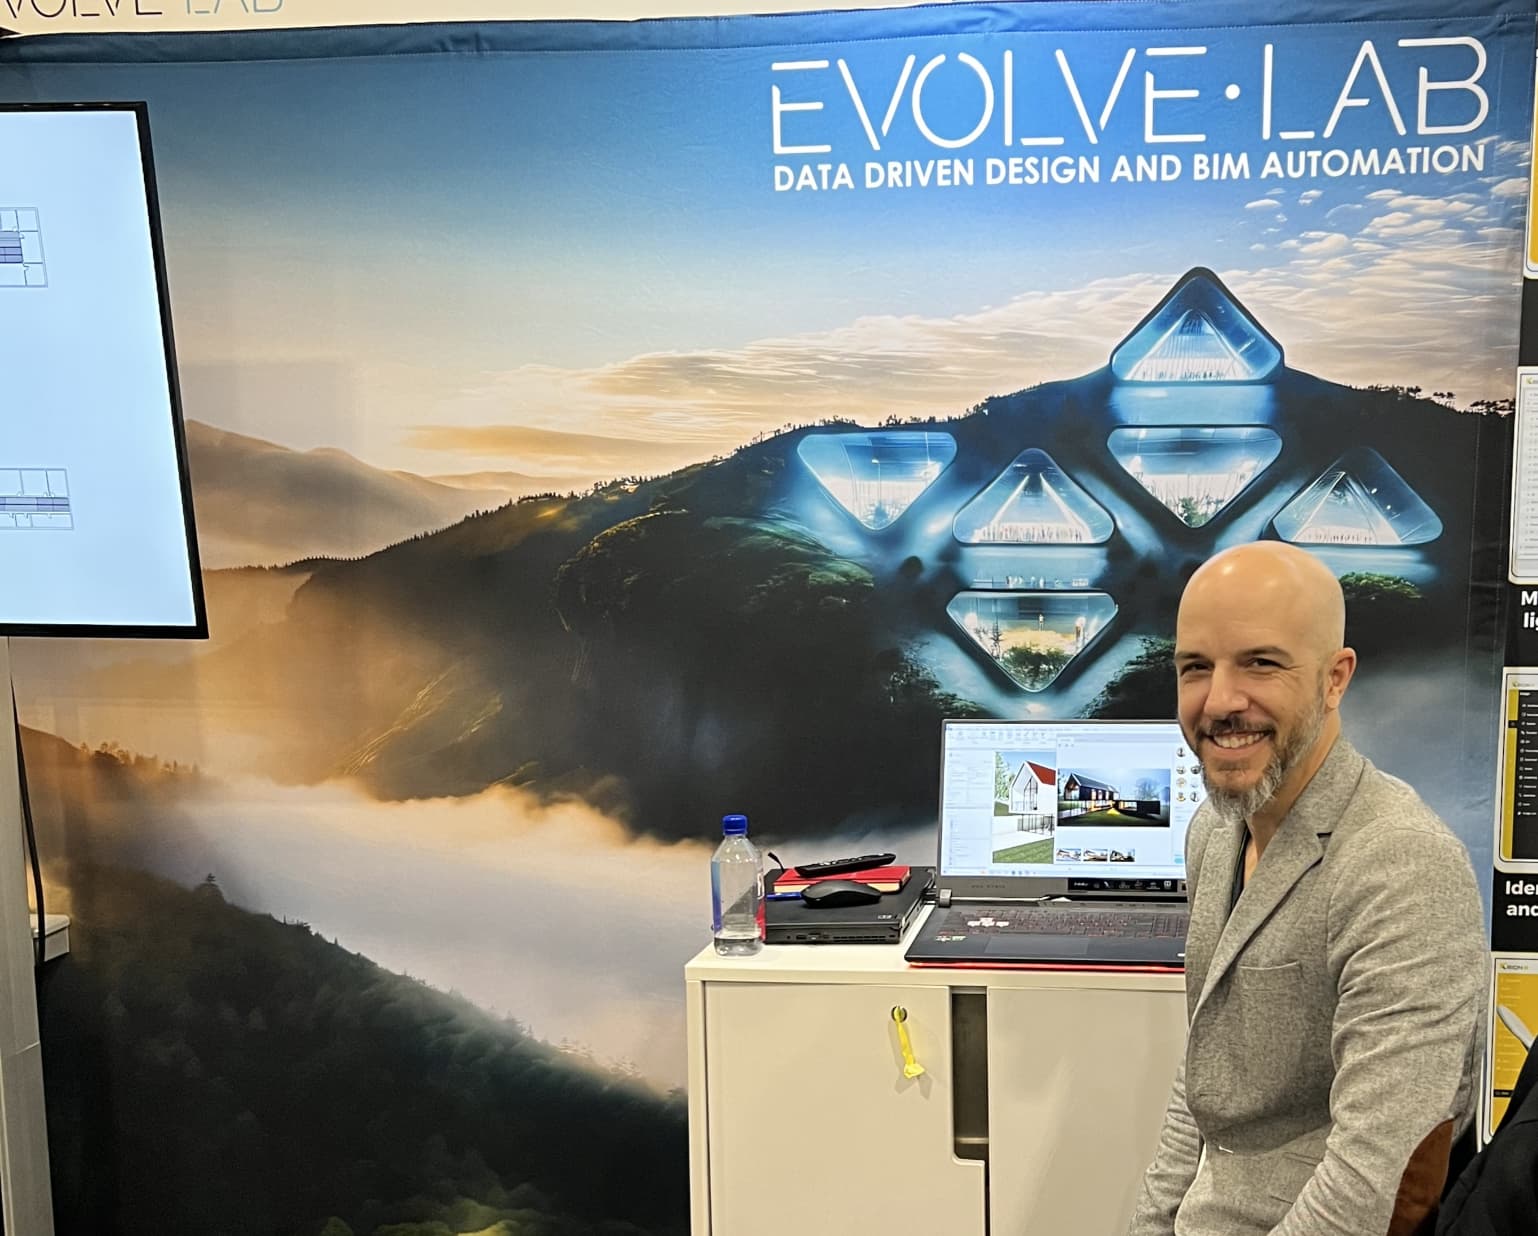
Closeup with the noise added:
Shoutout to @joseph for the vector graphics and the 3d Rhino mockup!
Here’s an actual picture with the booth. Looks like @bill.allen’s getting ready to demo Veras