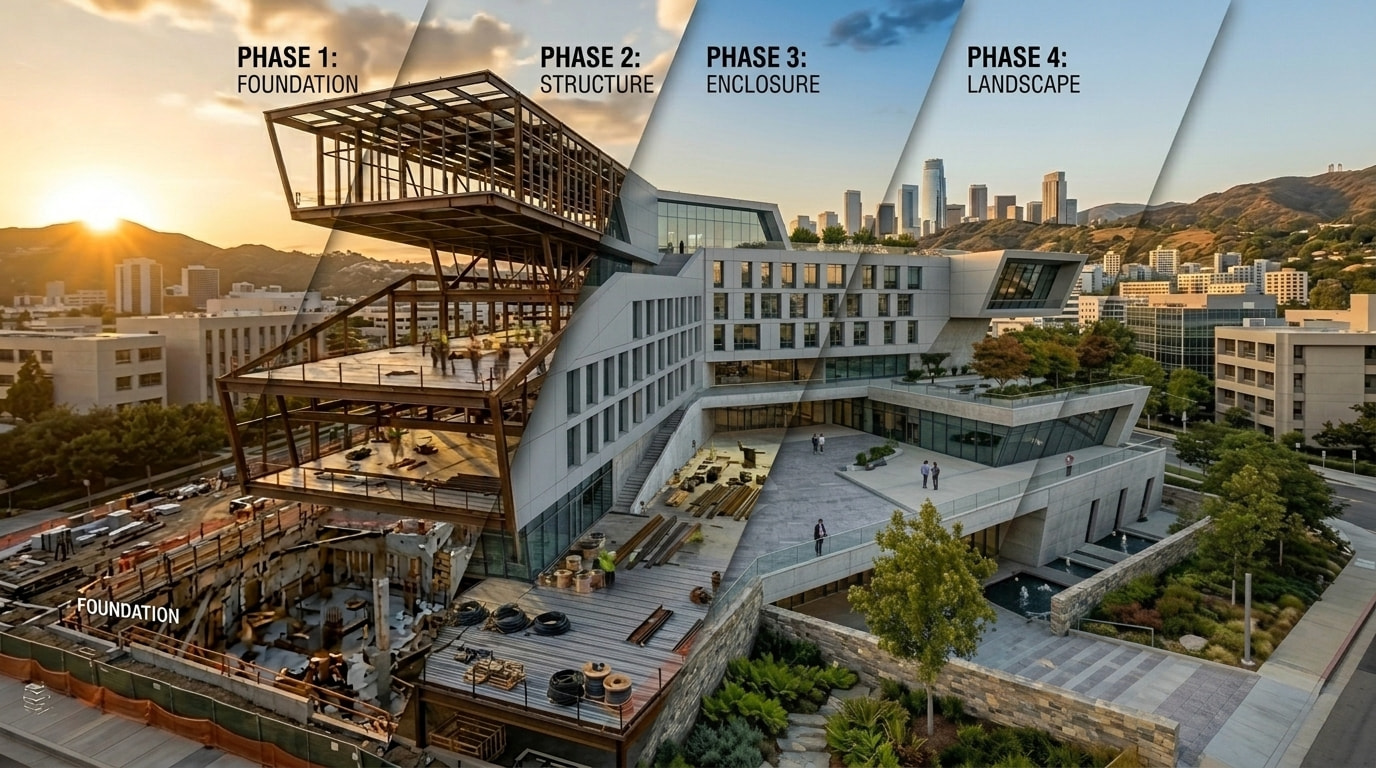
Final Video
1. Create Key Frames
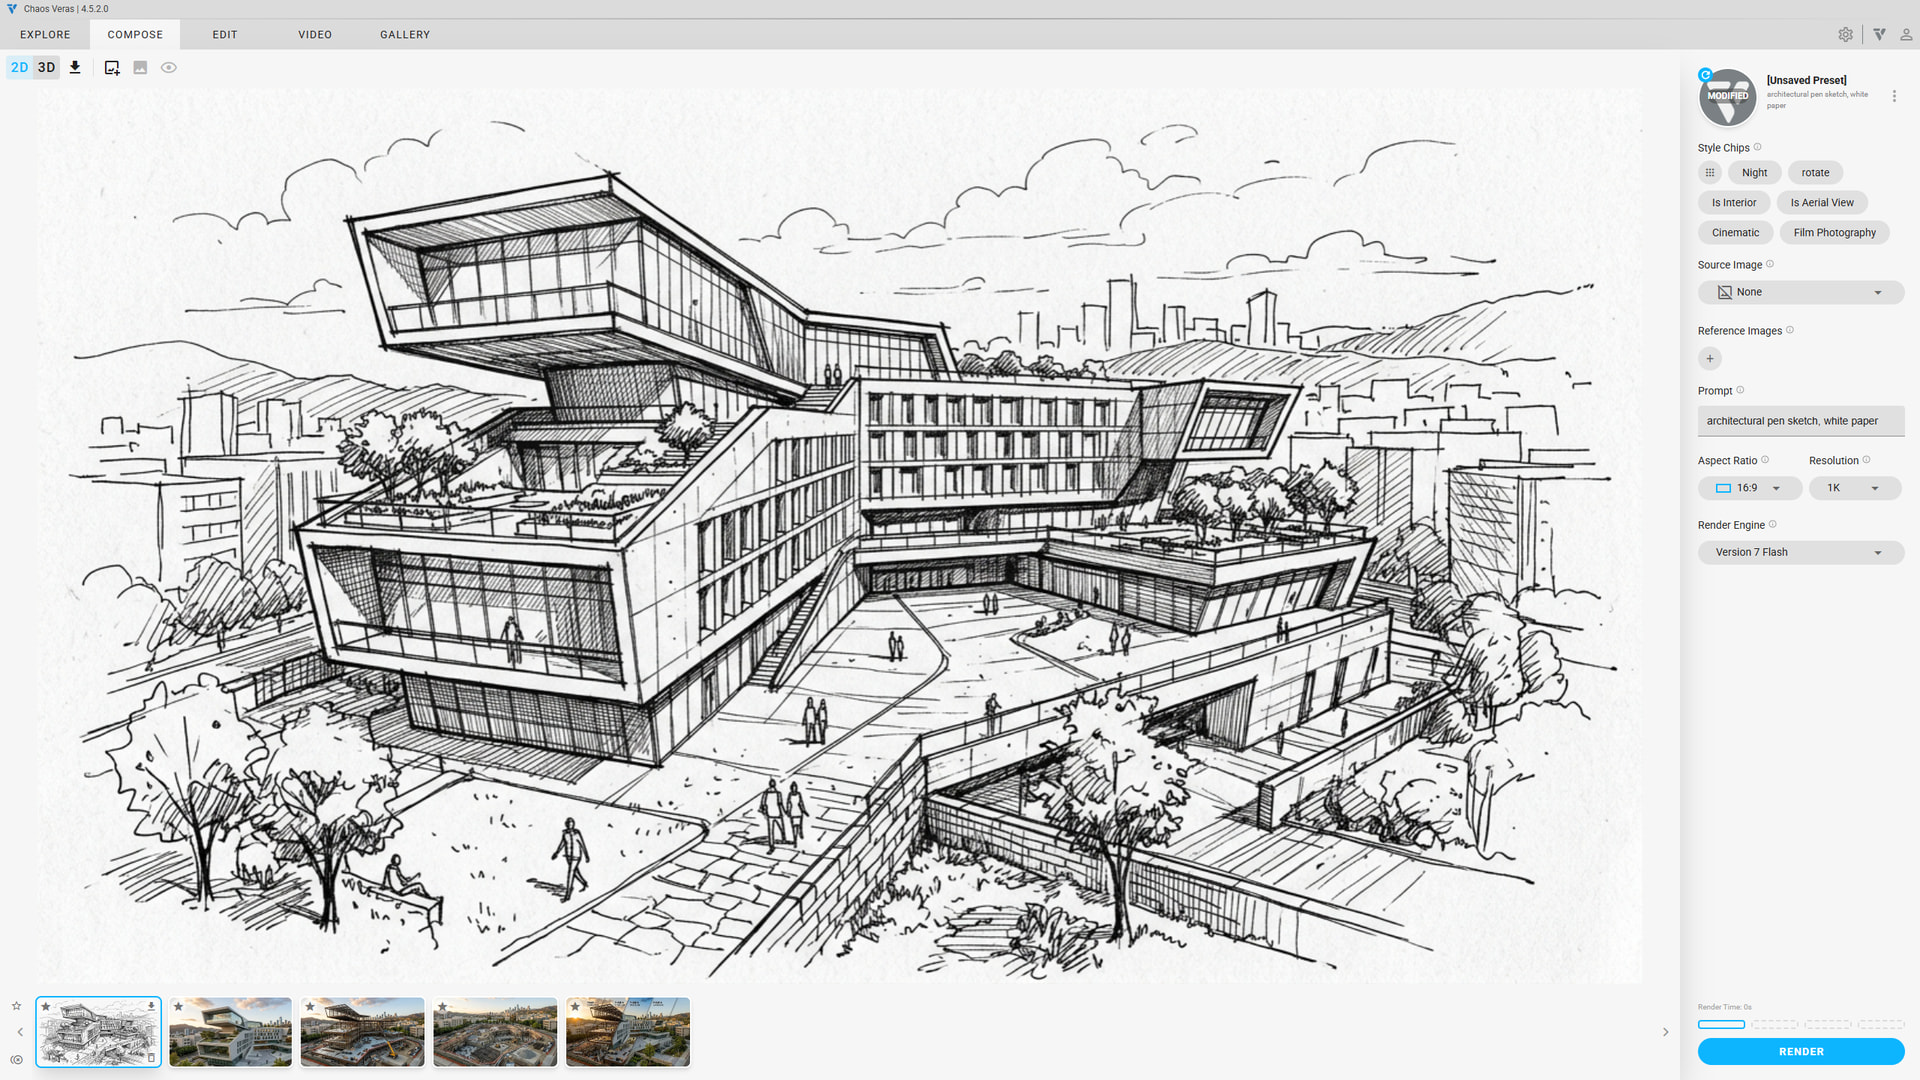
Building Design
- started with a sketch image
- the sketch was generated from text to image, and the preferred design was cherry picked
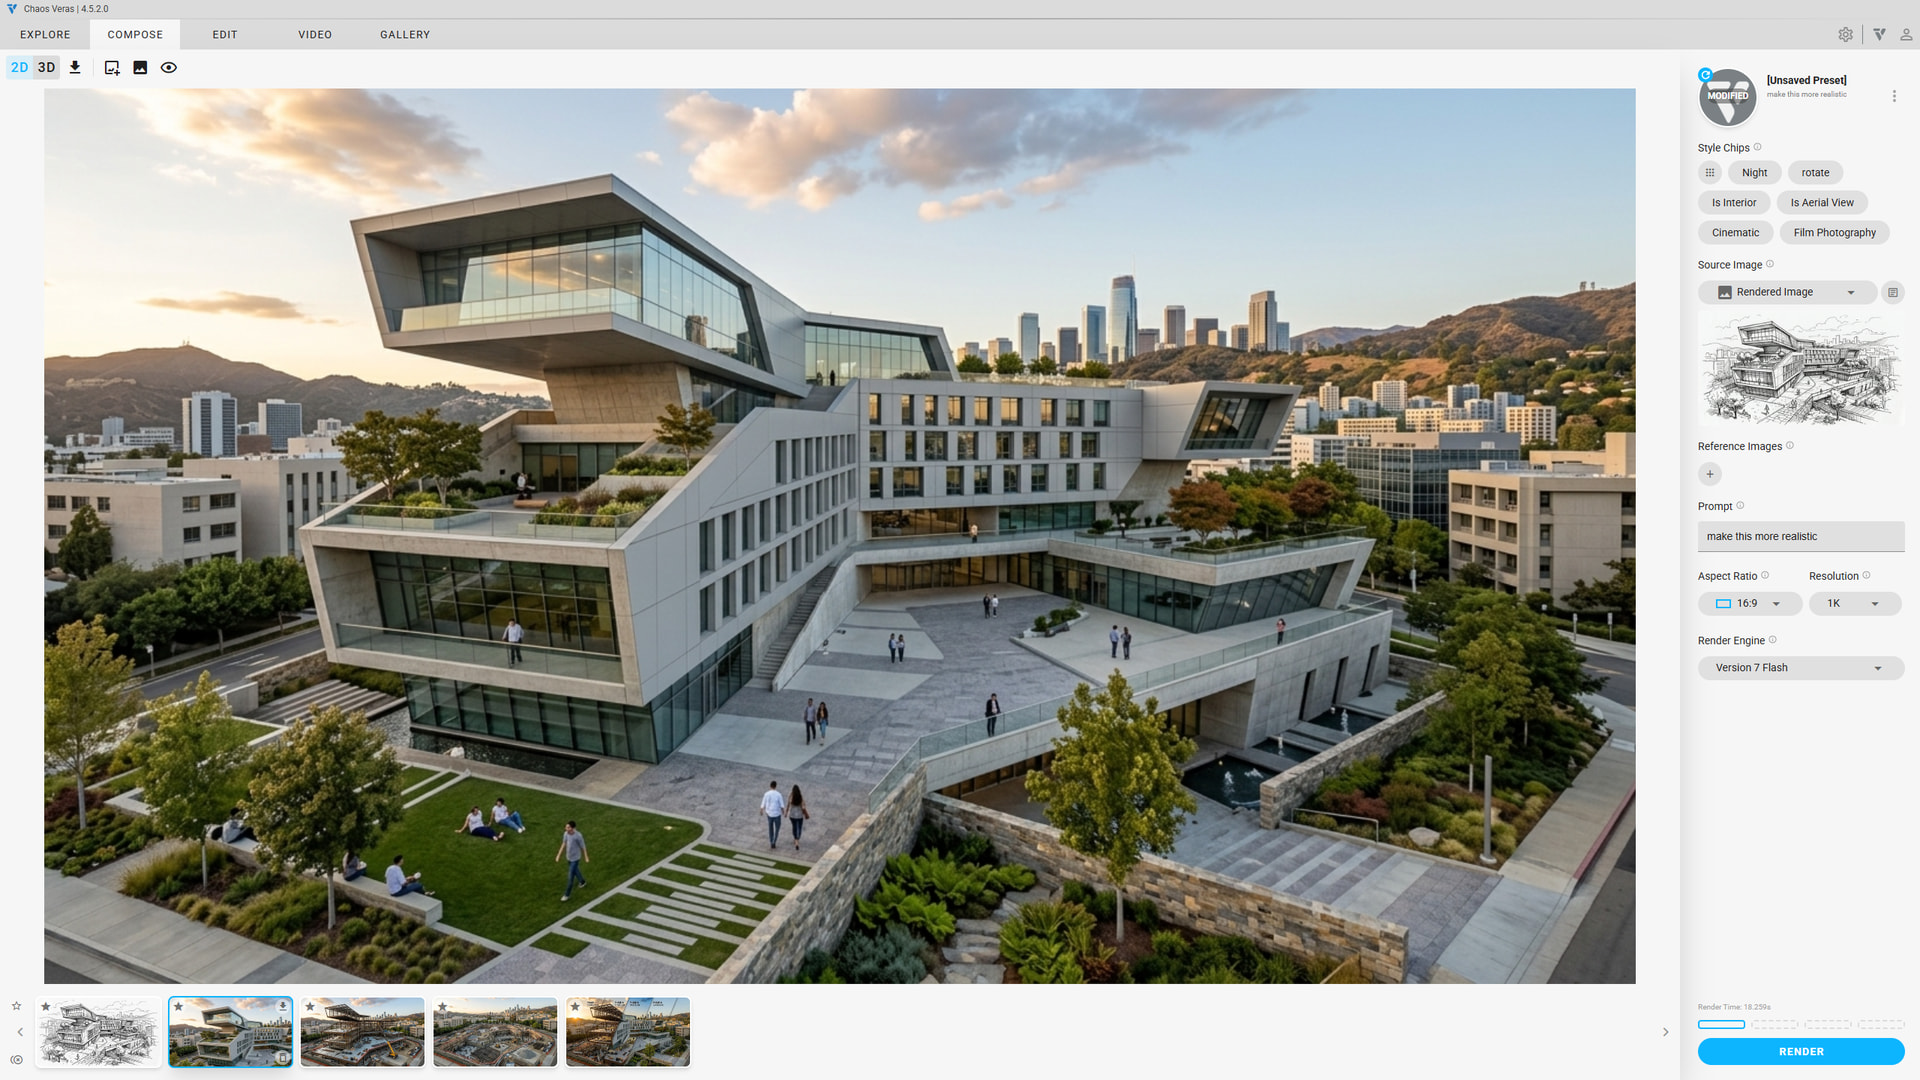
- the sketch was then generated as a real image on the compose tab
- see prompt in image for reference
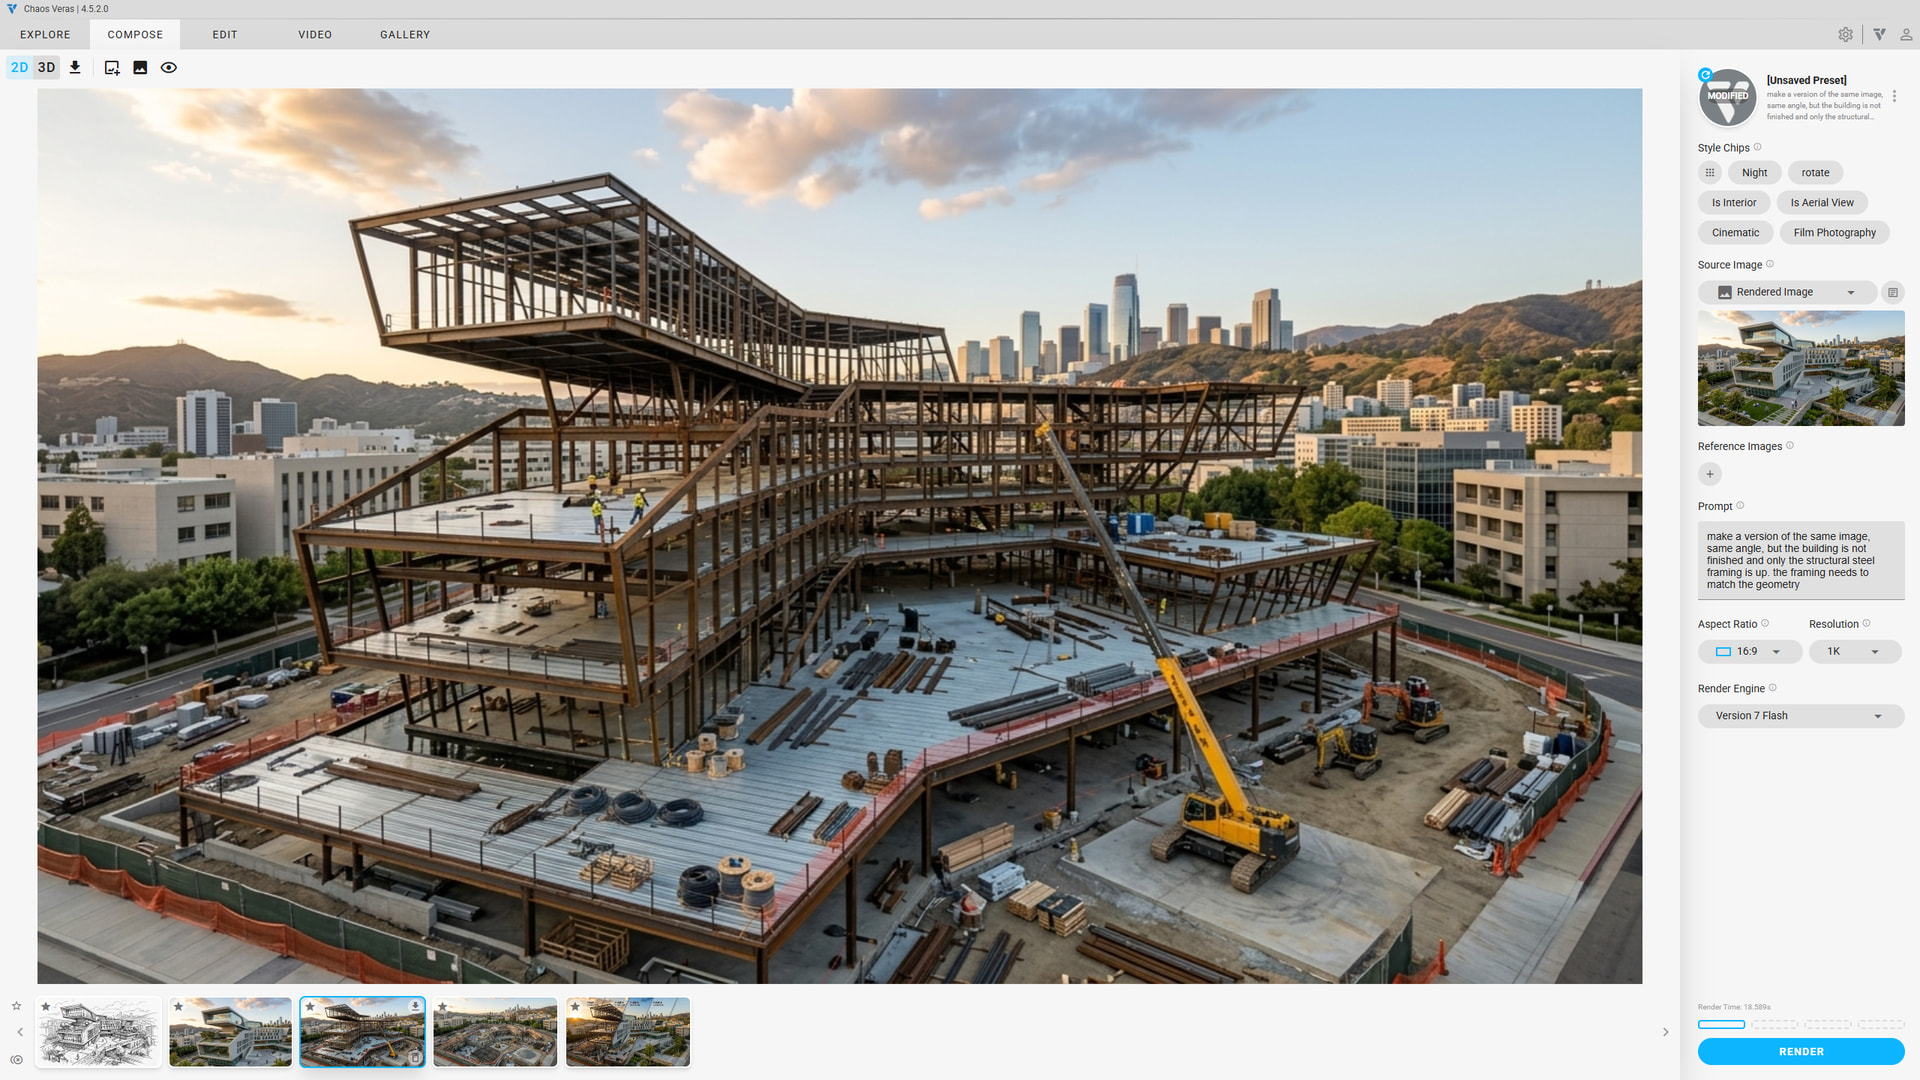
Building Structure
- we work backwards in time to get to our key frames
- with the realistic image input, we generate a new image that removes everything except the building frame
- we generate a few iterations, and we cherry pick our favorite
- see property pane for settings and the prompt used
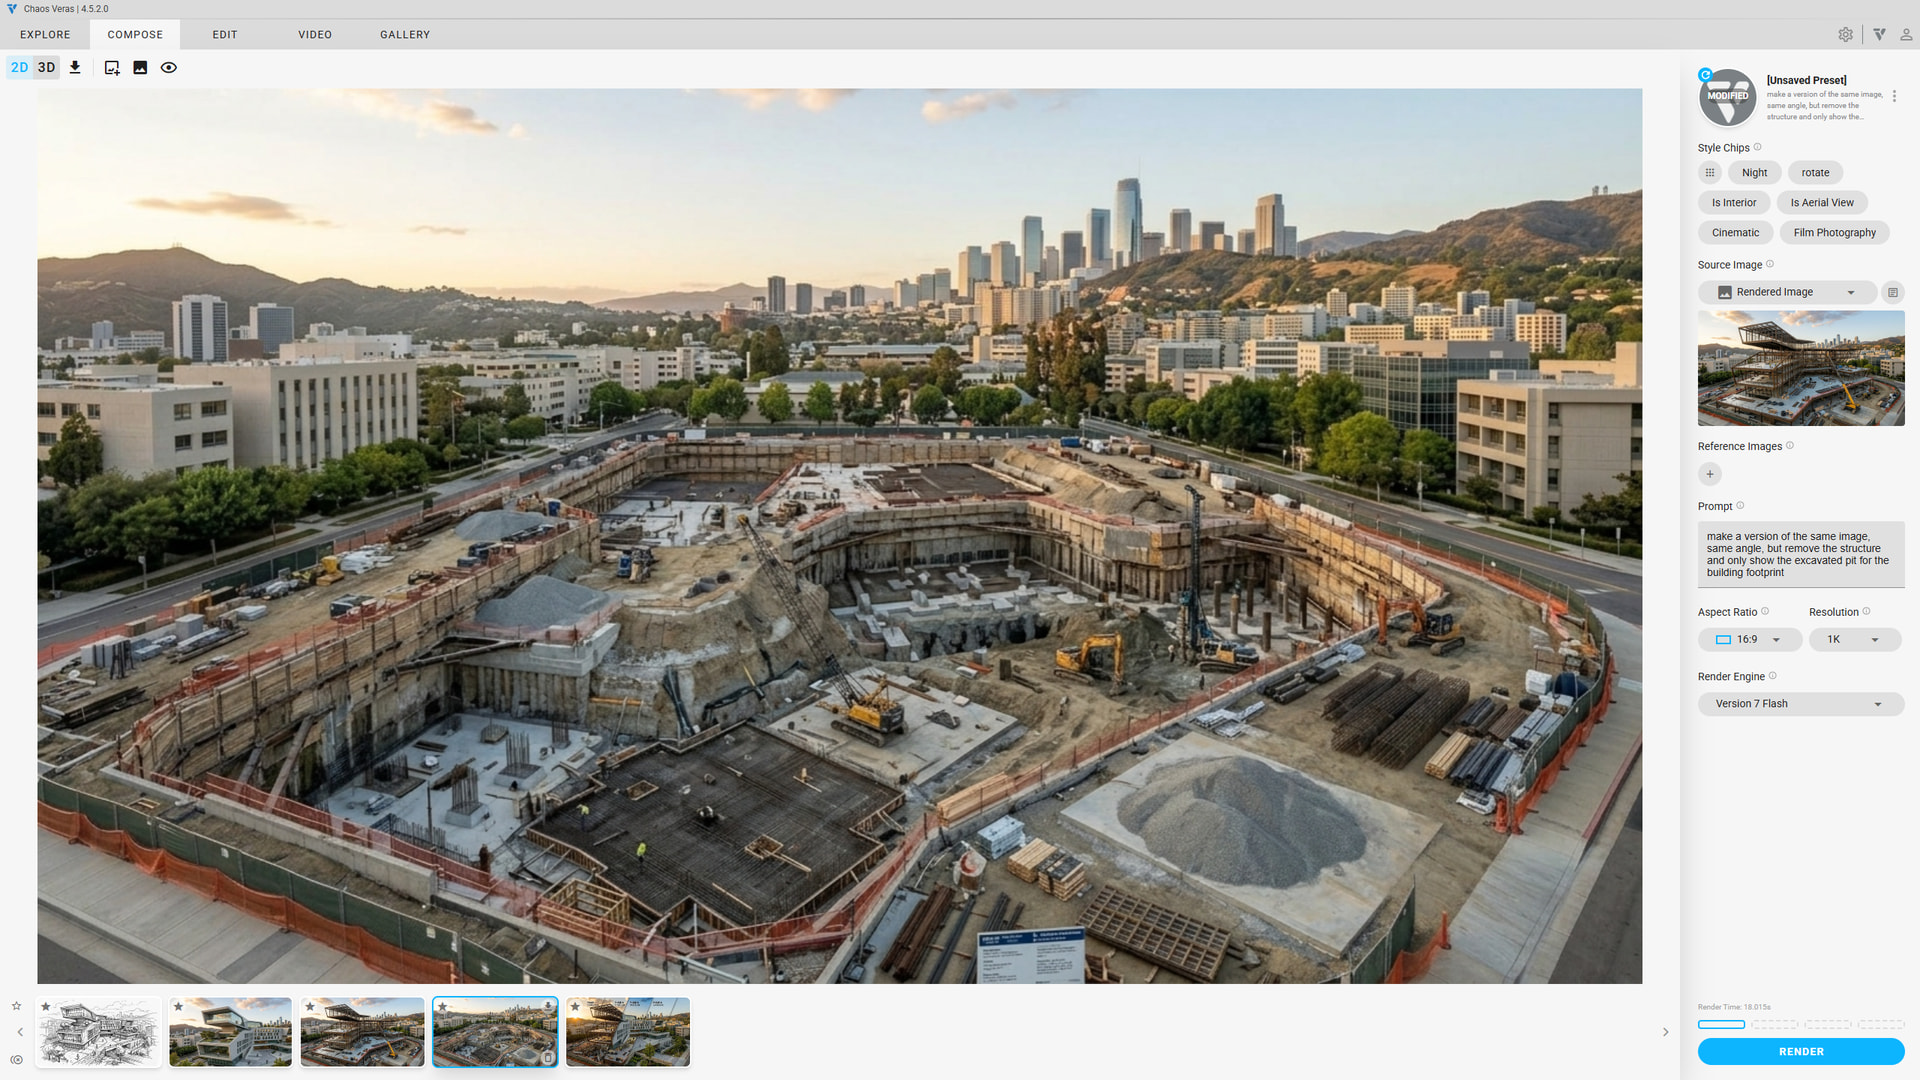
Excavated Site
- we use the structural framing image to generate the excavated site
- see property pane for settings and the prompt used
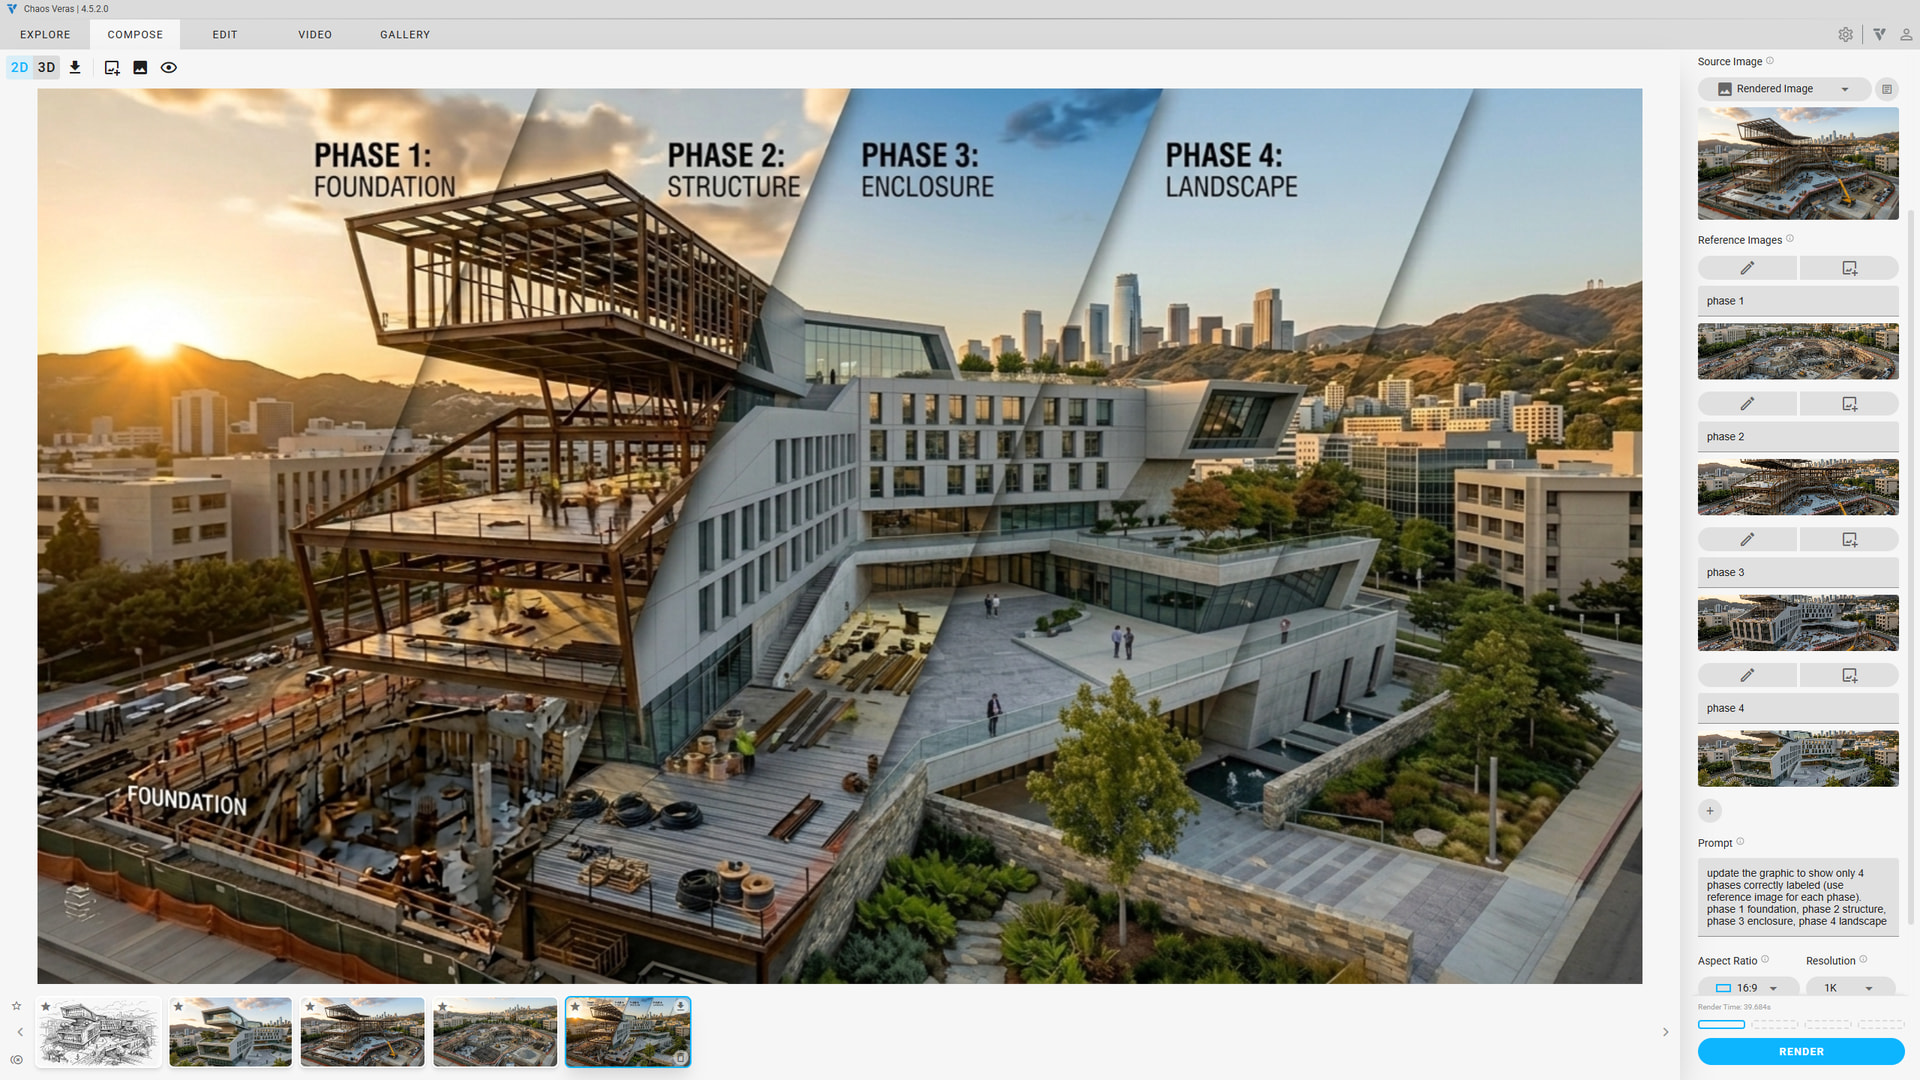
Bonus (Hero Graphic)
- we then used these images to generate the hero graphics for this post
- this was exploratory, where something looked almost there, and we further refined the image
2. Animate the Frames
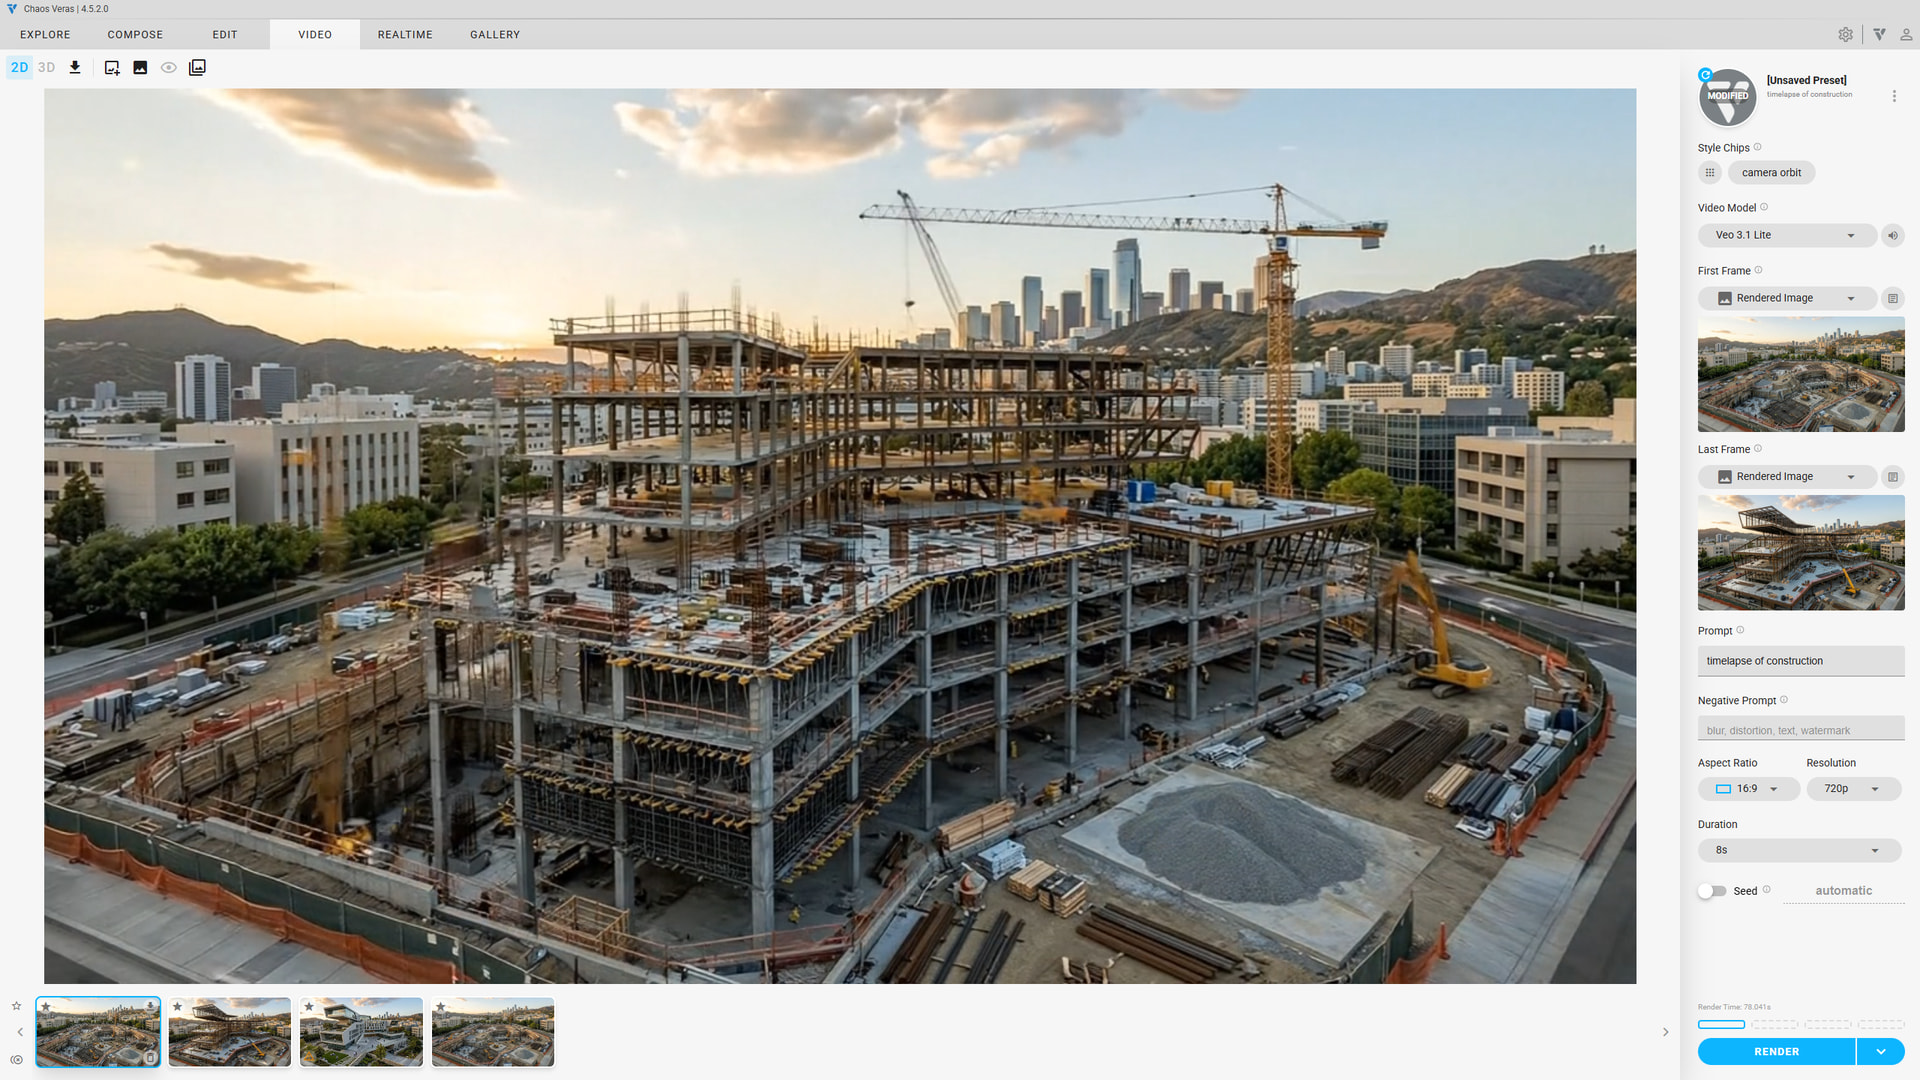
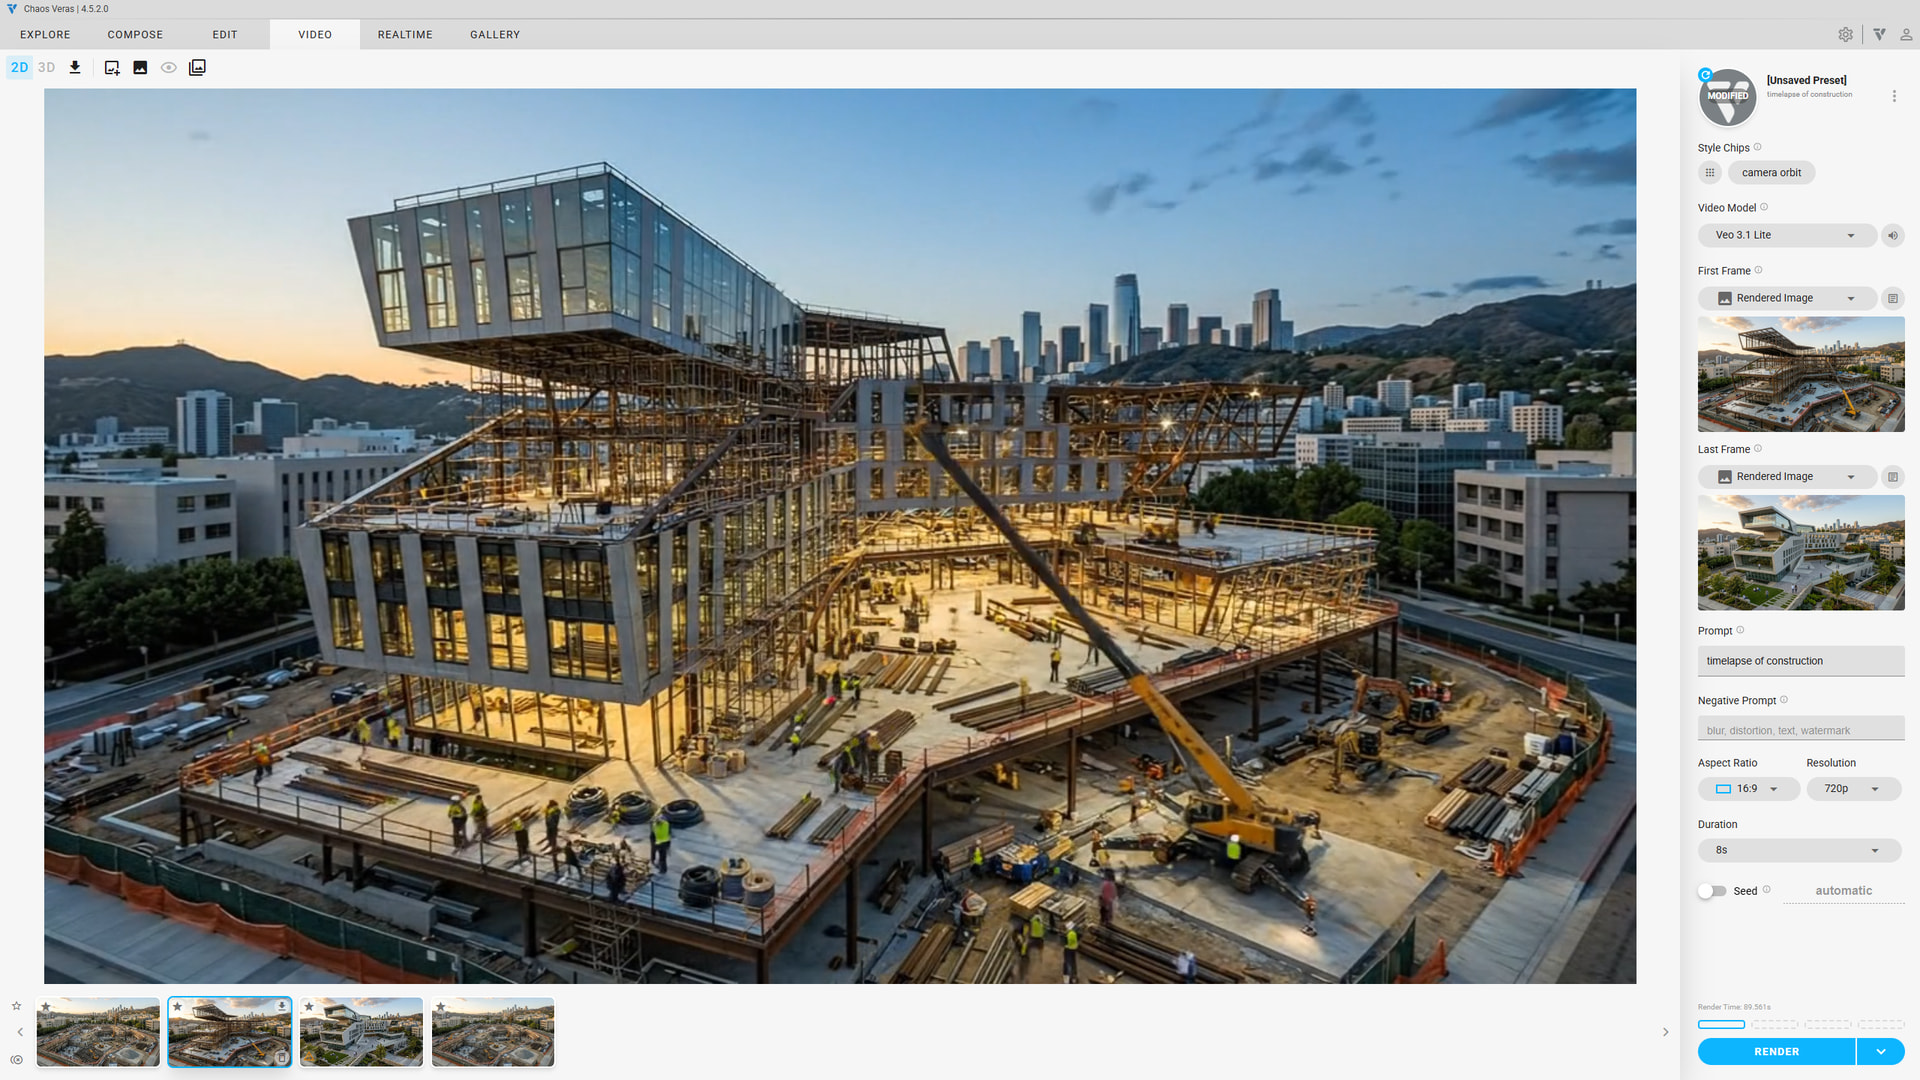
Use First Frame and Last Frame
- take the key frames and used the as start and end frames to generate videos
- for this exercise the Veo 3.1 Lite produced good results
- cherry pick which animation works best (can use the favorite feature)
Extend Last Frame
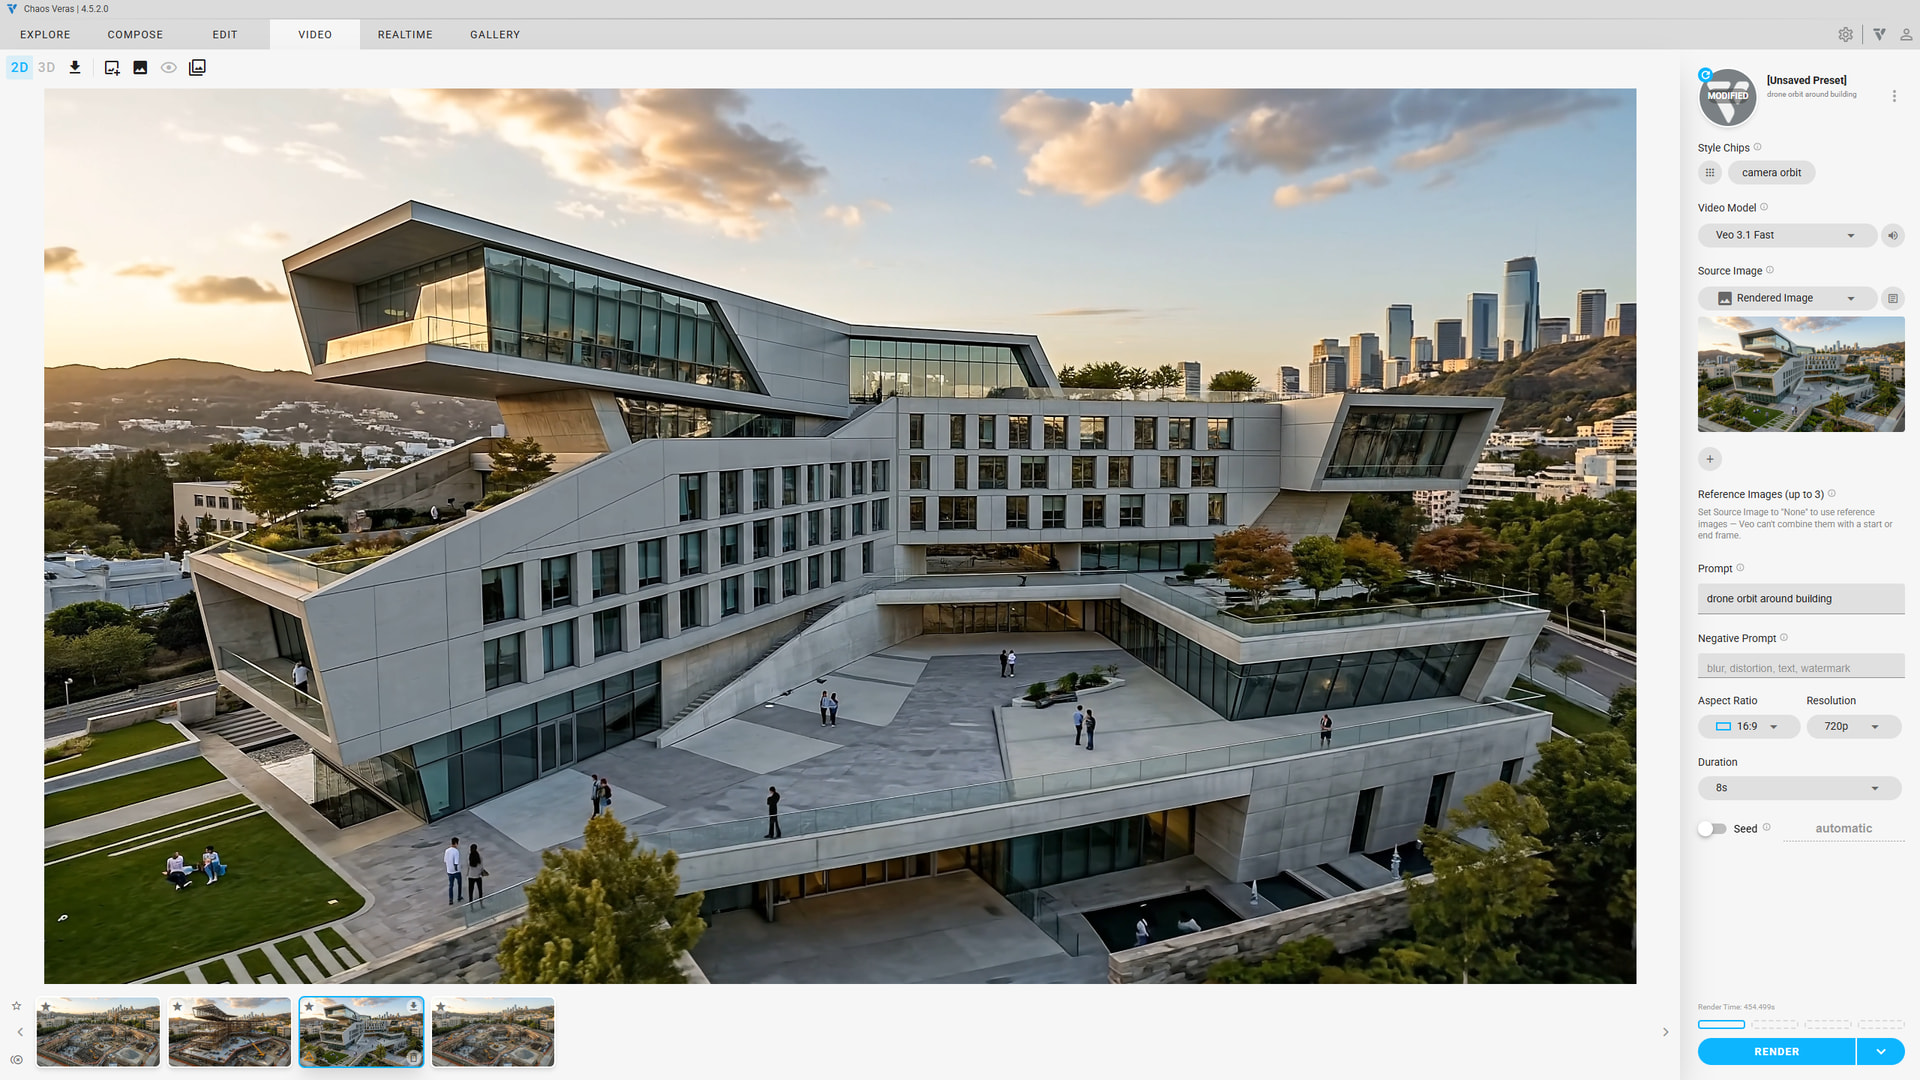
- with 3 key frames we can make two videos
- we don’t want the video to abruptly stop when the building is finished
- generate a thirds video with the building finished frame to showcase the finished project
- this can be a simple orbit or pan for the project
3. Combine the Videos
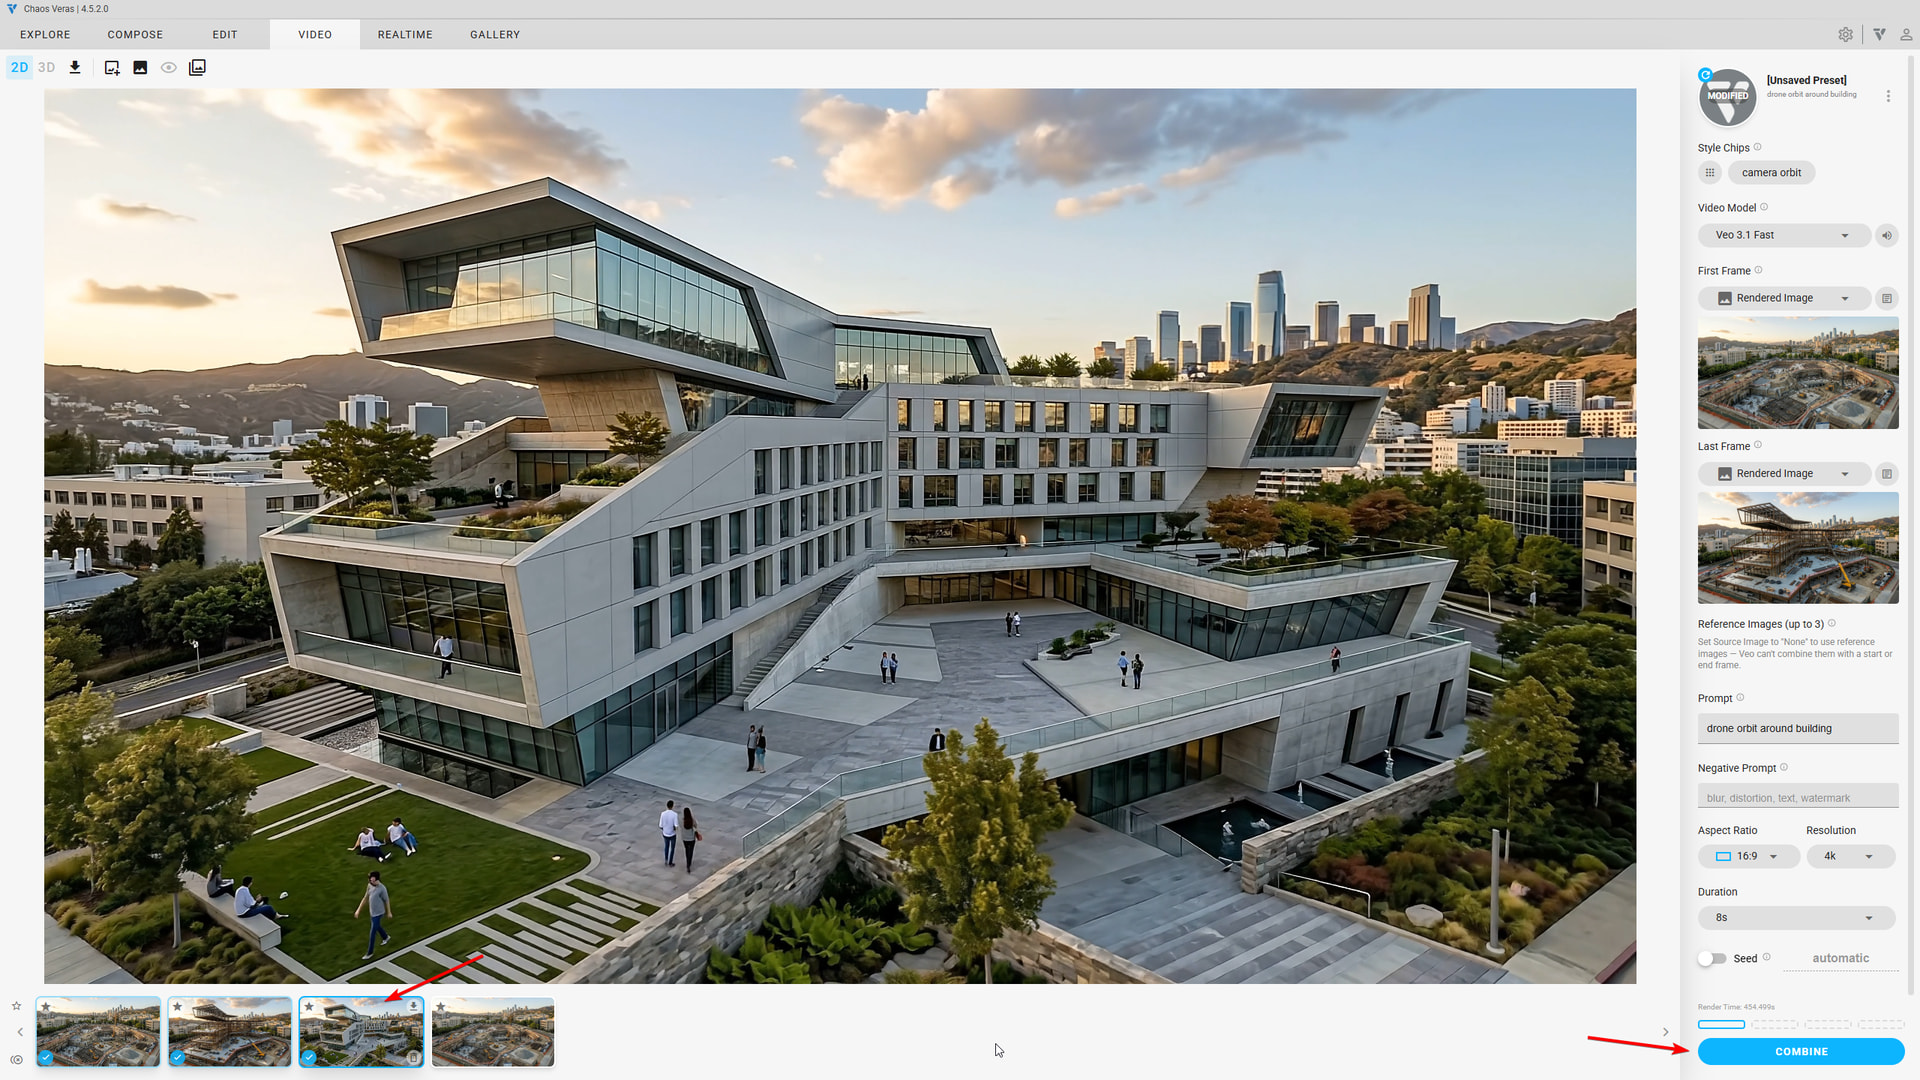
- select the three cherry picked videos using shift click
- the “RENDER” button now says “COMBINE”
- click the “COMBINE” button
- all done!!
Bonus
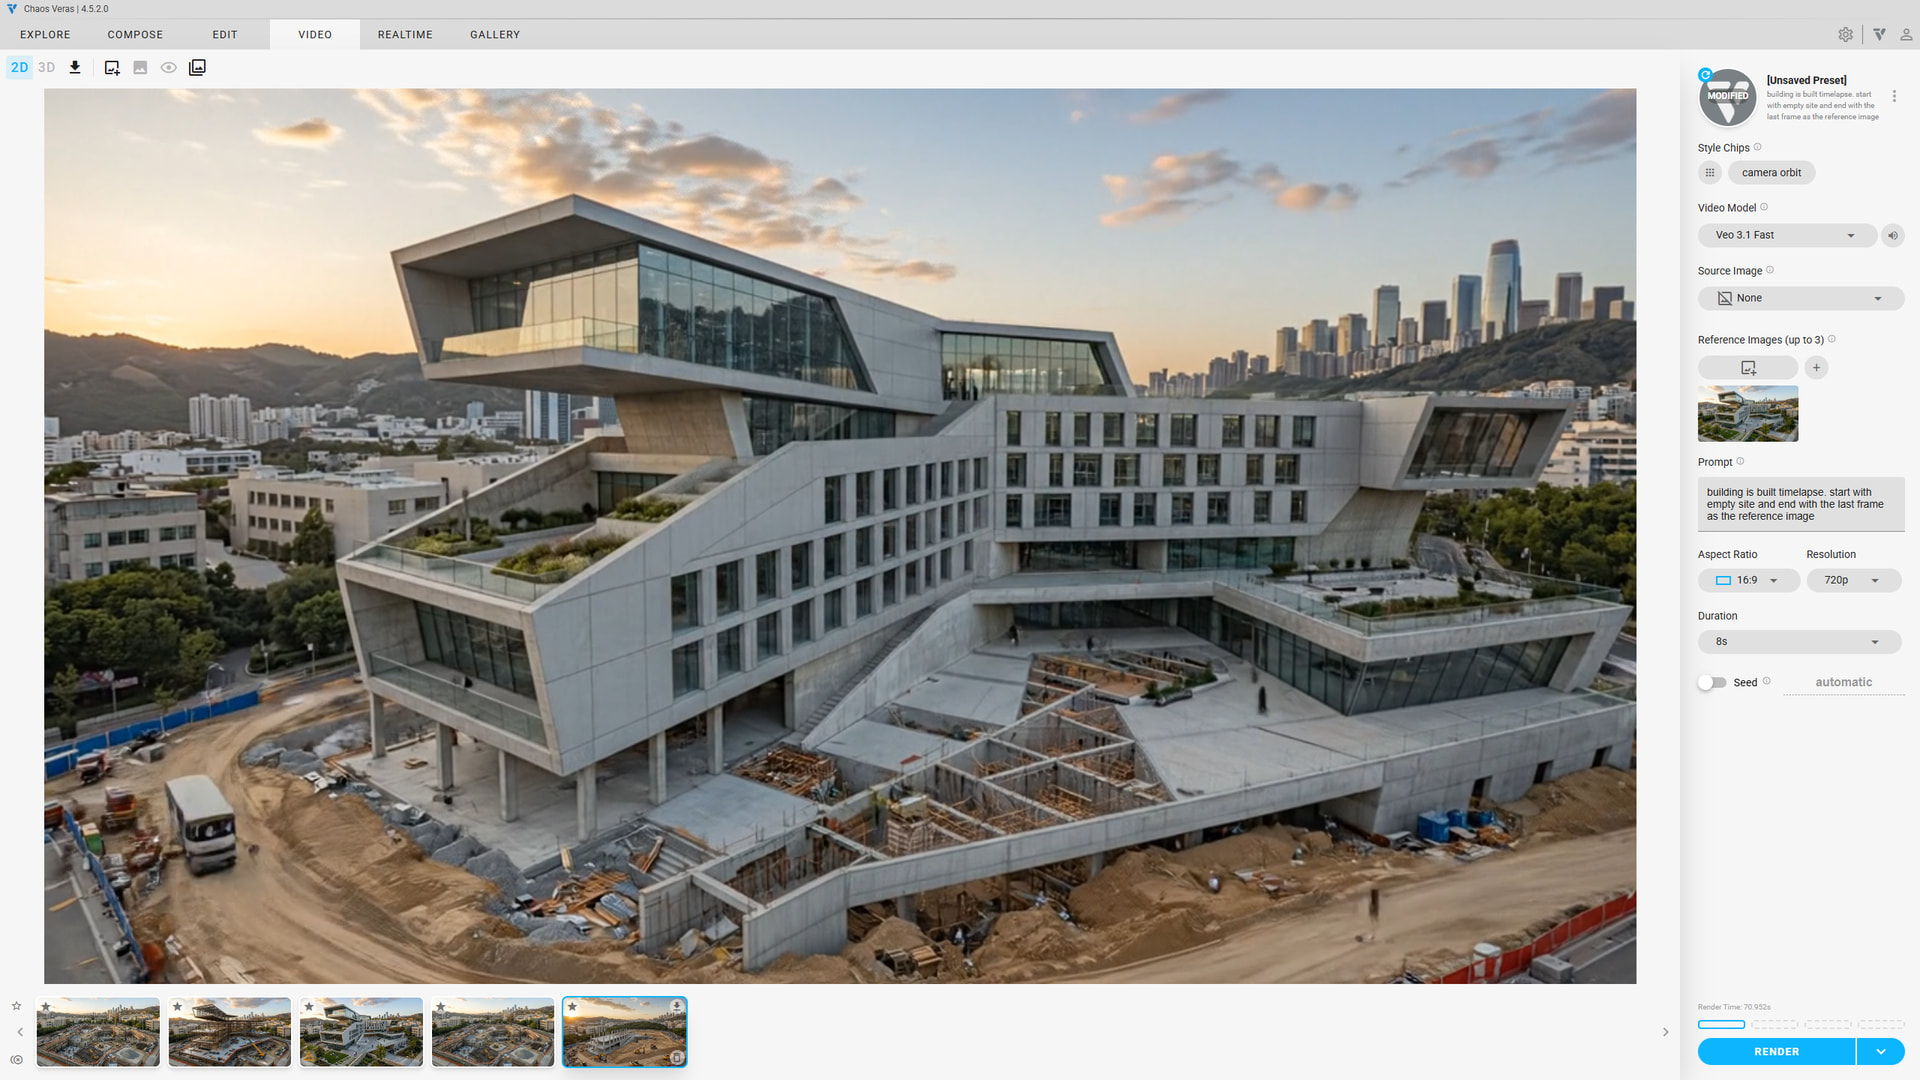
Simpler Alternative: Use Reference Image
- NOTE: this sometimes doesn’t work
- you can try to do this in one shot, if you are ok with less control
- instead of using first and last frame, select none
- use the final project image as a reference image
- make a prompt to use the reference image as the end of the video:
Video Output
- this one was cherry picked from a few tries