Cad Floor Plan to Revit Using Helix

Sample Files

Office_Building_01-floor_plan.dwg
Office_Building_01-floor_plan.hlx

1. Link CAD file to Revit

2. Open Helix DWG

3. Map the CAD Layers

With the CAD file selected, map the cad layers:
2023-12-15 - 14-46-42

4. Build Revit Geometry

Click the Create Elements button:
2023-12-15 - 14-52-17

Hi,

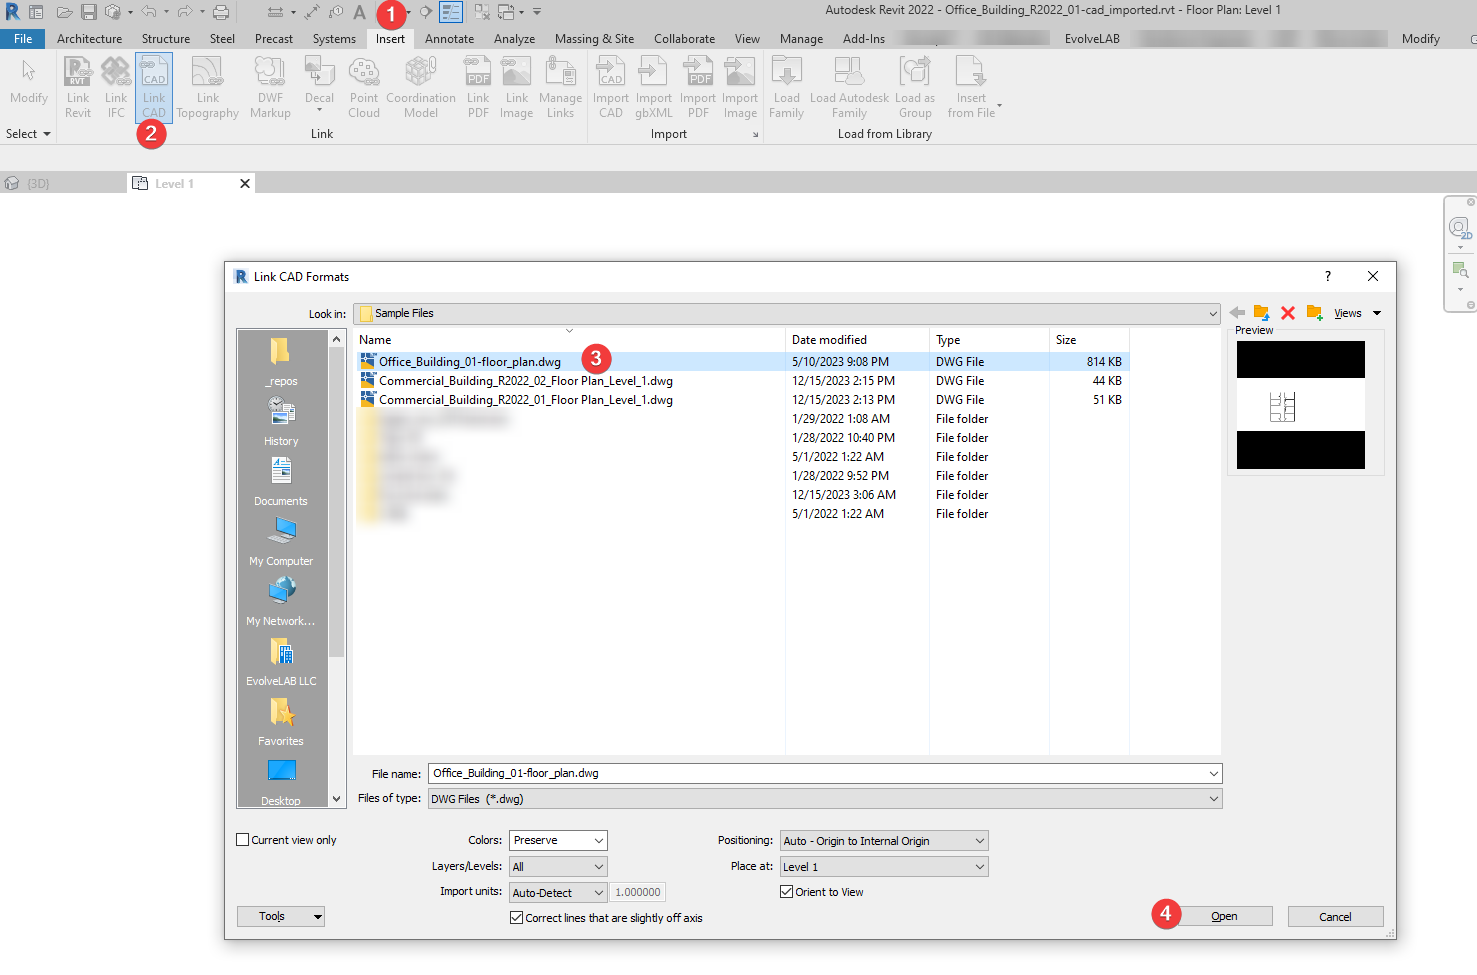
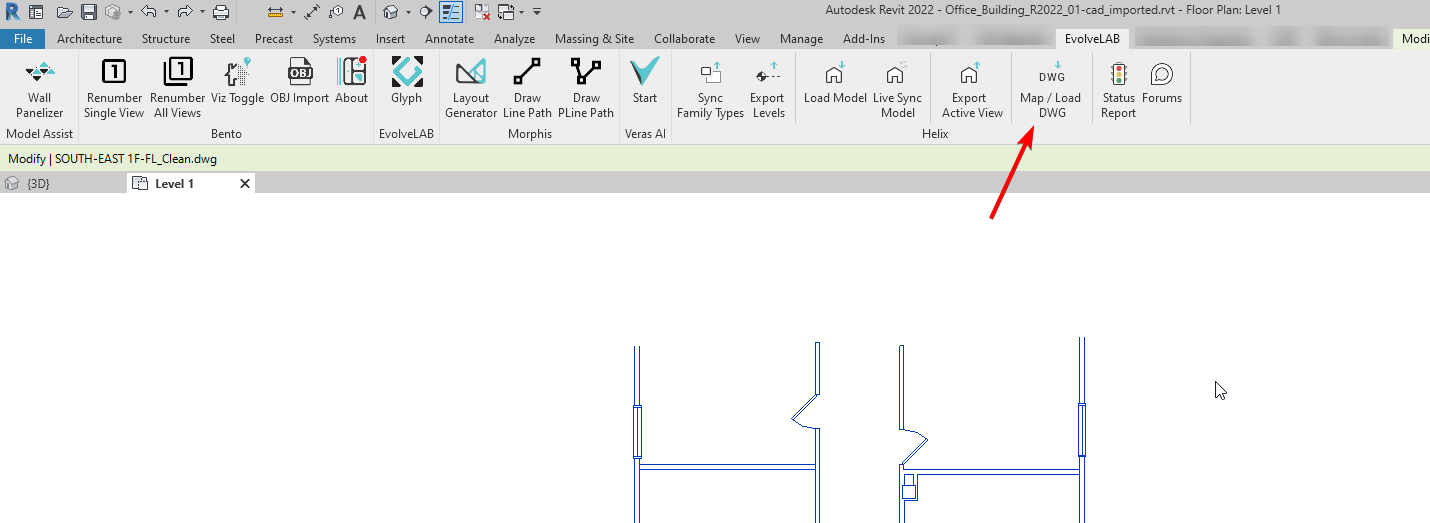
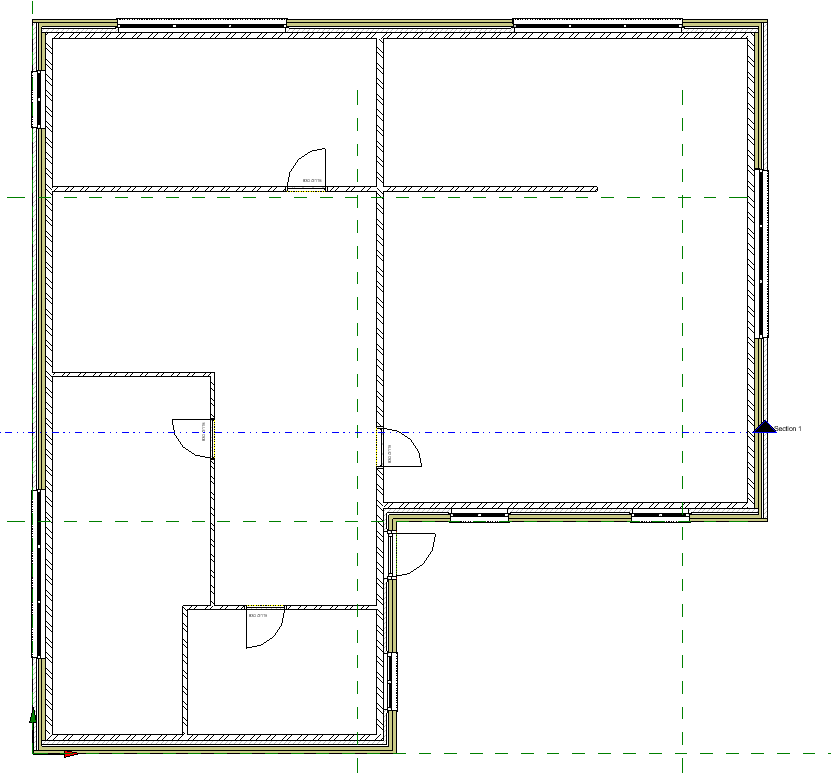
I am trying to make a CAD file to a Revit model, i try to use an outside wall which is made out of different materials (insulation, air layer, and facing brick). It is important that de facing brick is on the outside and the insulation on the inside of the wall. It seems that Helix can’t see what needs to be in-or outside and it orientates every wall the same. This makes it that the wall on the bottom of my plan and the wall left or right is the other way around. Any ideas how i can fix this? (already tried looking in type parameters but i don’t seem to find anything usefull)

@MilanSoffers - welcome to the forum.

Helix cannot set the wall flip side currently. The wall orientation is detected based on how the cad line directions.

It could be possible to add this functionality in the future, but for now, there’s an easy fix:

  • select the walls that need to be flipped
  • set the Location Line to be Wall Centerline
  • press Spacebar
  • set the Location Line back to Finish Face: Exterior

2024-05-08 - 07-17-13 - Revit