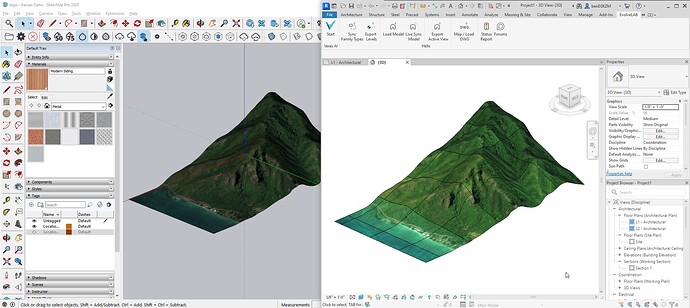
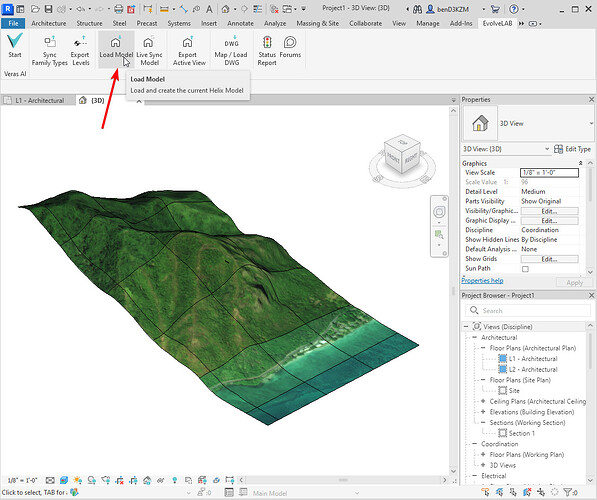
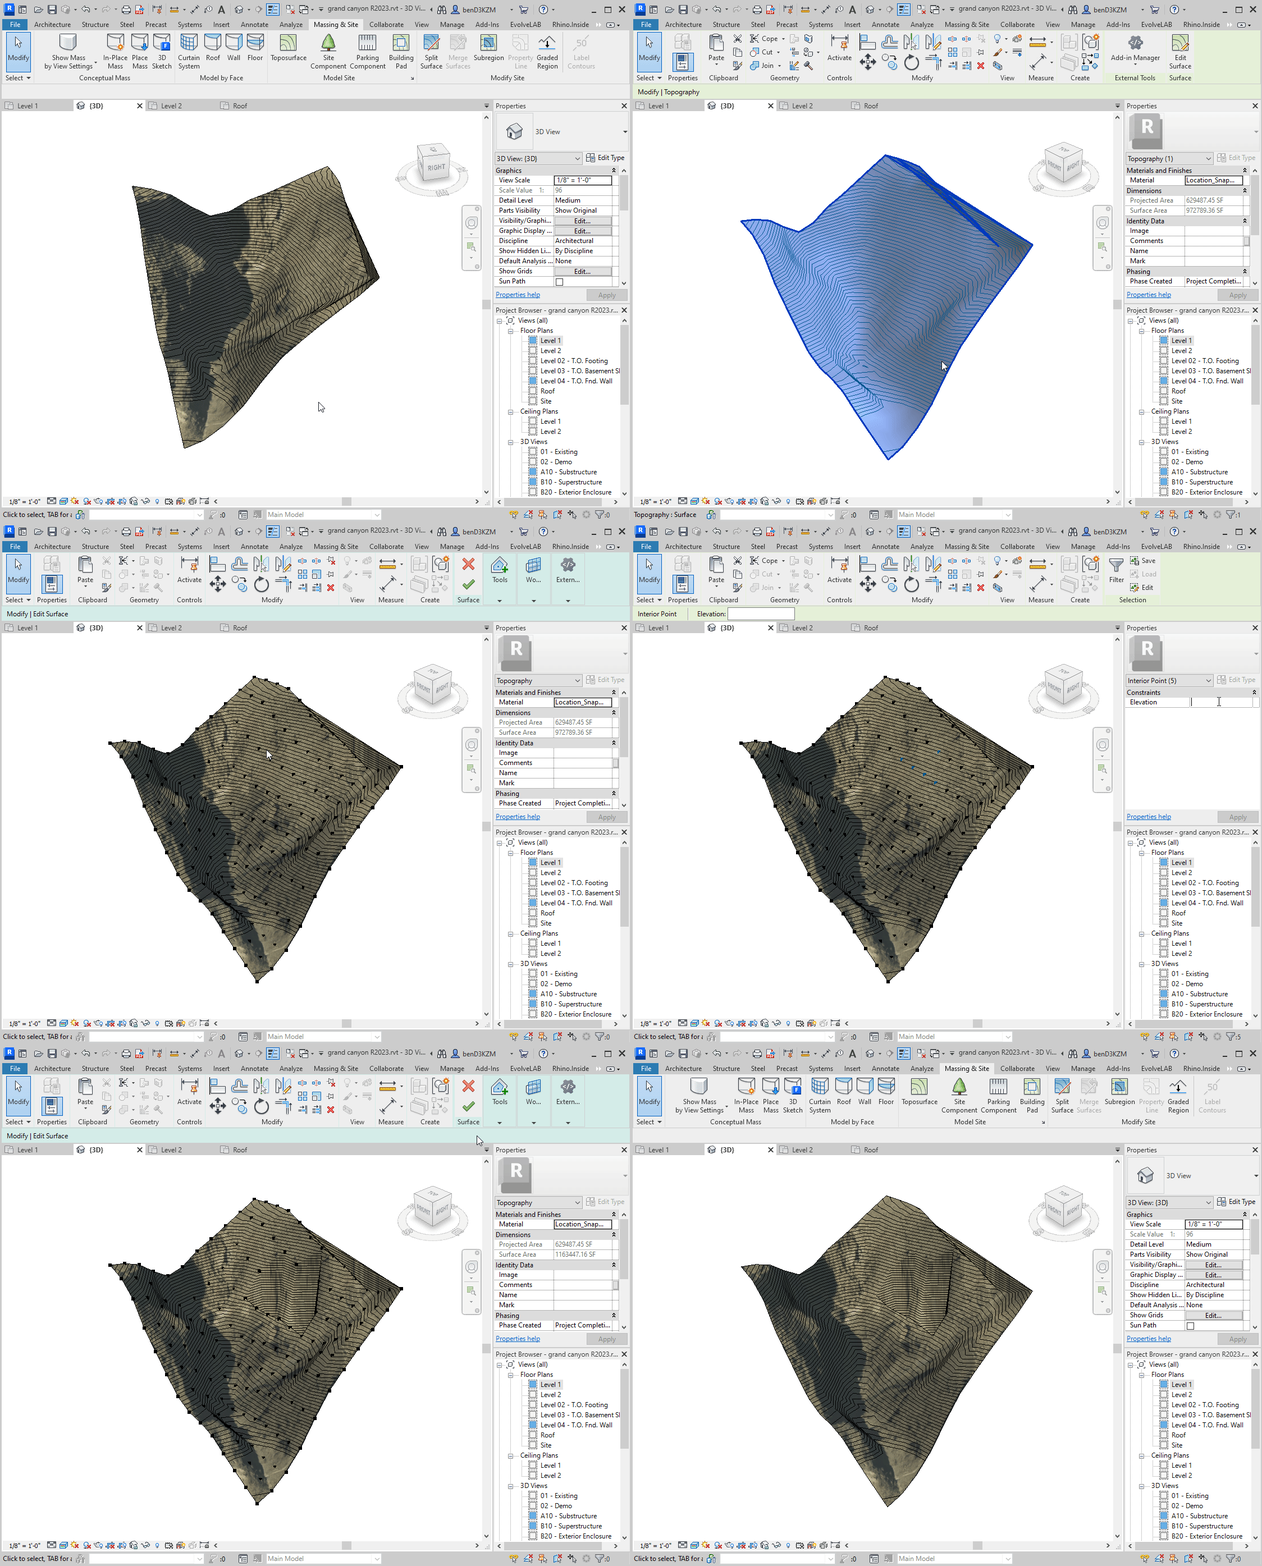
In this workflow we’re using SketchUp’s native location feature to get the textured terrain geometry and then send it to Revit. Note that this is only compatible for SketchUp 2022 and up, and Revit 2023 and up.
1 | Get Map Loaded in SketchUp
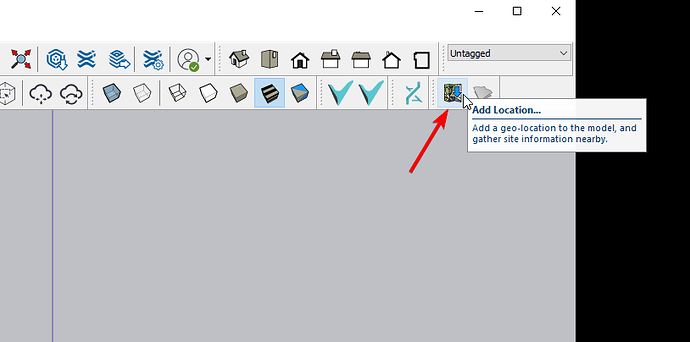
- click the Add Location… button in the SketchUp toolbar
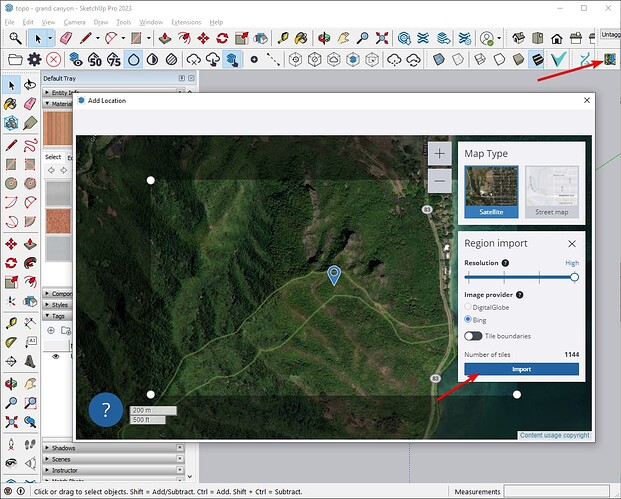
- select a location and adjust the region
- example uses a region in Oahu, Hawaii
- click the Import button when ready
2 | Map the Geometry in Helix
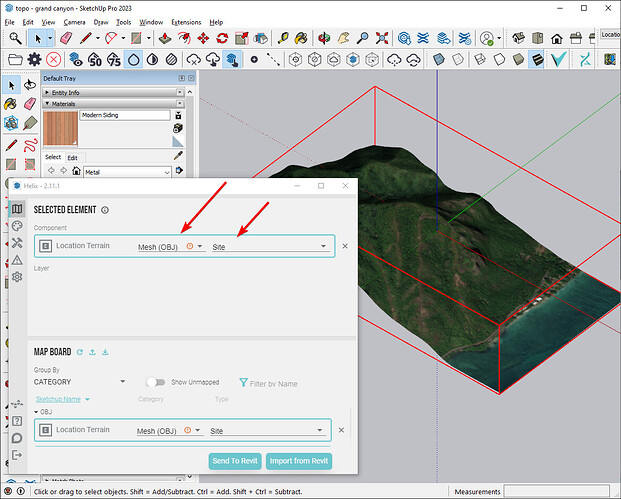
- turn on terrain tag (by default it is hidden)
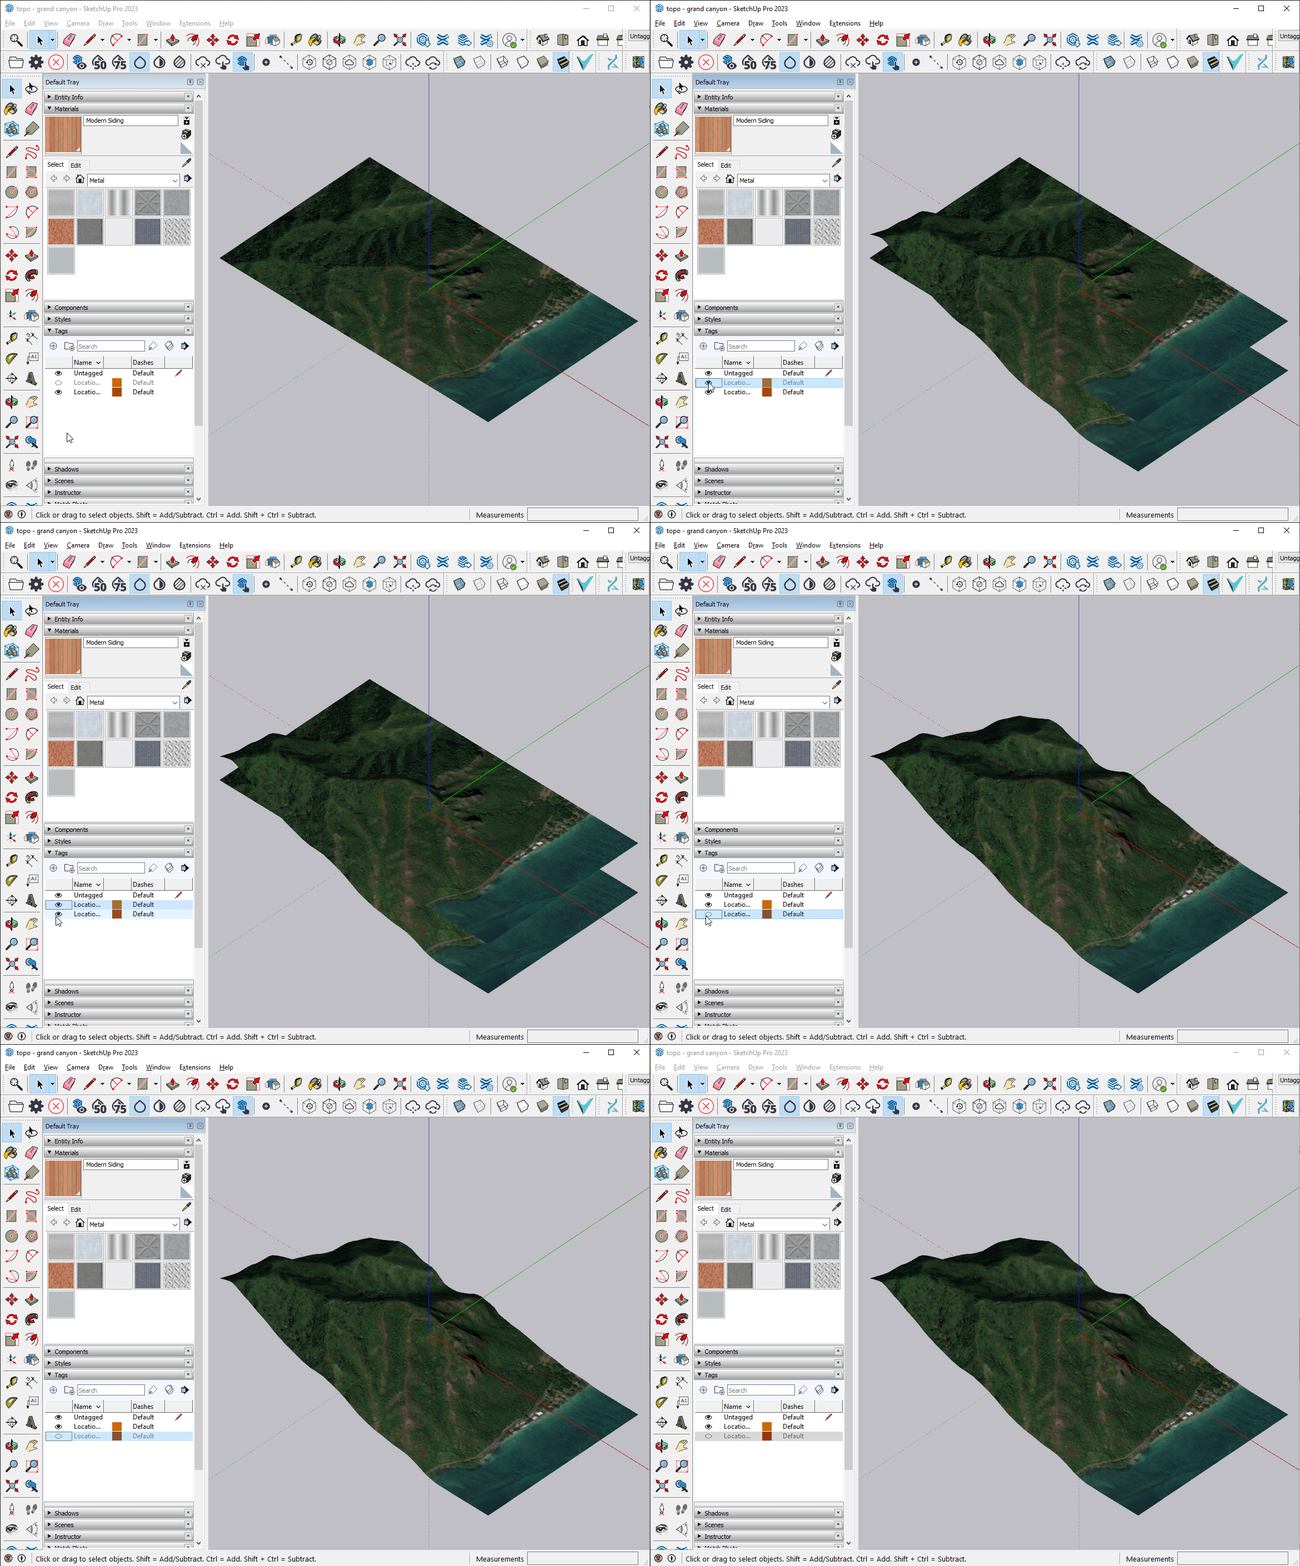
- map the selected terrain group to a Mesh (OBJ) and a Site Revit Category
- click the Send To Revit button
3 Load into Revit
- in Revit, under the EvolveLAB ribbon tab, click the Load Model button
- you should see the new terrain imported as a Revit site family
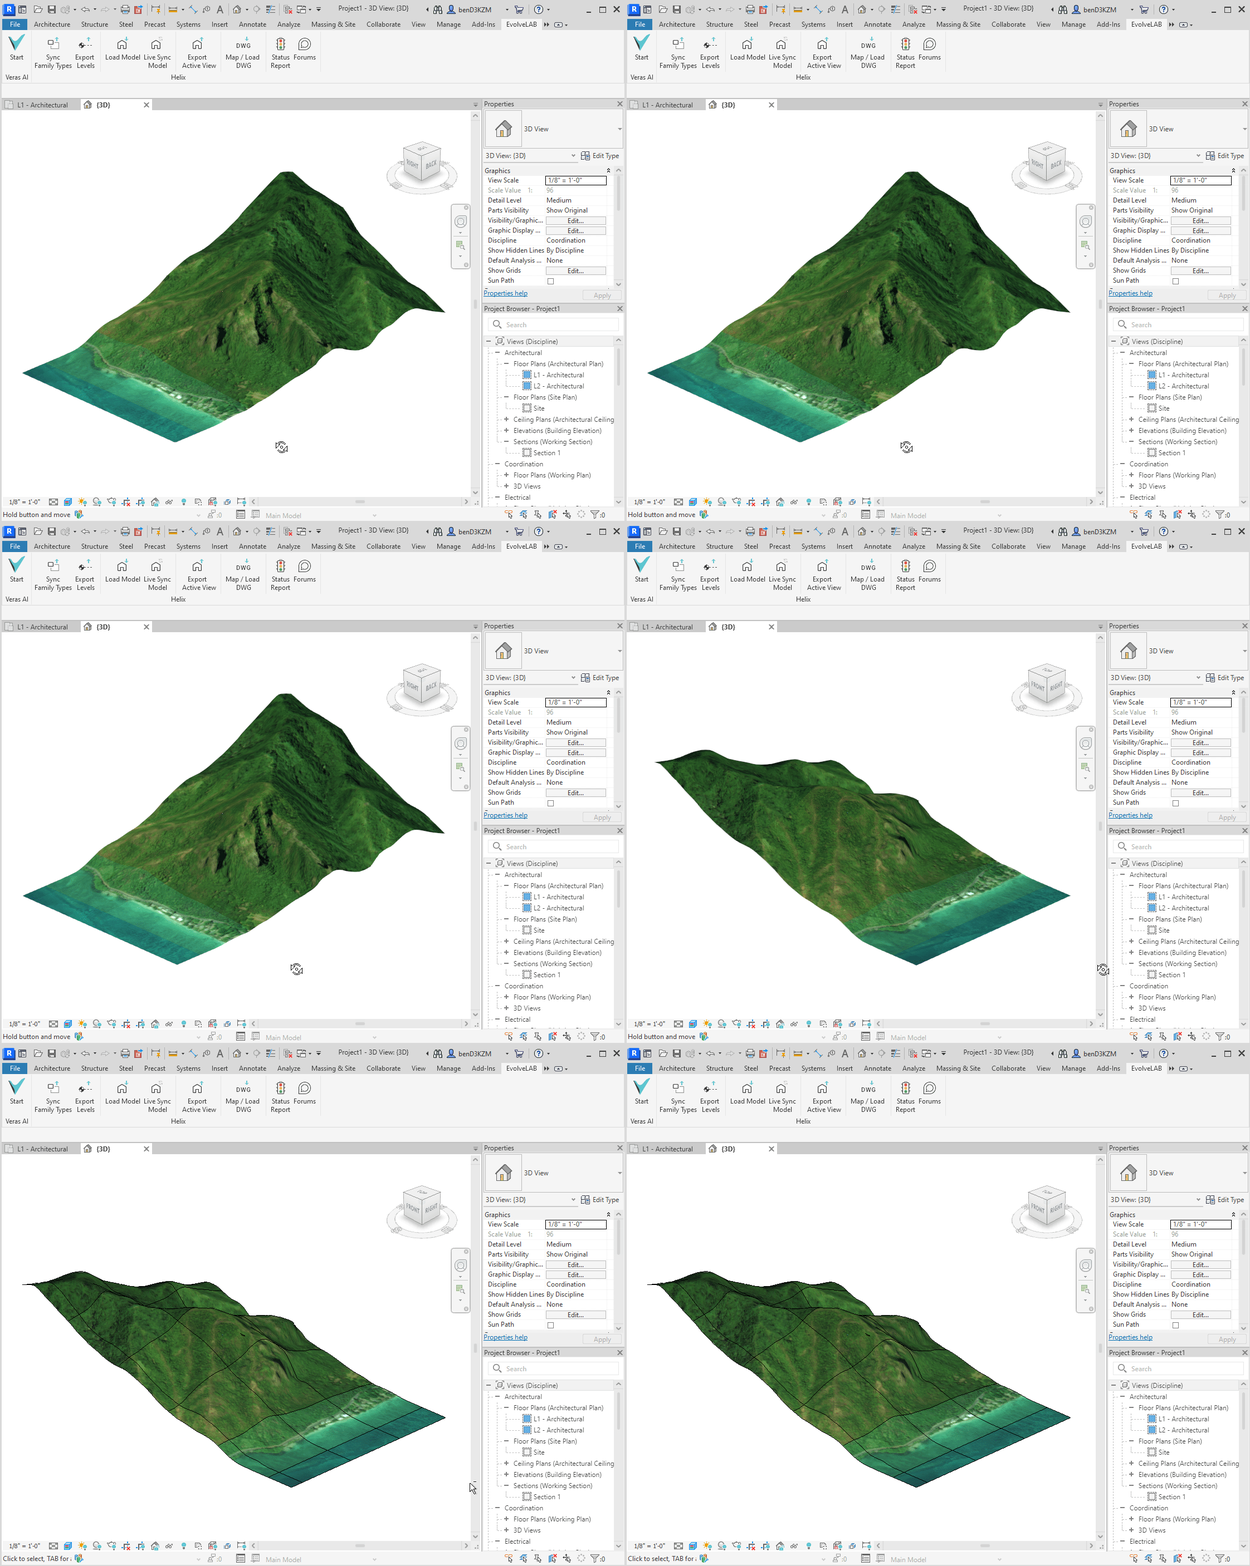
textured terrain
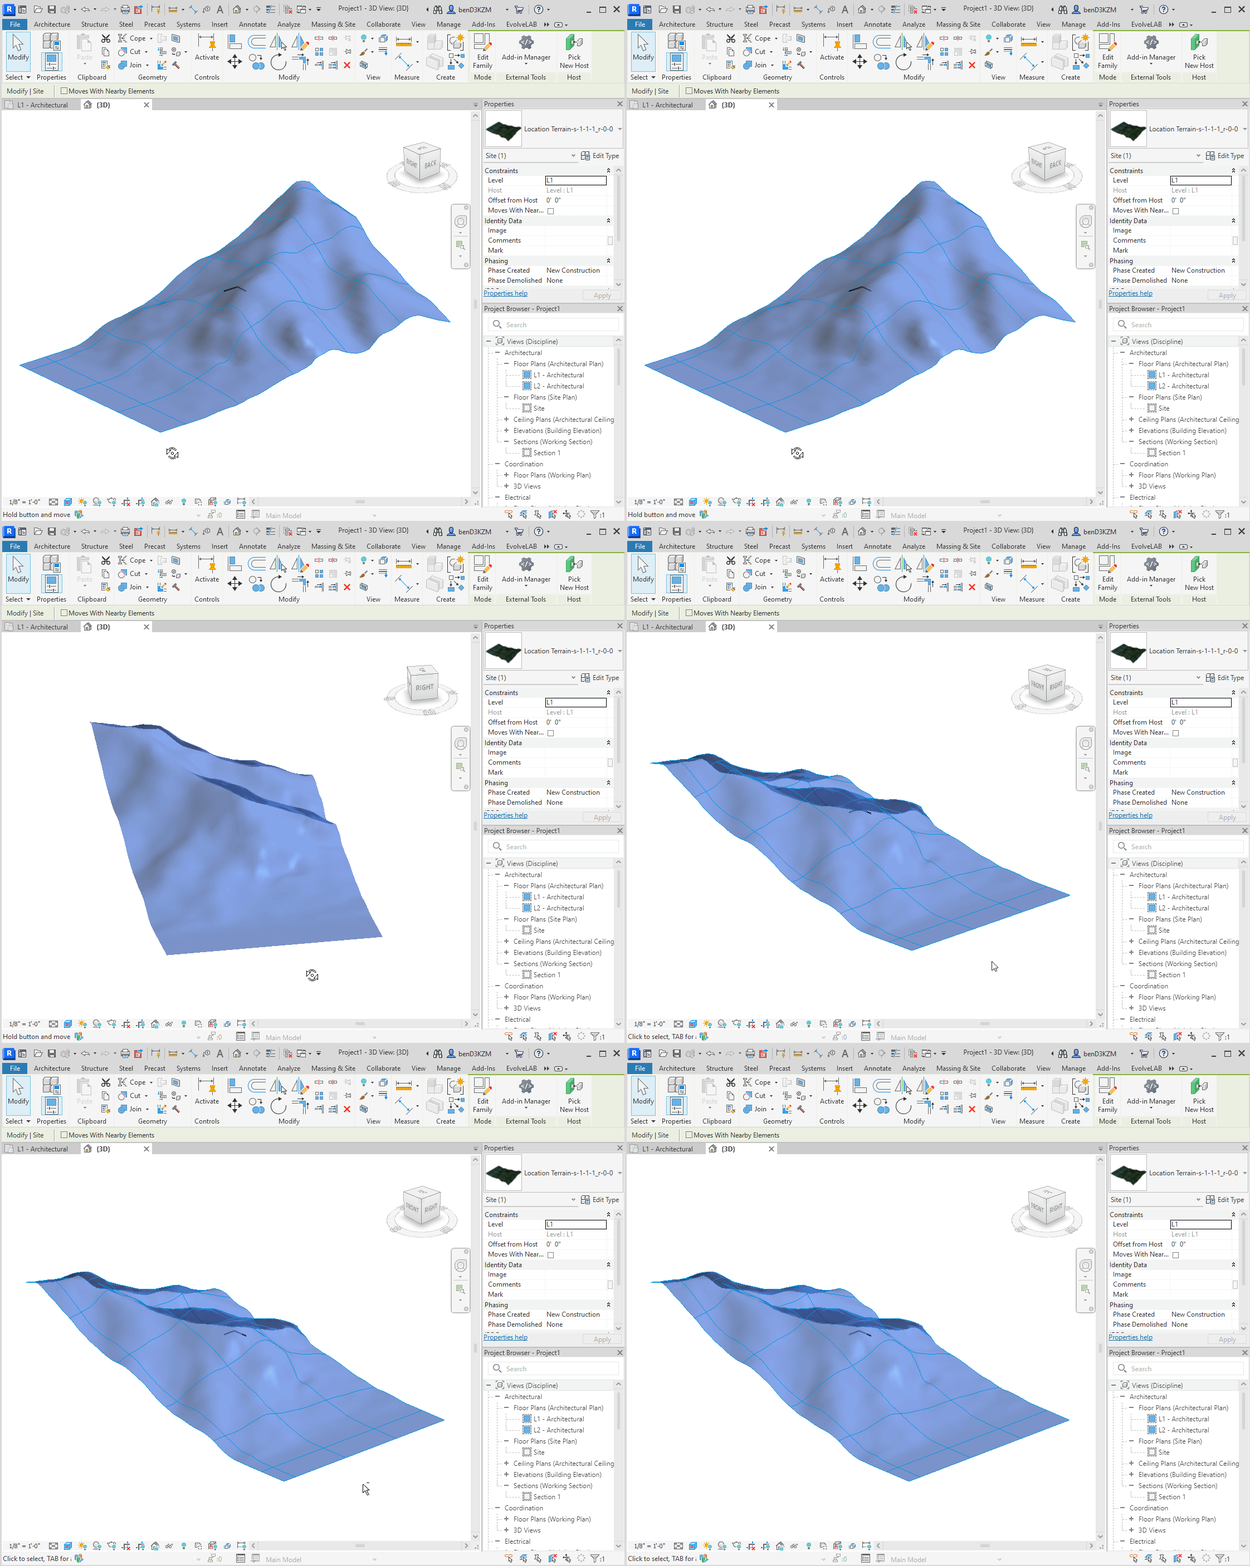
terrain family selected
More
We repeated this process a spot in the Grand Canyon
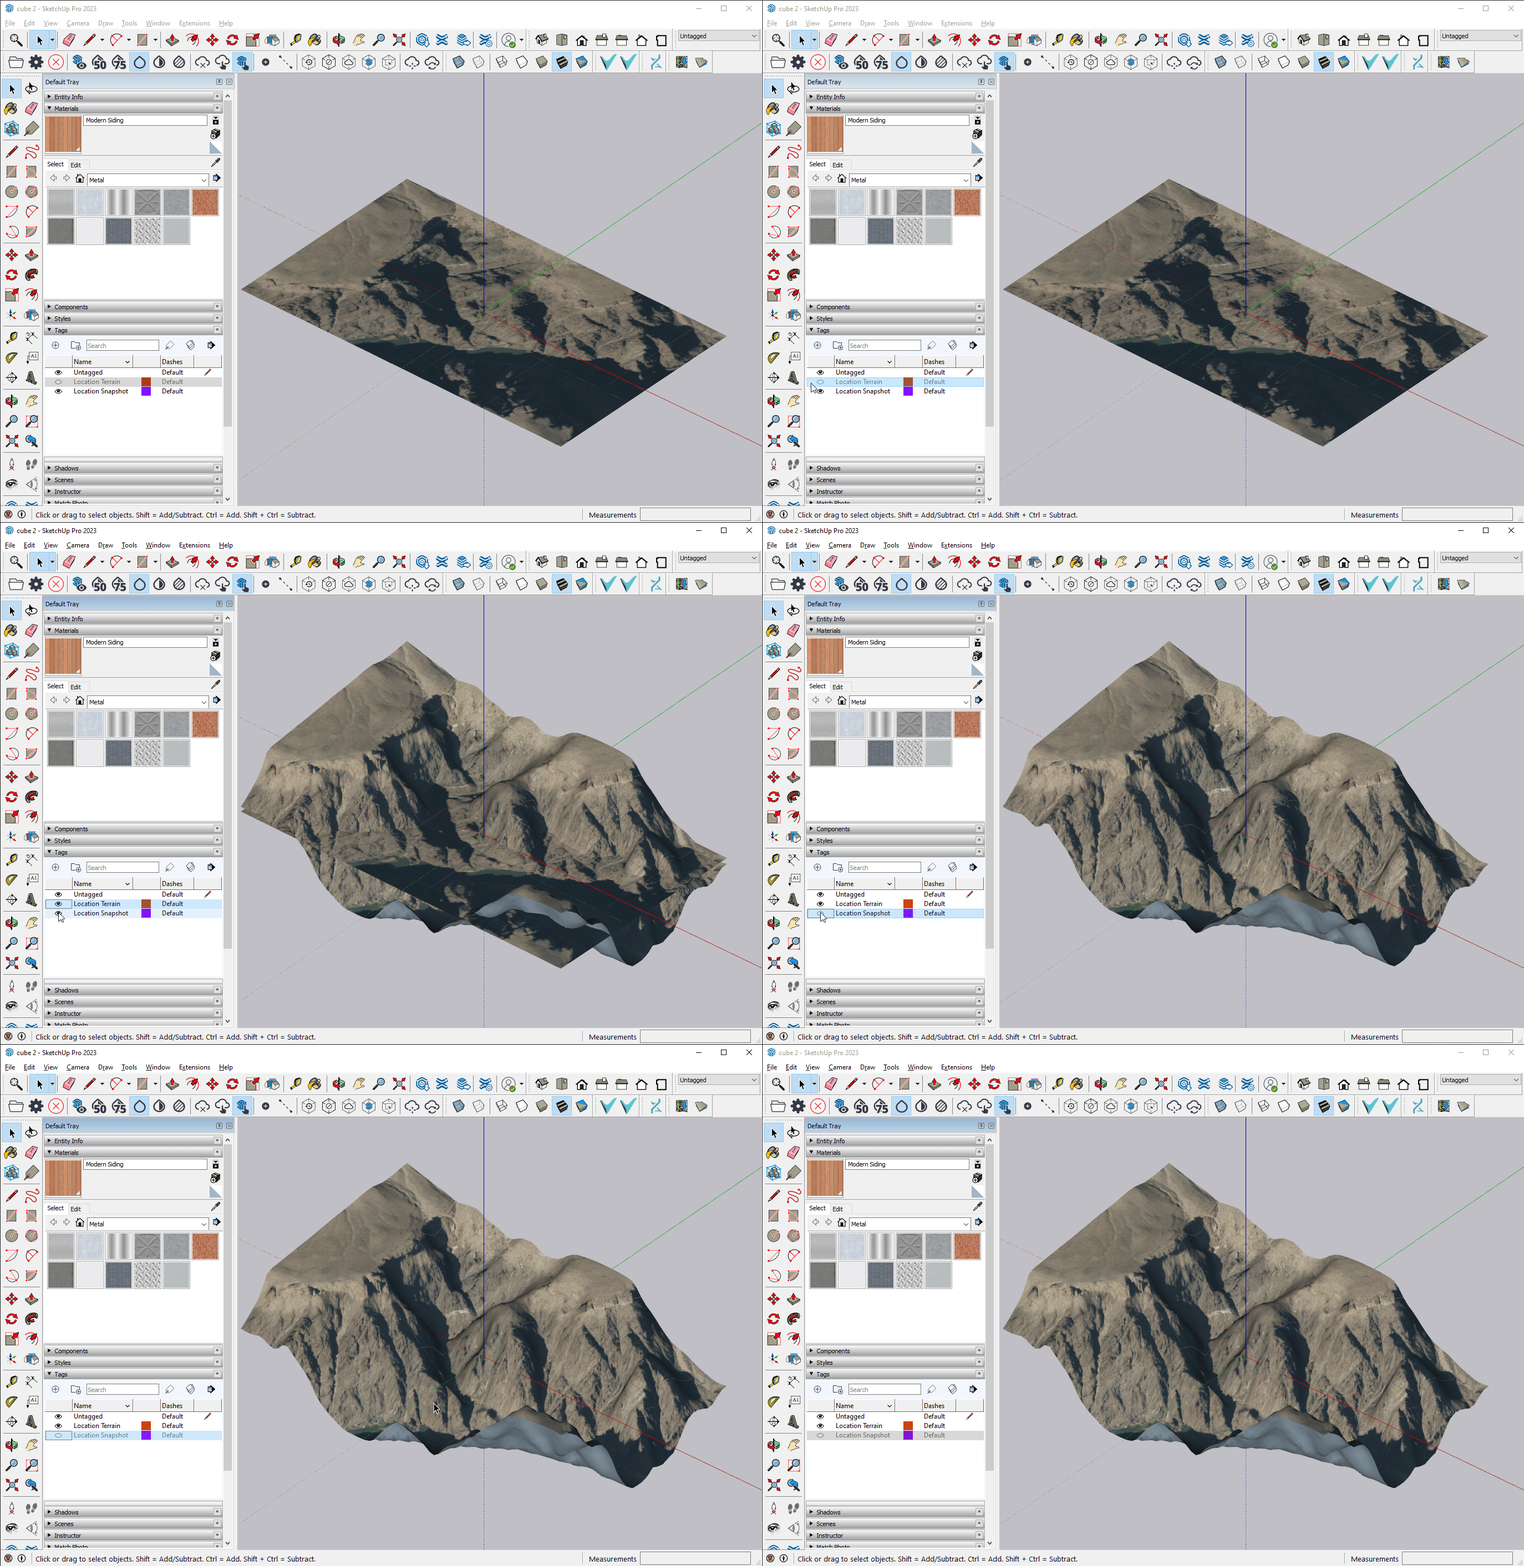
SketchUp terrain geomtry
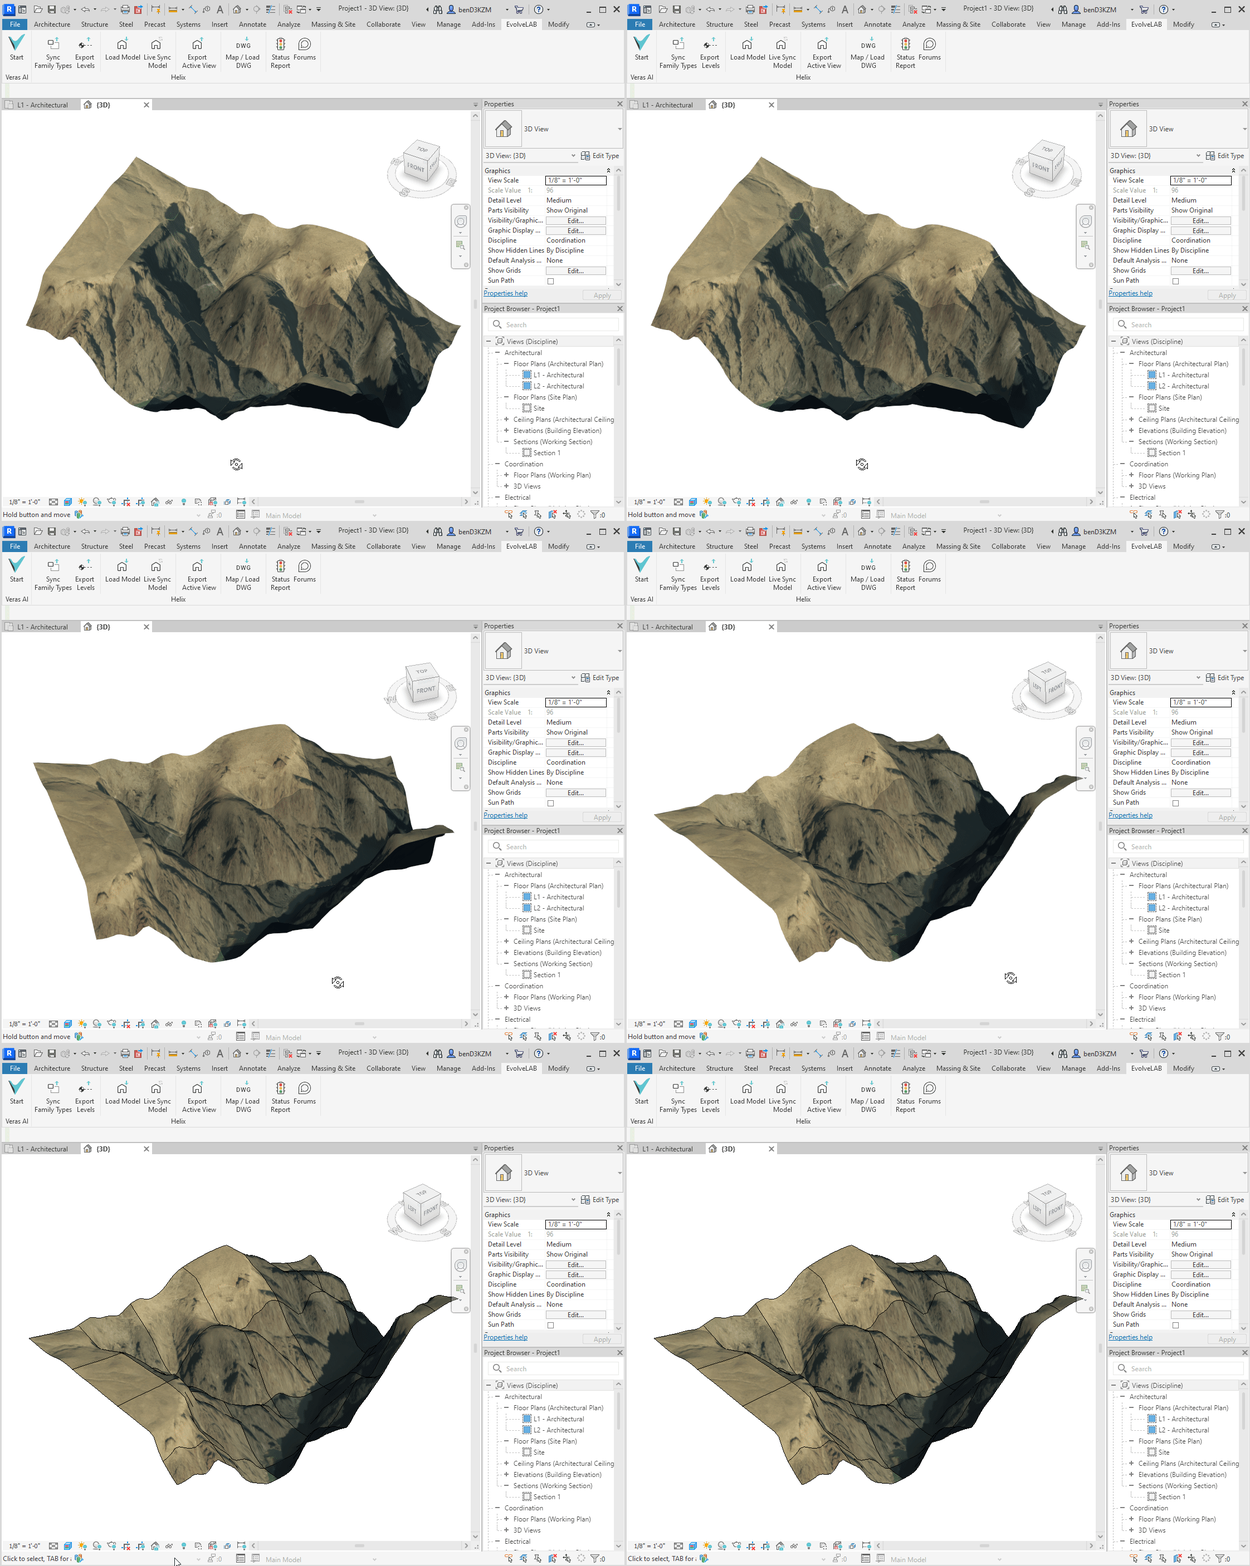
Imported terrain into Revit
