This workflow demonstrates how to use Veras to animate the construction of a project using the Revit sample model. It is more for illustrative purposes.
Note: For a more accurate construction animation, we would need to setup the visibility of the items more accurately.
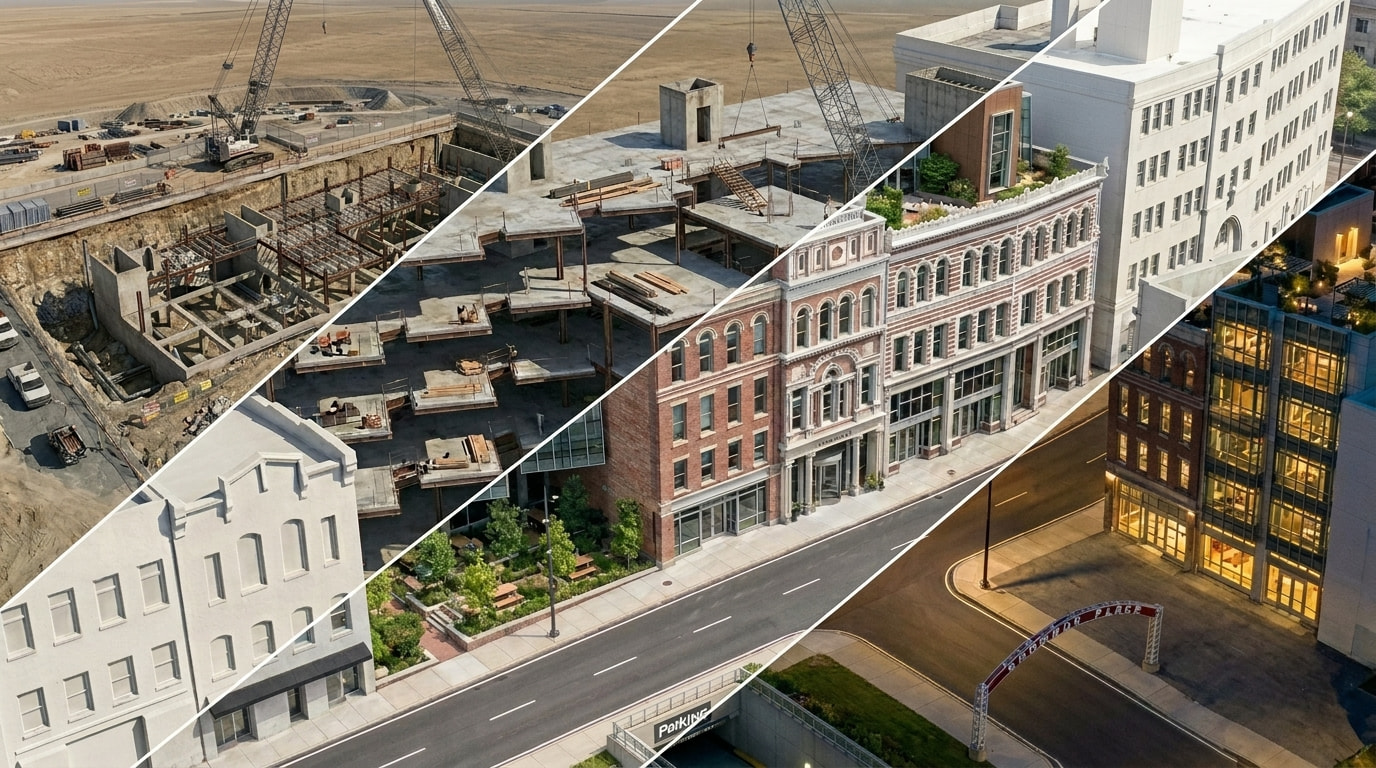
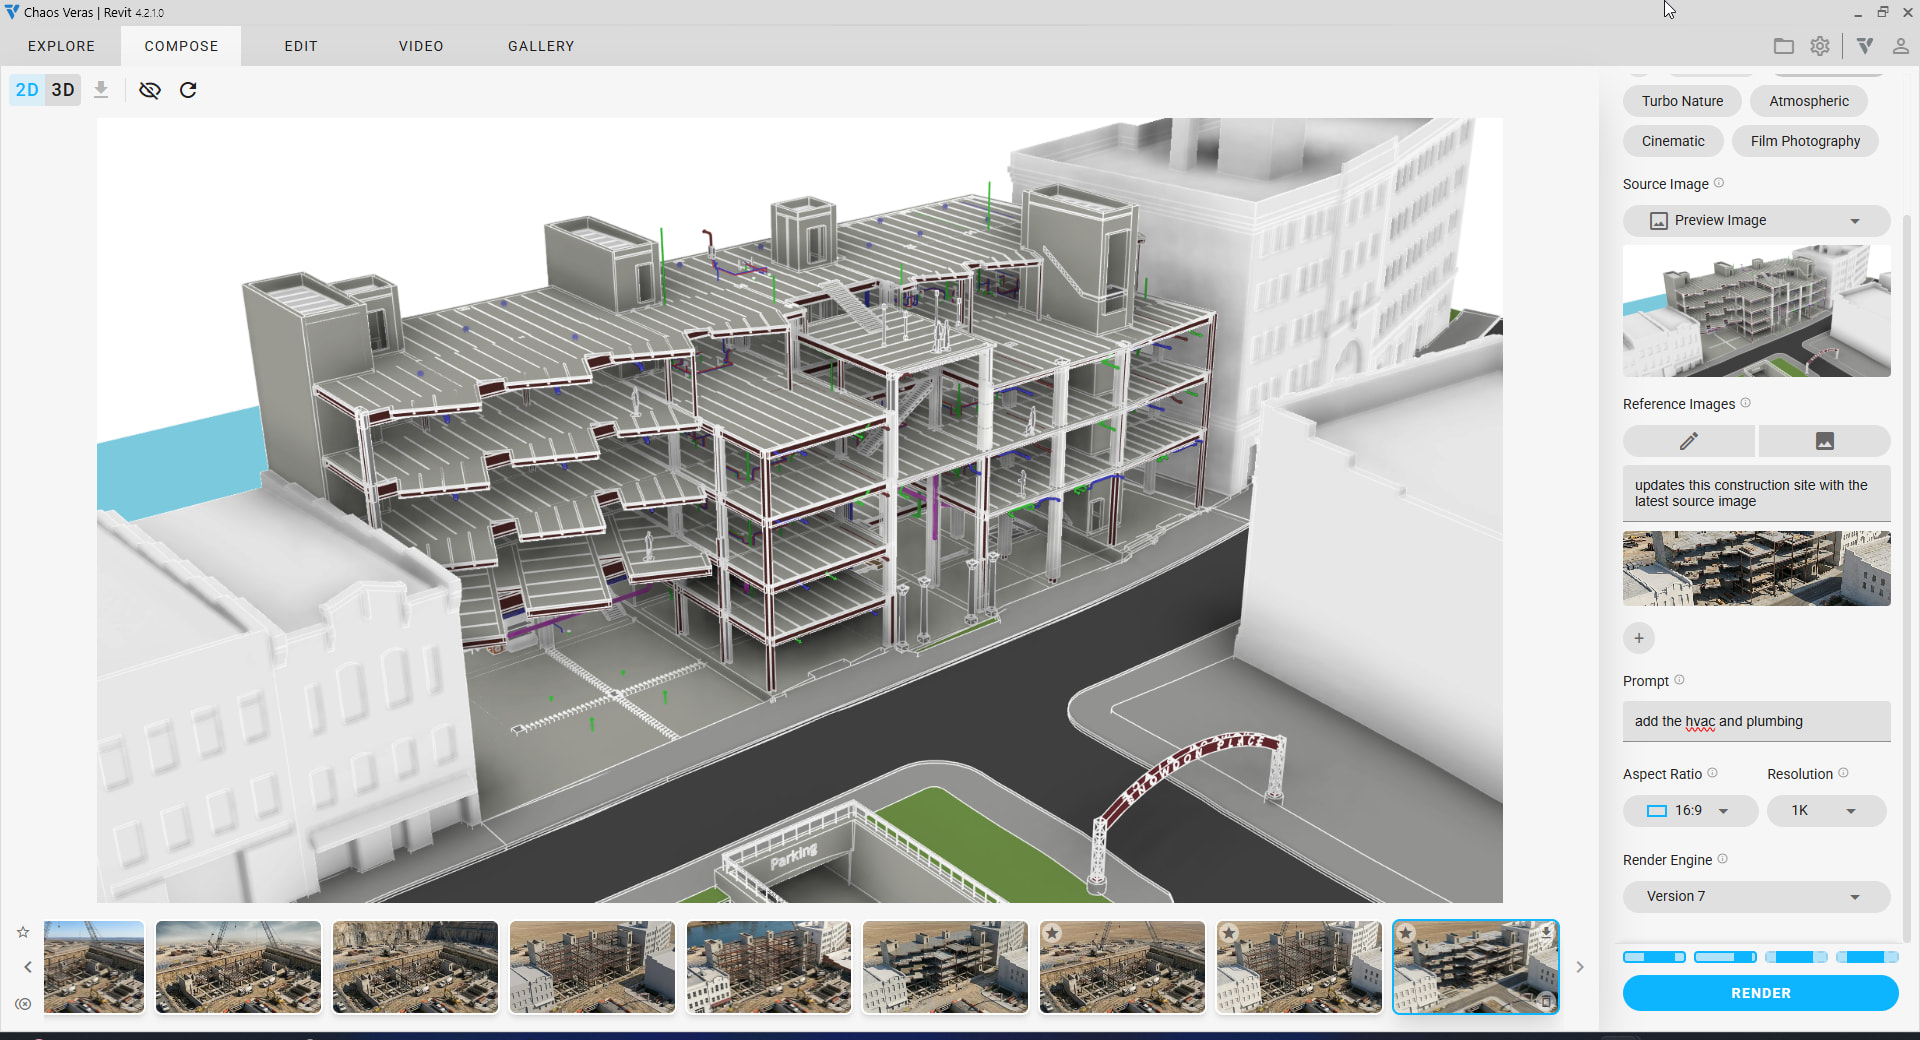
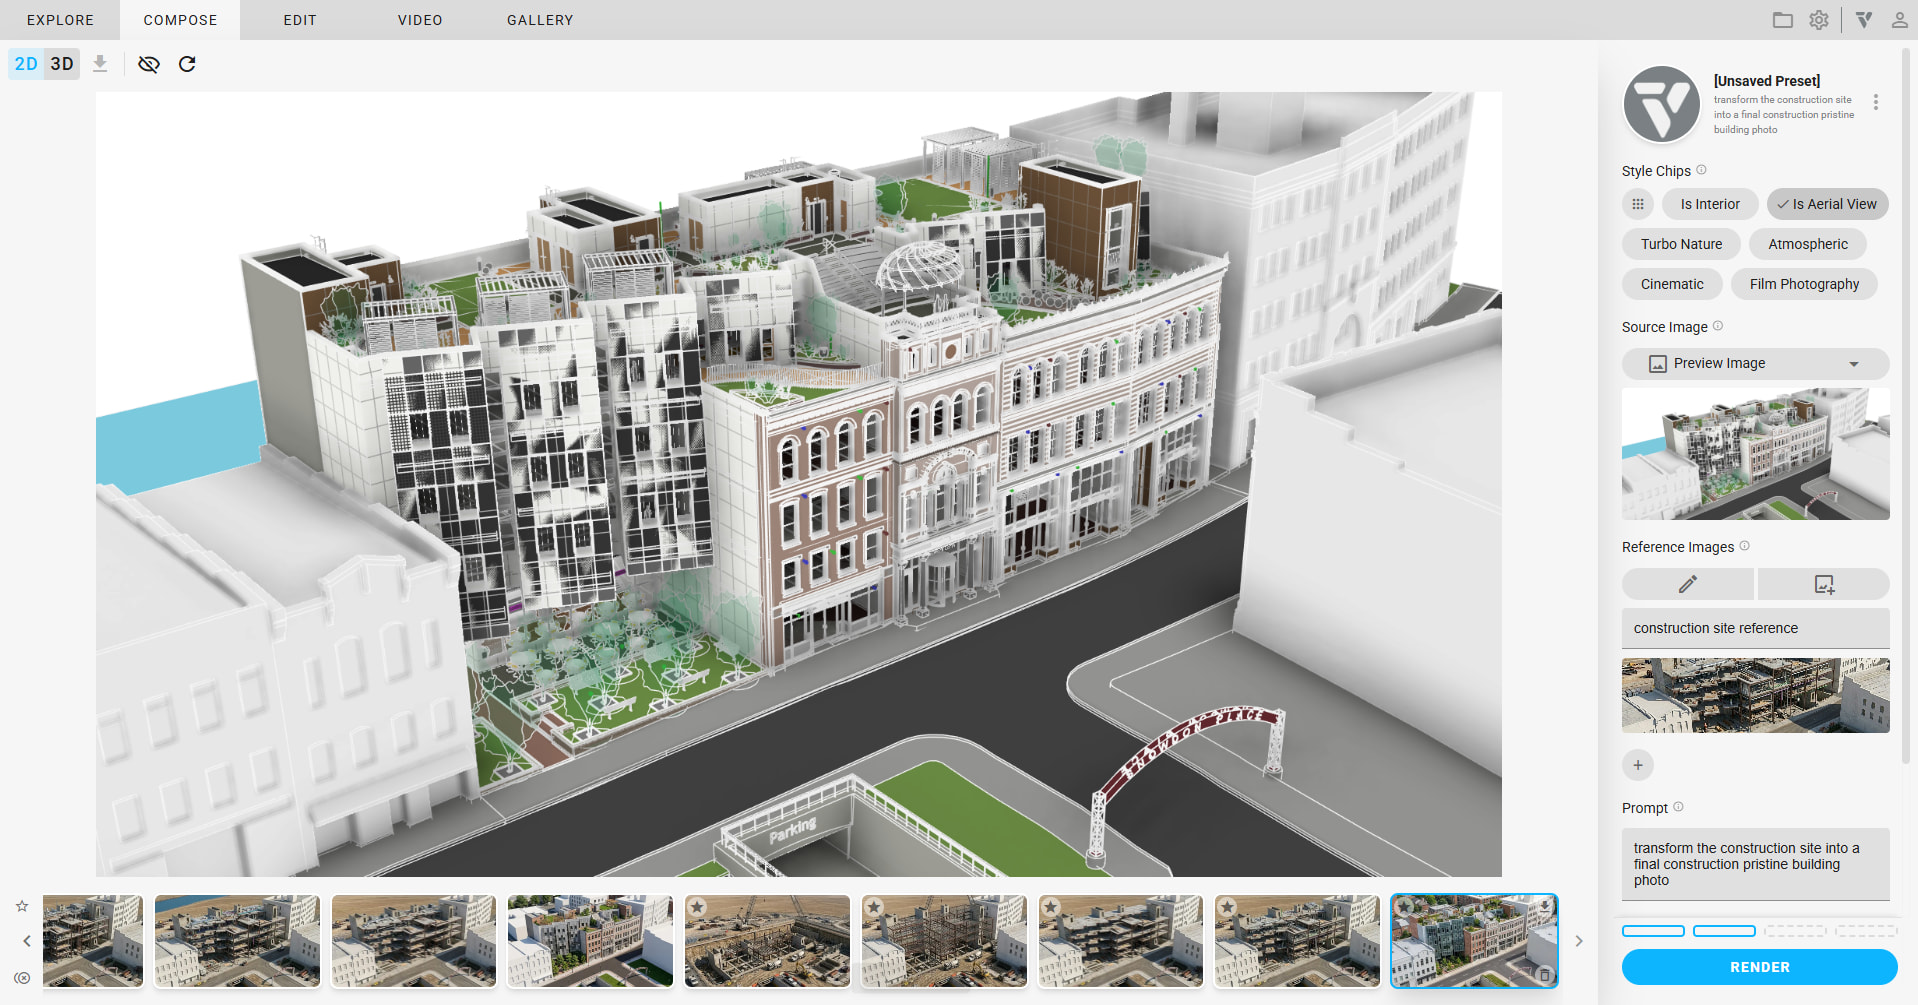
1. Setup Revit Visibility
-
hide unwanted categories and Revit links
-
use section box to start with the lower level (I selected the site so I can have x-ray vision for some of the structural members)
-
render a still in Veras

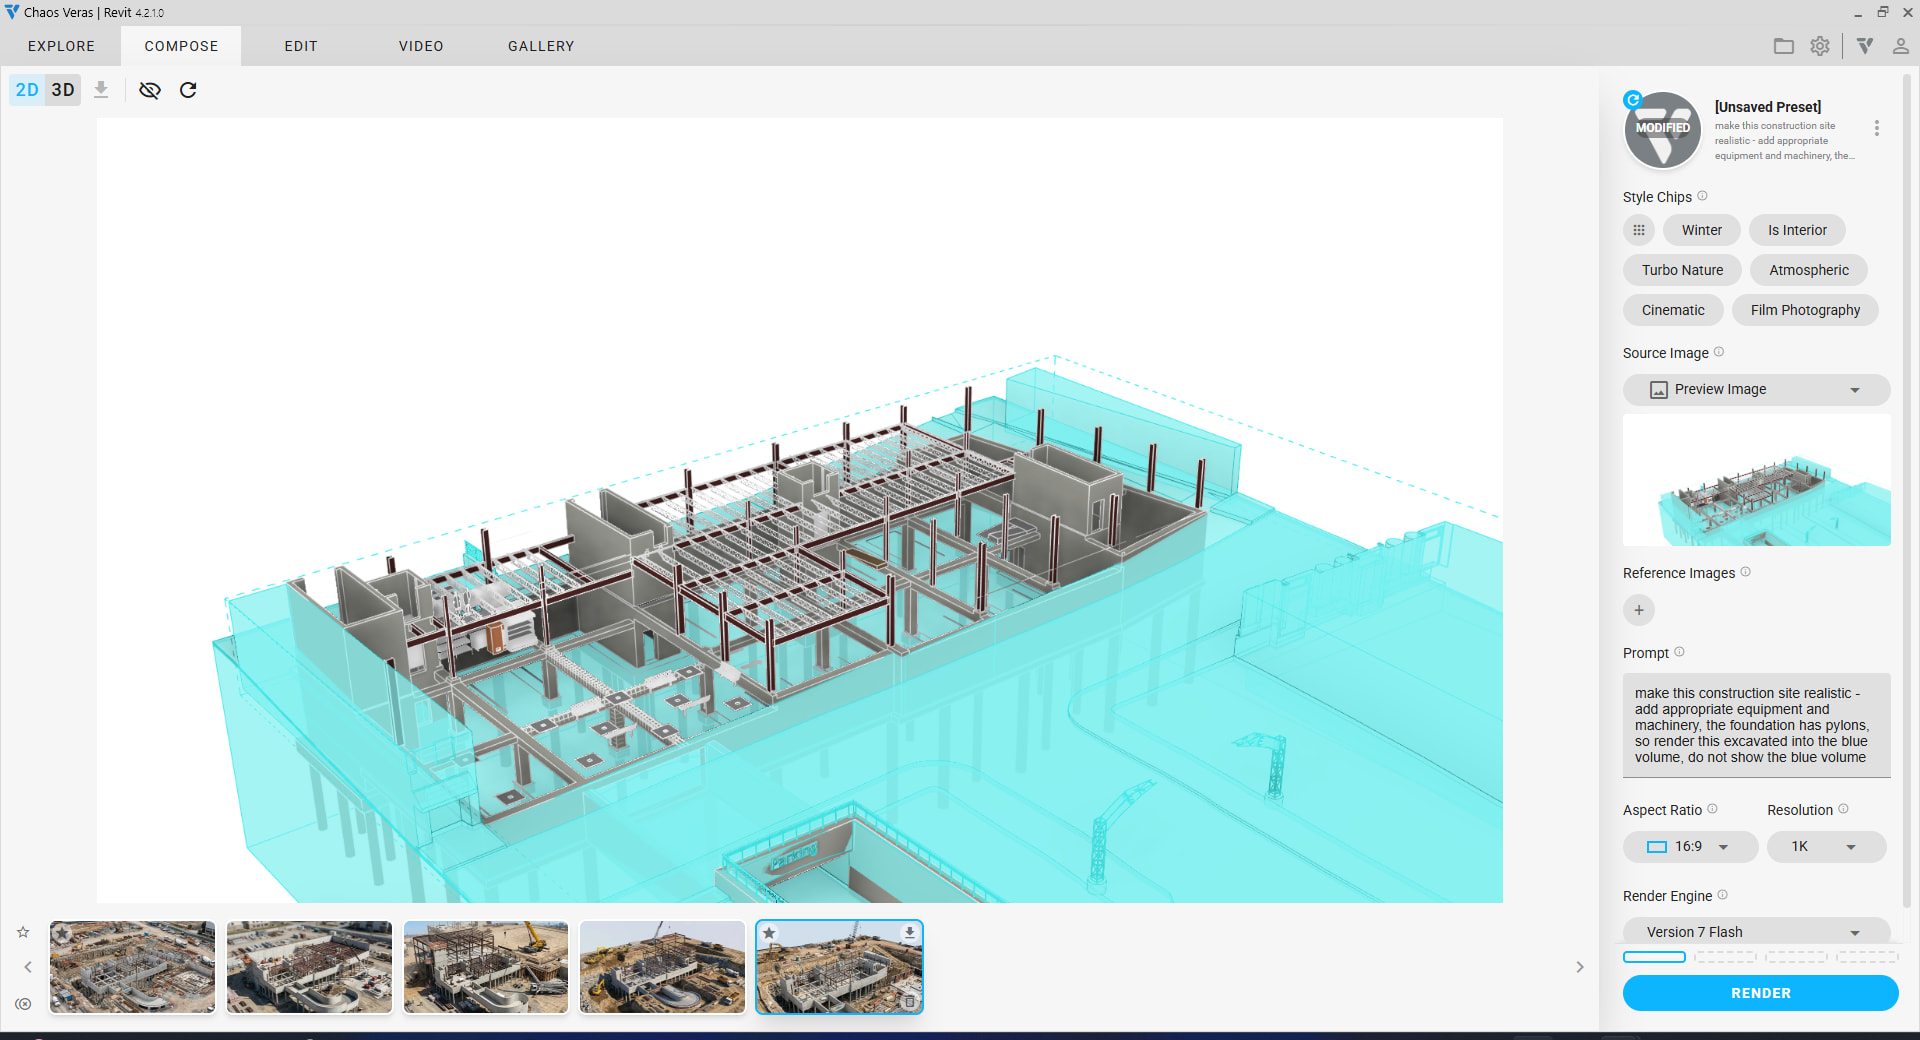
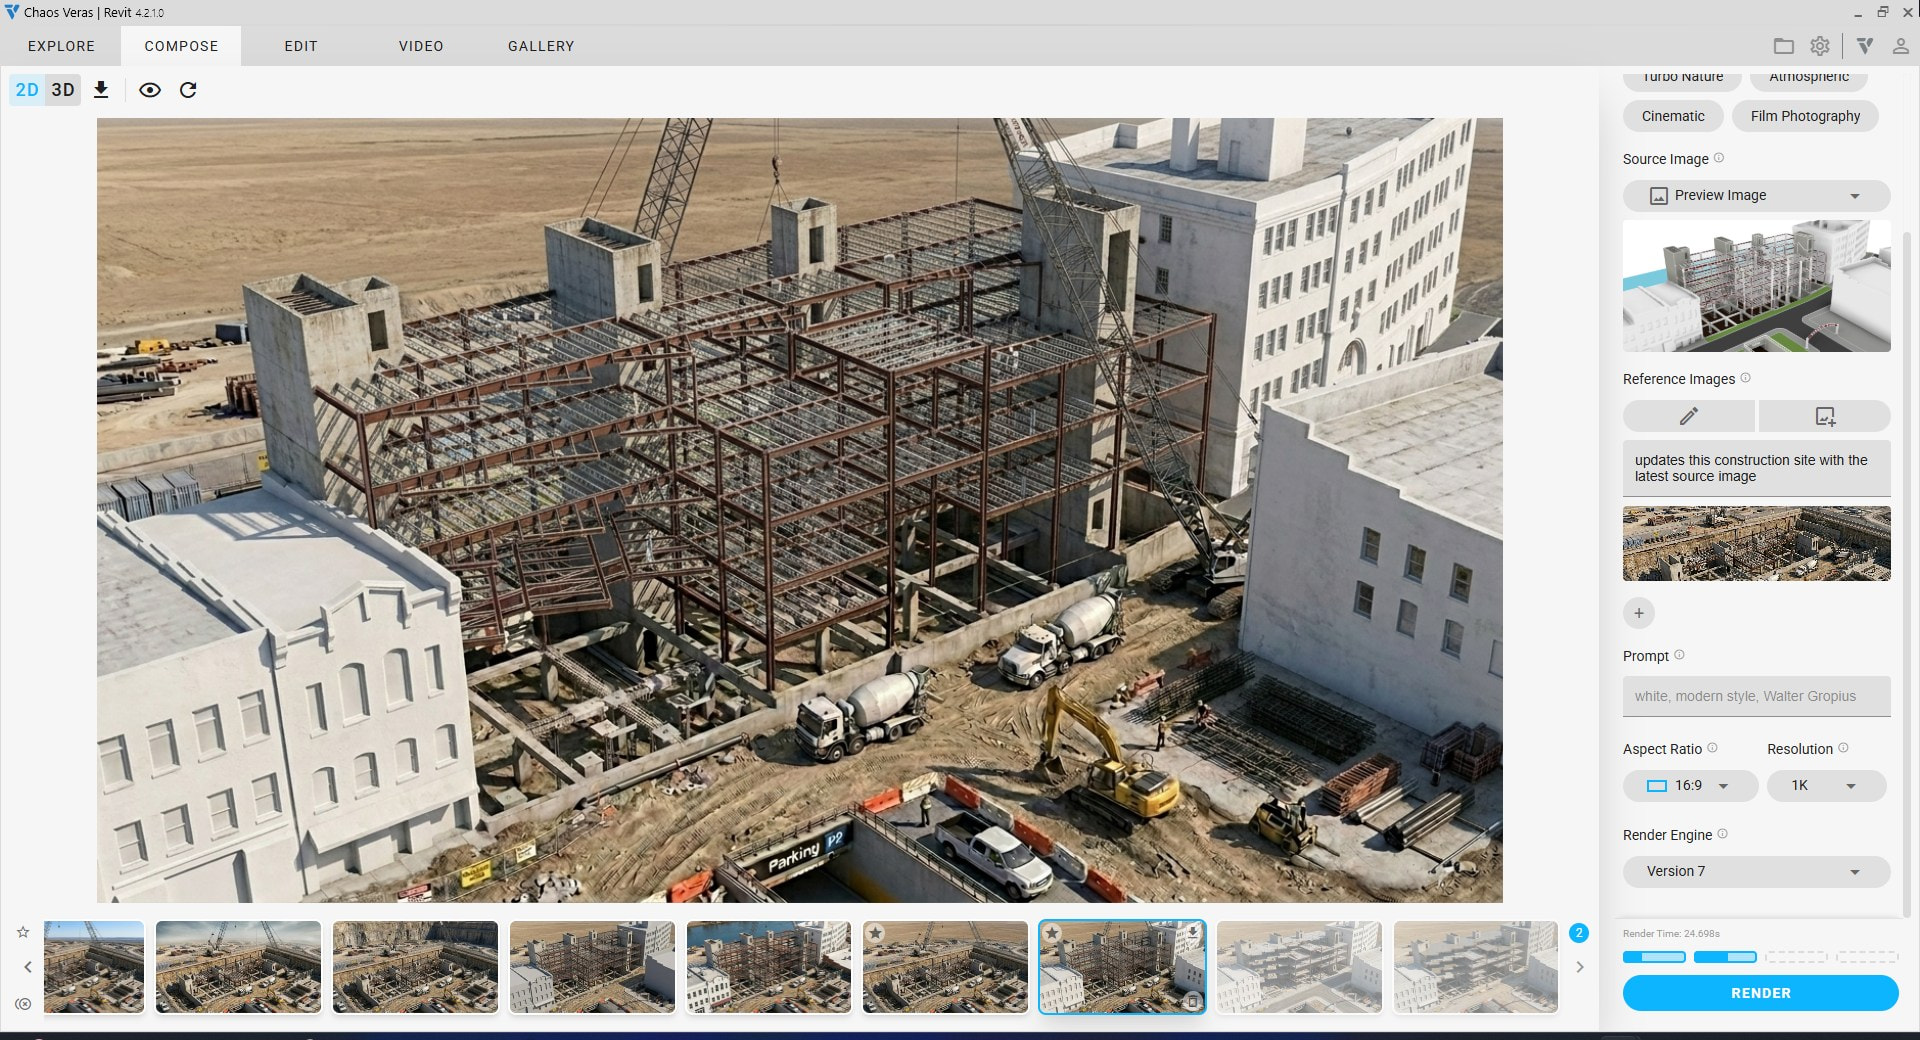
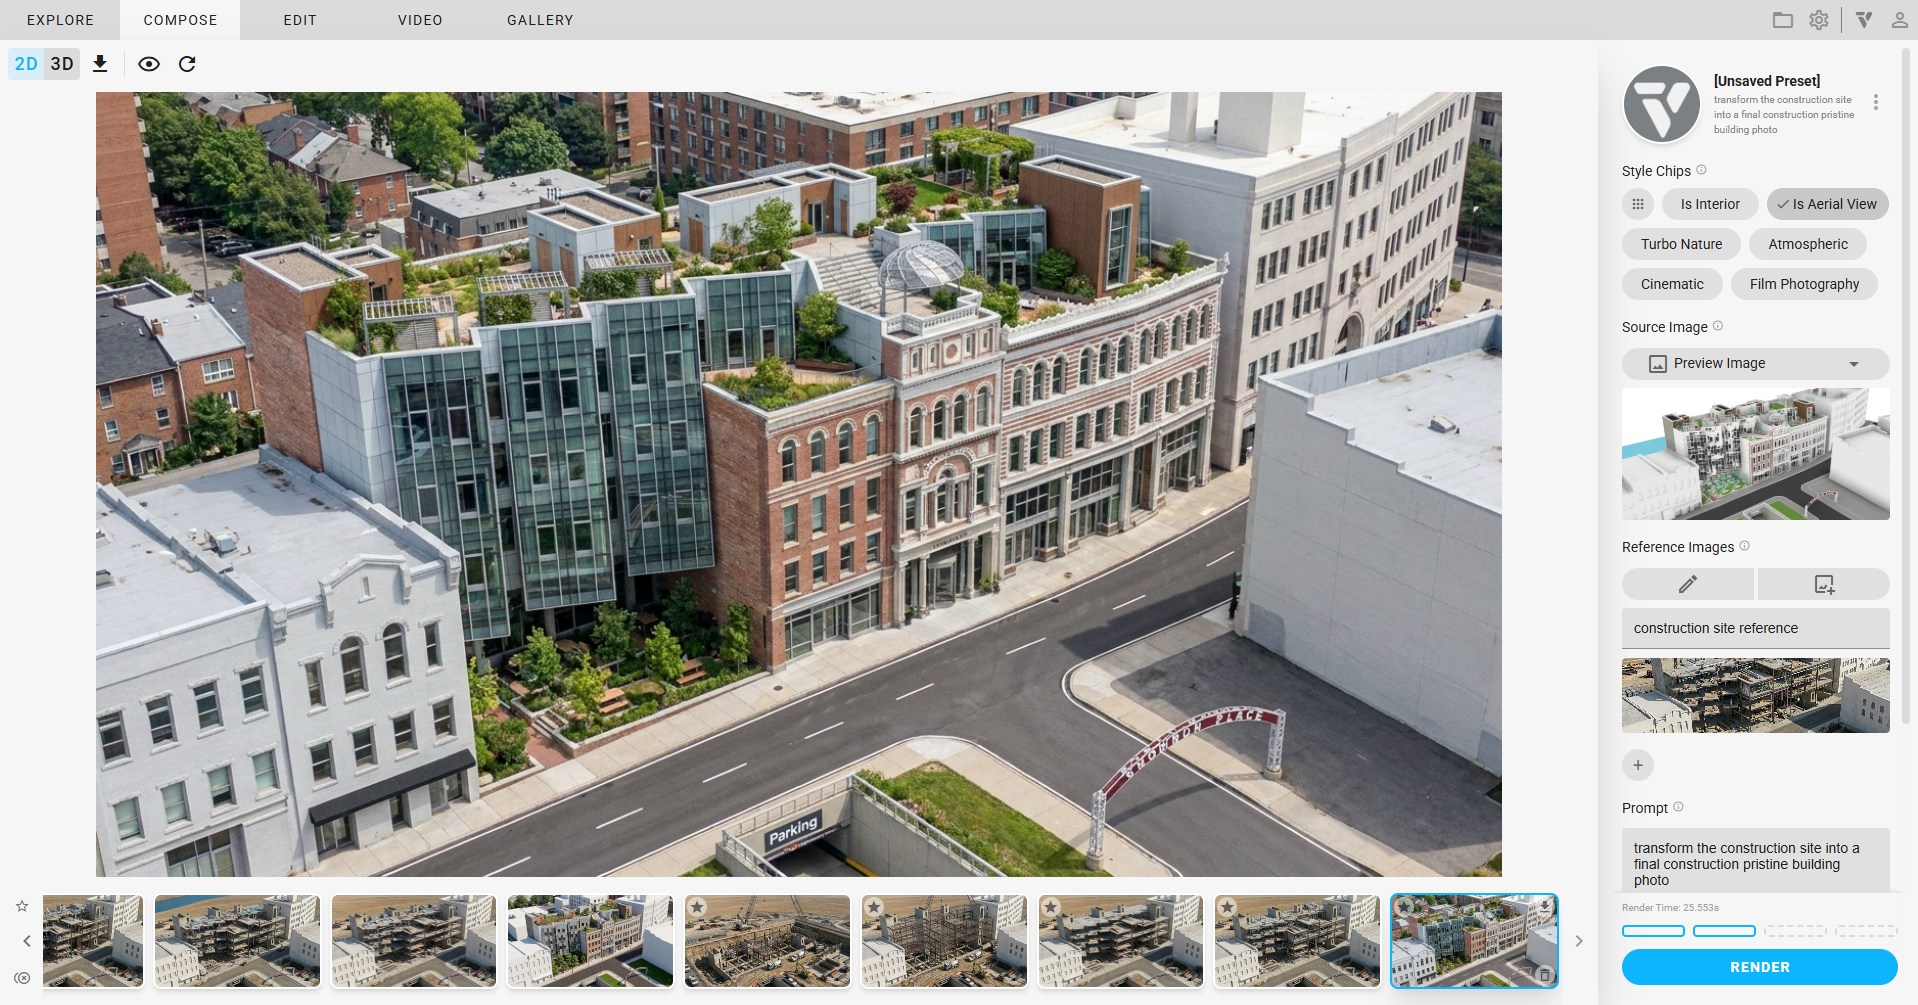
2. Render with Reference
-
remove the section box to see the rest of the structural model (I also unhid the site but kept the floors hidden)
-
use the first render as a style reference to render the next stage
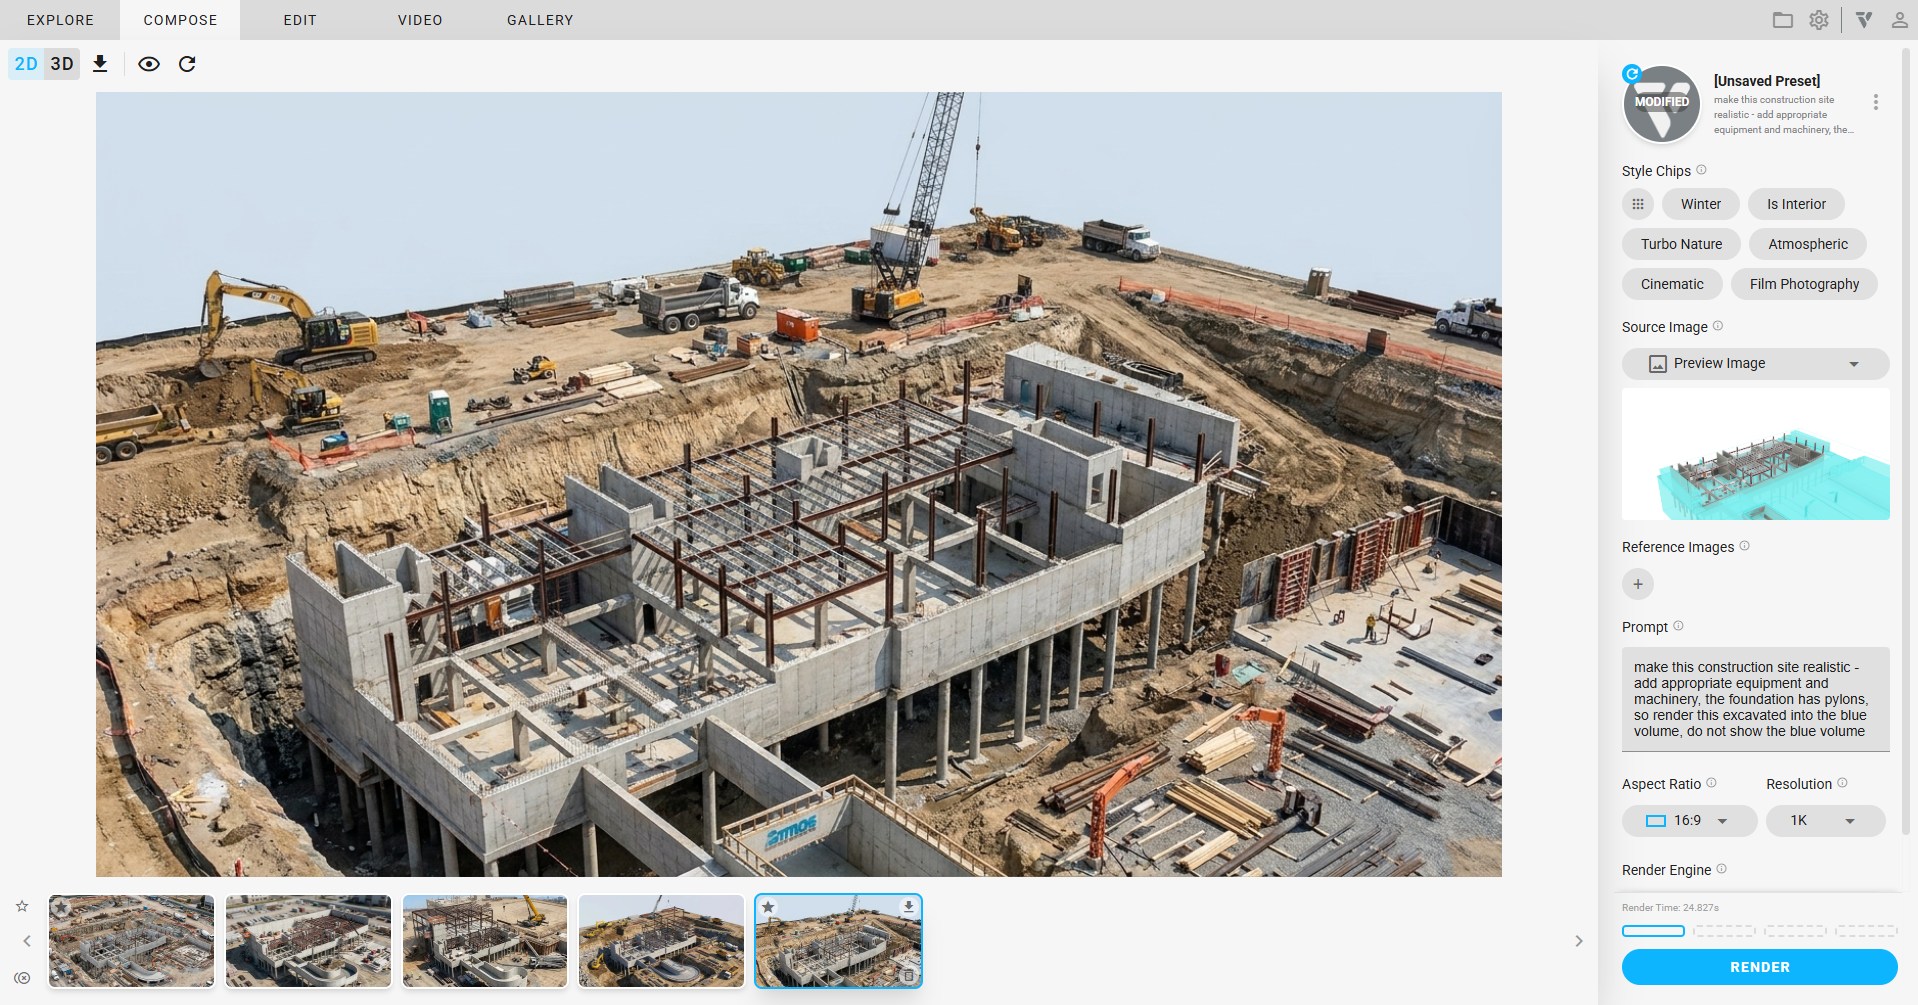
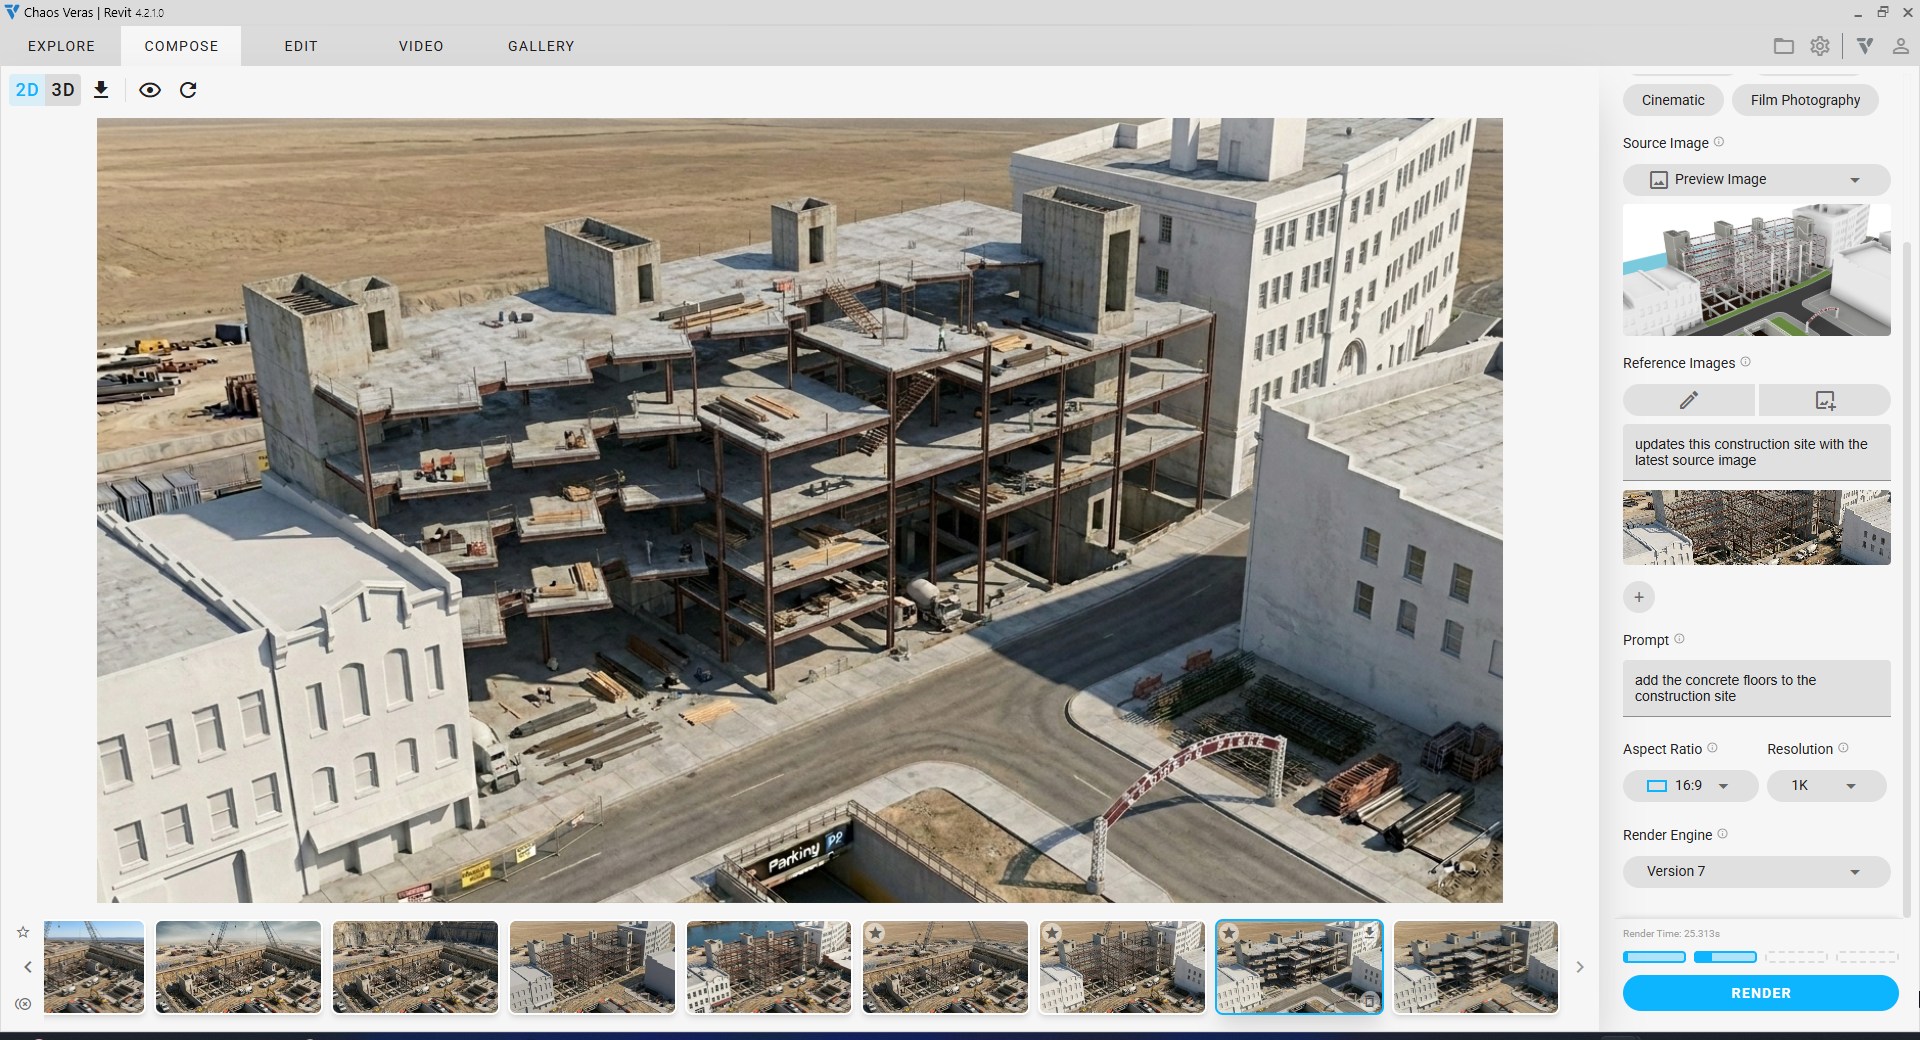
3. Render Reference & Visibility
- unhide the floors and use the previous stage as a reference
- repeat this for all of the other stages: hvac thru finished project
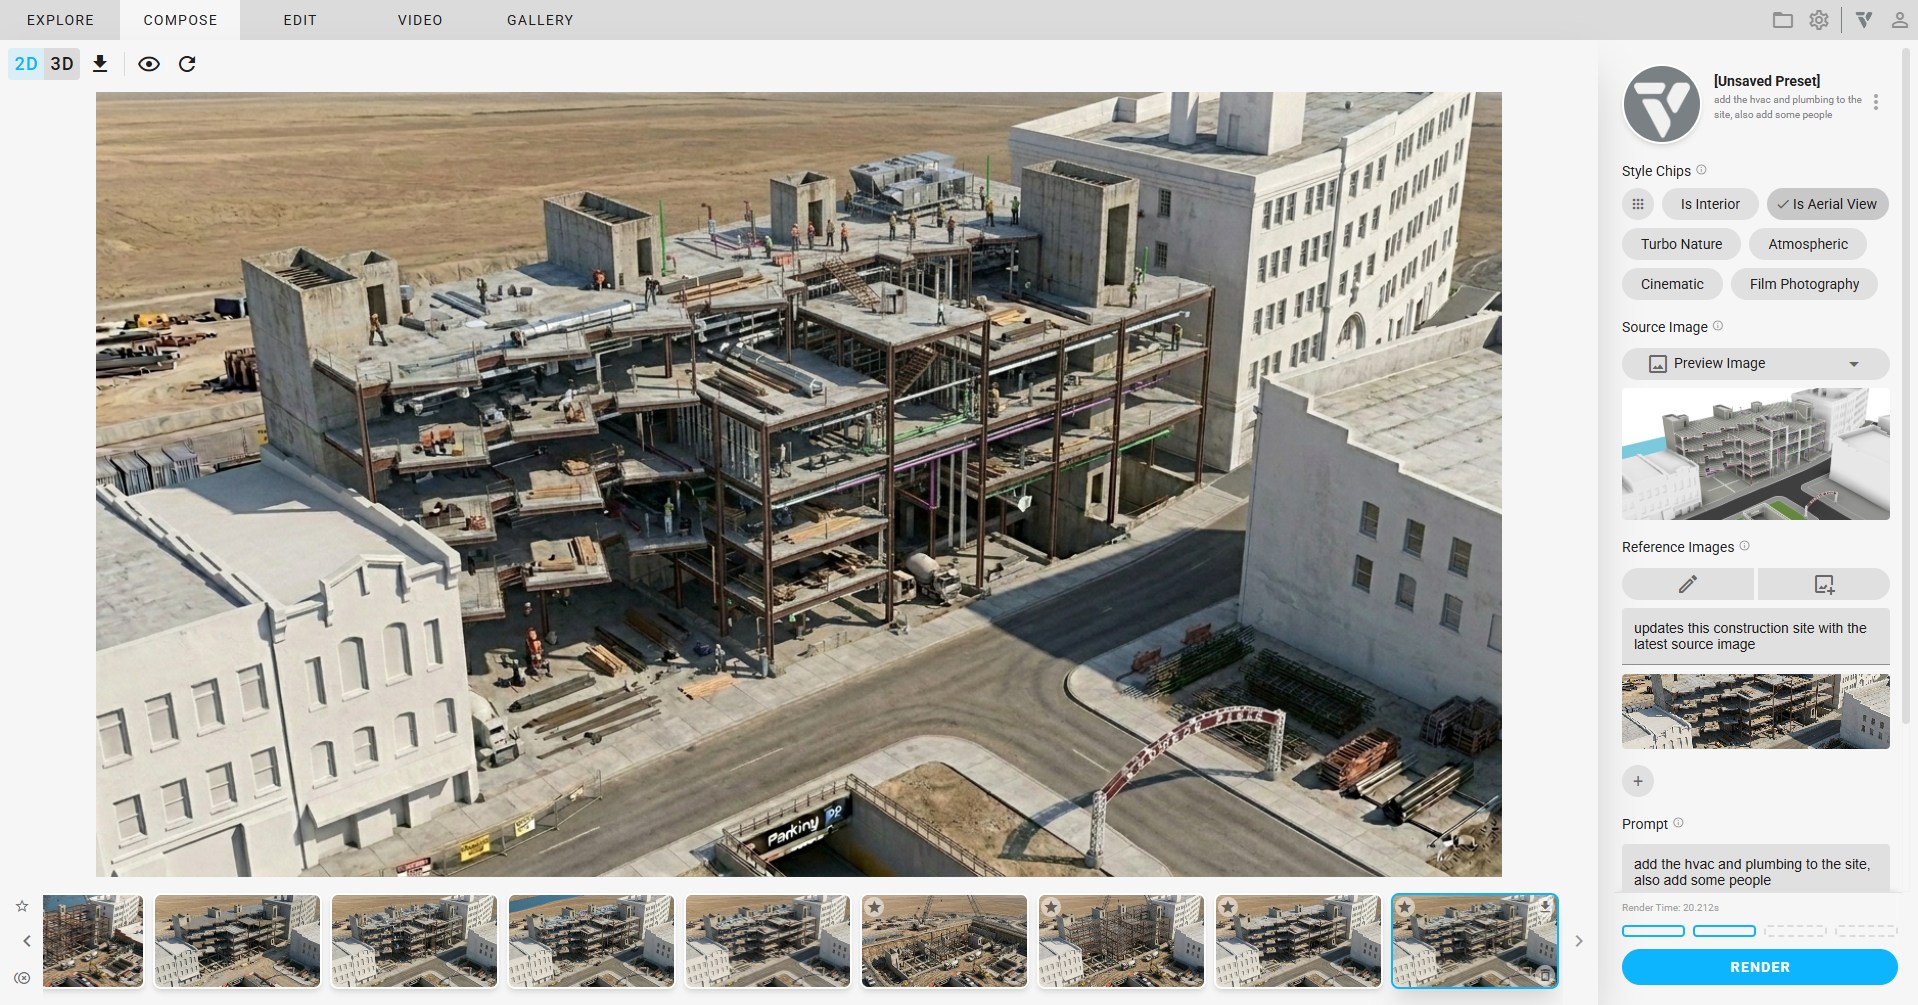
Bonus: Can make a night shot!
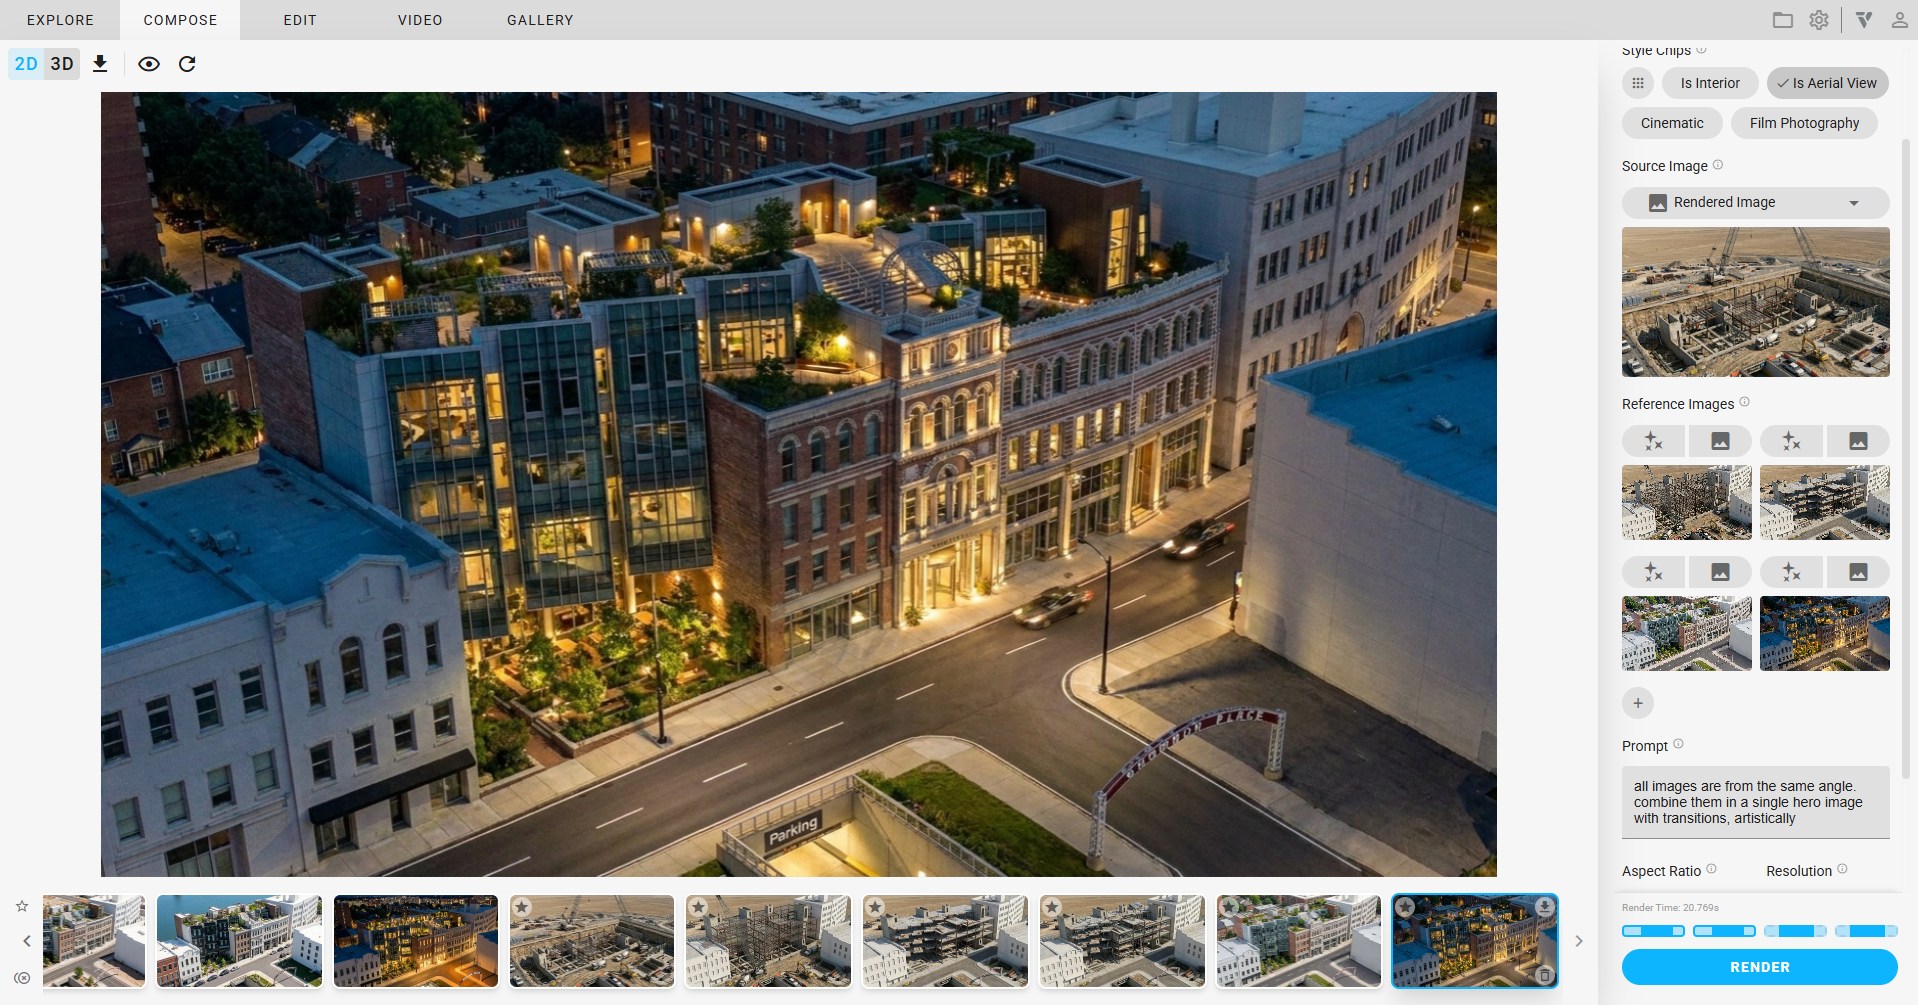
Then we have 6 image:
4. Create Videos
- go to the video tab
- make a video of each start and end frame and pick which video is the best. 6 frames = 5 videos
- you can do this by selecting the first frame to be the previous video’s last frame and so on and so forth
5. Combine the videos
- I prefer to favorite the videos that are final
- then select them all
- then click the COMBINE button (which is usually the RENDER button):
