First of all, a personal thank you to @Ben Guler for solving the Veras (1.4.0.2) installation issue in combination with Revit (2019) running on Windows 7 (SP1). With this first post, I would like to describe what was achieved in Veras starting from a project created in Revit.
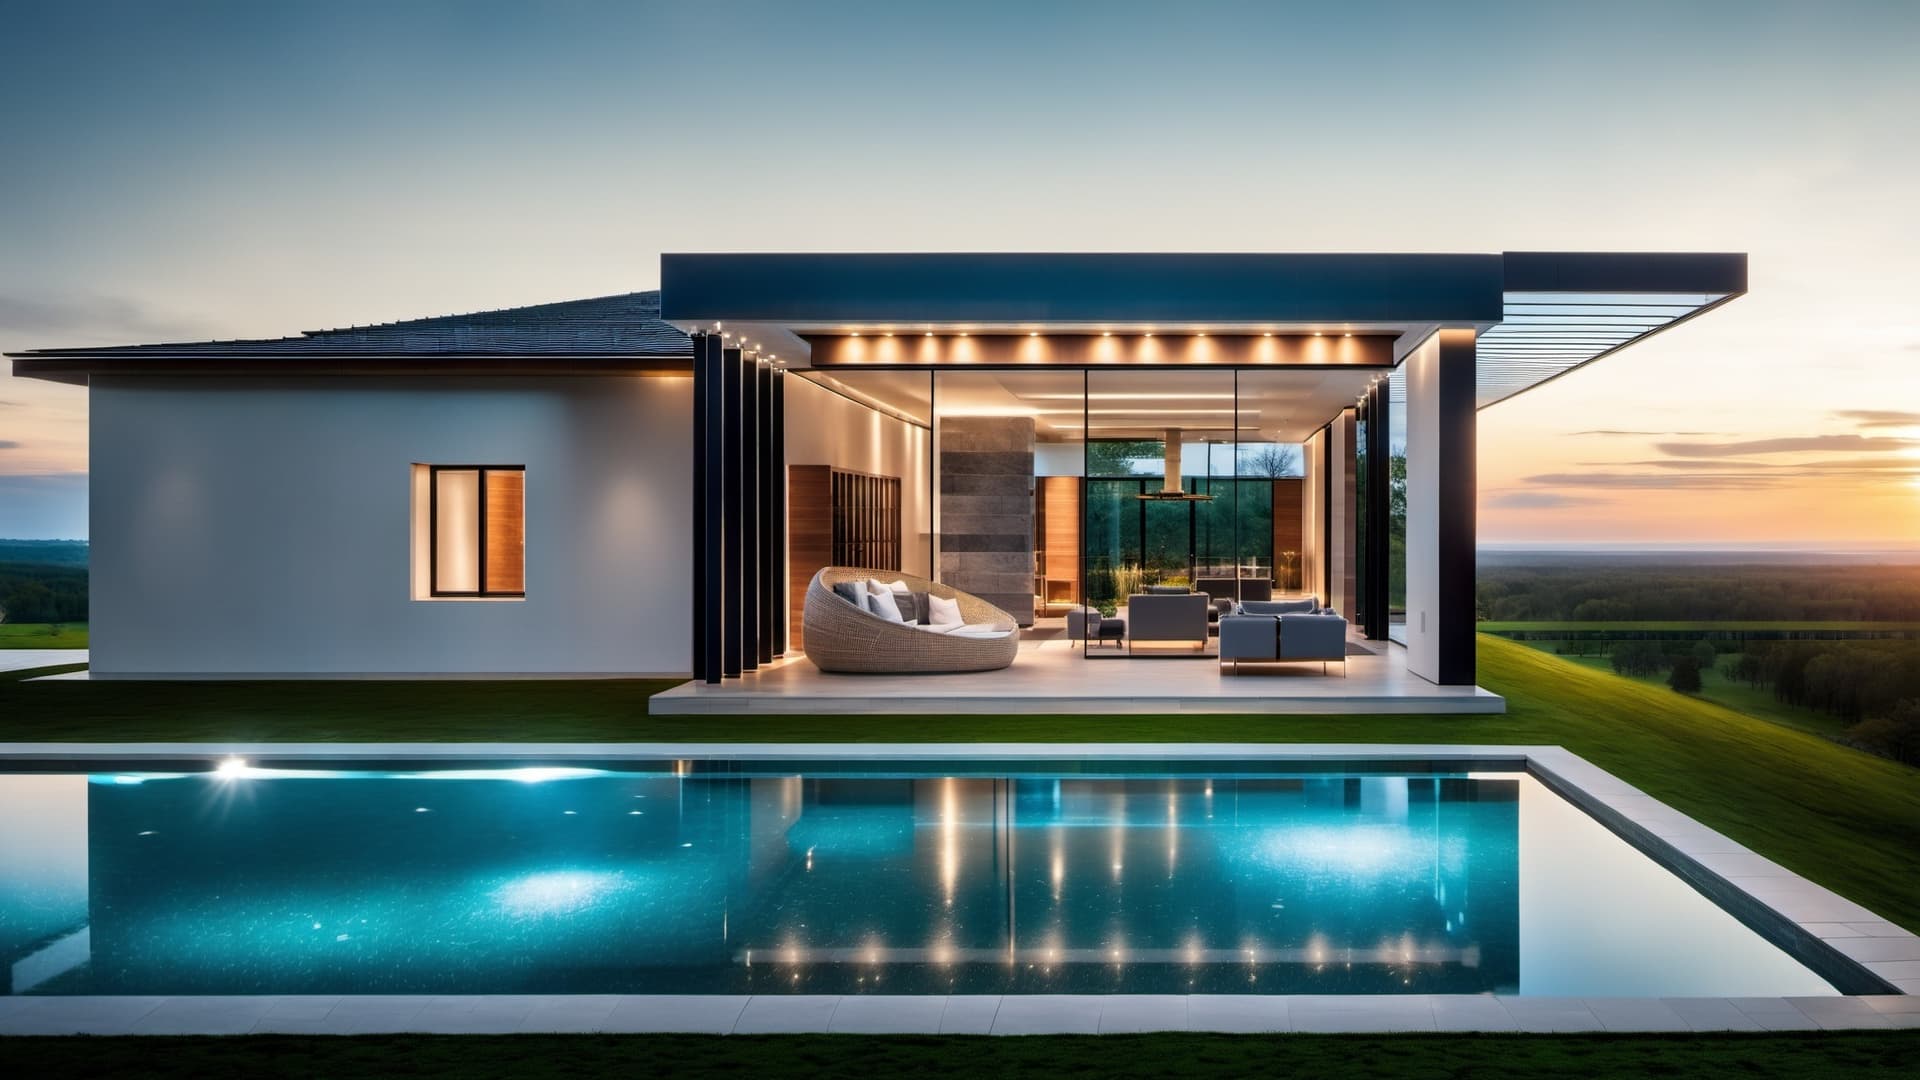
Once I selected the framing (seeking a balanced, vertically framed viewpoint that highlighted the transparency of the villa and its relationship with the landscape, with just a hint of the presence of the pool in the foreground)
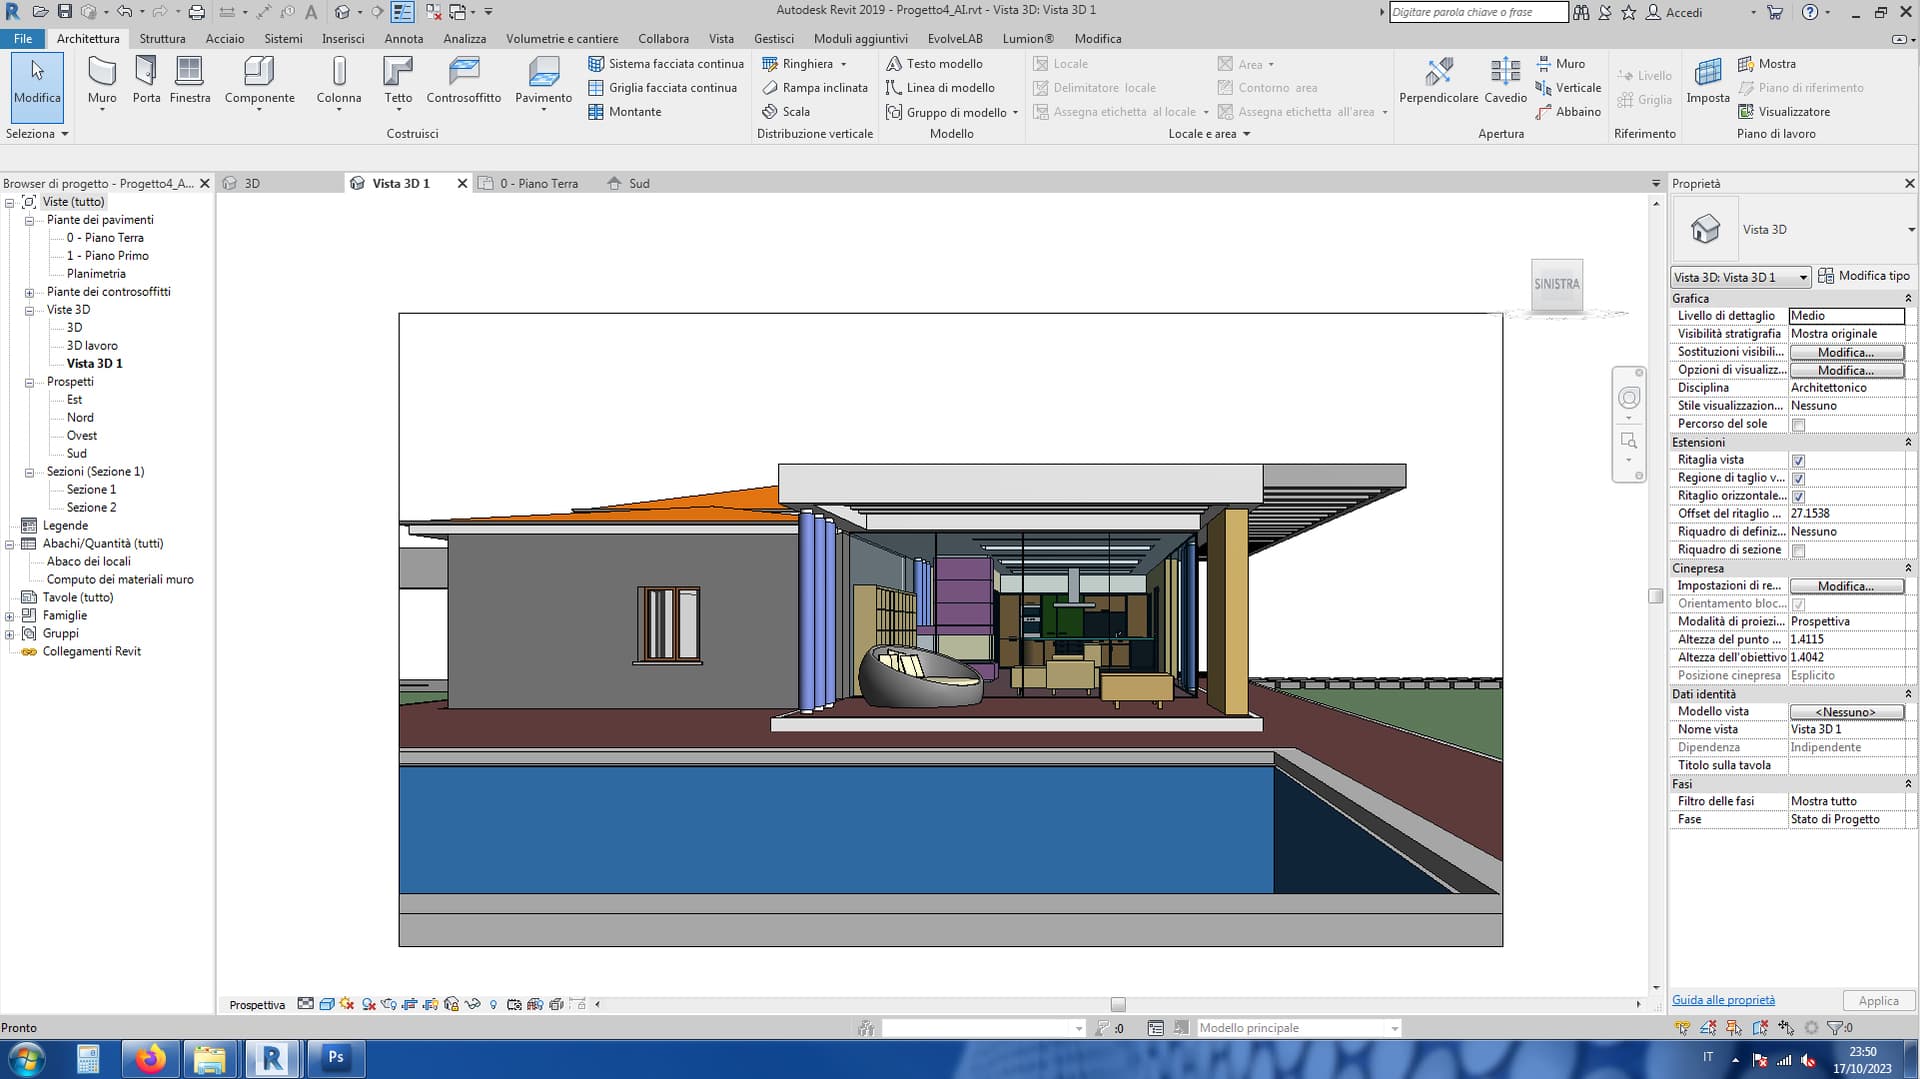
I launched Veras with the following values:
Geometry Override: 0
Material Override: 100
Width: 2048
Height: 1152
Prompt: modern villa with glass, roof tiles, stone, column steel, pool, tall grass around the building, during spring, golden hour, forest on background
Prompt Strength: 80
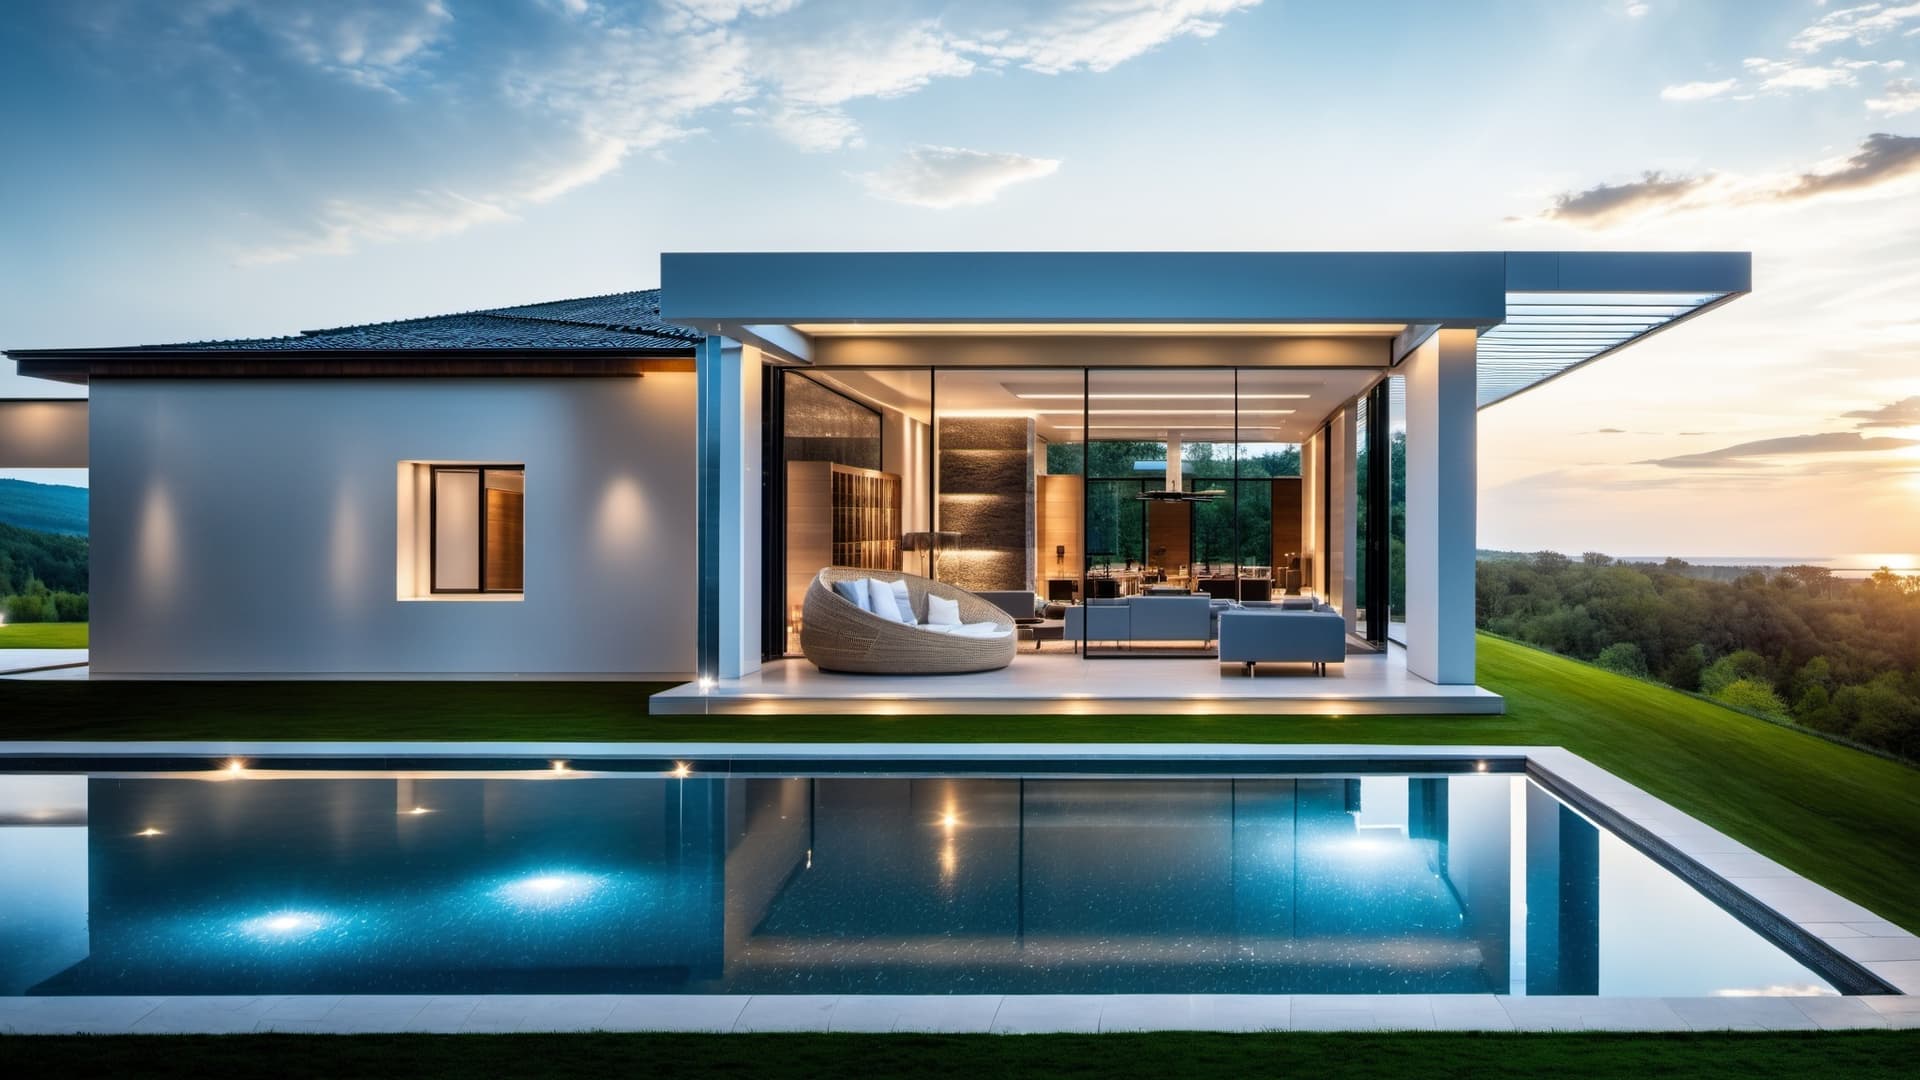
and I achieved this result:

“Awesome!” I thought. “In just 10 seconds, I have a magazine photo in front of me, not just a simple rendering.” On the left, I noticed a wall completely covered in vegetation, which was not part of the original project. I thought of using the “refine” tool: I outlined the area and inputted the following values:
Geometry Override: 0
Material Override: 100
Prompt: stone wall
Prompt Strenght: 80
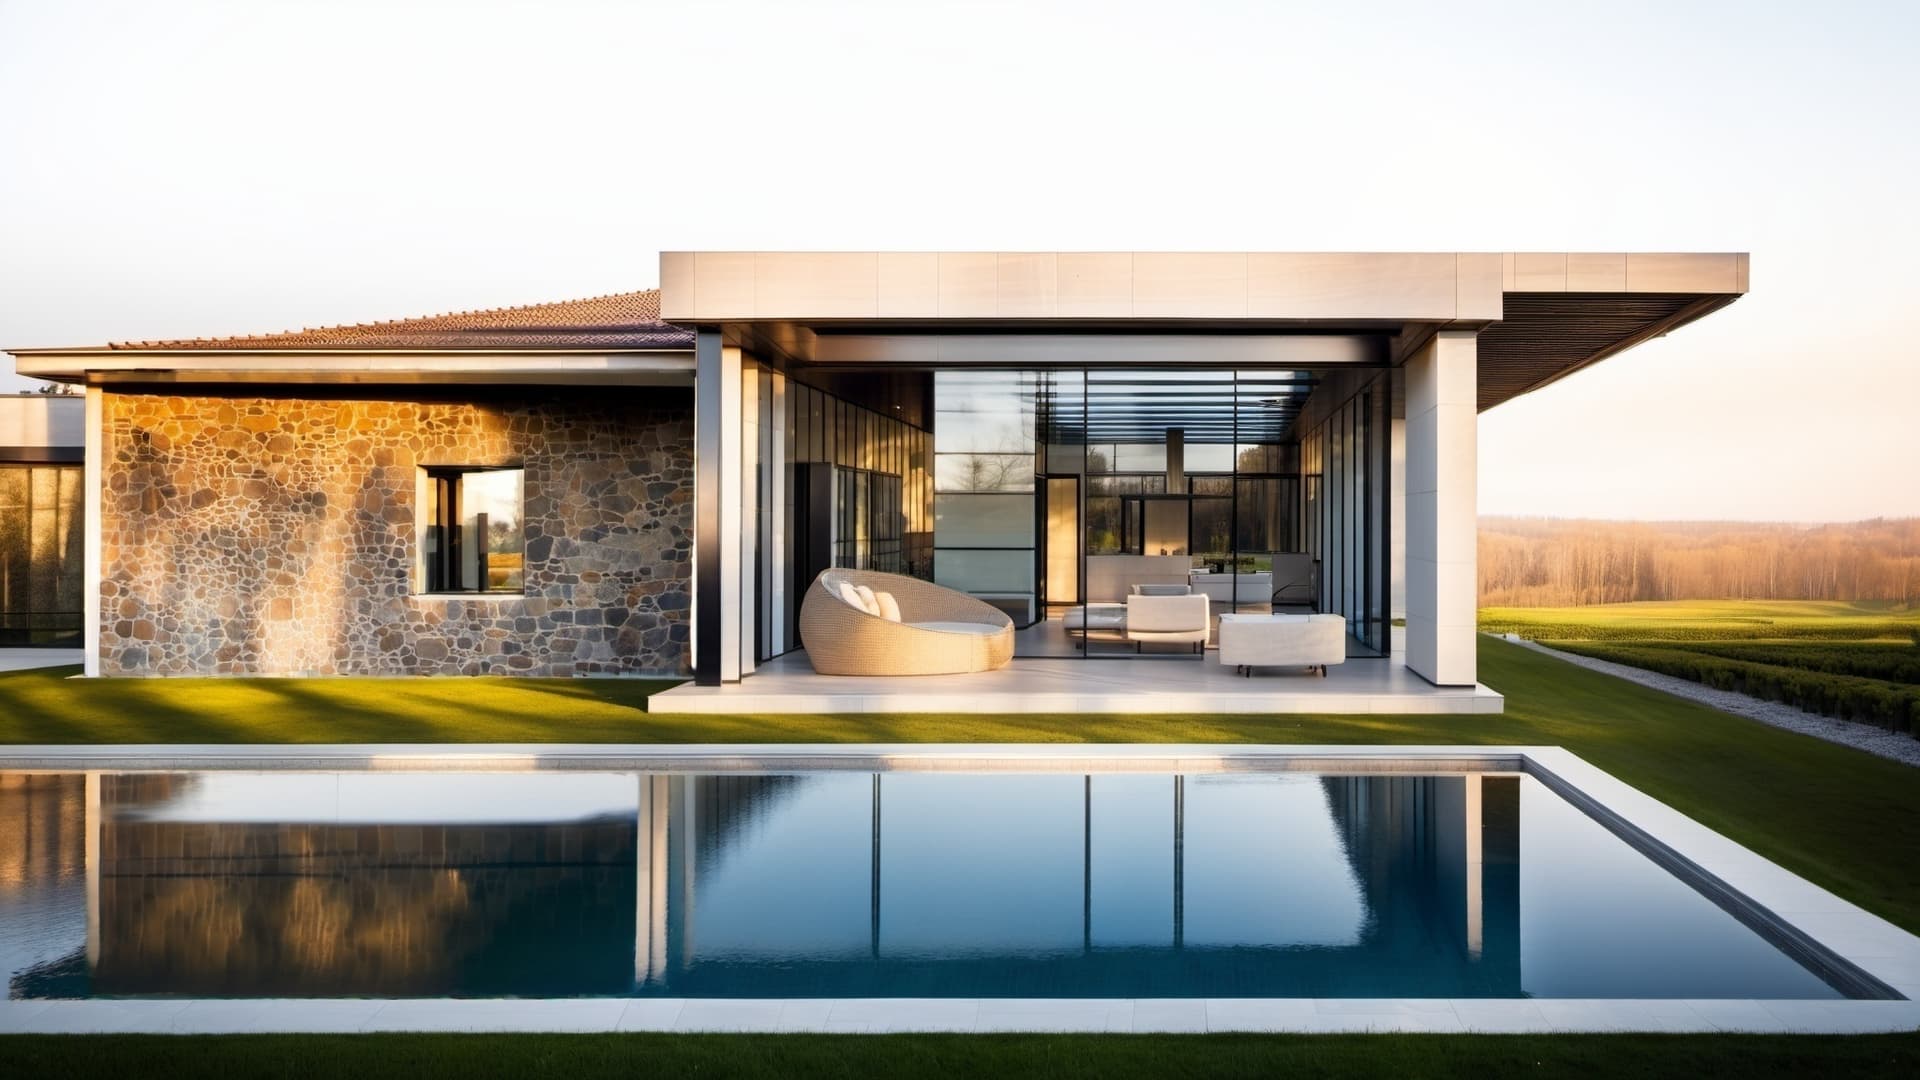
and I achieved this result:

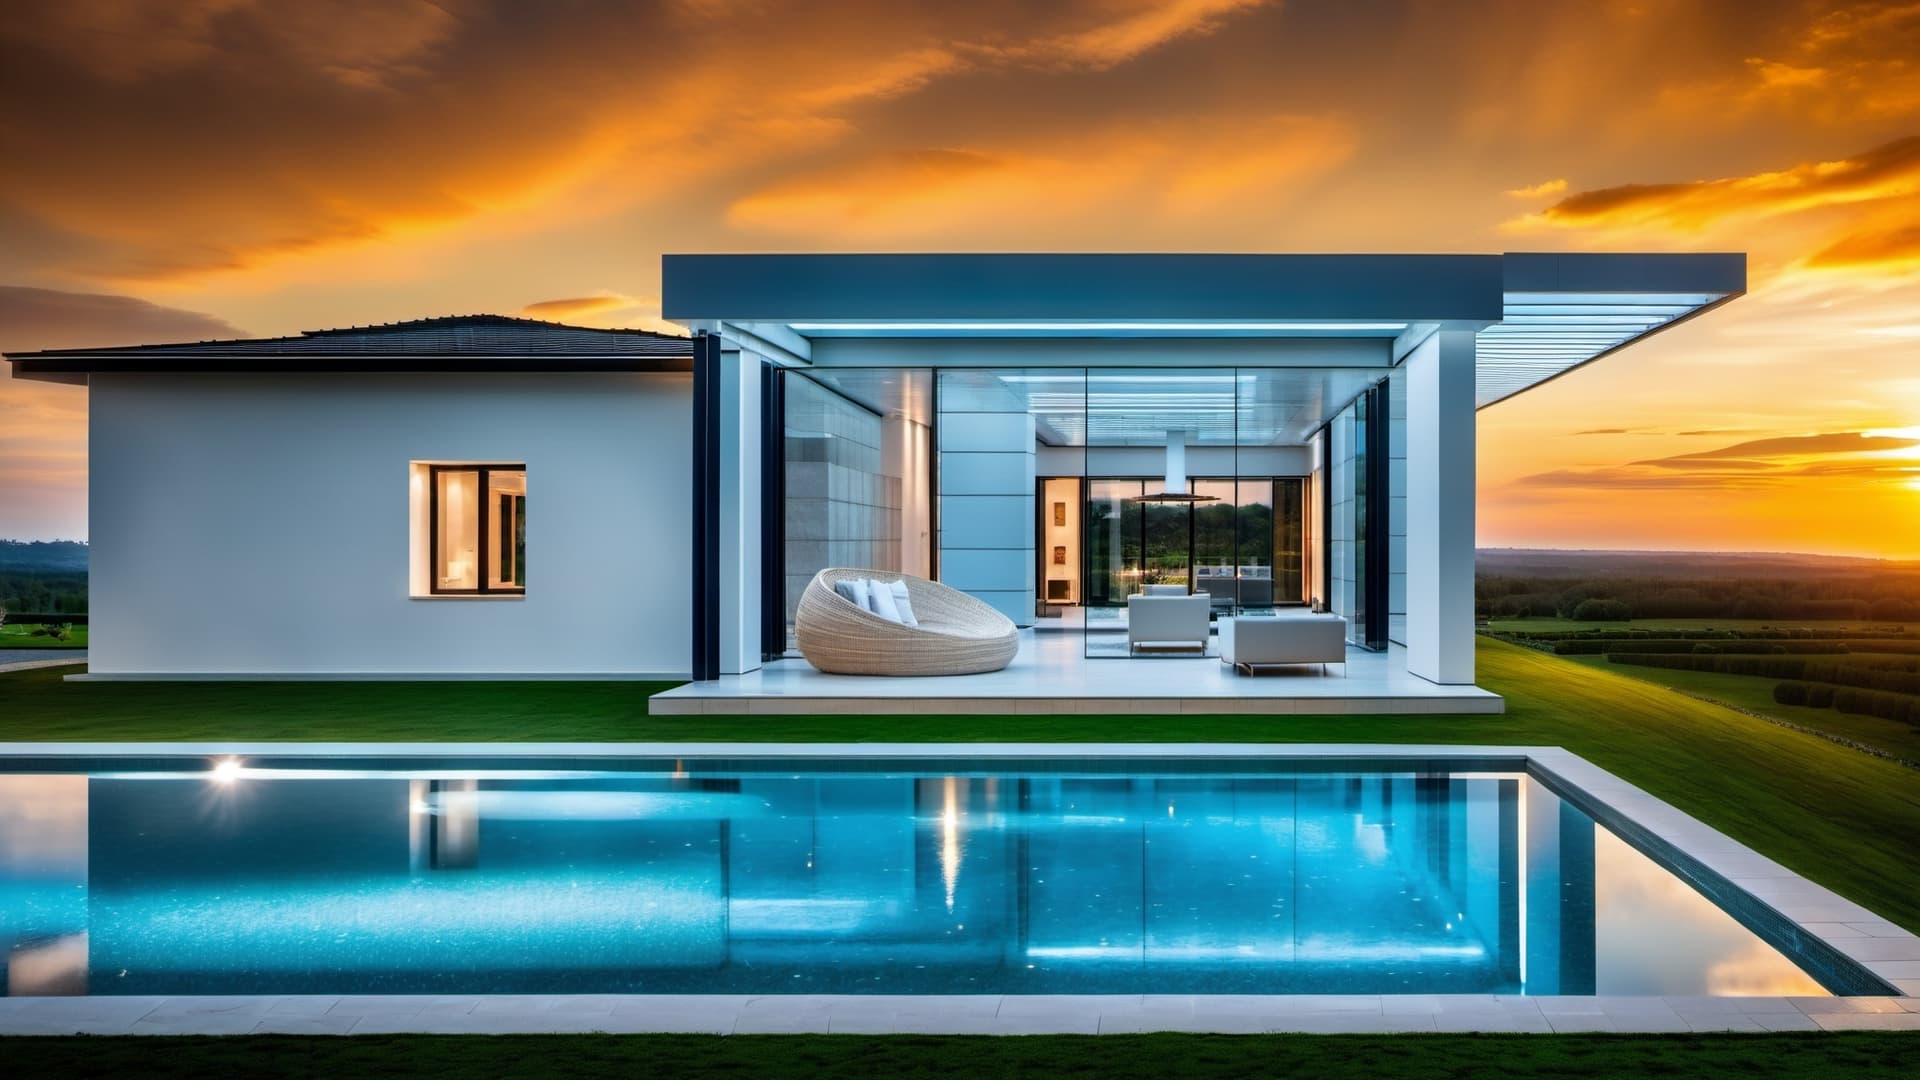
“Magnificent!” The “opus incertum” masonry style worked well for me right from the start. However, I noticed that, having replaced the wall texture, the reflection visible on the water’s surface still showed the vegetation from the previous image. So, I repeated the “refine” tool by outlining the reflection with the vegetation and inputting the following values:
Geometry Override: 0
Material Override: 100
Prompt: reflection of stone wall
Prompt Strenght: 80
and I achieved this result:
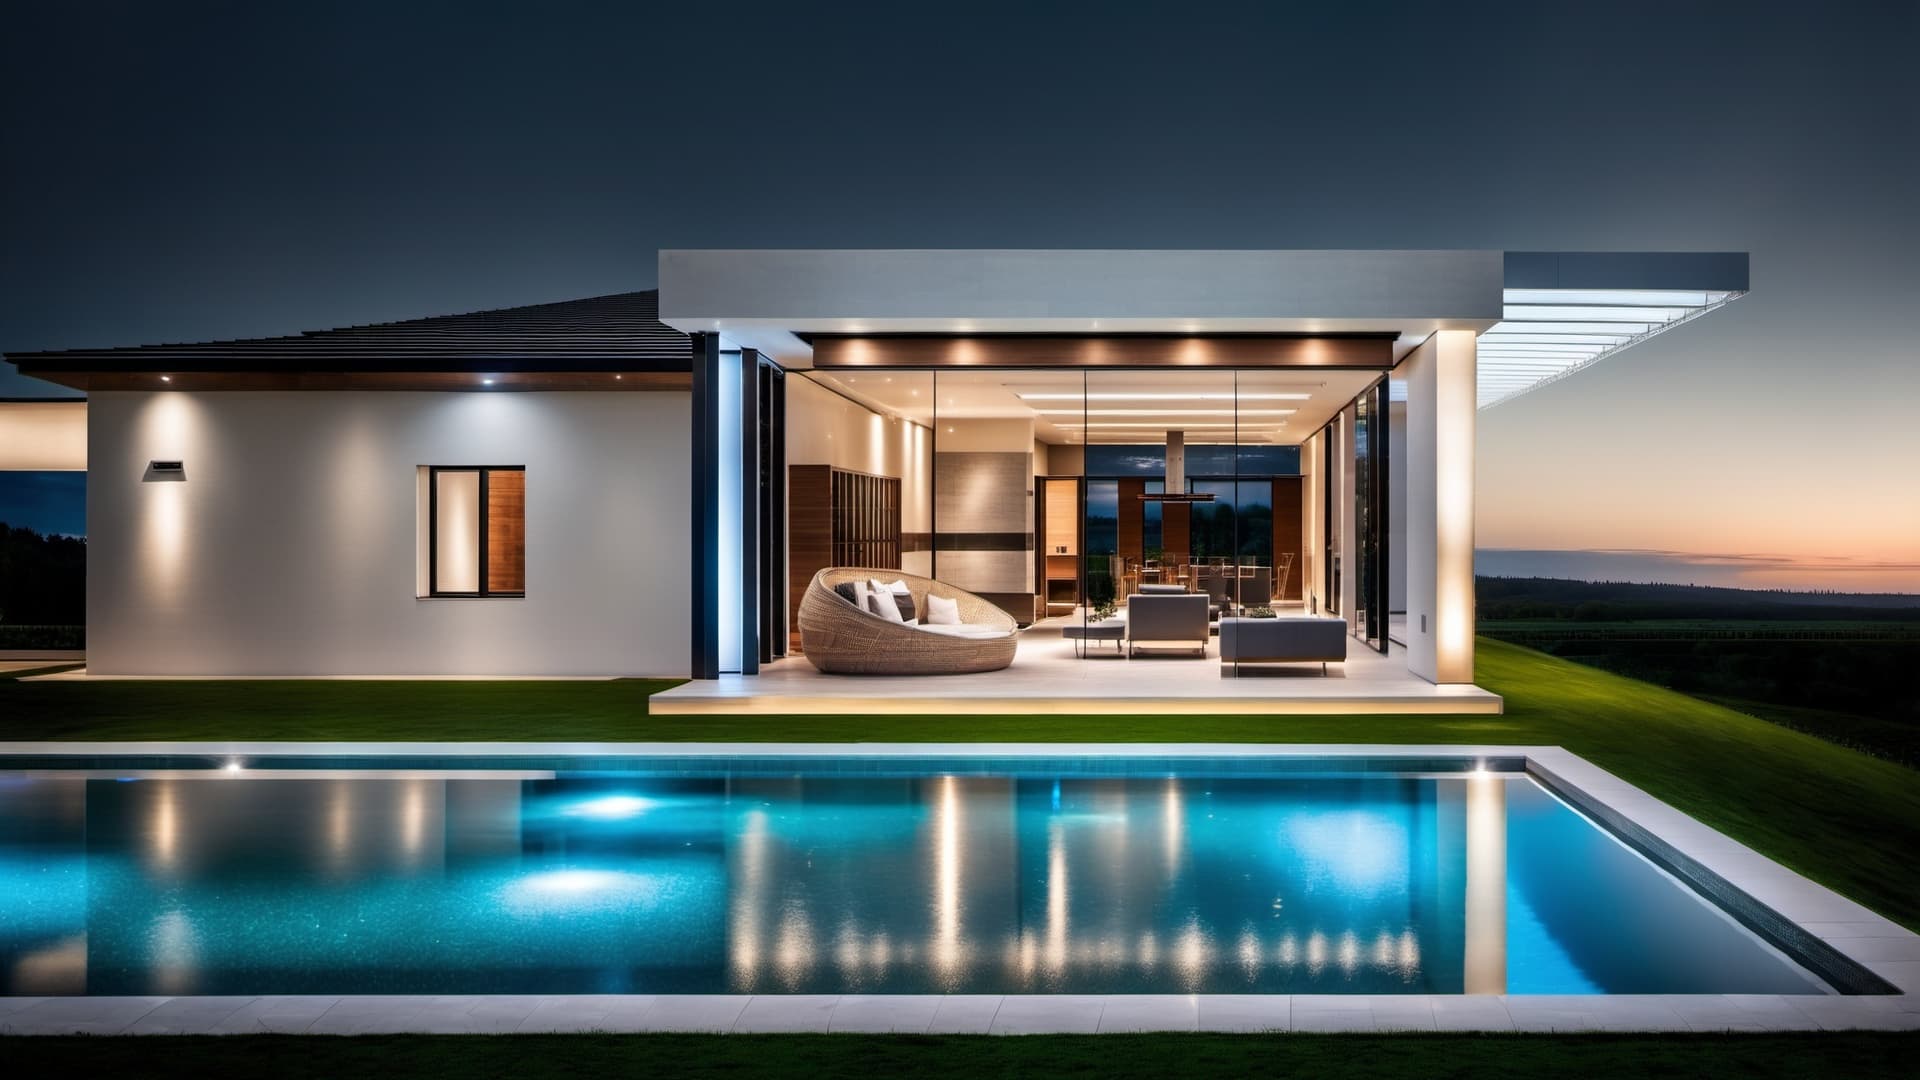
Pleased with the beautiful result, at this point, I wanted to try changing the time of day, experimenting with the indoor lighting, and I inputted the following values:
Geometry Override: 0
Material Override: 100
Width: 2048
Height: 1152
Prompt: modern villa with glass, roof tiles, stone, column steel, pool, interior lights, tall grass around the building, sky night spring, microlight on the ceiling, forest on background
Prompt Strength: 80
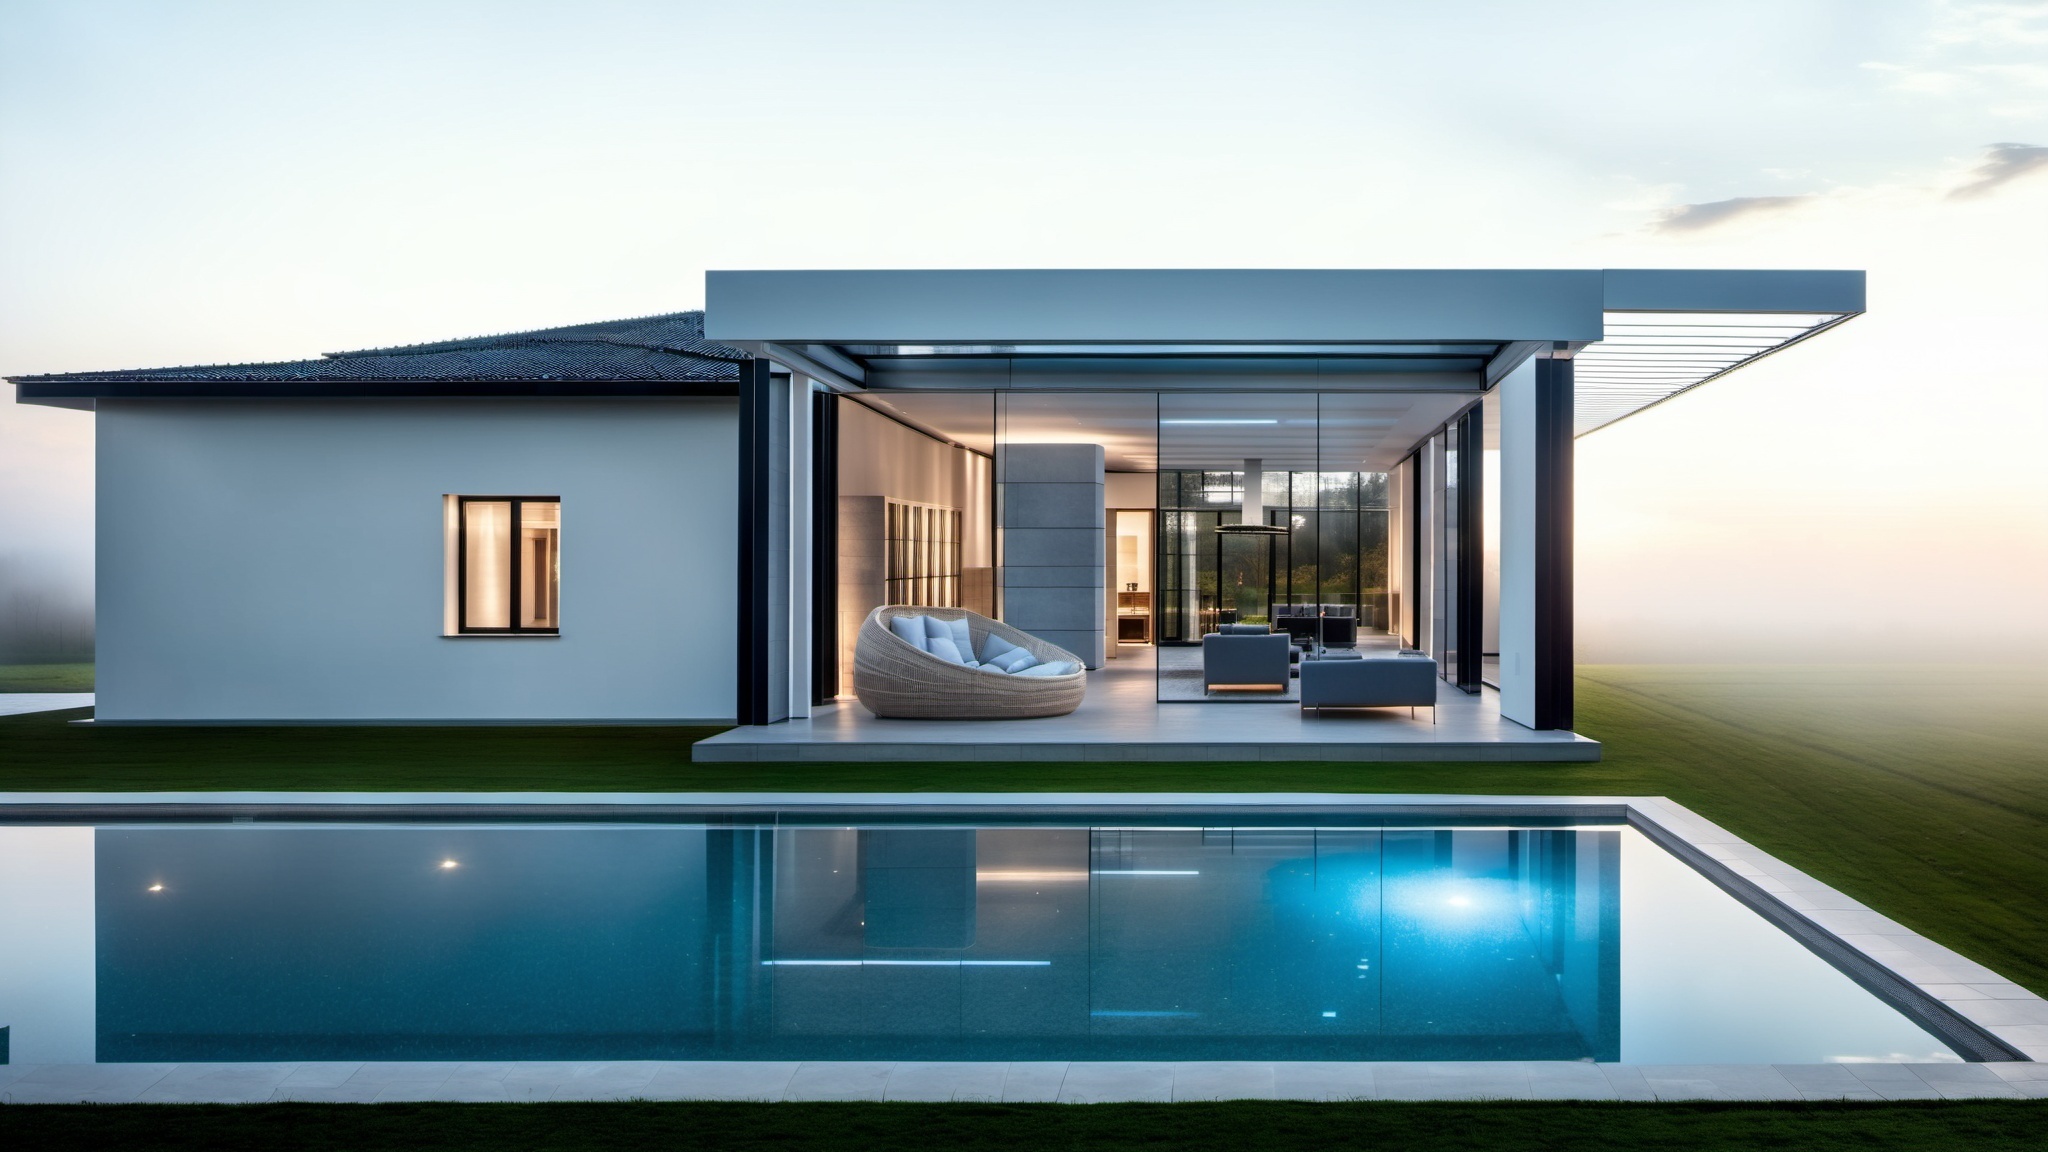
and I achieved this result:

Certainly a splendid image, even though it can’t be called a “nighttime” sky; it could be more of an “evening” or “post-sunset” sky.
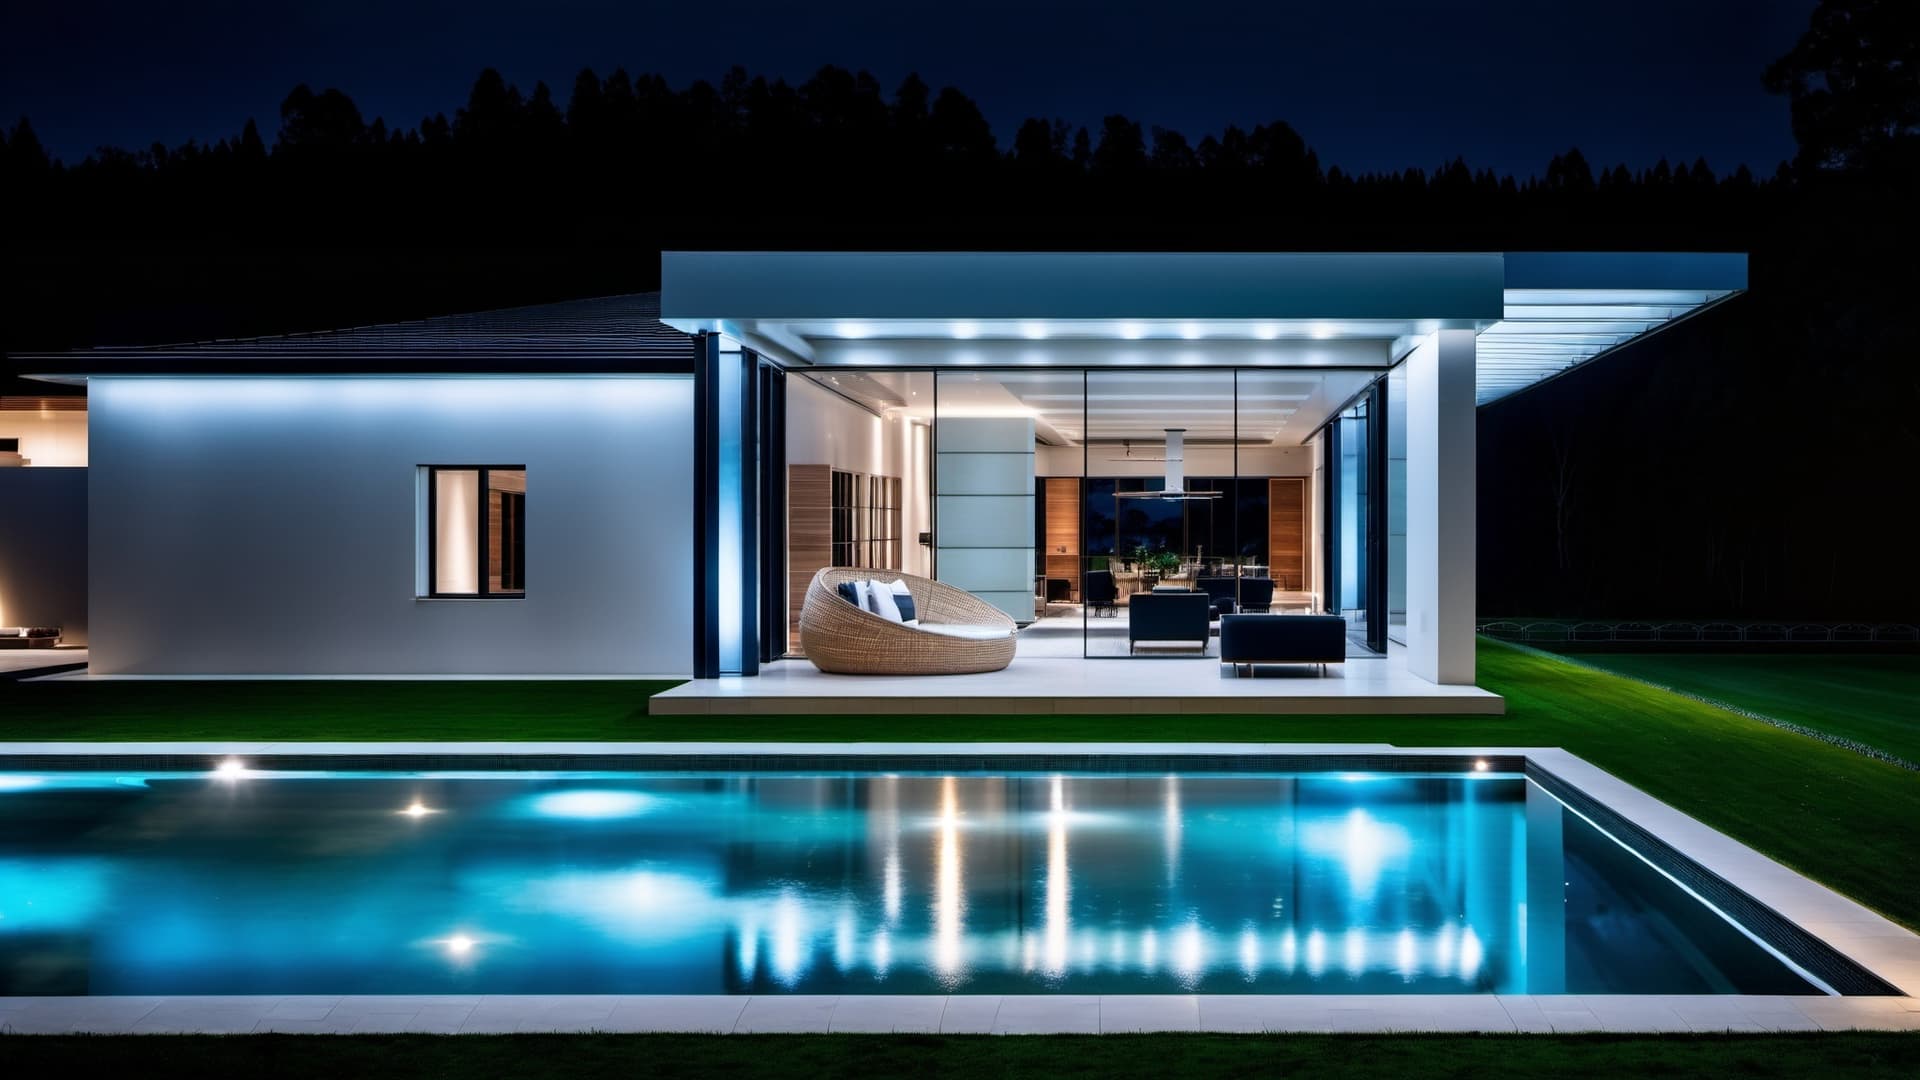
At this point, I wanted to experiment with an even more ethereal atmosphere by activating the “Atmospheric” button along with the one below it “Seed”
and I achieved this result:
In conclusion, I am very pleased with the results that Veras’ A.I. is able to achieve in just a few moments (the longest rendering took no more than 15 seconds), by setting so few parameters in an incredibly easy-to-use interface. The achievable photorealistic quality is absolutely amazing, and at least in my experience, I have never achieved this level of realism with a traditional rendering engine (not based on A.I.).
The next step will be to experiment with what happens inside the villa, managing lights, colors, and materials of furnishings and finishes.